So i'm a few months into my decking project which was quoted at £3,500 by a professional installer (for soft wood and lower spec bricks / no slate coping etc).
I'm not far off laying the boards now but with a full time job and baby I need longer, drier days. Roll on spring!
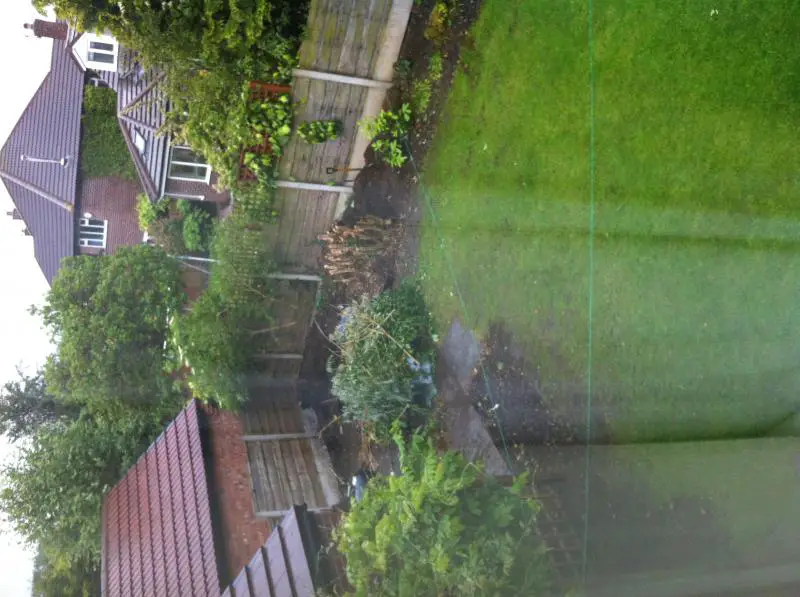
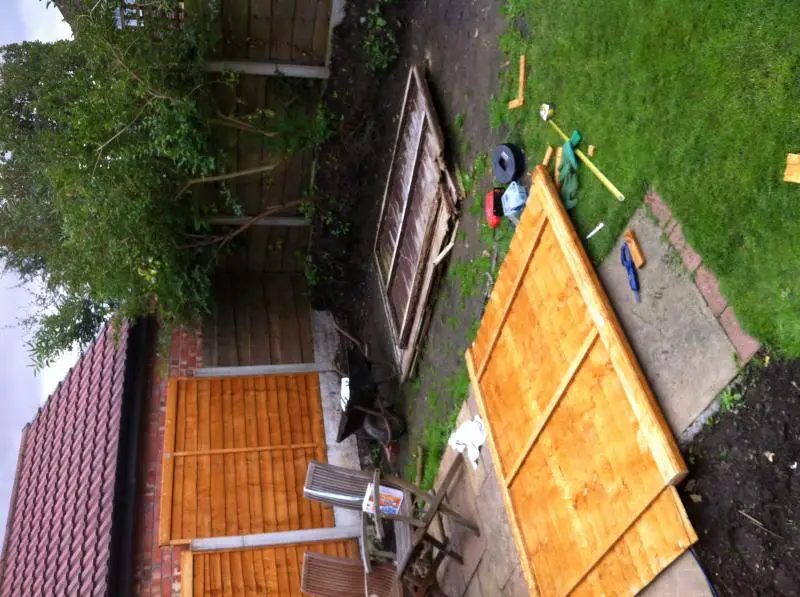
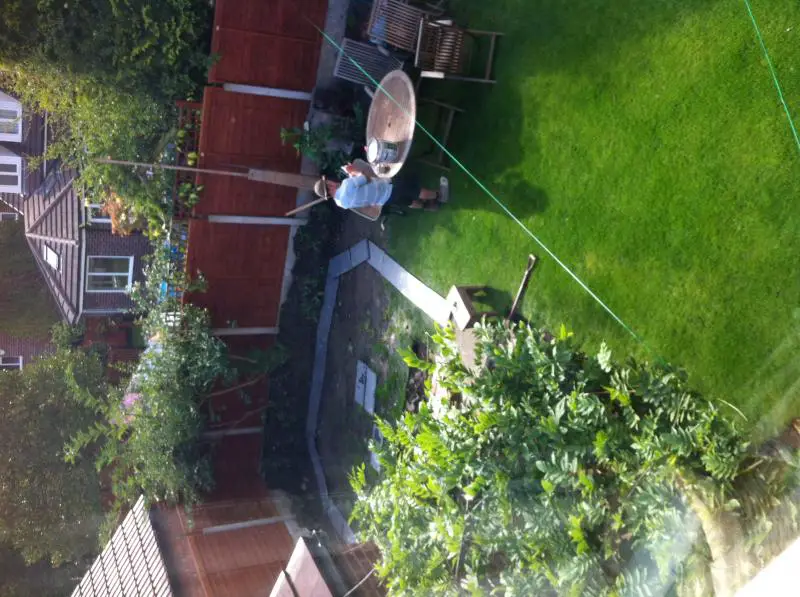
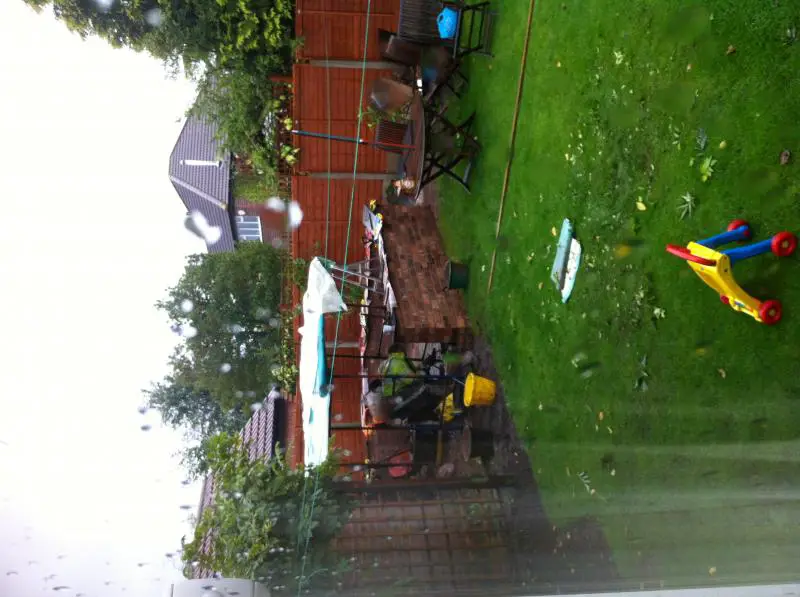
apologies for some sidewards pictures, this website presumably doesn't do portrait.
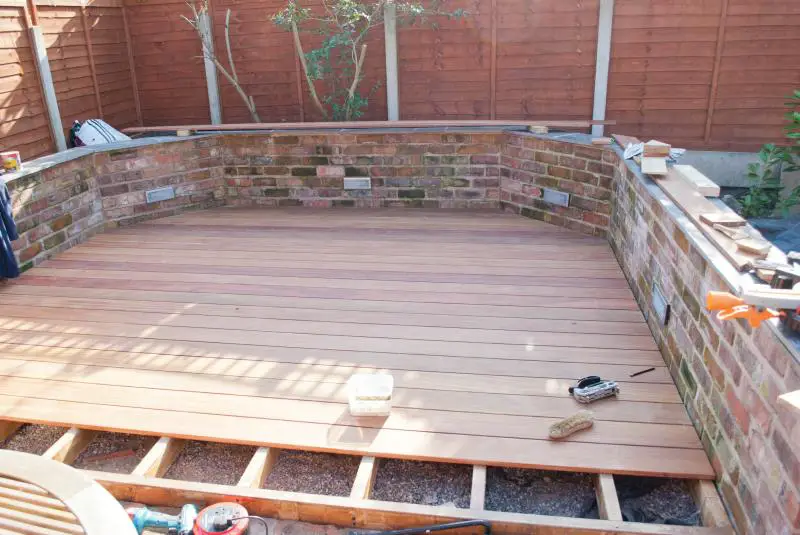
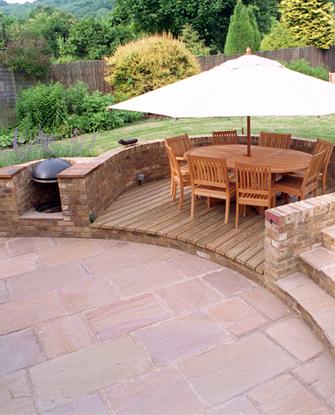
So the look I'm after
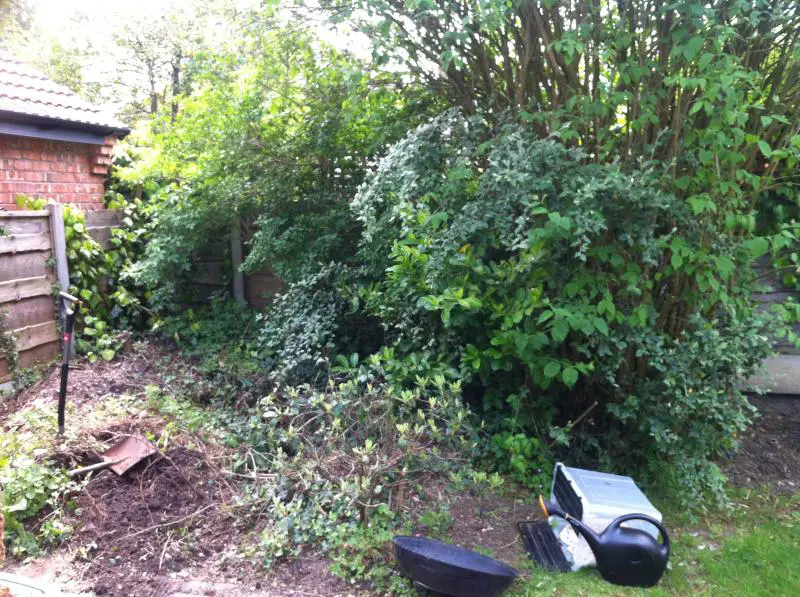
A total waste of 20 sq m
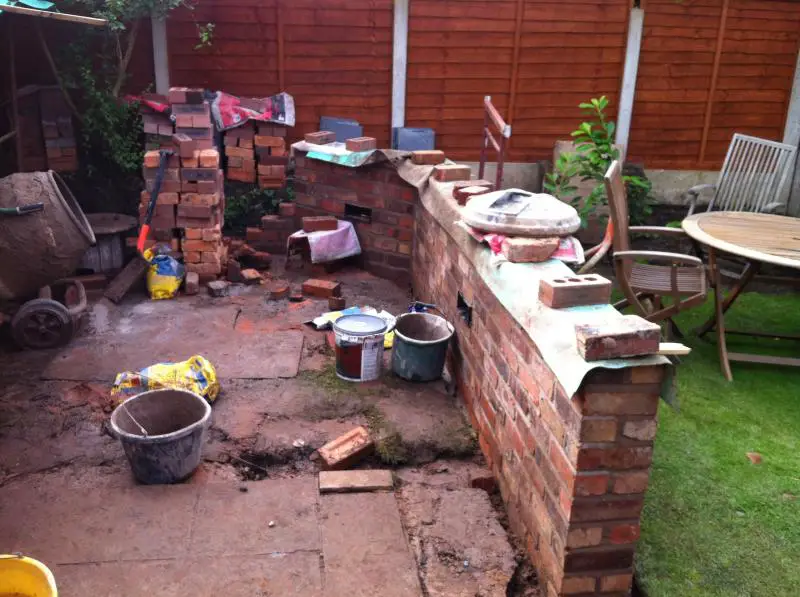
A builders skip and a lot of hard work later
Trying some rough ideas for the brick wall using string
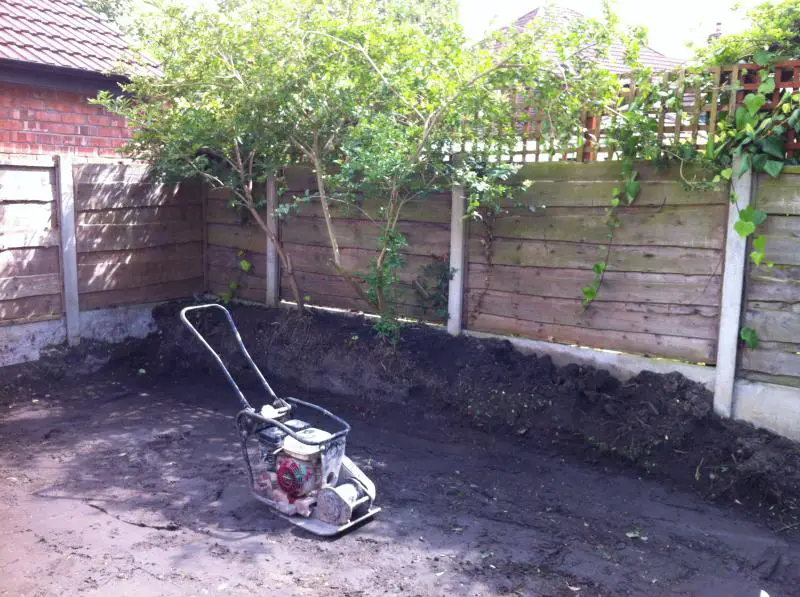
The ground had to be compacted, a lot of vegetation and tree roots came out
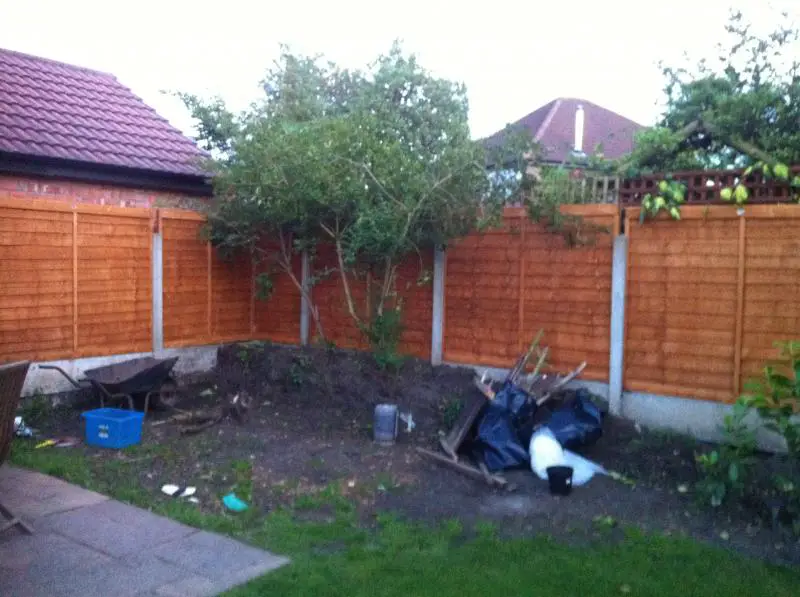
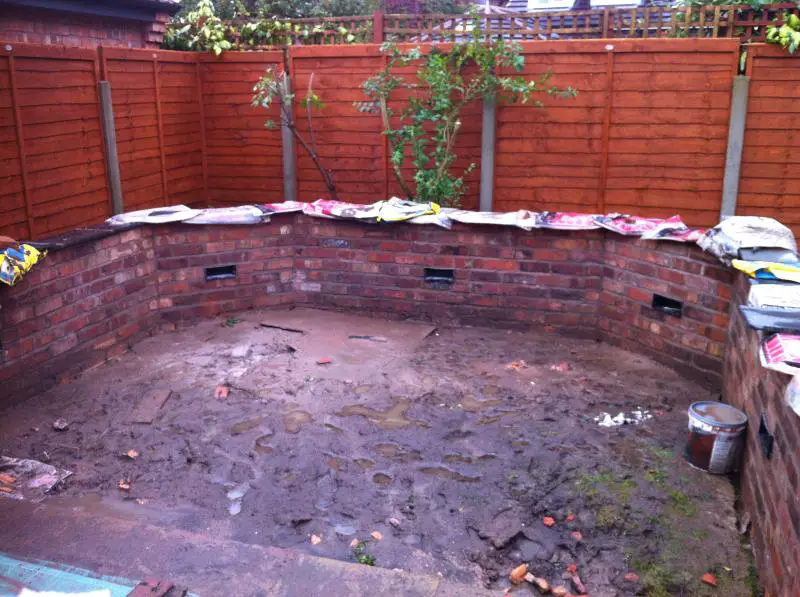
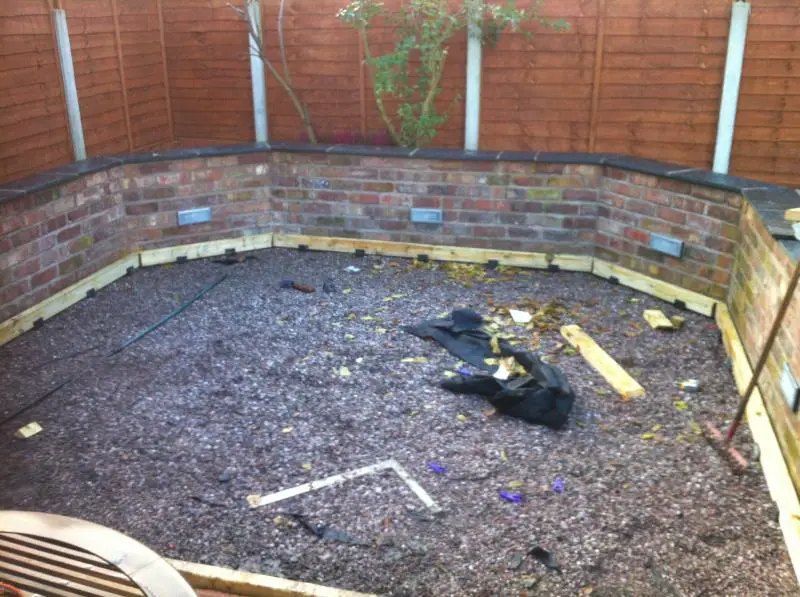
The outline ready for the bricky
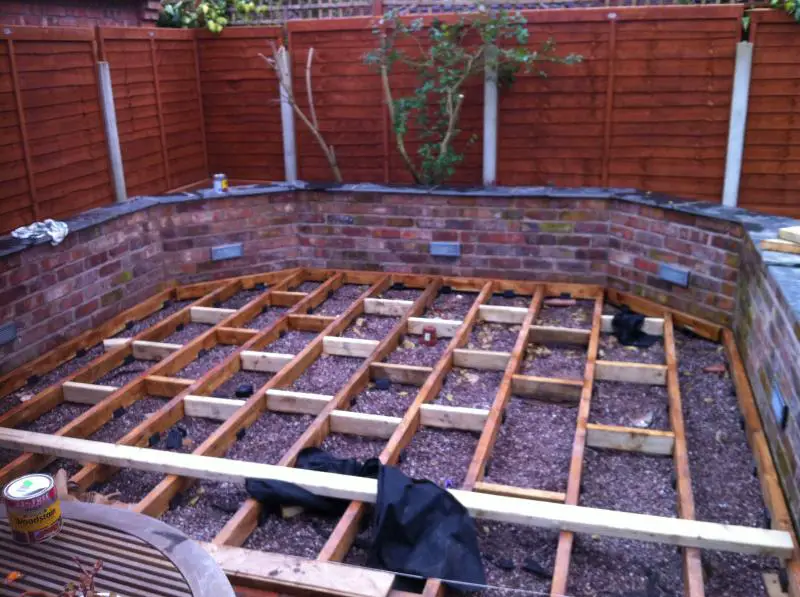
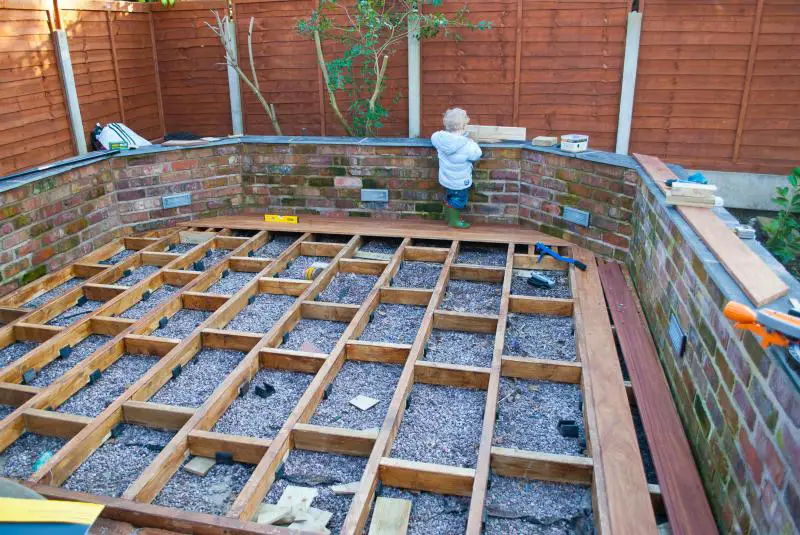
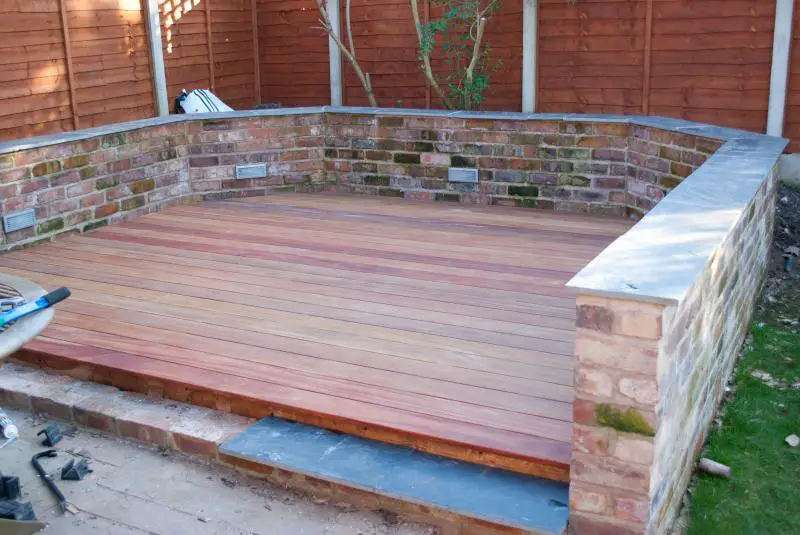
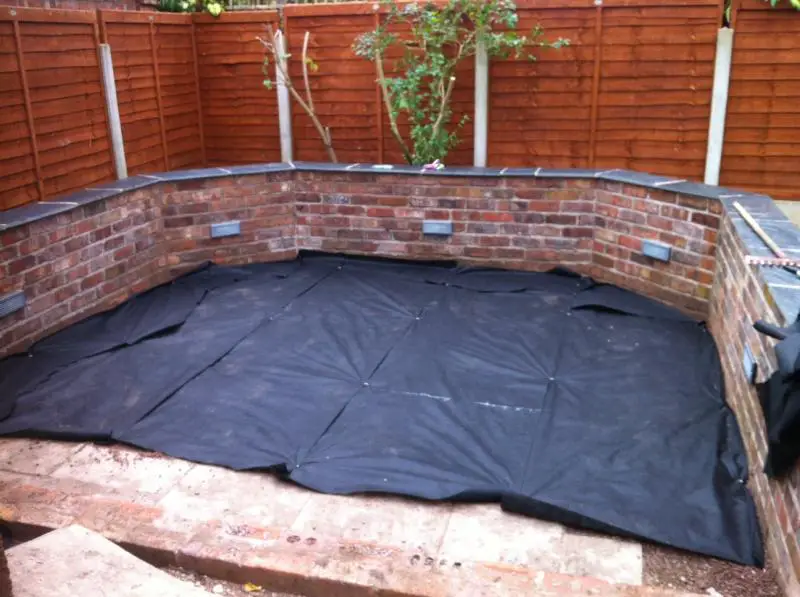
Build week was during the wettest september on record To enable late evenings I've ordered some ip65 rated lights and had them installed
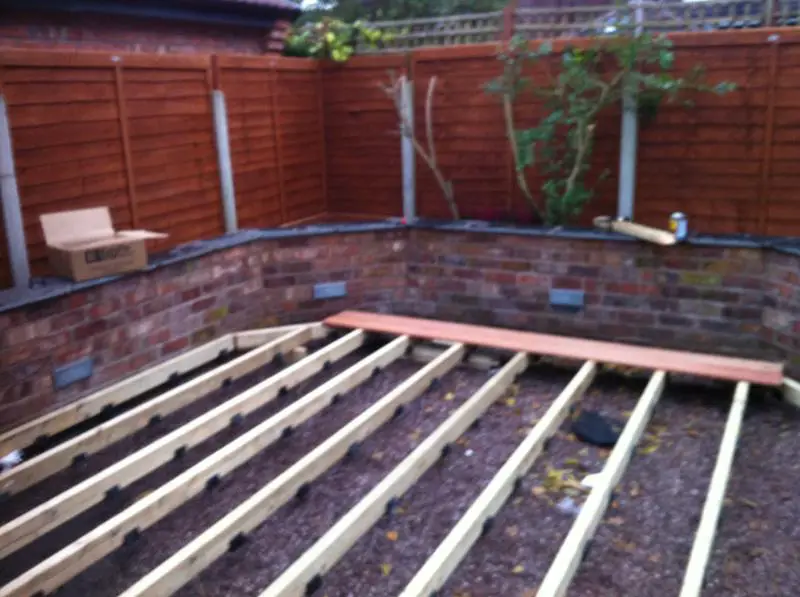
Slightly over-engineered. I had to do this as the deck frame isn't concreted into anything - it needs to be removed in the initial phase so that the hidden fasteners can secure the face boards
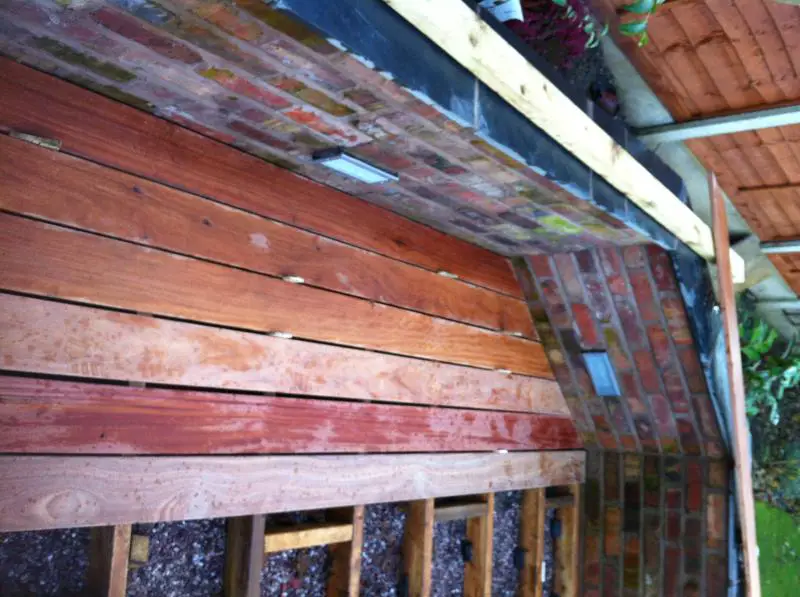
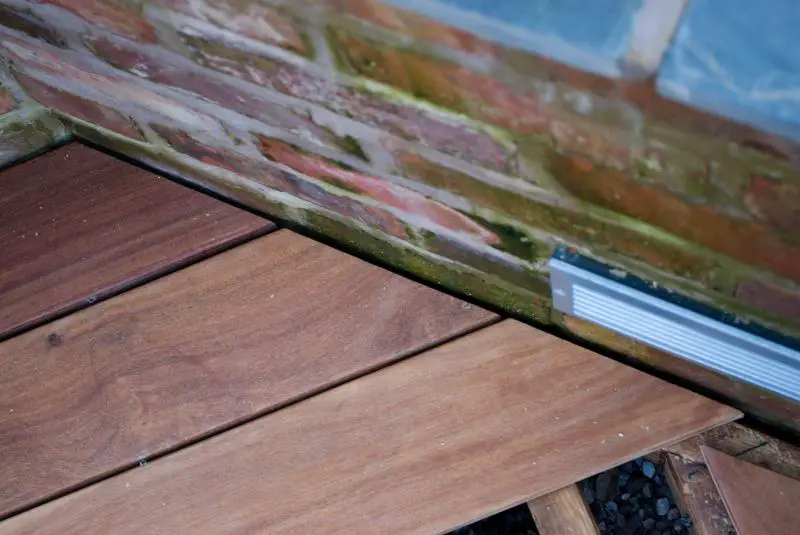
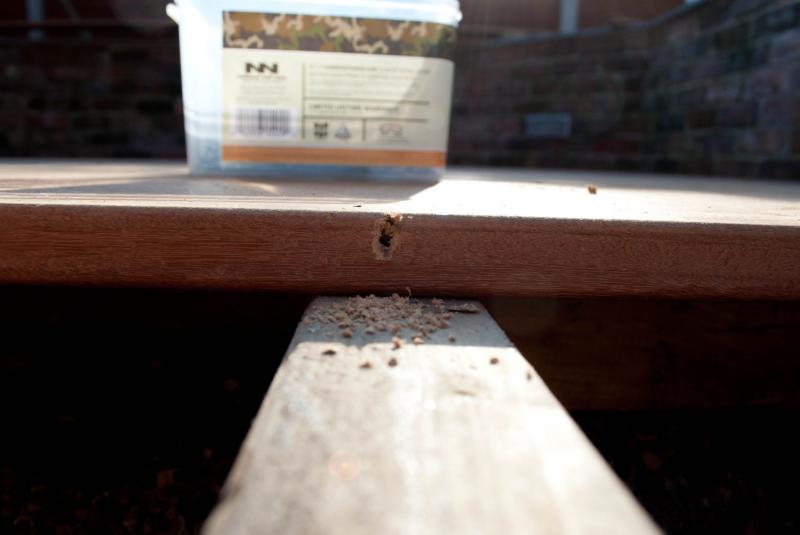
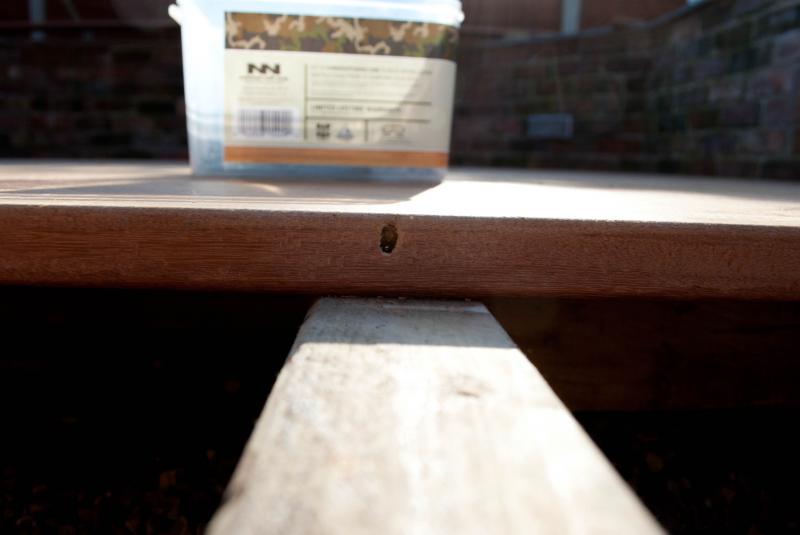
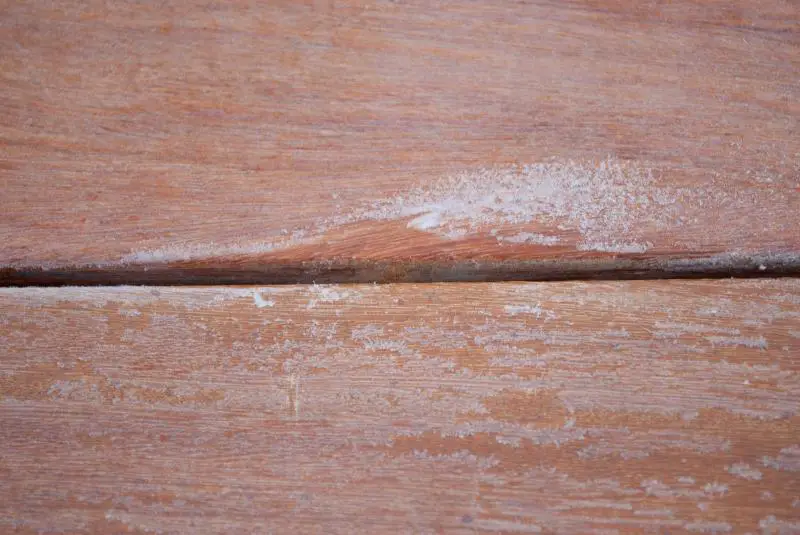
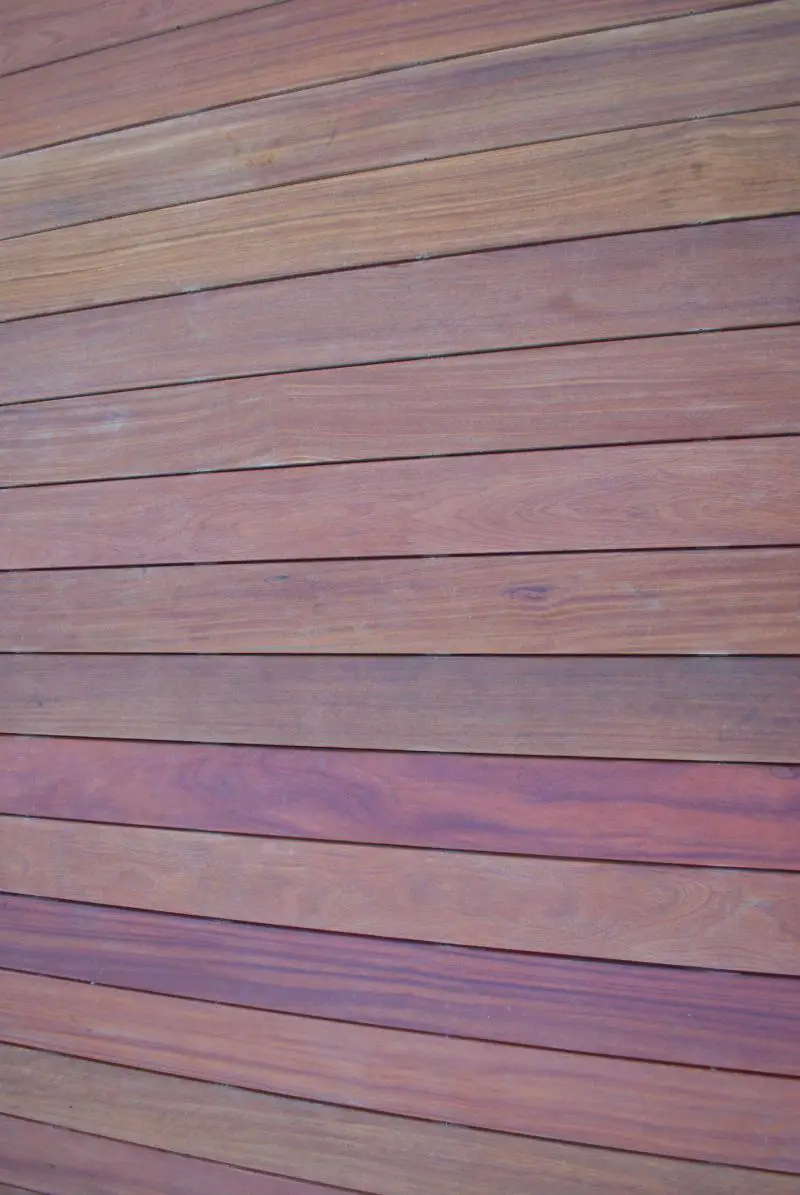
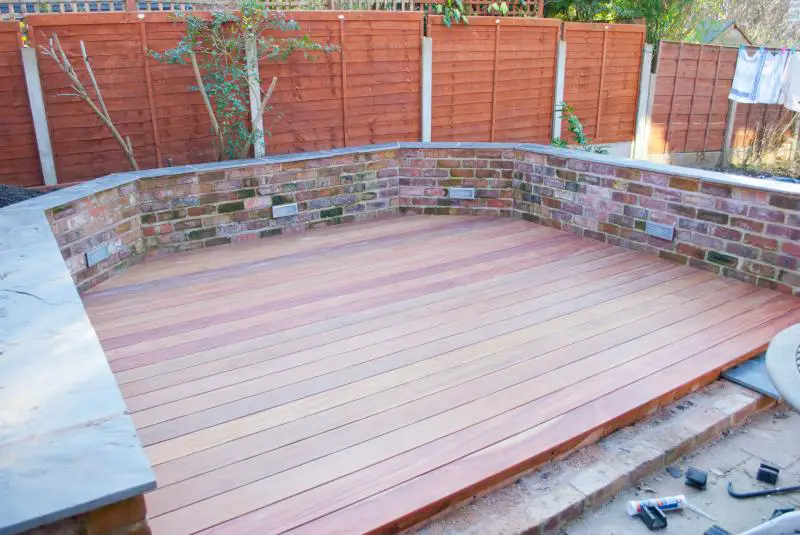
Boards all cut perfectly(thanks for making the angles spot on mr bricklayer), I've now got to stain each one and order a board wrench as there's quite a bit of crowning/bowing going on (the wood is Cumaru).
I'm not far off laying the boards now but with a full time job and baby I need longer, drier days. Roll on spring!
apologies for some sidewards pictures, this website presumably doesn't do portrait.
So the look I'm after
A total waste of 20 sq m
A builders skip and a lot of hard work later
Trying some rough ideas for the brick wall using string
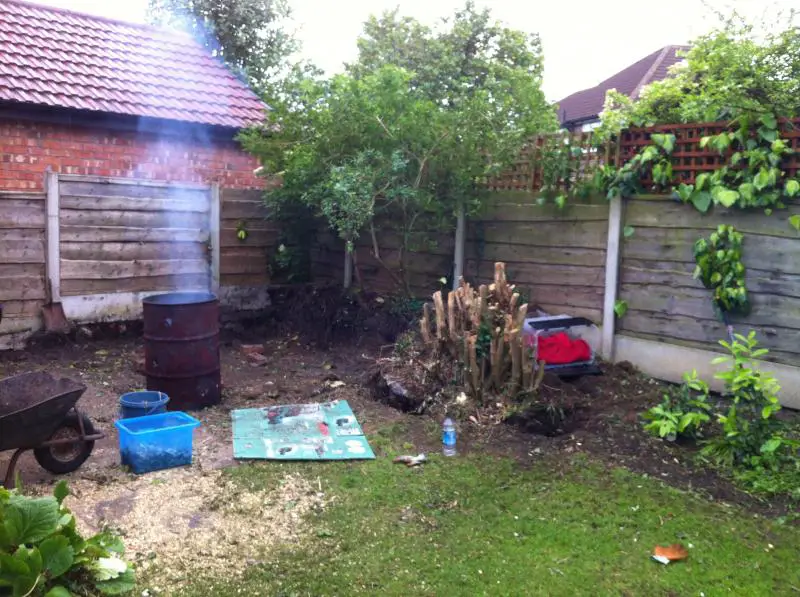
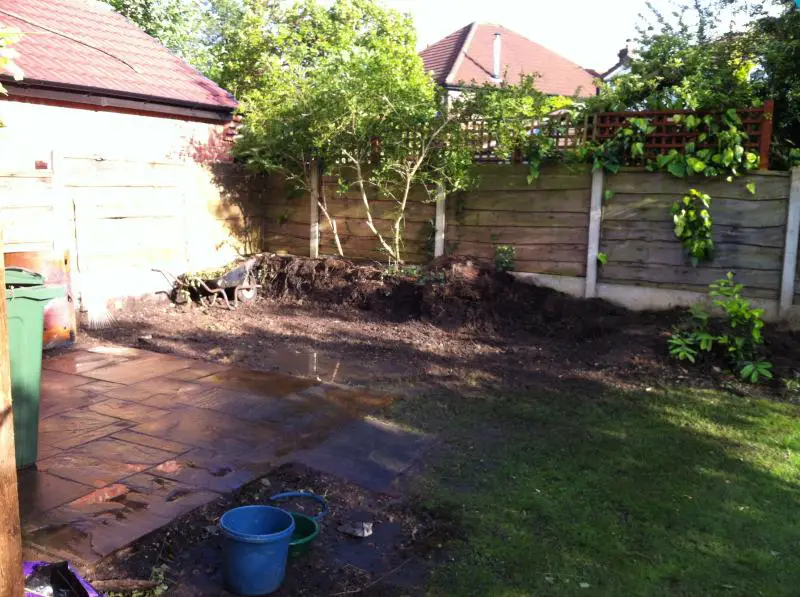
The ground had to be compacted, a lot of vegetation and tree roots came out

The outline ready for the bricky
Build week was during the wettest september on record To enable late evenings I've ordered some ip65 rated lights and had them installed
Slightly over-engineered. I had to do this as the deck frame isn't concreted into anything - it needs to be removed in the initial phase so that the hidden fasteners can secure the face boards
Boards all cut perfectly(thanks for making the angles spot on mr bricklayer), I've now got to stain each one and order a board wrench as there's quite a bit of crowning/bowing going on (the wood is Cumaru).