Big gap between garage door wood frame & brick wall.

Joined
26 Dec 2008
Messages
31
Reaction score
0
Location
Tyne and Wear
Country
United Kingdom
Which is best for a gap between a garage door wood frame & brick wall - silicone sealant or expanding foam?

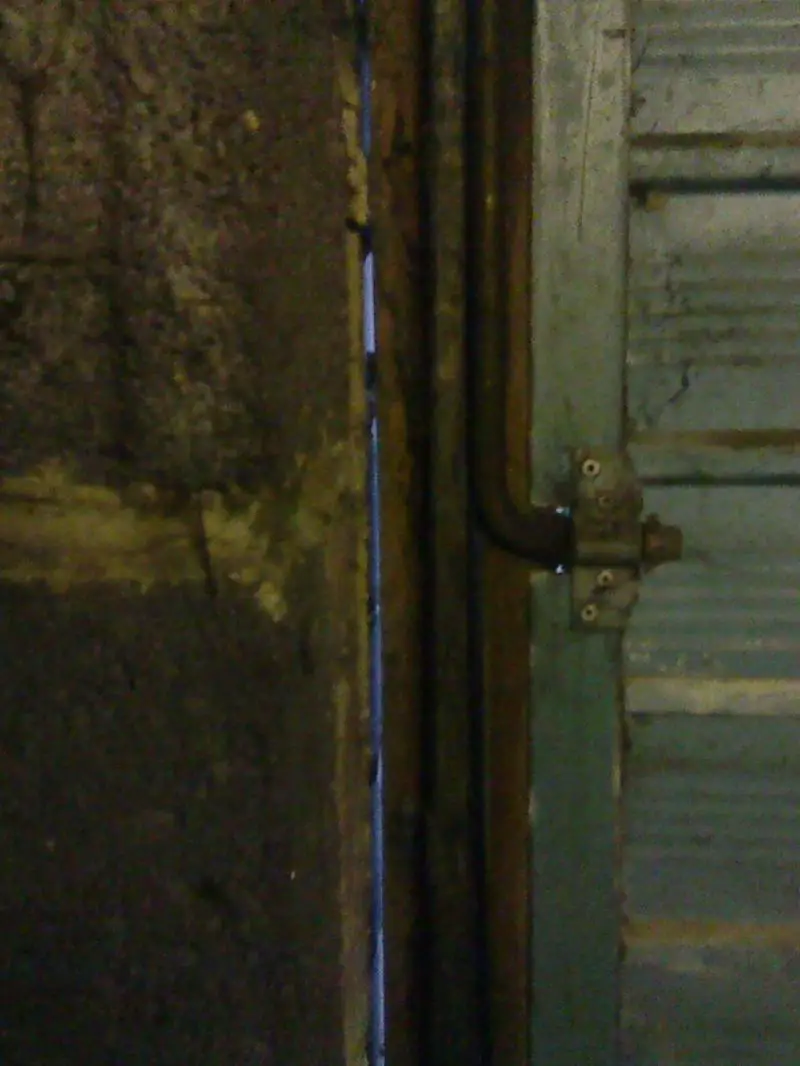
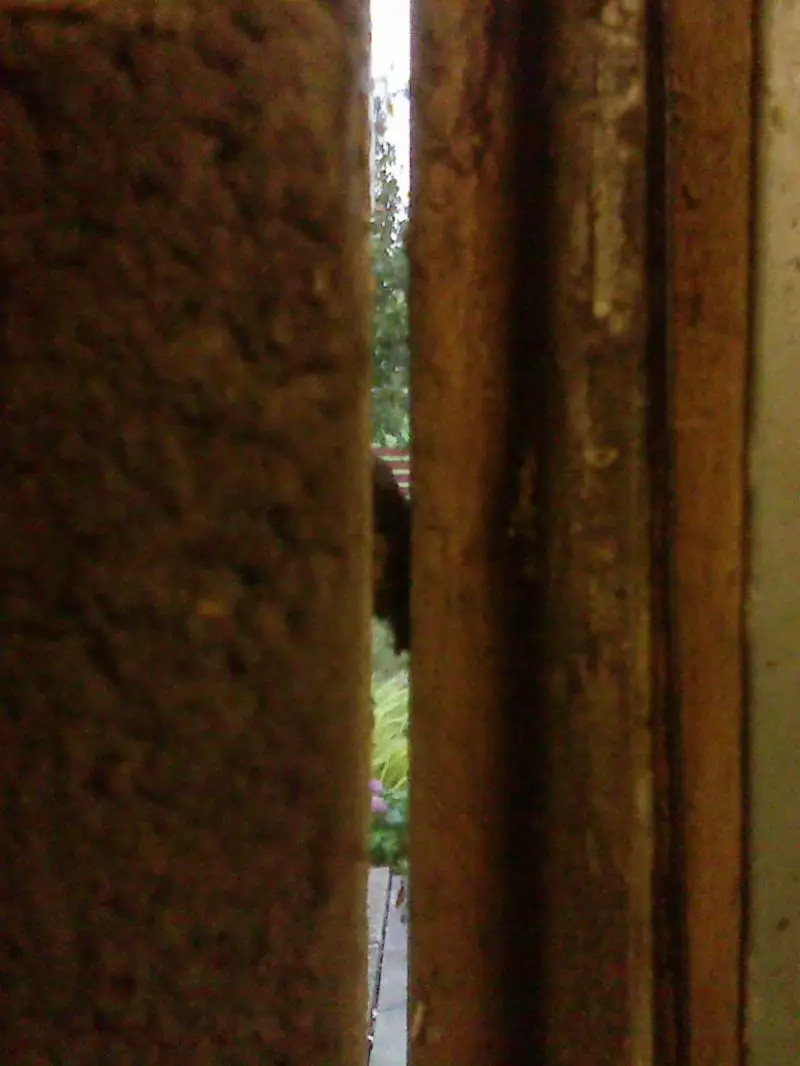
The gap on one side is pretty much 5mm, top to bottom and pretty similar on the other side. Don't know if the photos do it justice:


The garage has doors at either end, so the wind blows through all the time and the side of the house gets very cold in the winter. I'm sure the winters are going to be minus zero a lot more often as well, so I need to draught proof everything.

I've looked at what's available in Screwfix, Toolstation, UKSealants and lots more online, but there are so many and I don't know which ones can survive cold weather. Maybe they all can.

I'd be grateful for some advice.

Thanks.
 
Sponsored Links
Foam it.

It will actually help to bind the two surfaces together. Just make sure the fixings are secure and that the ex-foam is not allowed to push the frame.
 
if you make wooden trims to hide the gap, you can inject the foam through holes drilled in the trims. This will help the fresh foam stay in place to fill the gap and not bulge out uselessly.

Inject from the bottom and let each squirt expand before you inject through the next, higher hole. It expands more than you think. Spraying with water hardens the surface quickly.

Wrapping the trims in clingfilm before you fit them means they will not be glued in place by the foam so can be removed if necessaey. You can paint or stain the trims for appearance.
 
It expands more than you think.
We have started using the Soudal comfort grip foam and it behaves rather well regards expansion and sets quickly.
I like the grip and the way the can is set up.
Electricien.jpg
 
Sponsored Links
the delay might be a matter of 15 seconds. You can wipe the nozzle before reinserting it. I have used this method and not made much mess (in my case for windows set in a cavity wall, so any excess leaked into the cavity.) You can poke a plastic skewer, or a nail, down the nozzle to stop the whole thing setting, or wipe and wrap the end with a bit of plastic. i drilled holes in the wood trim after fixing it to the frame, using a drill that was a close fit to the nozzle, and pushing the nozzle well in. This discourages it from bulging out of the hole, until you withdraw the nozzle and quickly spray water on the blob.

I used a trim that worked like an architrave to the whole frame, so it went on and was not removed (though I used battens stained to match tegh frames). Not movable shields. If yiou used tape it would bulge and push off unless supported until the foam set.

taping cling film to the surrounding wall and floor catches the inevitable drips. Spraying the blobs with water hardens them so they don't stick to your feet while you work, and they can be knifed off and scraped away once fully hard

You will need a good supply of disposable gloves. as soon as a glove gets foam on it, pull it off and put on fresh ones.
 
In the image i pasted you will see the lower part of the red plastic assembly hinged down. This means the trigger guard is released and the can is ready to use.

Also if you look closely there is a removable plastic plug specifically for plugging the feed pipe when not in use.

There is also a pair of plastic gloves inside too.

The can is wieldy and controllable and you can deliver the gear quickly or slowly.
 

DIYnot Local

Staff member

If you need to find a tradesperson to get your job done, please try our local search below, or if you are doing it yourself you can find suppliers local to you.

Select the supplier or trade you require, enter your location to begin your search.


Are you a trade or supplier? You can create your listing free at DIYnot Local

 
Sponsored Links
Back
Top