

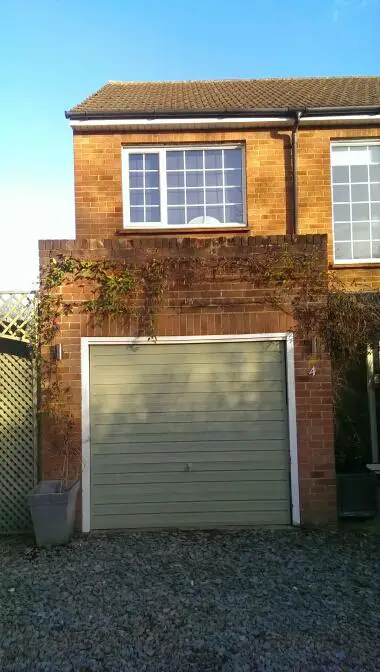
We moved into a new house in November and after doing the kitchen decided to convert the garage, here's where we've go to.
The garage is single semi integral garage which is 12.5sqm. All in I think the cost will be around £7k by the time i'm finished, and I estimate i'll save around £2k of labour costs by doing the bulk of the work.
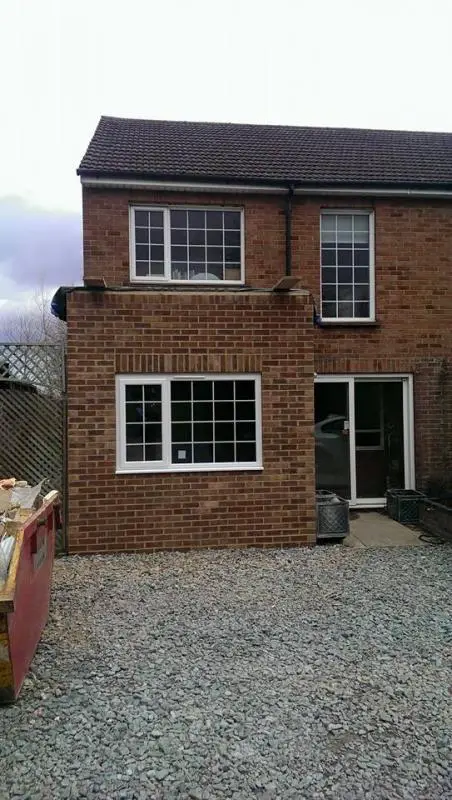
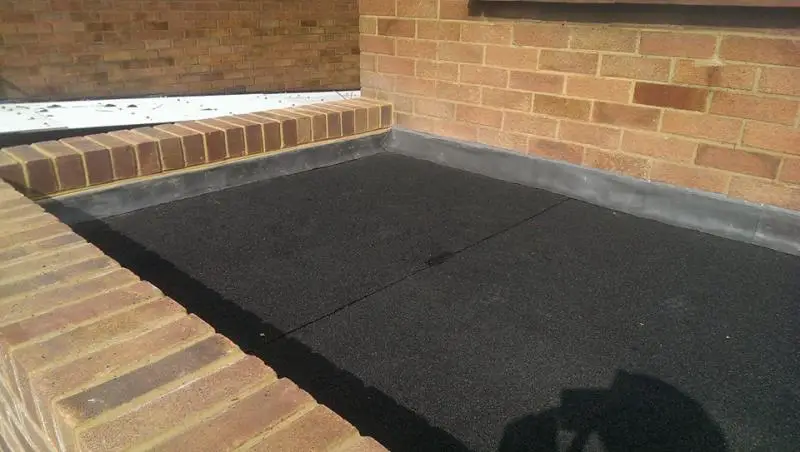
First things first get rid of the old garage door, replace front brickwork up to and including pelmet and replace old felt roof. After some soul searching I decided to go down the Building Control route. I intend to be in the house for the next 20-30 years (unless I win the Lottery) but liked the fact someone was keeping me honest through the project and I had someone to run ideas past. They want relatively little input as it's a small project (the room is 12.5sqm), for the initial build they just needed to check the foundation depth for the new wall, and see the insulation put into the warm roof.
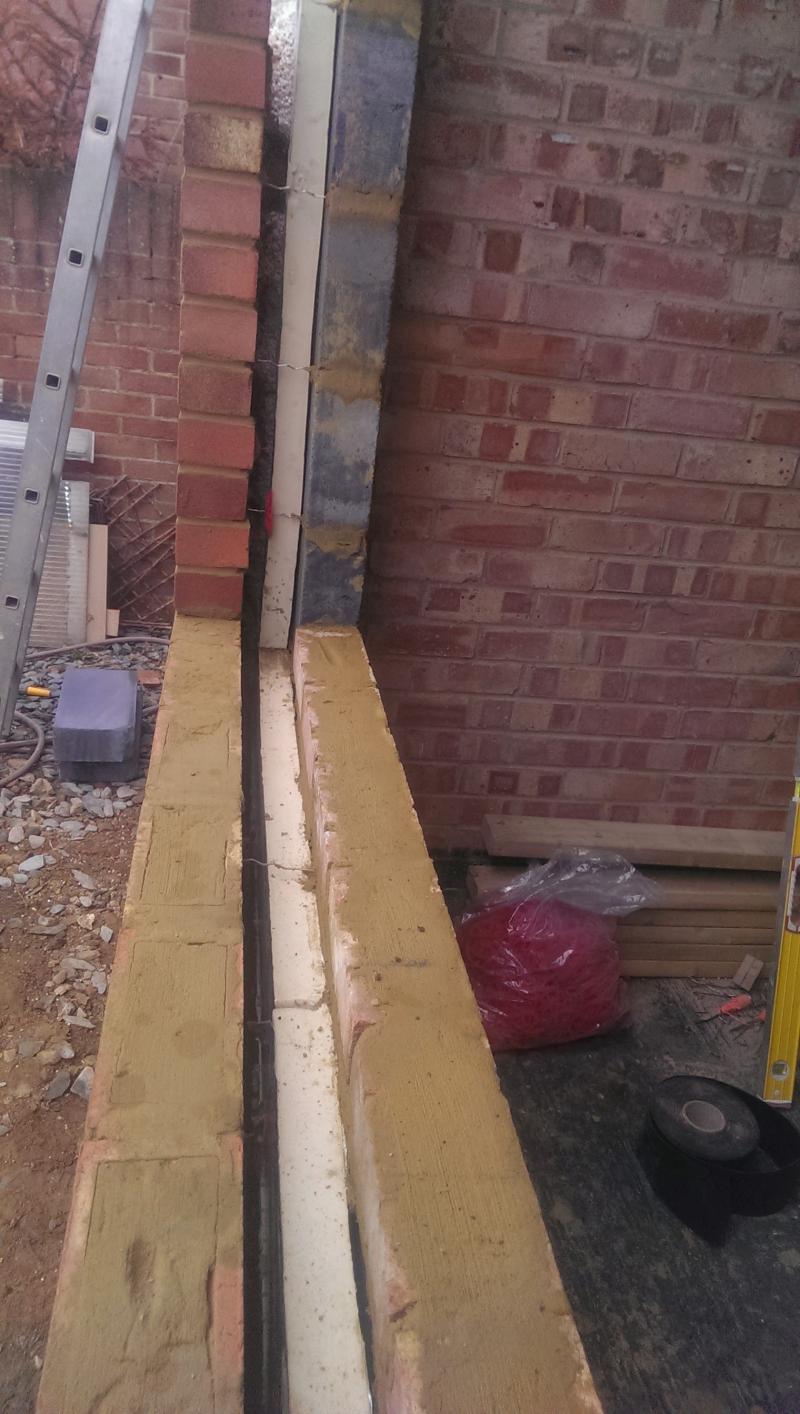
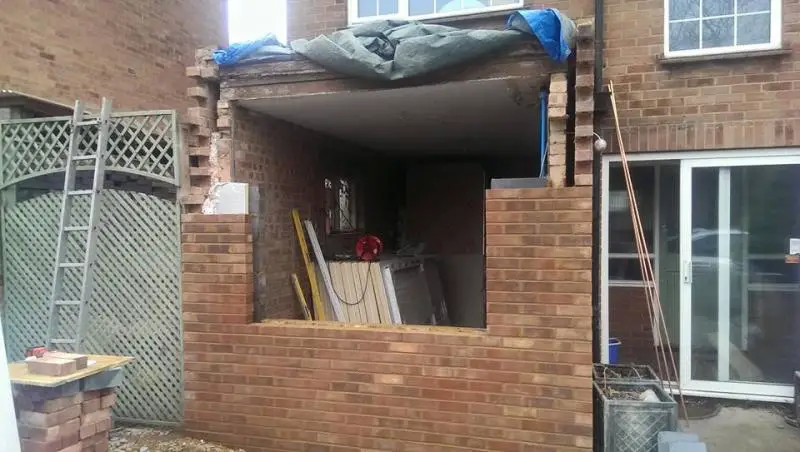
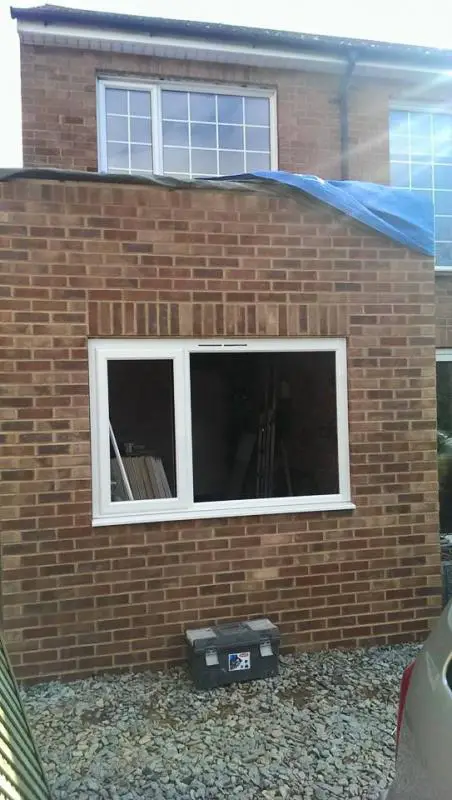
I found a great builder to do this and agreed a cash price. He agreed to do the above work, including an insulated cavity wall and new 120mm warm roof under the new felt. It took 5 days to do and i'm very happy with the work. I sourced a new window from a local supplier and asked the builder to install. I matched the new window to the one above in size and style, this caused some problems with the install, and the builder would've preferred to give the size easier to fit, but i'm happy with the end result.
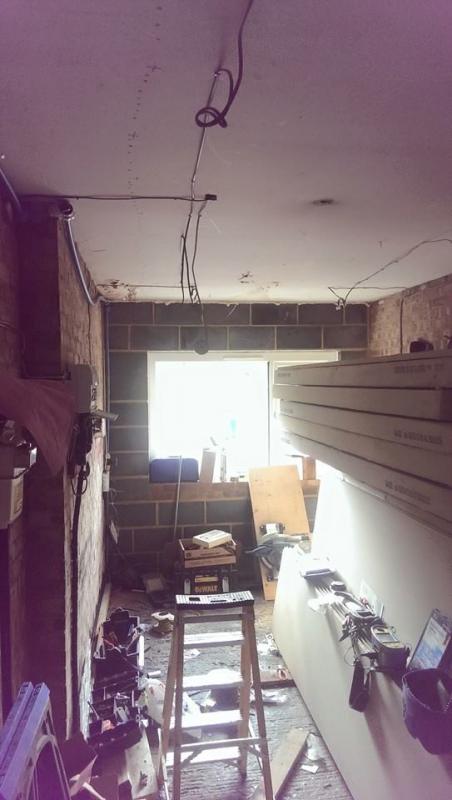
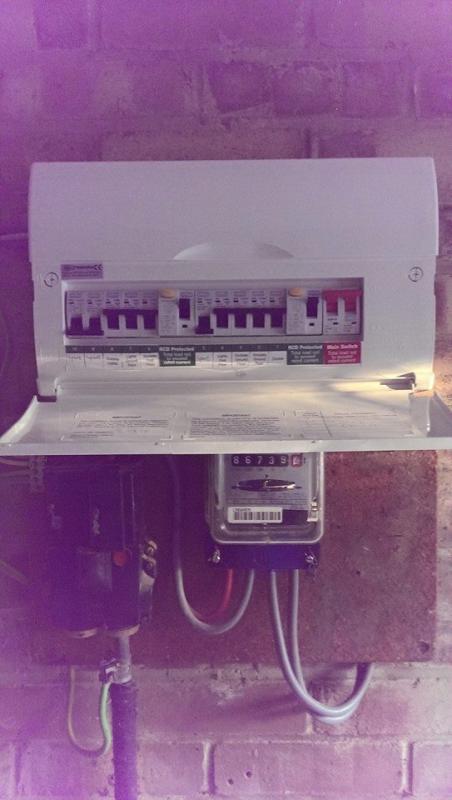
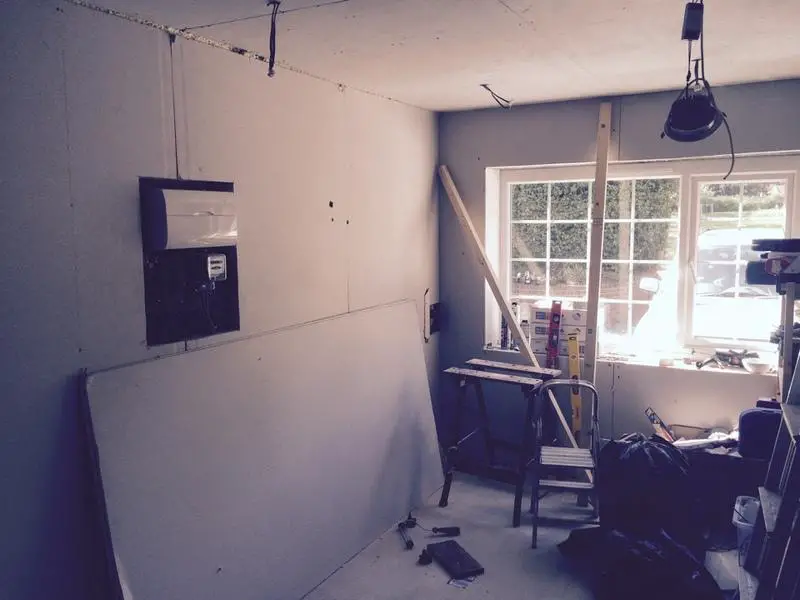
So we had a watertight room. Next I got a local Sparky in to replace the old 30amp fuse box and lay cabling in for 3 double plug sockets and 6 LED spotlights. It took him a day and again would be more than happy to recommend him.
So now it's down to me and my dad to do the rest of the work. First job, DPM the floor. I had seen no damp in the garage since we moved in, but painted a very thick layer of bitumen, basically everything the floor timber was going touch got the treatment. This was horrible smelly stuff and if it gets on you is not coming off any time soon!... The council were happy with this approach, but in hindsight I would go down the laying a plastic sheet option next time...
Next job, sort the floor. We took time to attach 4x2 timber around the inside of the wall to run joists off. I bought a cheap laser leveller from fleabay to help with this and it proved invaluable. It took time to get these all level but meant when it came to attaching the joists, as long as the joist was flush with the timber on the wall everything was level. Where the originally concrete floor had been poorly pored and there was a hump in the middle of the floor. For the joistd we used a mixture of 3x2 and 4x2 joists, with packing on a couple of the high points.
Next we cut 100mm Celotex boards and laid them between the joists, I then filled any gaps with expanding foam.
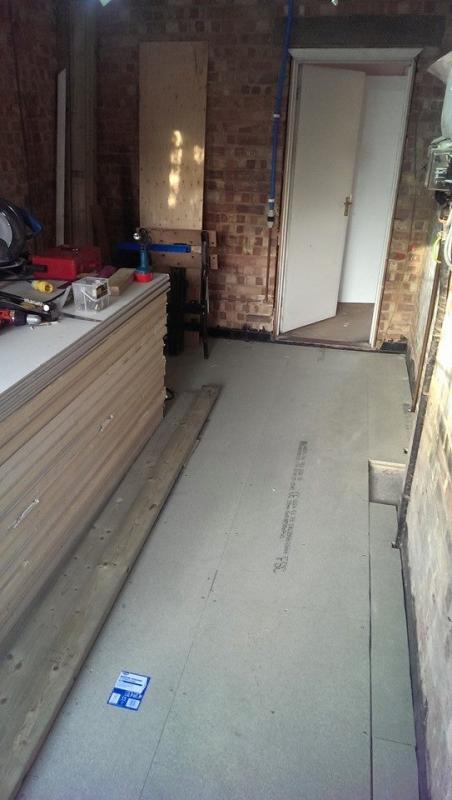
Then we laid 18mm tun and groove chipboard over the joists. As we took the time to get the initial wall timber level this went down like a dream and I took the same approach to laying it as I would for laminate flooring. I then crewed the lot down using 80mm wood screws. The floor is perfectly level. The council were also very happy with this approach, and along with photo's along the way were happy with me to leave a small strip without boards so they could see the insulation.
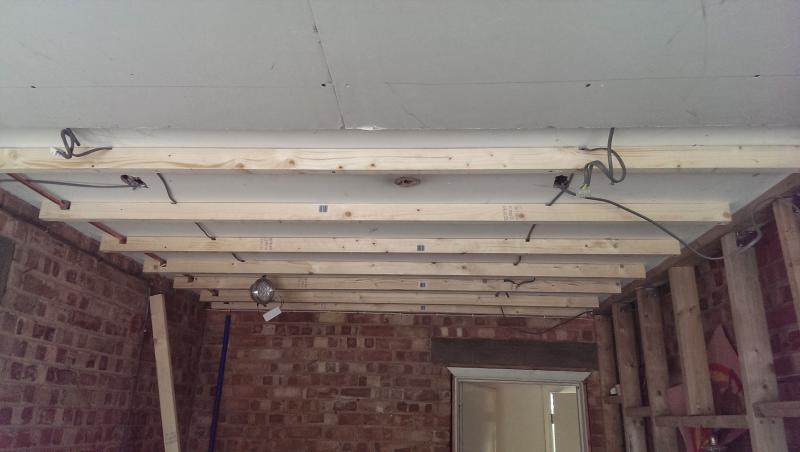
So got the plumping re-routed at the weekend. There was some 25mm blue plastic tubing which we replaced with 15mm copper and ran through the new ceiling. Also got half the new ceiling up. It was hard work for a straight forward job!
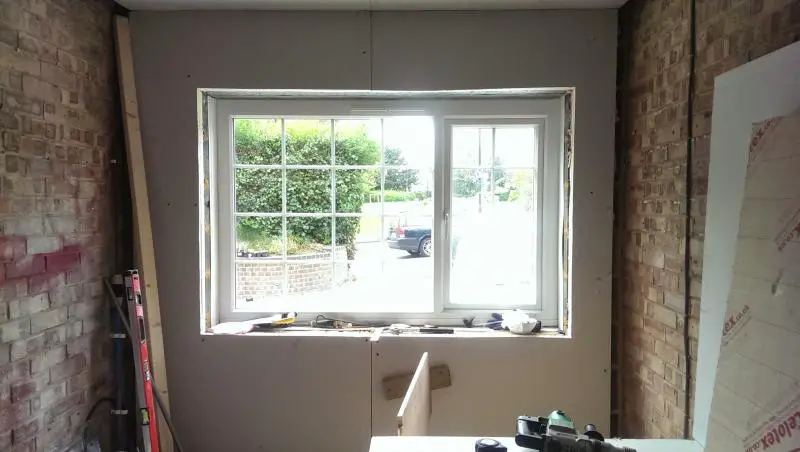
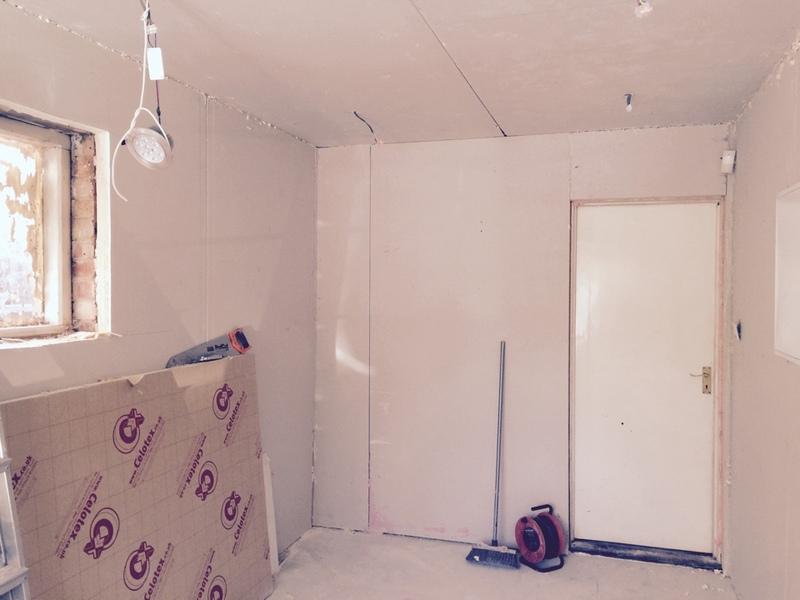
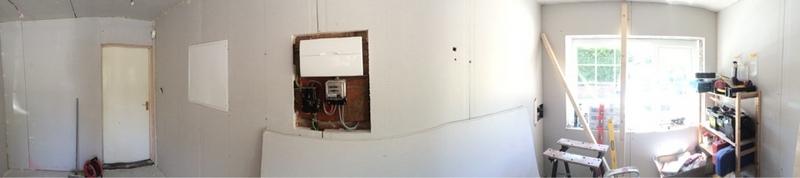
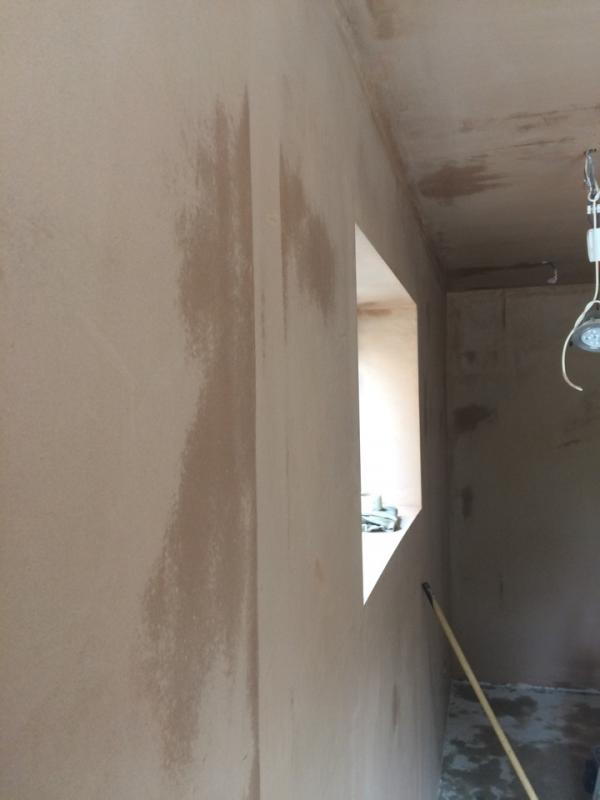
Got the rest of the ceiling battens up this week, and made a start on the walls. Using these insulated plasterboards is making ti very straightforward. I've had to cut the window gaps out, and will have to do a bit of fettling for the services, but as they're 50mm with 9mm board they're very rigid. The Pinkgrip dryfix i'm using is also very good. The boards are secure almost straight away.
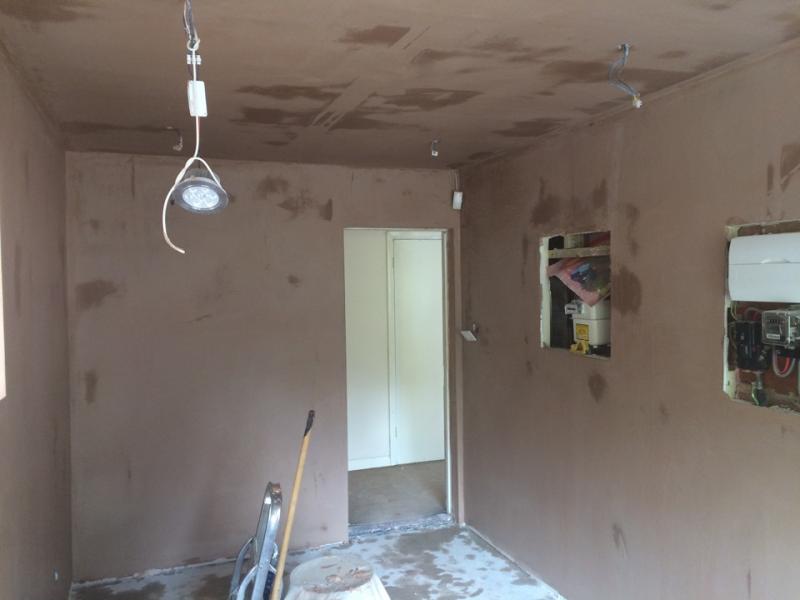
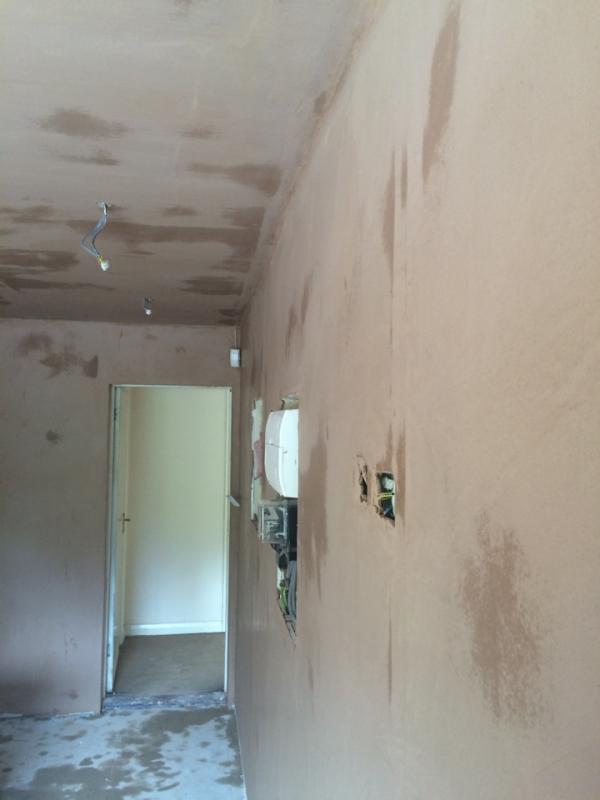
Got the walls finished this weekend.
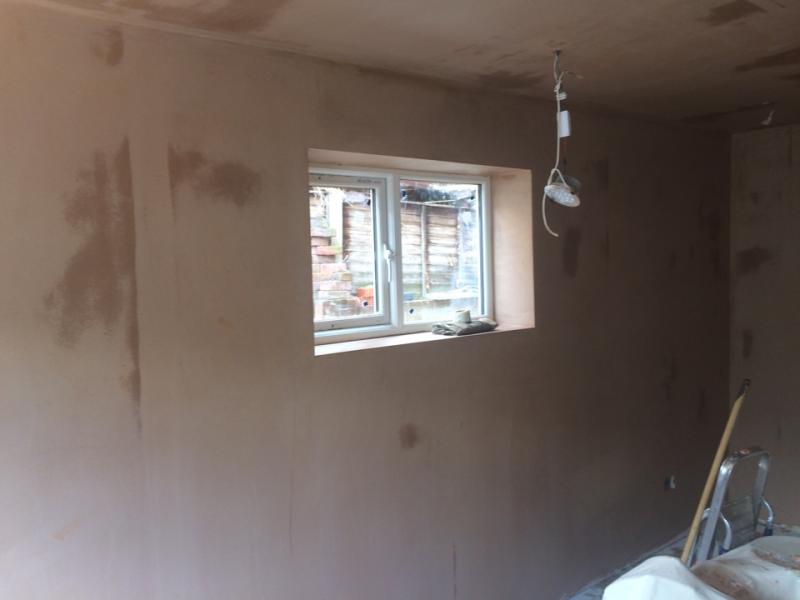
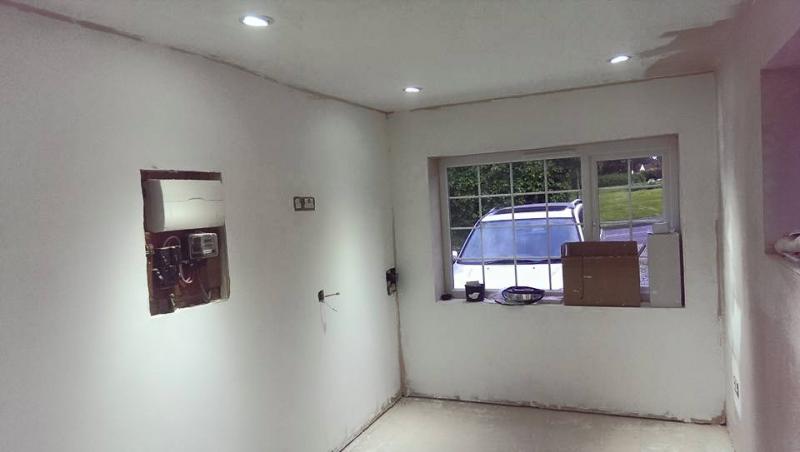
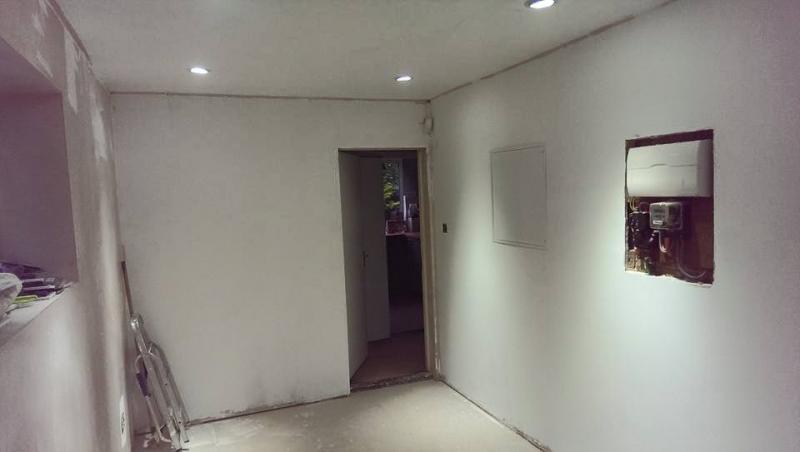
So we have a 'finished' plastered room... New side window in, which was fairly straightforward, and the walls have now been plastered. One of the walls is a bit wonky (if you really look at it...) but that's down tot he garage and my handiwork rather than the plasterer, all in all very happy, almost there!
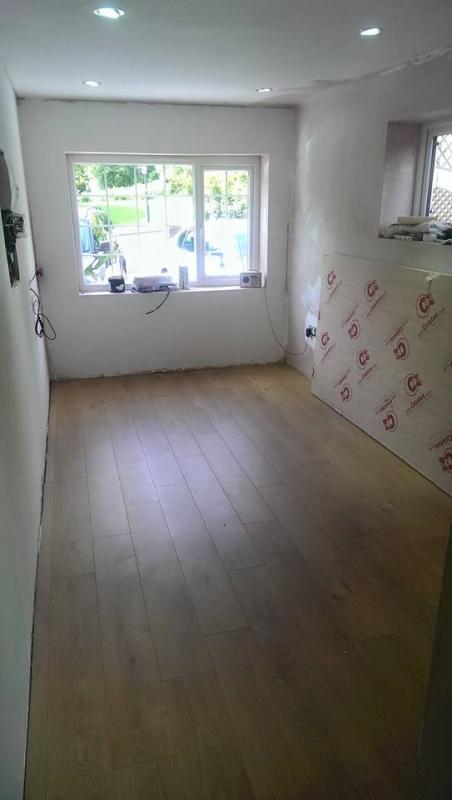
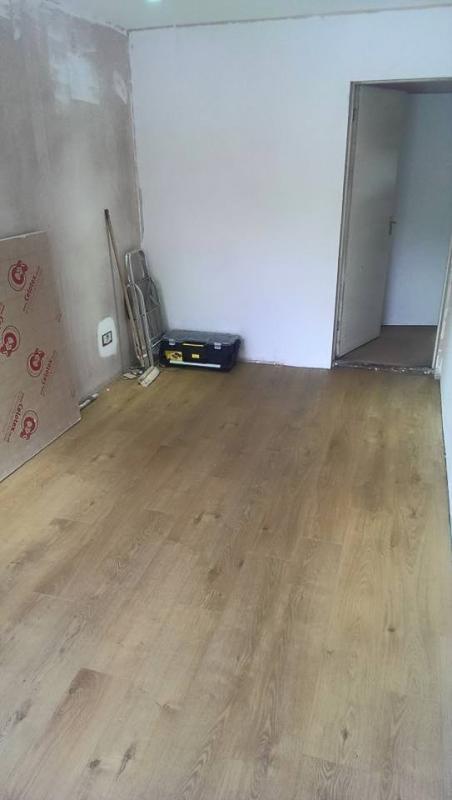
Have started painting the walls and got the heat mat and flooring down.
Got some of the walls painted, and the heat matt and flooring down.
Left to do:
Plaster paint seal
Paint
Lessons learnt so far:
I ordered everything up front thinking it would be easier while I had the garage door... Instead i've had to work around a lot of the big boards or keep moving them in and out of the garage. In hindsight, I would order the lumpy bits as I need them. Seeing the walls had 70mm of beaded insulation I could've put plasterboard straight onto the walls, but as it is going to be a playroom for my kids i'm happy with the belt and braces approach.
Buy/Borrow a table saw. It's made cutting all the timber a breeze and has meant a clean square cut every time.
If you use a builder for any of the work, listen to their advice and take the bits you agree with, don't feel you need to do everything they say...
Have 3 power drills charged when you do the floor covering, one for holes, one for counter sinking, one for screws.
The garage is single semi integral garage which is 12.5sqm. All in I think the cost will be around £7k by the time i'm finished, and I estimate i'll save around £2k of labour costs by doing the bulk of the work.
First things first get rid of the old garage door, replace front brickwork up to and including pelmet and replace old felt roof. After some soul searching I decided to go down the Building Control route. I intend to be in the house for the next 20-30 years (unless I win the Lottery) but liked the fact someone was keeping me honest through the project and I had someone to run ideas past. They want relatively little input as it's a small project (the room is 12.5sqm), for the initial build they just needed to check the foundation depth for the new wall, and see the insulation put into the warm roof.
I found a great builder to do this and agreed a cash price. He agreed to do the above work, including an insulated cavity wall and new 120mm warm roof under the new felt. It took 5 days to do and i'm very happy with the work. I sourced a new window from a local supplier and asked the builder to install. I matched the new window to the one above in size and style, this caused some problems with the install, and the builder would've preferred to give the size easier to fit, but i'm happy with the end result.
So we had a watertight room. Next I got a local Sparky in to replace the old 30amp fuse box and lay cabling in for 3 double plug sockets and 6 LED spotlights. It took him a day and again would be more than happy to recommend him.
So now it's down to me and my dad to do the rest of the work. First job, DPM the floor. I had seen no damp in the garage since we moved in, but painted a very thick layer of bitumen, basically everything the floor timber was going touch got the treatment. This was horrible smelly stuff and if it gets on you is not coming off any time soon!... The council were happy with this approach, but in hindsight I would go down the laying a plastic sheet option next time...
Next job, sort the floor. We took time to attach 4x2 timber around the inside of the wall to run joists off. I bought a cheap laser leveller from fleabay to help with this and it proved invaluable. It took time to get these all level but meant when it came to attaching the joists, as long as the joist was flush with the timber on the wall everything was level. Where the originally concrete floor had been poorly pored and there was a hump in the middle of the floor. For the joistd we used a mixture of 3x2 and 4x2 joists, with packing on a couple of the high points.
Next we cut 100mm Celotex boards and laid them between the joists, I then filled any gaps with expanding foam.
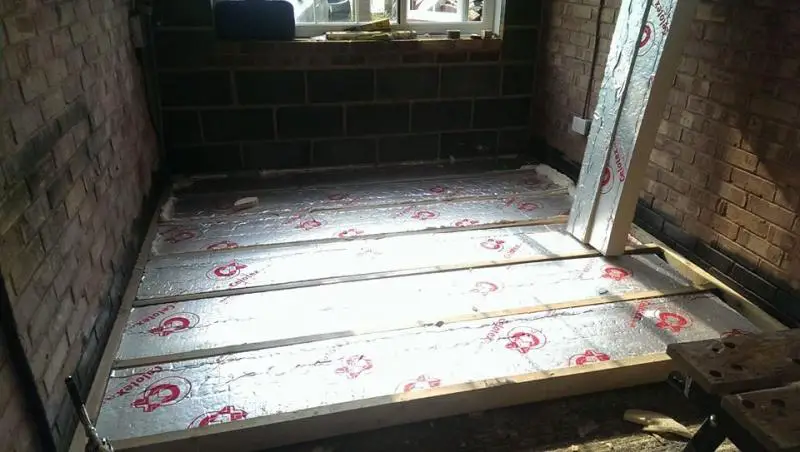

Then we laid 18mm tun and groove chipboard over the joists. As we took the time to get the initial wall timber level this went down like a dream and I took the same approach to laying it as I would for laminate flooring. I then crewed the lot down using 80mm wood screws. The floor is perfectly level. The council were also very happy with this approach, and along with photo's along the way were happy with me to leave a small strip without boards so they could see the insulation.
So got the plumping re-routed at the weekend. There was some 25mm blue plastic tubing which we replaced with 15mm copper and ran through the new ceiling. Also got half the new ceiling up. It was hard work for a straight forward job!

Got the rest of the ceiling battens up this week, and made a start on the walls. Using these insulated plasterboards is making ti very straightforward. I've had to cut the window gaps out, and will have to do a bit of fettling for the services, but as they're 50mm with 9mm board they're very rigid. The Pinkgrip dryfix i'm using is also very good. The boards are secure almost straight away.

Got the walls finished this weekend.
So we have a 'finished' plastered room... New side window in, which was fairly straightforward, and the walls have now been plastered. One of the walls is a bit wonky (if you really look at it...) but that's down tot he garage and my handiwork rather than the plasterer, all in all very happy, almost there!
Have started painting the walls and got the heat mat and flooring down.
Got some of the walls painted, and the heat matt and flooring down.
Left to do:
Plaster paint seal
Paint
Lessons learnt so far:
I ordered everything up front thinking it would be easier while I had the garage door... Instead i've had to work around a lot of the big boards or keep moving them in and out of the garage. In hindsight, I would order the lumpy bits as I need them. Seeing the walls had 70mm of beaded insulation I could've put plasterboard straight onto the walls, but as it is going to be a playroom for my kids i'm happy with the belt and braces approach.
Buy/Borrow a table saw. It's made cutting all the timber a breeze and has meant a clean square cut every time.
If you use a builder for any of the work, listen to their advice and take the bits you agree with, don't feel you need to do everything they say...
Have 3 power drills charged when you do the floor covering, one for holes, one for counter sinking, one for screws.
