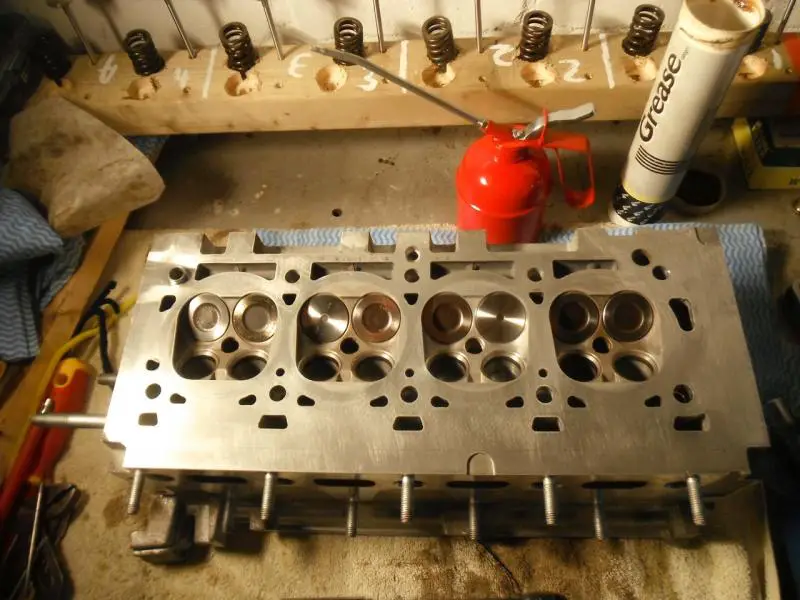
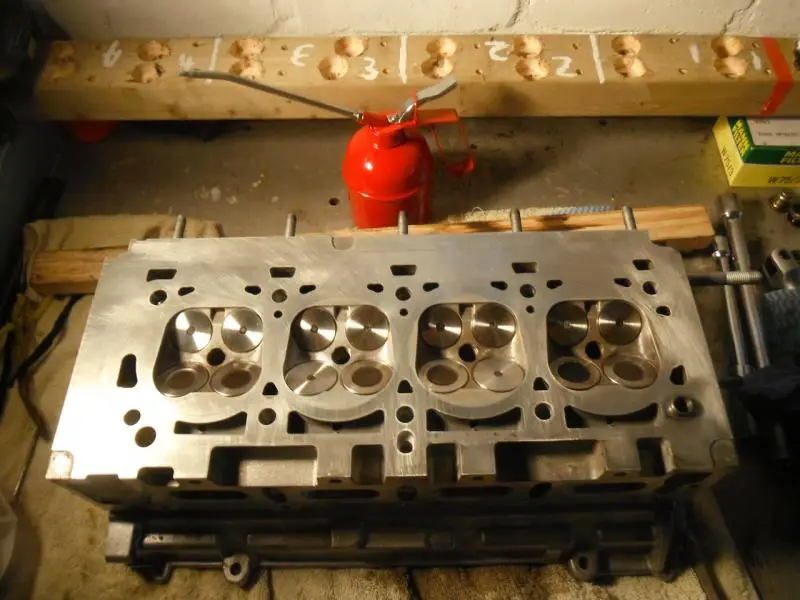
Loctite 518

Jesus, nightmare with the valve spring compressor! I did have one which I haven't used for about ten years and now can't find anywhere so I went out to get another one and the only one I could get around here was this one which I've paid more than twice that price for.


http://www.amazon.co.uk/Sealey-VS15...&keywords=valve+spring+compressor+tool+sealey

Anyway, it is subsequently too short on the spring side to reach down into the deep Renault recess, so I've dropped it down to the local forge to get it extended 30mm which is easy enough, but is going to be another twenty odd quid! To a tightwad like me this is very painful and I won't get the head rebuilt today now, hope this nice weather holds out for the weekend. The joys of doing this sort of thing offshore I suppose! :confused:
 
Sponsored Links
Yes, I found that one with the spring compressor too......the valves are deeply recessed!
Anyway, when you release the collets and pop the valve from its guide, you could well find carbon deposits on the valve stems.....heavy duty stuff on the exhausts, but a bit easier to remove on the inlets. I use a wire mop in a bench grinder to shift them.
There will be seals on the top of each valve guide too.....it's best that these are renewed at the same time.
By all means have a go at lapping the valves in if you can, the fine paste may clean up the seats but it could take you a while.
Check the valve is sealing by pouring some fuel into the ports, and watching for seepage past the valve head.
How are the valve clearances set on this one.....is it by bucket and shim?
John :)
 
Yes, I've got new valve seals in with the gasket set, I'll pop them all in even if they are often found hanging around after the job's done! I've got a BGA set, any opinions on them quality wise? And the tappets on this one are hydraulic, I've got them all sitting in order in an oil bath at the moment. I've bought a couple of exhaust valves, I think I'm just going to do the damaged ones, or at a push the inlets too on number 2. The rest of the head itself looks absolutely immaculate, it's most odd that these two have burnt out. I'm thinking maybe the injector on that pot is iffy, or if it's just a valve manufacturing issue? Be nice to know why it's happened. :)
 
There has been some negative press regarding BGA stuff.....I can't comment on that one, preferring the genuine Renault item (these have been diesels though).
I'd very much doubt that there would be any issues with the inlet valves - it's the exhaust ones that go due to the heat. Handy you have hydraulic lifters!
John :)
 
Sponsored Links
There has been some negative press regarding BGA stuff.....I can't comment on that one, preferring the genuine Renault item (these have been diesels though).

Oh great, they've made the new valves too! :eek:
 
Yes, I see now what you mean about the negativity on various forums! Although to be fair, there is quite a bit of positive commentary to be found too. I dunno what to do really, I haven't got time to do too much on this job for a couple of days so I think I'll mull it over and maybe buy another set. I've already opened the pack to the first one now, seems a bit of a waste. But it's not the sort of job one wants to do again in a hurry!
 
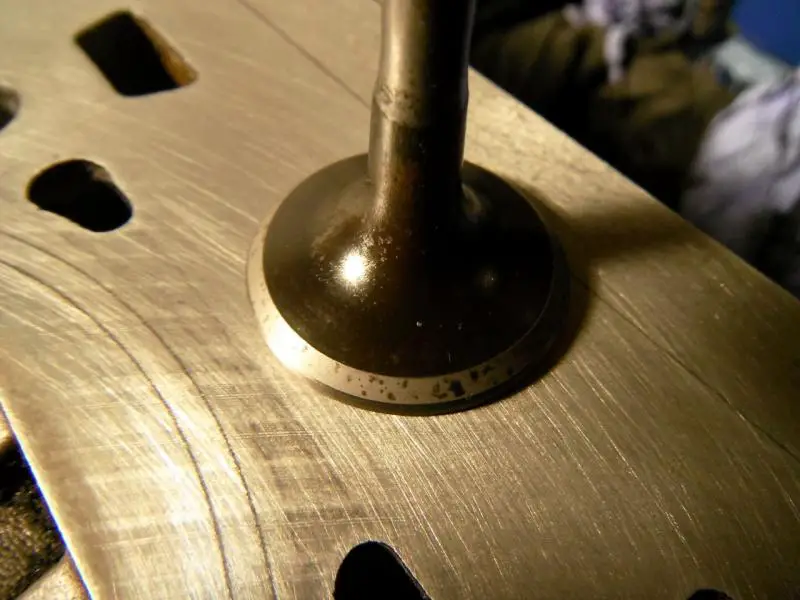
Here's a couple more photos of this job, what's the verdict? :D First off, all the exhaust valves look like this after a bit of cleaning and lapping.


They look a bit pitted, although they are smooth enough. I'm thinking of replacing the set of exhausts now.

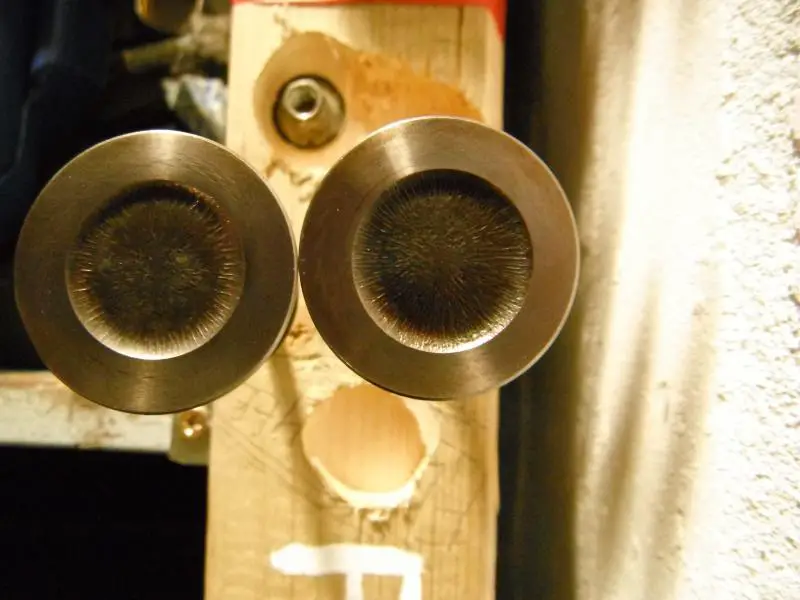
The inlets all seem fine except for two. One is just a nasty fit in the guide (and other guides), stiff, so I think possibly a tad bent, but just a tad. I've got a replacement. The other one is a bit odder. Compare these two inlet valves


I'm happy with the left one, but if you observe the right one, although it's not that easy to see from the photo, the machining in the middle is off centre. And if one studies the contact area (that is, where it contacts with the seat) of this valve around 360 degrees, it varies considerably. Am I right in suspecting the head of this valve is not truly square with the stem? Bearing in mind this valve is from a cylinder giving good compression readings I'm still inclined to renew this one. Thoughts anyone? Thanks for looking :)
 
In the old days with leaded petrol, those exhaust valves could be recovered, but I'd renew them now.
For the life of me I cant think why that valve should be tight in its guide, unless it has contacted the piston at some time.....but on an engine as young as this gawd knows why!
In the manufacture of valves, the head is fuse welded to the stem so they may appear to be slightly off centre. This is no big deal, its the sealing face that counts....that part will be concentric with the valve seat so alls well there.
Thanks for sharing this with us...one of the most interesting posts in a good while, and you sure know what you are doing!
Regards
John :)
 
No I decided not to get it skimmed, which I hope I don't regret. For one thing, the Haynes and Renault both state that there is no tolerance for head skimming on this engine and any warpage necessitates a new head. :eek: For another, this engine has never overheated or blown a gasket so I'm sure it won't be warped and I took great care to back off the head bolts in reverse order and in increments. All I've done is get a toothbrush in there in a bath of Jizer, hosed it down and dried it with a hairdryer. (I haven't got a compressor :cry: ) Took me ages but it's come up well! Oh, and before washing I used this stuff on it. Brilliant stuff, but I dread to think what's in it, it nearly took the skin of my hands.

http://www.kenteurope.com/wp-content/uploads/ds/en/60065.pdf
 
Interesting about the forbidden head skimming.....you would think that a few thou wouldn't have any adverse effect!
Solvents such as your gasket remover are essential - there's so much 'green' stuff around these days.....in fact, they are so green they don't actually do anything.
John :)
 
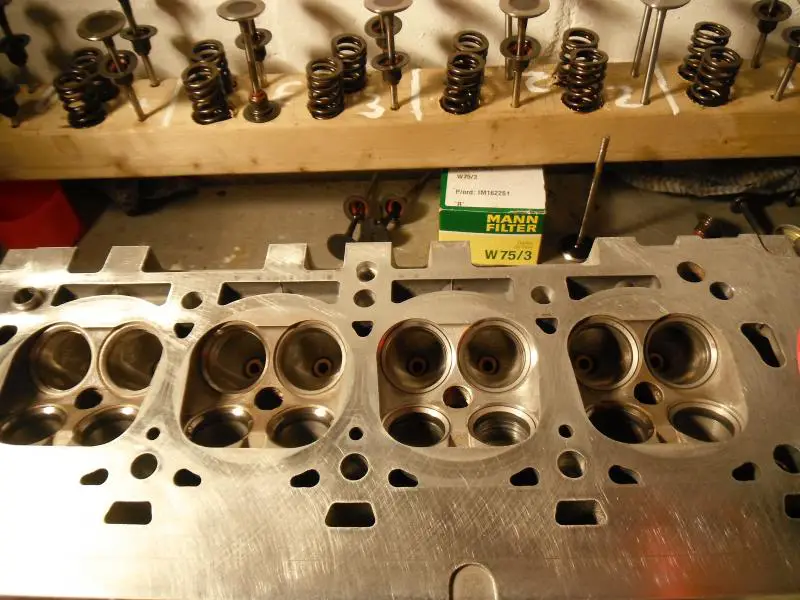
Slow but sure! Inlets in,


And exhausts,


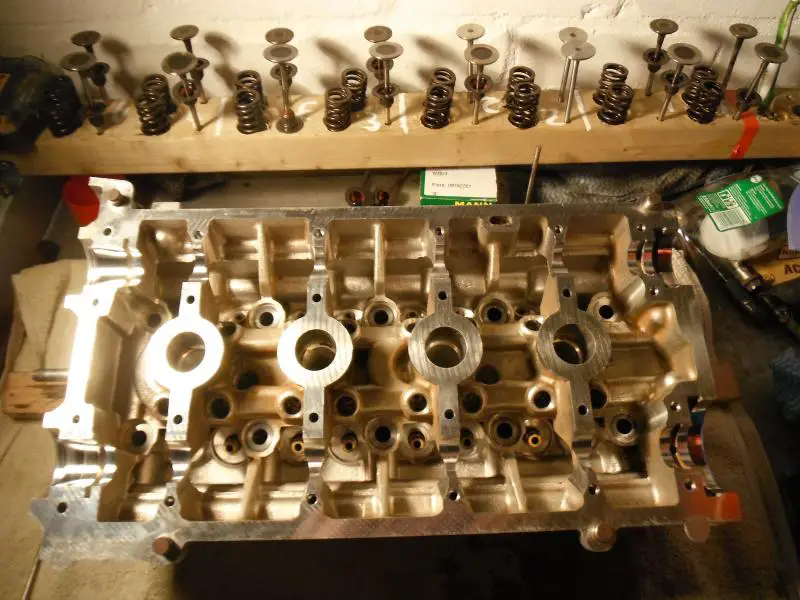
And the chambers full of white spirit


They stayed filled for two hours which is good enough for me. I'm done indoors now, just need the sun to come out to put it all back together. This is the first time I will have used torque to yield head bolts so I'm a little apprehensive about that, otherwise straightforward enough... :D
 
We await the final instalment!
New stretch bolts of course, plus a degree dial for the torque wrench and you're good to go! Well done that man.
John :)
 
Hi guys, wonder if anyone can advise on this? Everyone everywhere points out how insanely tight the crank bolt is, which makes me a little nervous about this one which isn't keyed to the crank. For a start, the old one wasn't that hard to get off, and the Haynes specifies for the new bolt 20Nm followed by 135 degree angle tighten +/- 15. My half drive torque wrench only starts at 40Nm, so I've done it to that and then angle tightened about 130. So mine is actually tighter than spec. but it wasn't really that hard, I wasn't standing on the breaker bar or anything! I put a drop of loctite on it too. Think it'll be ok?

Also, does anyone know the exact position of the movable pointer in relation to the fixed U shaped position on the cam belt tensioner? I've read conflicting specs.
 
Sponsored Links
Back
Top