Hi!
I have a 1870s brick double wythe construction building here in US. As I was remodeling my kitchen, I found out that the floor joist ends sitting in pockets in the outside wall have rotted pretty severely. Solid masonry construction is pretty rare here in US and there's little information available on the subject, so I decided to seek advice on this forum, hoping that this kind of problem is more common in UK.
So through my research I have narrowed it down to three possible solutions:
1) Replace the whole joists completely with new pressure treated ones. This seems like the ideal way to proceed, but seems to be the most time consuming. I also have no idea how to insert the new joist into the pockets. The span is about 9ft, so the joist lengths would have to be something like 9ft 4in, but how would I maneuver them in? Also, I'm finding conflicting info whether the joist should be mortared in or left with space around it for ventilation.
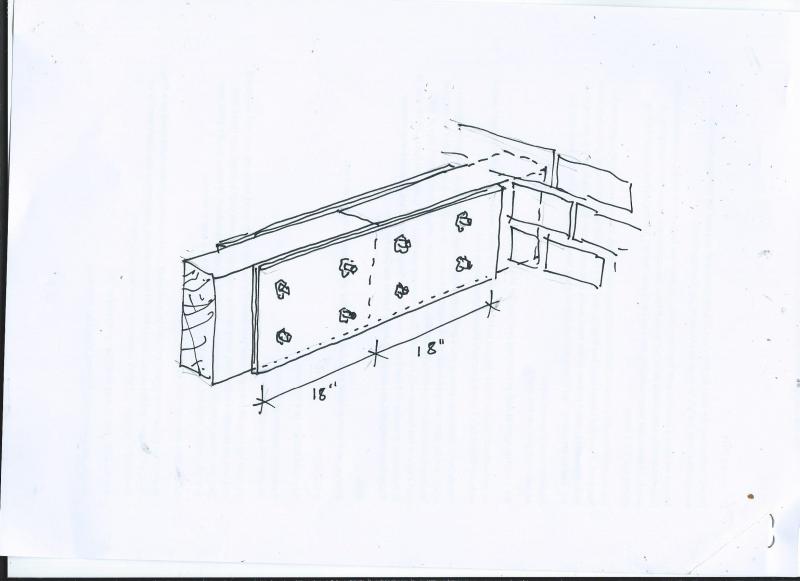
2) Cut off rotten pieces and replace it with new wood, joining to the rest of the joist with angled steel repair brackets. Unfortunately, those brackets are not available here in US, but I suppose I could just use angle iron instead
3) Fill the pockets and hang masonry hangers over them instead. I dont think old bricks would work well with hangers though.
I'm open to other suggestions as well.
Thanks in advance!!


