Water in Corsa footwell

Joined
17 Oct 2006
Messages
137
Reaction score
25
Location
Cambridgeshire
Country
United Kingdom
We have a 2005 Corsa 16v hatchback and in recent weeks have noticed water under the carpet in the offside rear footwell. There does not seem to be any obvious source of a leak e.g. round the door or window seals, and the two blanking plugs in the floor pan beneath the carpet are securely in place.

As the car is usually parked facing up hill it is possible however that the water is entering the driver's footwell and running back into the rear. The driver's carpet is damp but this could equally be caused by the water coming in the back and wicking along the carpet towards the front.

Are there any common problems that result in water in Corsa footwells and in particular how do I lift the carpet which seems to be clamped very firmly under the door frame and rear seat trim?

TIA

Chris
 
Sponsored Links
Most likely the windscreen seal. Or perhaps a bust heater matrix?
 
simple test for effectiveness of door seals is a piece of A4 paper shut it in the door and see if it has any resistance. do this all the way round each seal.
if you find it slips out easily then that is the likely source of the leak
you can adjust the door catches slightly on most cars to incease the seal.
another source can be window seals that have shrunk back slightly so leaving a tiny gap. (had that on a renault van a few years ago)
 
the footwell of my escort van used to fill up when it rained.. ( and I mean fill about 3-4 inches sometimes.. )
it turned out that the windscreen seal was leaking and I had the screen removed and refitted, solved the problem..

next time it's wet in there, have a feel under the dash to see if it's wet too..
 
Sponsored Links
Deliberate reply to old topic.

I've recently taken charge of my mother-in-law's Corsa C, which seems to be suffering similar problems to those already described by many others.

The symptom was an obviously wet rear carpet on the driver's side, so first task was to take everything out to confirm it.


Definite water at both the front and rear, front was hidden by more underlay and insulation.


Sound insulation consists of thick black rubber backed with foam. Hence you don't get wet carpet behind the pedals.


A couple of hours after mopping, I tried the front and rear footwells again, and the rear was dry, but the front had a new 1/2 inch of water.


So, time to remove the pedals and steering column. Haynes is generally good at this, but the clutch pedal clip is a right PITA.


Low and behold, the pedal plate, closure plate, bulkhead sealing plate, or whatever you want to call it, was leaking water.


Working under the bonnet, wiper linkage, servo and master cylinder removed to reveal lots of leaf mulch sitting on the bottom corner of the plate.


Plate removed, the white sealant peeling indicated a good seal in most areas, apart from the aforementioned bottom-right corner.


Hole ready for cleaned and re-sealed plate. Watch this space!

 
That's quite a tak you have undertaken. Thanks for sharing the photos. If you don't mind me asking, do you know where the 1/2 of water come from after the first mopping? Where was it lying?

Good luck with the refit, that's a proper job you did
 
Exellent post - thanks . I`m going to check over our pug 207 - that sits under trees .
 
do you know where the 1/2 of water come from after the first mopping? Where was it lying?
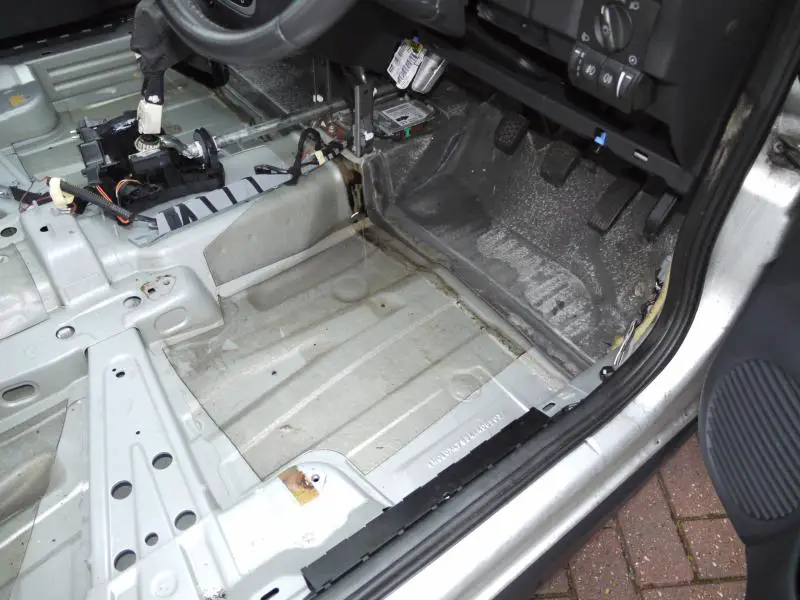
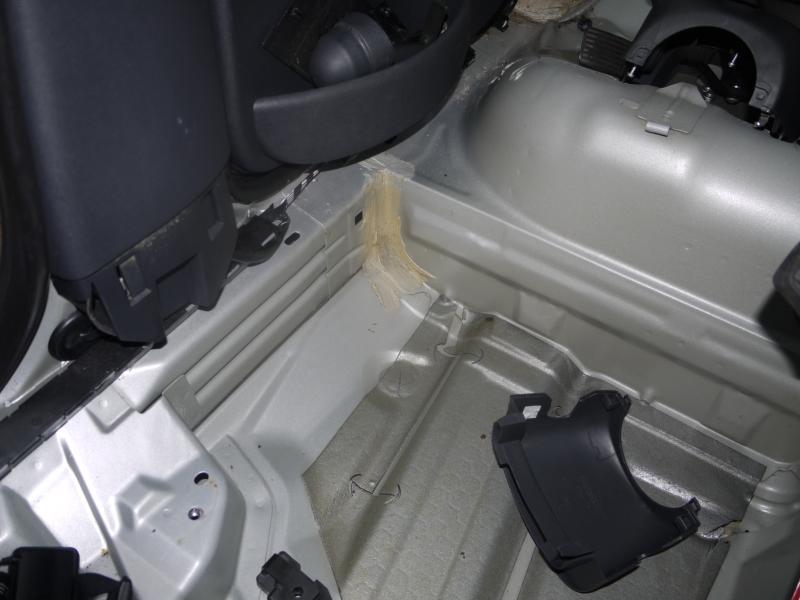
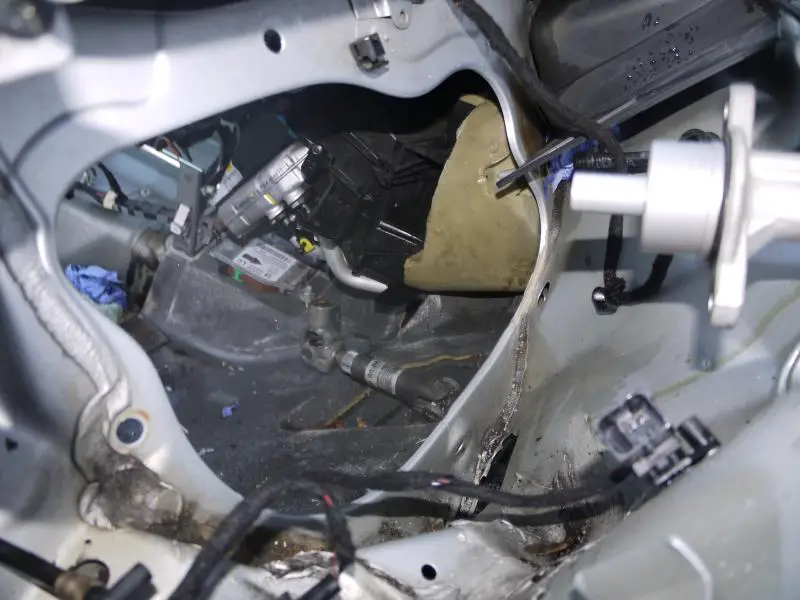
I think it was sitting in the sound deadening that's attached to the bulkhead. I couldn't get this off as it's secured behind the dashboard, but doesn't get in the way of the work. There is a small section which fits over the plate and you can remove after the pedals have been removed.

Some old wives tales going round the Internet:

- "Check the door seals" - good advise but should be obvious if they're damaged, as they won't perish at this age.
- "It's leaking past the rear light cluster" - if it does, it will flow into the void between the outer and inner wing, then disappear into the sills and drain away.
- "My garage thinks it's the windscreen" - not impossible, but a lot of places won't want to spend the time to fully strip it out, even just the pedal area, as it's easily a days work for a trained mechanic.

Time for the refit:

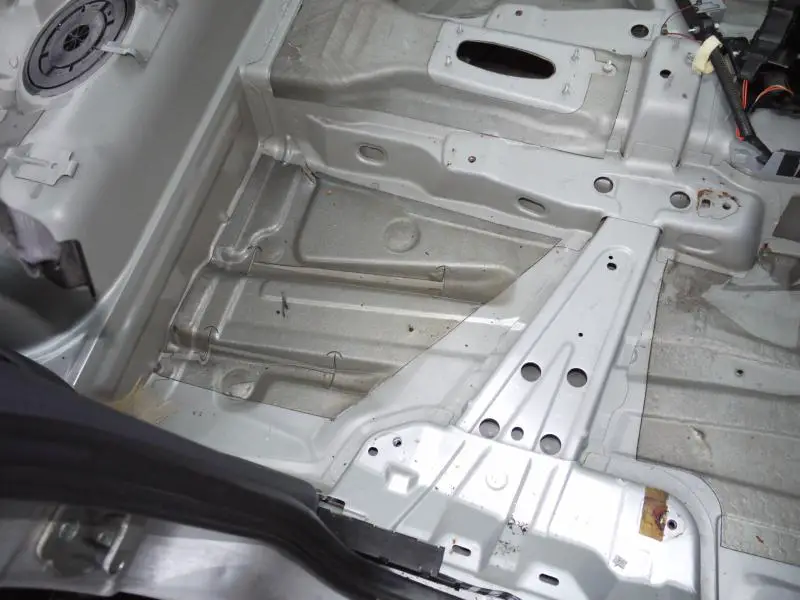
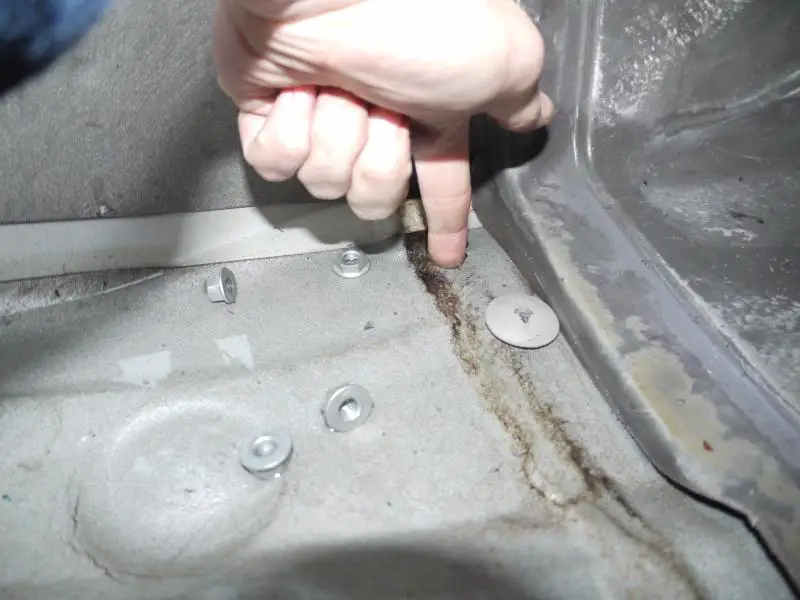
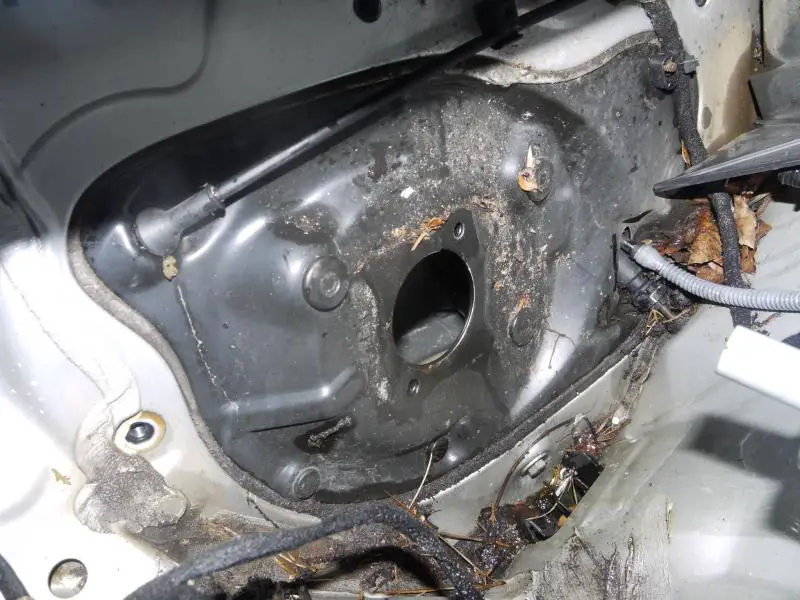
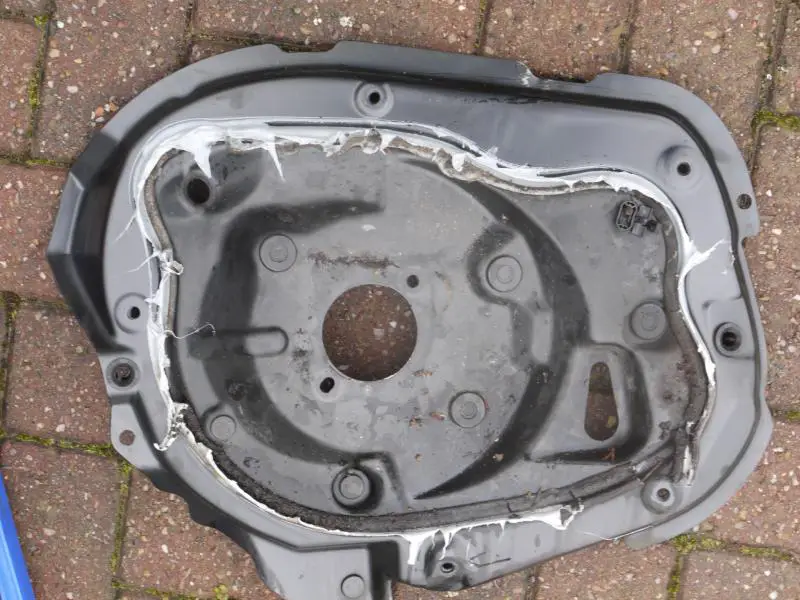
Scrape off all the old sealant from the plate. I tried a mixture of isopropanol and white spirits to help get off the rest which seemed to soften it in equal measure. White spirit will leave a residue though which needs to be cleaned off before proceeding. Wire wool was used to key the paint before applying the sealant.


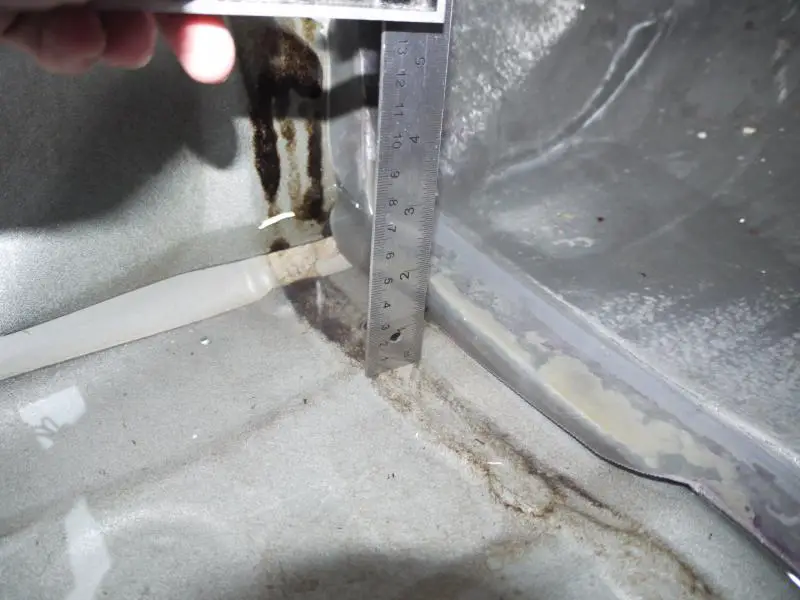
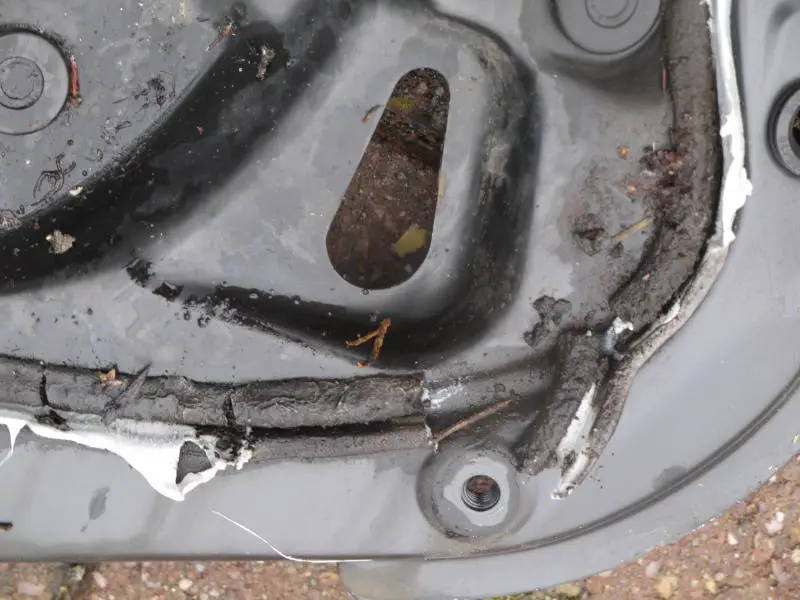
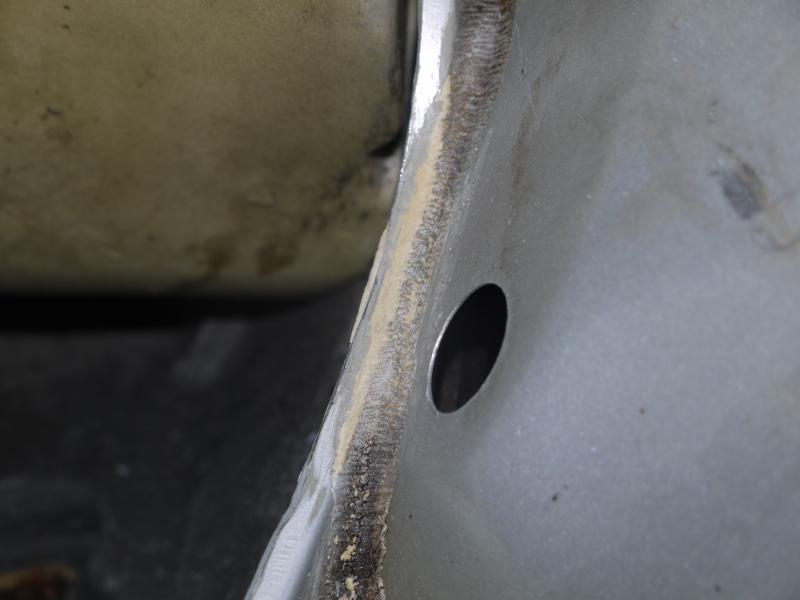
Do the same to the bulkhead, both inside and out. The bottom-right corner shows where the old sealant met the seam filler. I used some fine wet & dry with isopropanol to smooth this off a bit.


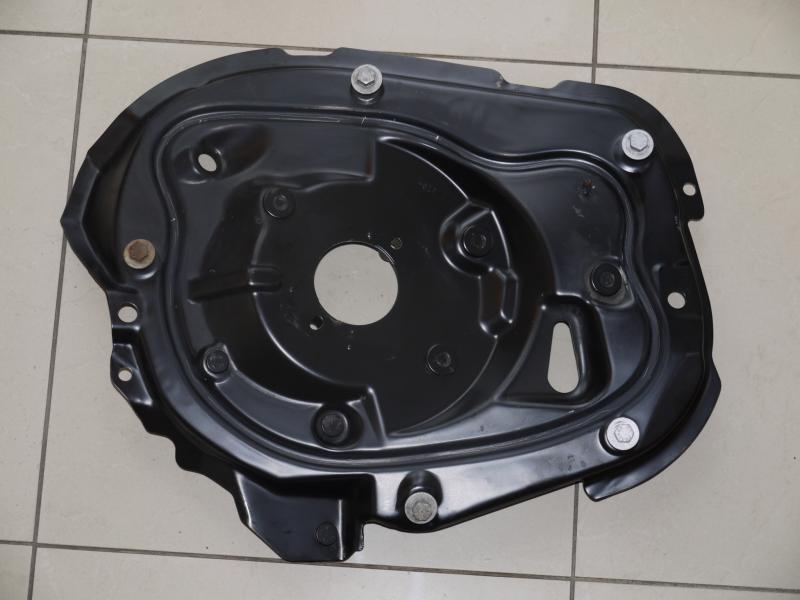
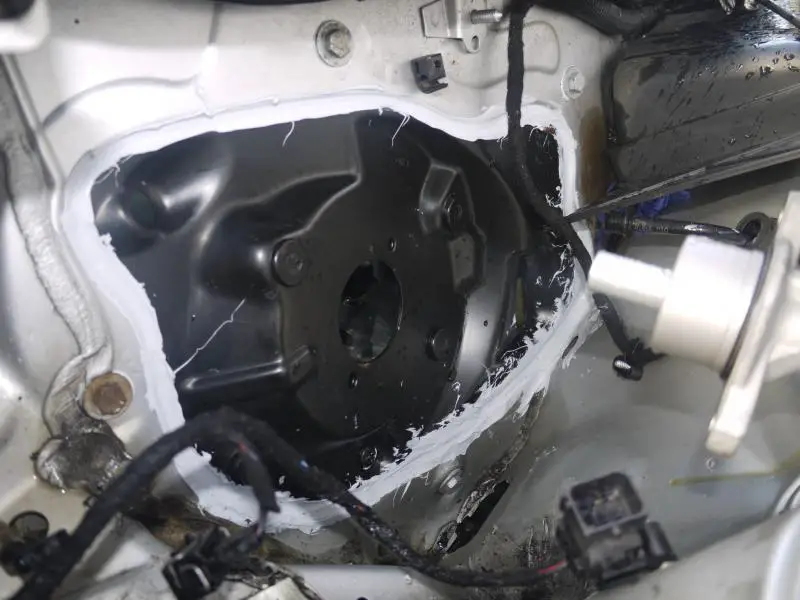
Use a good quality polyurathane adhesive/sealant like Sikaflex 221, and spread it around the plate after positioning the plate back on its guides. Then pull it into position, bolt it in place, and smooth over with more sealant.


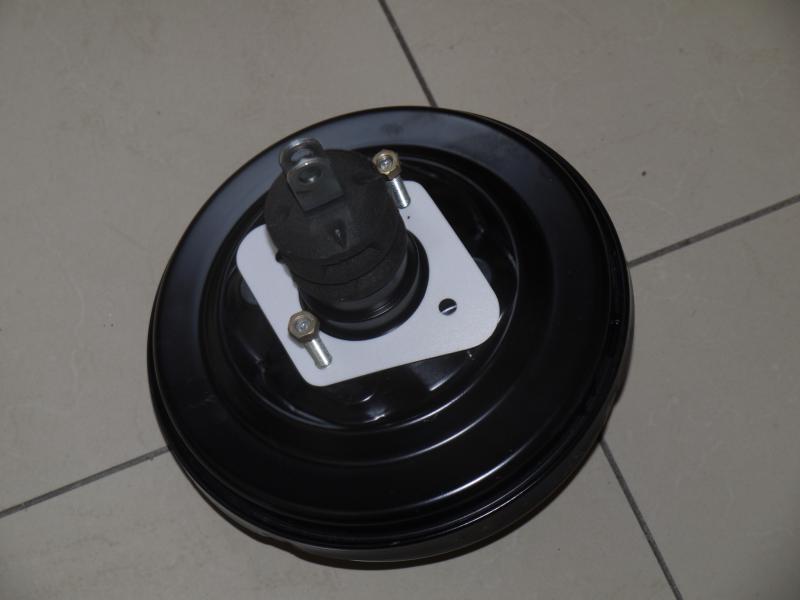
New gasket for vacuum servo.


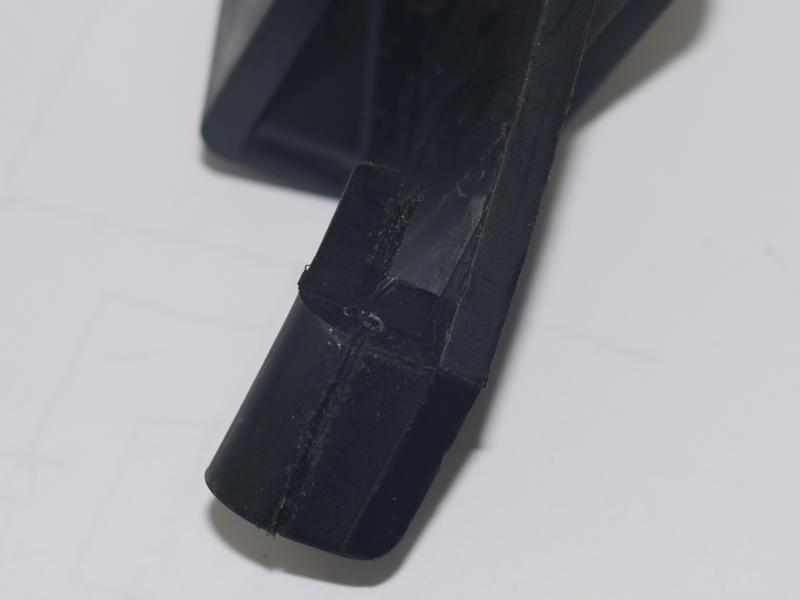
To save removing the bonnet pull from the engine bay, I cut a slit in the handle to remove the cable and pull it through from the inside


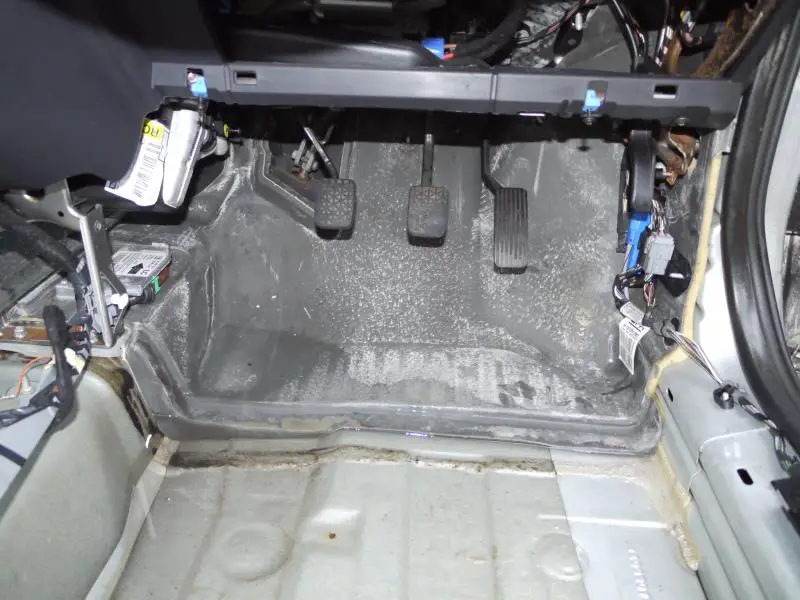
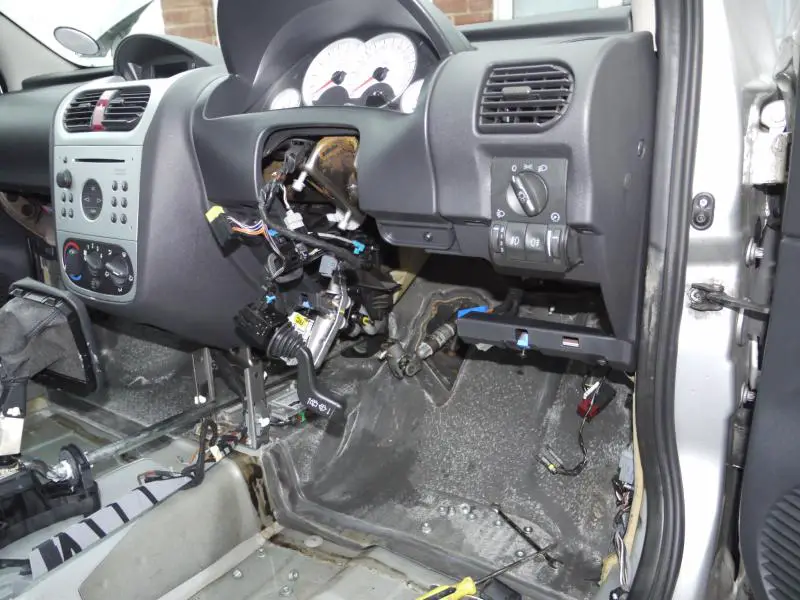
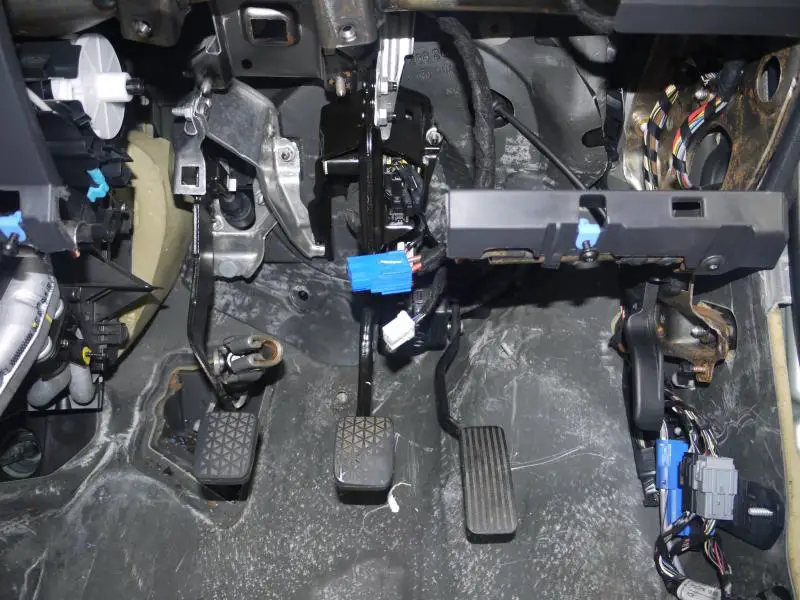
Pedals back into position. Don't forget to put the sound deadening back first, but leave the bottom two clips until the carpet's in place :rolleyes:


Haynes supplement:

- I had great difficulty getting the clutch pedal past the steering column support crossmember, and had to expand one of the holes to ease it past on re-assembly
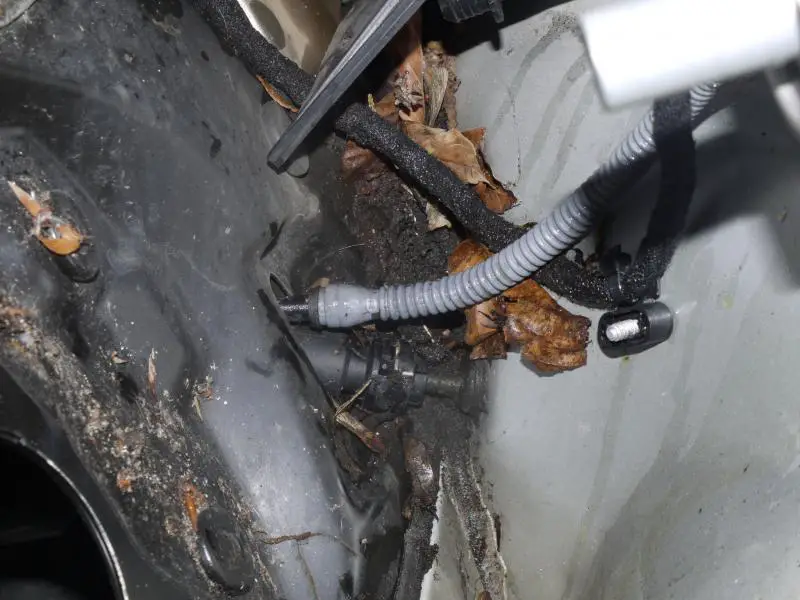
- The clutch master cylinder hose had a funny seal on it which wasn't an O-ring, so wasn't renewed, but I did inspect it and lube it with silicone grease.
- Turn the steering wheel upside down to remove/refit the column, which will allow you better access to the splined shaft securing bolt.
- Haynes says to detach the spring from the clutch pedal, though this wasn't needed.
- The indicator and wiper stalk plugs appear identical. Grey means LH and black RH, as for the pre-tensioner wiring.

Carpet dried and back into position, ready for the trim.


You'll need new clips for the trim, carpet and sound deadening.


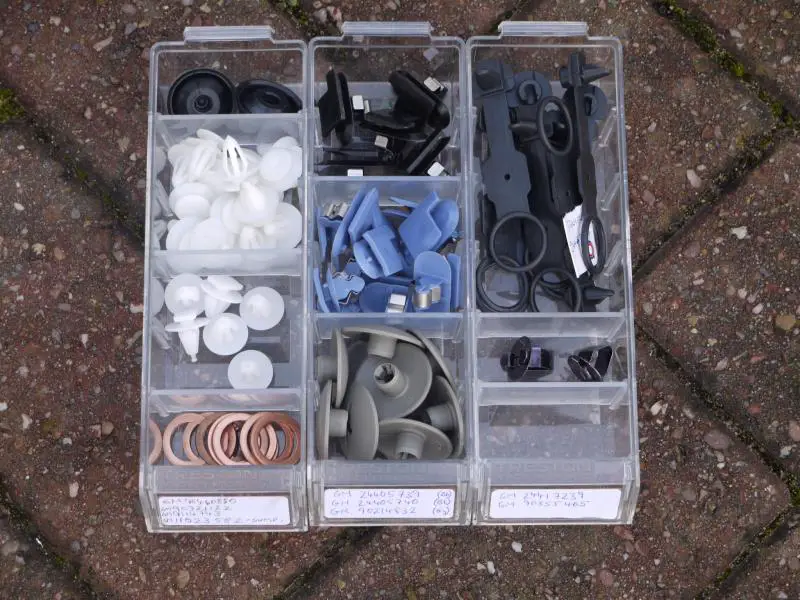
Just random trays so apologies for those that aren't applicable. Top down tray 1:

- 90460880 (not needed here, for plugging sill holes underneath)
- 90321122 for rear quarter trim and door cards
- 9114743 (not needed here, for wheel arch trim)
- 11023582 (not needed here, washer for most pre-2004 sump plugs)

Top down tray 2:

- 24405739 clip for most trim pieces
- 24405740 clip for most trim pieces (different hand)
- 90214832 clip for carpet and sound deadening

Top down tray 3:

- 24417239 clip for boot carpet, an awful component
- 90355465 not sure, was listed in carpets/trim section but couldn't find a use.

Once the car is fully assembled, leave the window open a crack and if you can, get some desiccant gel packs (coloured) and keep re-generating them. Also, keep clearing out the leaves every year, and hopefully all should be well.
 
@mfarrow apologies for digging up an old thread but there's already so much valuable information in here, there's no point starting a new one, my questions (and hopefully your answers) will just add to the resource here.

1. Without removing all the interior carpet/seats etc how long do you think it took to remove the brake servo plate?
2. Can you remove the plate without draining brake fluid?
3. To remove that plate, would I need to remove all 3 pedals & steering wheel or just the brake pedal?
4. Was the only seal you replaced 90447516 (Seal-Ring-Servo)

If you've got any other time saving tips, they'd be greatly appreciated, want to fix my Combo but don't really want to take time off work to fix it!

Thanks
 
Iggifer

1. I'd budget a full day. Most is straightforward but you never know, I would take the driver's seat out though just to give you some proper room. 1.5 days if you get anal about cleaning up the old sealant.
2. No, the clutch pipe is clipped together either side of the plate: there will be spillage!
3. All 3, i recall they overlap each other and certainly all 3 get in the way of the plate, as does the wheel.
4. Yes, owing to the lack of a replaceable seal on the clutch pipe in the end.

Heading into the summer you should get away with not taking the carpet up to dry. Theres a lot of sodden padding under there though, which will only get warm on the hottest days.

To be honest the trims and bits didn't worry me, and having it all and carpet out the way certainly helped. The most fiddly part was the steering column, and getting it back on its splines at the right orientation (mark before you start).
 
@mfarrow many thanks. Think I might give it a go this weekend if the weather is alright.

Yea I've only ever had to take one steering wheel off before and without a puller it's certainly risky!

Not too worried about the carpet tbh, until the rain last week it had dried out of its own accord since our last heavy rain.

Maybe I'll be getting the bus to work on Monday!
 
You won't need a puller on the wheel. In fact, I'm trying to remember whether I took the wheel off separately at all... I'll have a look through the archive.
 
Just leave the nut on a few threads until the wheel is loose. Otherwise it might come free and hit you in the face
 
Sponsored Links
Back
Top