

Hi
Am refitting bathroom which includes knocking through wall between bathroom and adjacent toilet, moving toilet into bathroom side and then fitting a new shower enclosure into the toilet side.
Current state of play:
- Toilet out
- 90 deg soil pipe connection rotated 180 deg to allow connection of bog in new location on other side of soil stack.
- 2 x radiator and pipework removed from either side of bathroom and toilet dividing wall.
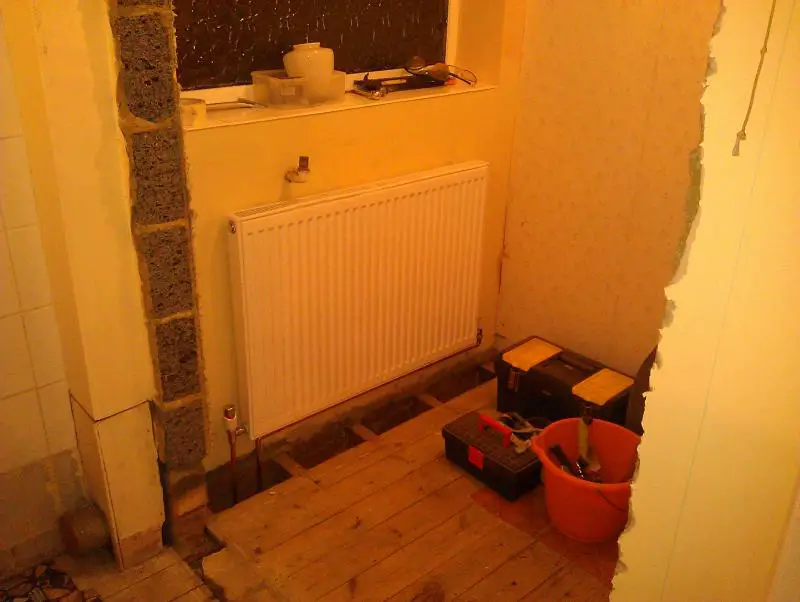
- New radiator replumbed under window where toilet used to be
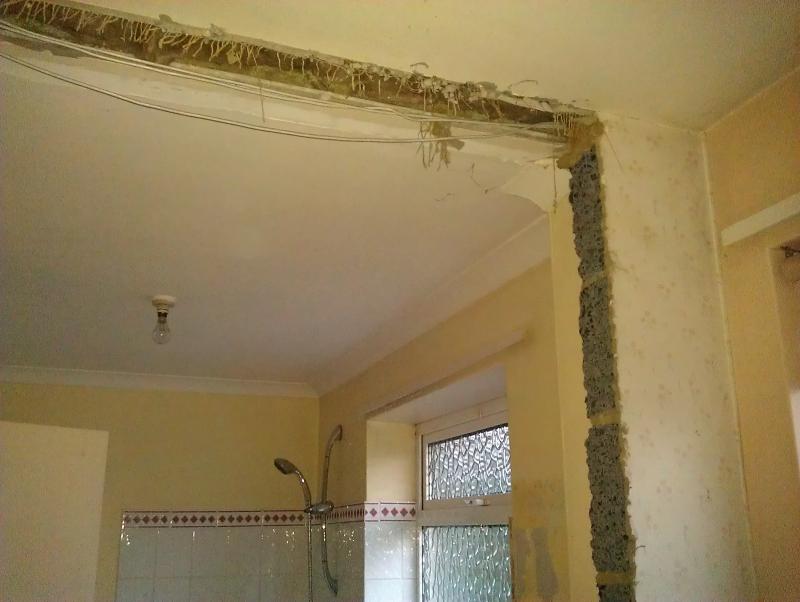
- Dividing wall between bath and toilet removed leaving approx 20 cm of blockwork either side.
Next job is to remove the toilet door and frame and block the door up.
As this is 1st floor with only floorboards to work off I assume that this will need to be studded and plasterboarded. I have searched the forum and found this useful contribution from Richard C (see 4th post):
//www.diynot.com/forums/viewtopic.php?t=177455
Does option 2 sound the way to go ?
My main issue here is that the walls surrounding the doorframe are concrete block (these are in the main supoorted by walls below wheras the floor under the door is not). Whilst the render/plaster came off the small amount of brickwork in my removed dividing wall easily it was less keen to part company from the much rougher surfaced blockwork - hence possible difficulty in removing 200mm all round the door opening to allow overlap of plasterboard.
The following couple of pics give you an idea of where things are at and what ive got:
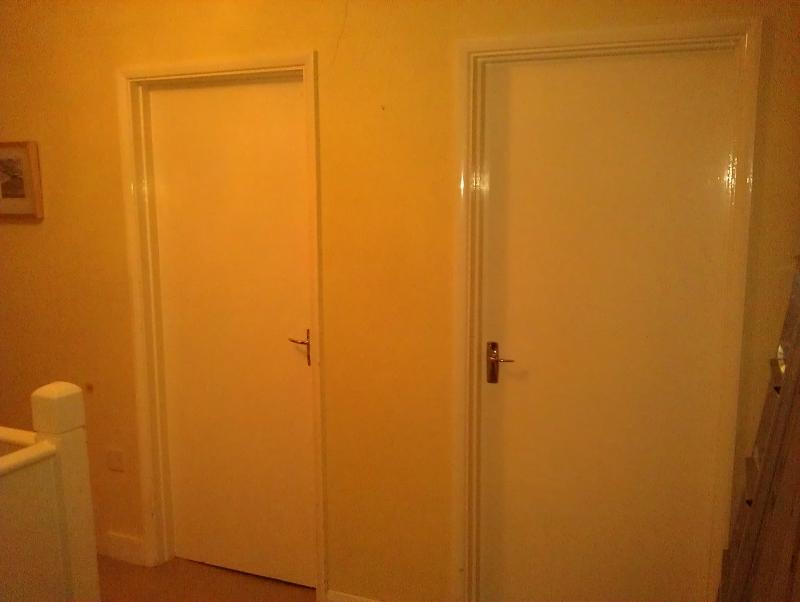
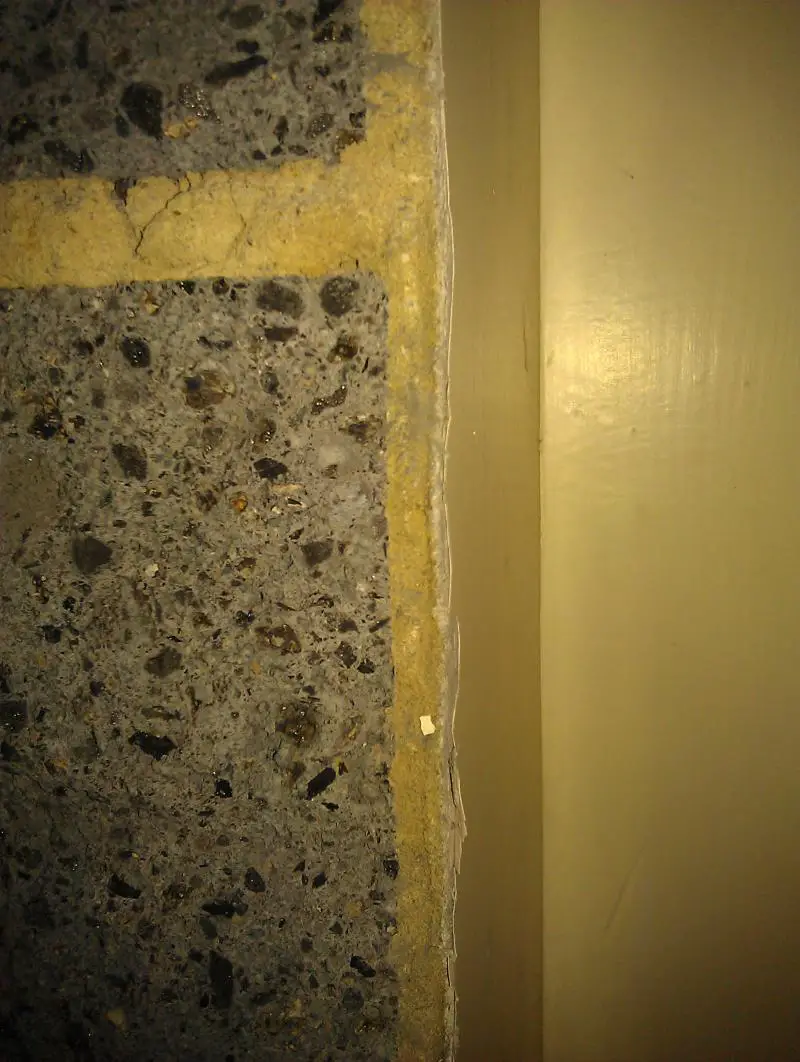
Right hand side door to be blocked up
Removed wall between bathroom and toilet - this was stich drilled / chiselled after the following website put me off using a cutting disk - warning - case 3 pic looks grim http://www.head-face-med.com/content/4/1/1
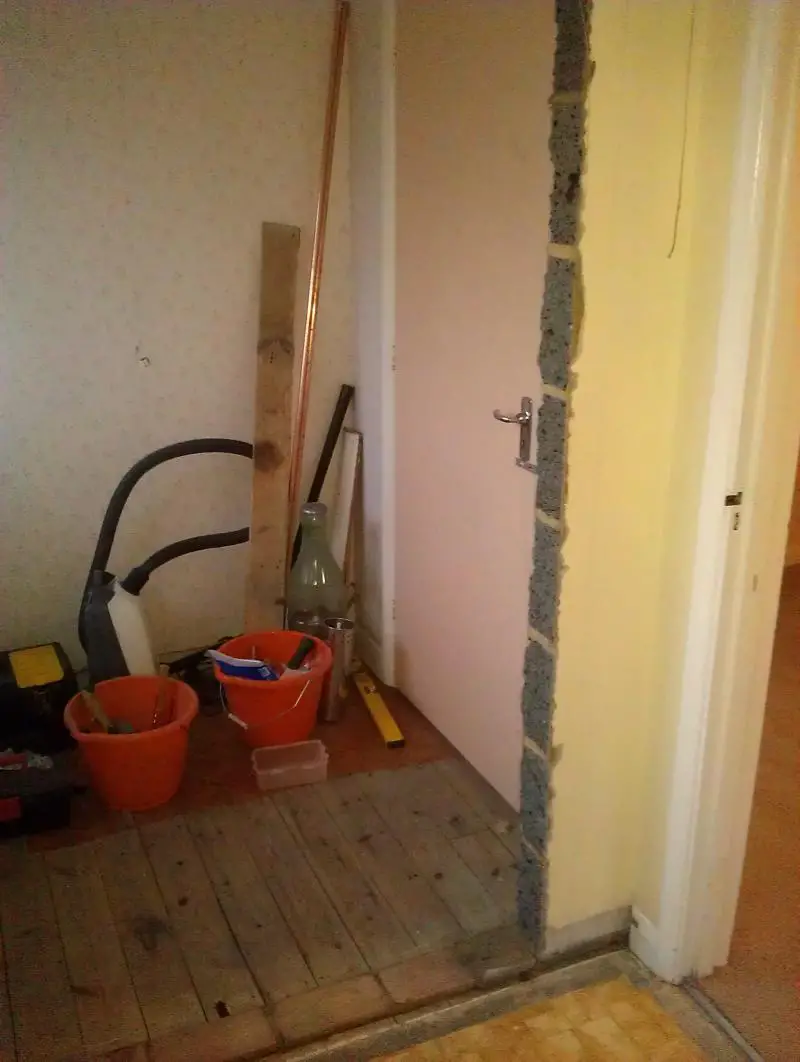
Door to be blocked up. New shower enclosure to be installed in the corner where the buckets are - the blocked up door will be the wall with the shower valve and pipework in it with a tiled finish).
Will put an approx 15cm plasterboarded top frame to cover the ceiling hole and to complete the framed opening between bath and shower areas
Blockwork, render and plaster finish to small section of remaining wall between bath area and new shower area
Much as I love my SDS I dont want to go at the small area of wall between the bathroom and toilet doors too hard to remove the render/plaster - the wall is load bearing. Am I therefore better off going for option 3 which Richard listed and hoping I get lucky and avoid cracks ? From the shower side I would probably aim to borad the whole of the wall including over the existing plaster to minimise any risk of cracking on that side.
Any advice on the best way to build studwork would also be appreciated - ie to you fully build a frame which you then insert and screw in place or do you screw in the 4 sides and then screw in additional studs verticall / horizontally with diagonal screws ?
Apologies - all a bit of a ramble but any feedback would be welcome.
Cheers
Emilian
Am refitting bathroom which includes knocking through wall between bathroom and adjacent toilet, moving toilet into bathroom side and then fitting a new shower enclosure into the toilet side.
Current state of play:
- Toilet out
- 90 deg soil pipe connection rotated 180 deg to allow connection of bog in new location on other side of soil stack.
- 2 x radiator and pipework removed from either side of bathroom and toilet dividing wall.
- New radiator replumbed under window where toilet used to be
- Dividing wall between bath and toilet removed leaving approx 20 cm of blockwork either side.
Next job is to remove the toilet door and frame and block the door up.
As this is 1st floor with only floorboards to work off I assume that this will need to be studded and plasterboarded. I have searched the forum and found this useful contribution from Richard C (see 4th post):
//www.diynot.com/forums/viewtopic.php?t=177455
Does option 2 sound the way to go ?
My main issue here is that the walls surrounding the doorframe are concrete block (these are in the main supoorted by walls below wheras the floor under the door is not). Whilst the render/plaster came off the small amount of brickwork in my removed dividing wall easily it was less keen to part company from the much rougher surfaced blockwork - hence possible difficulty in removing 200mm all round the door opening to allow overlap of plasterboard.
The following couple of pics give you an idea of where things are at and what ive got:
Right hand side door to be blocked up
Removed wall between bathroom and toilet - this was stich drilled / chiselled after the following website put me off using a cutting disk - warning - case 3 pic looks grim http://www.head-face-med.com/content/4/1/1
Door to be blocked up. New shower enclosure to be installed in the corner where the buckets are - the blocked up door will be the wall with the shower valve and pipework in it with a tiled finish).
Will put an approx 15cm plasterboarded top frame to cover the ceiling hole and to complete the framed opening between bath and shower areas
Blockwork, render and plaster finish to small section of remaining wall between bath area and new shower area
Much as I love my SDS I dont want to go at the small area of wall between the bathroom and toilet doors too hard to remove the render/plaster - the wall is load bearing. Am I therefore better off going for option 3 which Richard listed and hoping I get lucky and avoid cracks ? From the shower side I would probably aim to borad the whole of the wall including over the existing plaster to minimise any risk of cracking on that side.
Any advice on the best way to build studwork would also be appreciated - ie to you fully build a frame which you then insert and screw in place or do you screw in the 4 sides and then screw in additional studs verticall / horizontally with diagonal screws ?
Apologies - all a bit of a ramble but any feedback would be welcome.
Cheers
Emilian
")