

Hi Chaps,
My girlfriend and I are doing our first house together. I thought I'd share our garden project with you.
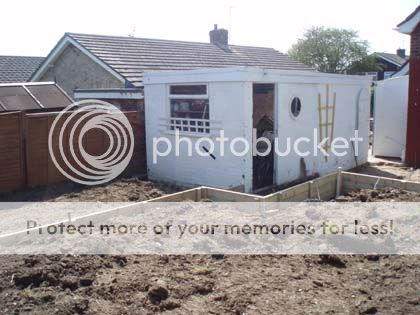
When we moved in, the existing garden had been cobbled together. It was a shabby un-planned wreck of a graden... The shed says it all!

The first job was to plan out what we wanted. The garden sat naturally on a slight slope, approximately 2 feet over 25 feet length, or around about.
We decided that we wanted a flat area and to compliment our contemporary style (of which we are styling our house) we would have something neat and tidy, easy to keep and split level.
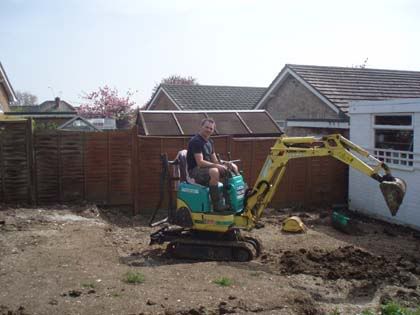
The second job was to actually start! A mini digger was required!
(My girlfriend loves all of this, and is not afraid of getting muddy!)
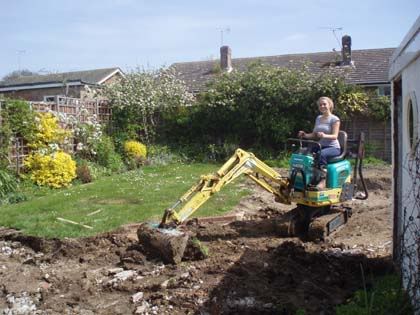
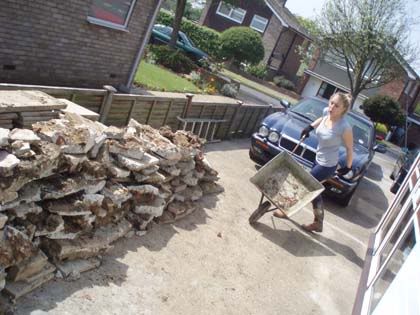
Under the "patio" (and I use the word as loosley as the slabs were "laid" - 1cm of concrete over stagnent clay! LOL) was a load of rubble and construction waste brick etc. All of this waste was taken to the dump in my Renault Laguna, purpose bought for the house renovation. Running on vegetable oil it saved us a fortune in skips:
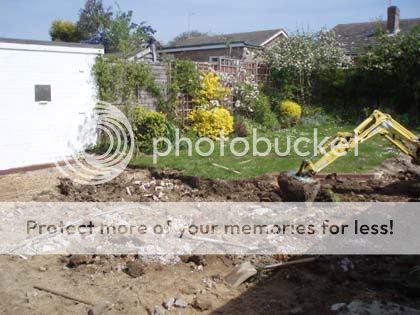
Once the majority of the waste was removed, we set about levelling the garden. We did this by dragging the higher soil back towards the house, and building up the boundaries we wanted to be split-level - almost like colouring in between the lines!
When we got the rough levels to an acceptable state, we set about constructing a perimitter. We used specially pressure-treated timber and panelling.
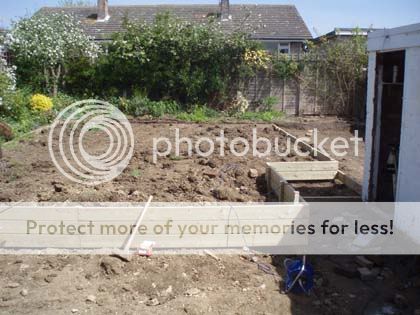
We then used some old paving slabs behind this timber frame to help distribute weight and keep water from leaking. The level was then back-filled up to the frame.
The garage plans we have will probably feature in another post, as will the rest of the house - which at this stage we had not touched yet. Our trail of thought was that if we got the garden sorted initially, it then has time to flourish whilst we progress with the rest of the house!
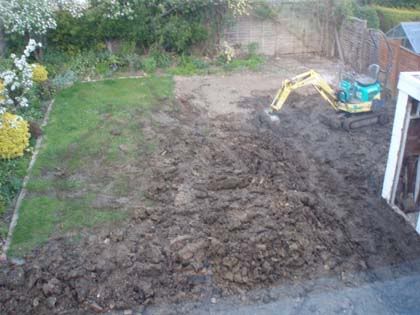
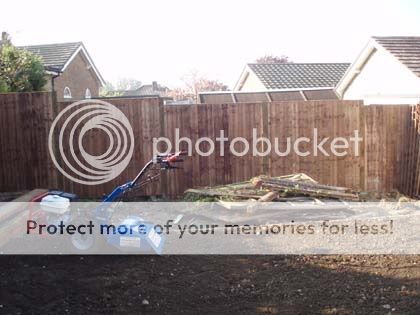
Once we had these levels fairly sorted, we hired a rotorvator. This made moving the soil around much easier, and also prepared before turfing.
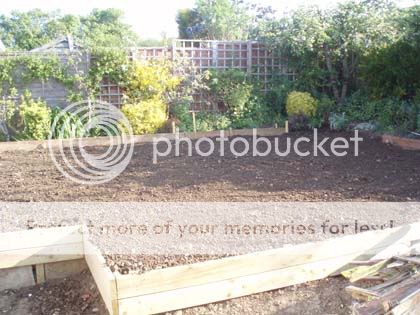
It also provided a bit of a motivation as it really made a big visual difference! Once the desired levels were ok, we raked the larger lumps out.
We also added sleepers to create a boundary for the borders.
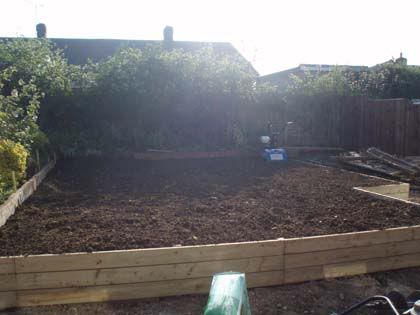
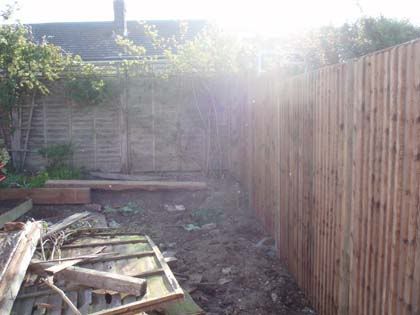
During this stage, I enlisted the help of a friend to help me install a new fence. We opted for vertical board type fence as they are better quality and sturdier than the woven-type. We got it nice and straight and are happy with the results.
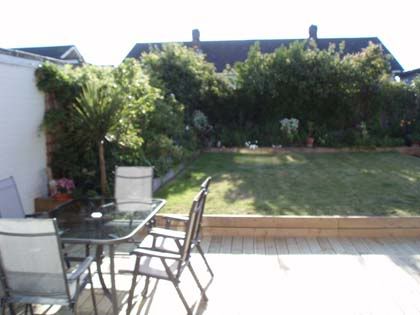
Once this was all done, we turfed the lawn. This was all very straightforward. The grass took well (pics later).
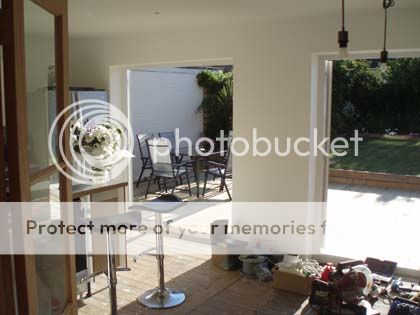
Before progressing to the next stage, a friend and I fitted 2 x French doors to the back of the house, where we had knocked 2 rooms into 1. This makes a very light kitchen space, as we wanted to be able to open our house right into the garden during the summer.

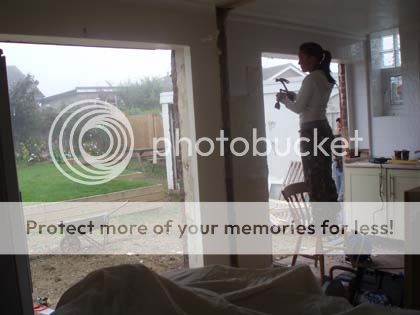
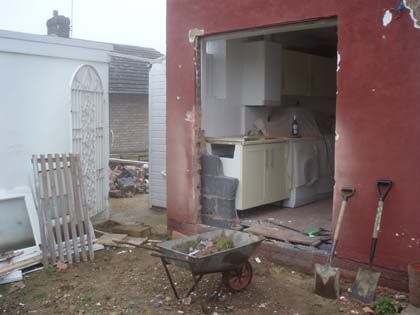
I cannot say how dubious I was about cutting the back off our house! The mess was immense. We borrowed a petrol disc cutter from my girlfriends uncle. It took about 5 minutes!
After the doors were fitted, we moved our kitchen from one side of the room to the other including all of the services etc. This was so you will get an "instant impact" when entering the house - There's no point having a nice kitchen if you have to walk into the room, then turn round to see it!
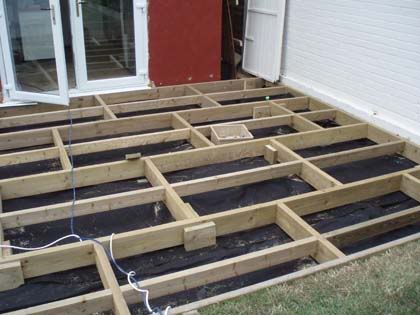
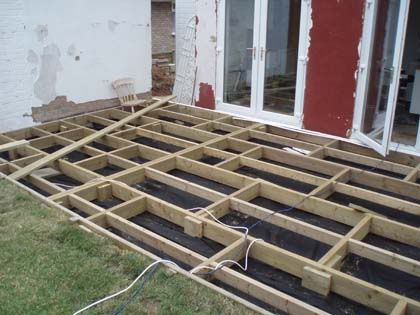
We fitted the bones of the new kitchen before setting about building a sturdy frame for our decking:
In the next picture you can see the grass (although summer means it went a bit dry!)
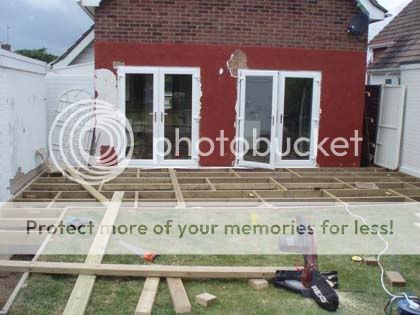
We got the levels perfect which made putting the decking down a doddle. My girlfriends father made spacers for us from a certain thickness of Fibre board which means the gaps are spot on.
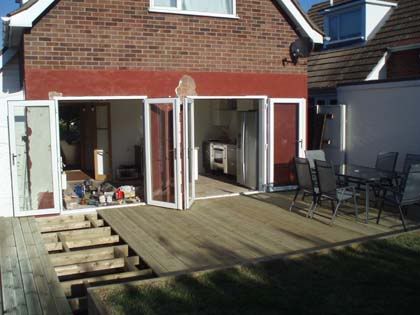
Unlike our kitchen, the decking is now finished!!!!!!!!")

I think it makes a big difference from what it was!!!!!

and just to prove it, I did do "some" of the work.....!
My girlfriend and I are doing our first house together. I thought I'd share our garden project with you.
When we moved in, the existing garden had been cobbled together. It was a shabby un-planned wreck of a graden... The shed says it all!
The first job was to plan out what we wanted. The garden sat naturally on a slight slope, approximately 2 feet over 25 feet length, or around about.
We decided that we wanted a flat area and to compliment our contemporary style (of which we are styling our house) we would have something neat and tidy, easy to keep and split level.
The second job was to actually start! A mini digger was required!
(My girlfriend loves all of this, and is not afraid of getting muddy!)
Under the "patio" (and I use the word as loosley as the slabs were "laid" - 1cm of concrete over stagnent clay! LOL) was a load of rubble and construction waste brick etc. All of this waste was taken to the dump in my Renault Laguna, purpose bought for the house renovation. Running on vegetable oil it saved us a fortune in skips:
Once the majority of the waste was removed, we set about levelling the garden. We did this by dragging the higher soil back towards the house, and building up the boundaries we wanted to be split-level - almost like colouring in between the lines!
When we got the rough levels to an acceptable state, we set about constructing a perimitter. We used specially pressure-treated timber and panelling.
We then used some old paving slabs behind this timber frame to help distribute weight and keep water from leaking. The level was then back-filled up to the frame.
The garage plans we have will probably feature in another post, as will the rest of the house - which at this stage we had not touched yet. Our trail of thought was that if we got the garden sorted initially, it then has time to flourish whilst we progress with the rest of the house!
Once we had these levels fairly sorted, we hired a rotorvator. This made moving the soil around much easier, and also prepared before turfing.
It also provided a bit of a motivation as it really made a big visual difference! Once the desired levels were ok, we raked the larger lumps out.
We also added sleepers to create a boundary for the borders.
During this stage, I enlisted the help of a friend to help me install a new fence. We opted for vertical board type fence as they are better quality and sturdier than the woven-type. We got it nice and straight and are happy with the results.
Once this was all done, we turfed the lawn. This was all very straightforward. The grass took well (pics later).
Before progressing to the next stage, a friend and I fitted 2 x French doors to the back of the house, where we had knocked 2 rooms into 1. This makes a very light kitchen space, as we wanted to be able to open our house right into the garden during the summer.
I cannot say how dubious I was about cutting the back off our house! The mess was immense. We borrowed a petrol disc cutter from my girlfriends uncle. It took about 5 minutes!
After the doors were fitted, we moved our kitchen from one side of the room to the other including all of the services etc. This was so you will get an "instant impact" when entering the house - There's no point having a nice kitchen if you have to walk into the room, then turn round to see it!
We fitted the bones of the new kitchen before setting about building a sturdy frame for our decking:
In the next picture you can see the grass (although summer means it went a bit dry!)
We got the levels perfect which made putting the decking down a doddle. My girlfriends father made spacers for us from a certain thickness of Fibre board which means the gaps are spot on.
Unlike our kitchen, the decking is now finished!!!!!!!!
I think it makes a big difference from what it was!!!!!
and just to prove it, I did do "some" of the work.....!

