|
|
| Author |
Message |
feisar

Joined: 02 Apr 2012 Posts: 20 Location: Manchester, United Kingdom
|
Posted: Mon Apr 02, 2012 12:55 pm |
|
|
Hi, first post and I've got to say this is a great site. It's great to see people being helped and repairing their washer at very little cost. To go to an approved dealer is so expensive. Hopefully my problem can be solved.
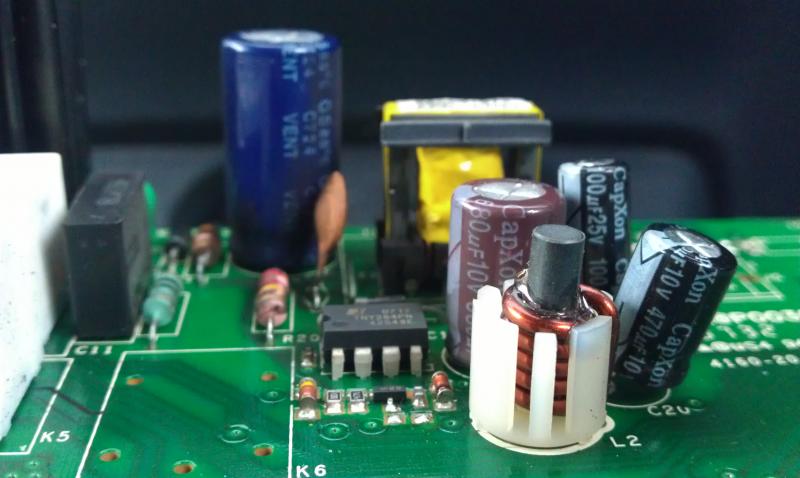
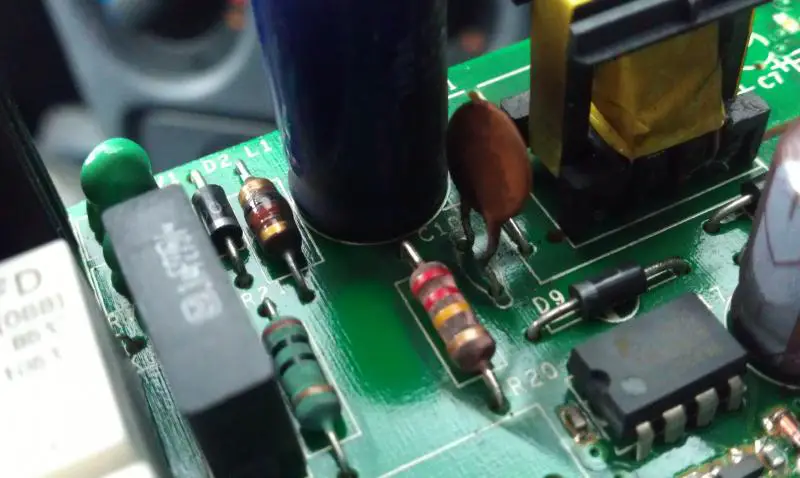
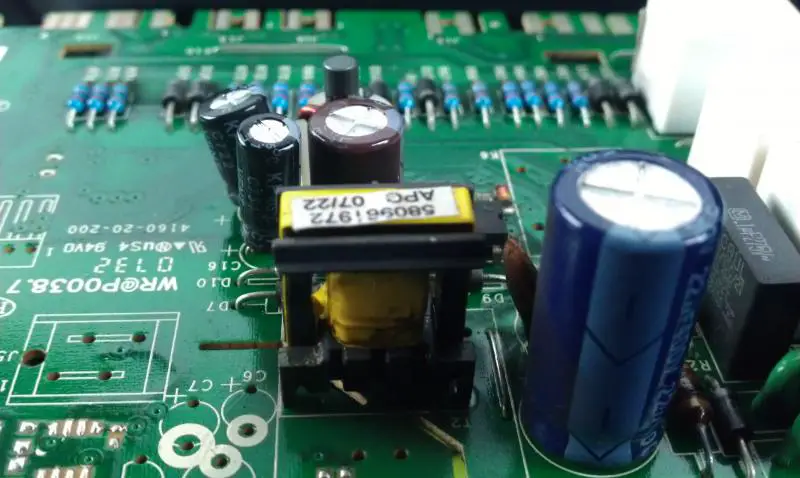
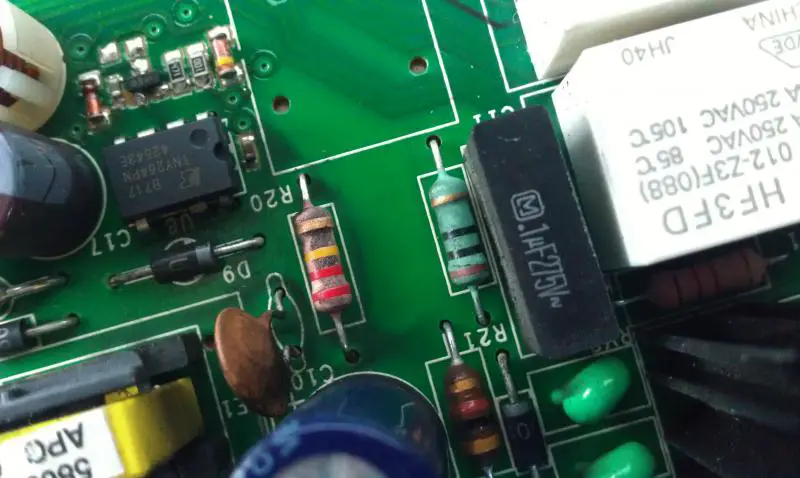
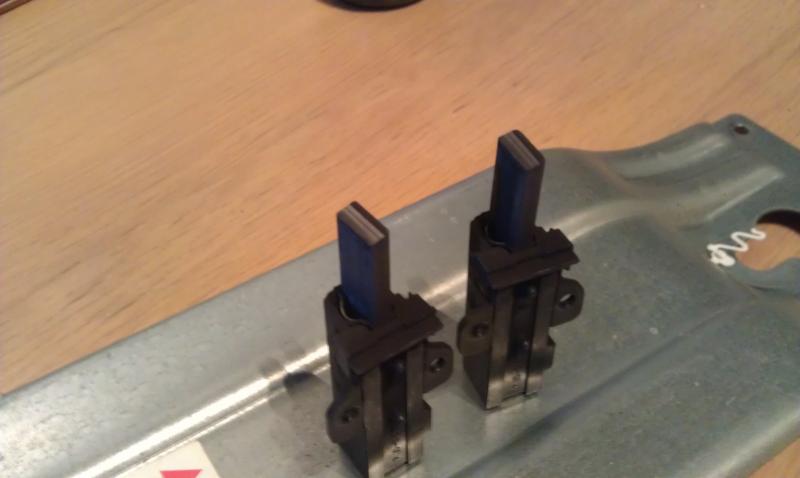
I have a WT741 that at some point, I think just before the final spin it stops and shows Err01. Probably a main PCB board fault so I checked connections, all seems ok. I've taken the board out C17 cap seems ok. I noticed there was a lot of black dust/smoke around a couple of resisters R20 & D2, maybe there is some issue here.
I have attached pics.
Thanks in advance
Darren
 |
|
| Back to top |
|
|
|
If you do not want to see this advert, click here to login or if you are new click here to join free. |
 |
rocks1

Joined: 30 Apr 2008 Posts: 5361 Location: Turkey Thanked: 876 times
|
Posted: Mon Apr 02, 2012 1:11 pm |
|
|
Check motor brushes poss worn if they are ok then pcb is history . Emw do recon pcbs for £45.00. |
|
| Back to top |
|
|
|
 |
feisar

Joined: 02 Apr 2012 Posts: 20 Location: Manchester, United Kingdom
|
Posted: Mon Apr 02, 2012 1:33 pm |
|
|
| rocks1 wrote: | | Check motor brushes poss worn if they are ok then pcb is history . Emw doo recon pcbs for £45.00. |
Sorry to be an idiot but how do I check the brushes? Is this the big metal thing with the copper coloured wires inside? |
|
| Back to top |
|
|
|
 |
rocks1

Joined: 30 Apr 2008 Posts: 5361 Location: Turkey Thanked: 876 times
|
Posted: Mon Apr 02, 2012 2:51 pm |
|
|
It's the motor at the bottom of the drum. You tube shows you how to do it. |
|
| Back to top |
|
|
|
 |
feisar

Joined: 02 Apr 2012 Posts: 20 Location: Manchester, United Kingdom
|
Posted: Mon Apr 02, 2012 7:53 pm |
|
|
I have attached a pic of the brushes, I am no expert but there seems to be a lot left. The tips seem shiny but the surroundings are very dusty/charcoaly. What do you think?
 |
|
| Back to top |
|
|
|
 |
rocks1

Joined: 30 Apr 2008 Posts: 5361 Location: Turkey Thanked: 876 times
|
Posted: Mon Apr 02, 2012 8:25 pm |
|
|
They look good. Just rough the edges up a bit but I think your pcb is history. |
|
| Back to top |
|
|
|
 |
feisar

Joined: 02 Apr 2012 Posts: 20 Location: Manchester, United Kingdom
|
Posted: Mon Apr 02, 2012 8:32 pm |
|
|
Ok, you want me to rough the edges up? With a bit of sandpaper? I think I will send the board off for testing |
|
| Back to top |
|
|
|
 |
rocks1

Joined: 30 Apr 2008 Posts: 5361 Location: Turkey Thanked: 876 times
|
Posted: Mon Apr 02, 2012 8:34 pm |
|
|
Yes try that. If it still won't go then pcb. |
|
| Back to top |
|
|
|
|
|
 |
feisar

Joined: 02 Apr 2012 Posts: 20 Location: Manchester, United Kingdom
|
|
| Back to top |
|
|
|
 |
danielson23uk

Joined: 01 Jun 2009 Posts: 18 Location: Essex, United Kingdom
|
Posted: Fri Apr 20, 2012 8:16 pm |
|
|
Thank you so much to everyone for this. I have the WD440 and got the dreaded flashing lights (all of them). I replaced the C17 capacitor and hey presto all gone.
I do still have one problem though. With my WD440, the lights flashed but the machine still worked. But after about 5 mins it repeatedly tripped the MCB for the downstairs sockets. The tripping stops after the first drain, so I wonder whether it's concerned with the heating element in the early part of the wash cycle. Any ideas?
Thanks |
|
| Back to top |
|
|
|
 |
Hermanniko

Joined: 14 Jun 2012 Posts: 1 Location: Sussex, United Kingdom
|
Posted: Thu Jun 14, 2012 7:07 pm |
|
|
Hi ya, I changed the c17 component, bu when I put machine back into elec supply, it's still lit up like a xmas tree, before I cleaned out the filter, and eventually with much on and off I got it to just 1 and 4 plus on/ off flashing, now it's just on drugs again, I'm at a loss as I don't want to pay out for a new motherboard! Any help??? |
|
| Back to top |
|
|
|
 |
yazaman

Joined: 27 Mar 2008 Posts: 13 Location: United Kingdom
|
Posted: Mon Jun 18, 2012 5:44 am |
|
|
| yazaman wrote: |
hi thanks for the reply don,t think thats the case double checked before solderimg, my soldering skills not the best if it was a bad connection would this stop all the power lights etc???
steve |
|
|
| Back to top |
|
|
|
 |
andymay90

Joined: 01 Nov 2012 Posts: 7 Location: Birmingham, United Kingdom
|
Posted: Thu Nov 01, 2012 3:07 pm |
|
|
Brilliant fix from greggy- as a complete novice who hadn't soldered for 20 years since being at school I achieved a fix.Capacitor 39p from maplins and they had a soldering kit with iron,stand, solder and desoldering pump for £9.99.Cost a tad over a tender versus the £100ish a callout and fix would have cost.Thanks very much. |
|
| Back to top |
|
|
|
 |
JustJerseyJoe

Joined: 10 Nov 2012 Posts: 1 Location: United Kingdom
|
Posted: Sat Nov 10, 2012 12:48 am |
|
|
I cannot thank you enough Harry and everyone for this post! I replaced C17 as recommended (with a higher rating cap.) and the machine works perfectly.
I just have a quick query if someone can help (I have the WD420 model)?
I made a note of the wiring configuration before I removed the controller board. Unfortunately, I cannot remember what wires connect to J2 on the board (so I have left them out). The wires are Brown and Blue, and I think they control the thermostat on the dryer. Does anyone know if it matters what way round they fit into J2, or is there a specific order? I don't want to guess and damage the board as the washer bit works again
Thanks in advance. |
|
| Back to top |
|
|
|
 |
andymay90

Joined: 01 Nov 2012 Posts: 7 Location: Birmingham, United Kingdom
|
Posted: Sat Nov 10, 2012 9:06 am |
|
|
| JustJerseyJoe wrote: | I cannot thank you enough Harry and everyone for this post! I replaced C17 as recommended (with a higher rating cap.) and the machine works perfectly.
I just have a quick query if someone can help (I have the WD420 model)?
I made a note of the wiring configuration before I removed the controller board. Unfortunately, I cannot remember what wires connect to J2 on the board (so I have left them out). The wires are Brown and Blue, and I think they control the thermostat on the dryer. Does anyone know if it matters what way round they fit into J2, or is there a specific order? I don't want to guess and damage the board as the washer bit works again
Thanks in advance. |
When you connect back to j2, the wires should come up out of the connector rather than down- that's the best way I can describe it![/img] |
|
| Back to top |
|
|
|
|
|
 |
|
|