My house extension diary

Week 7

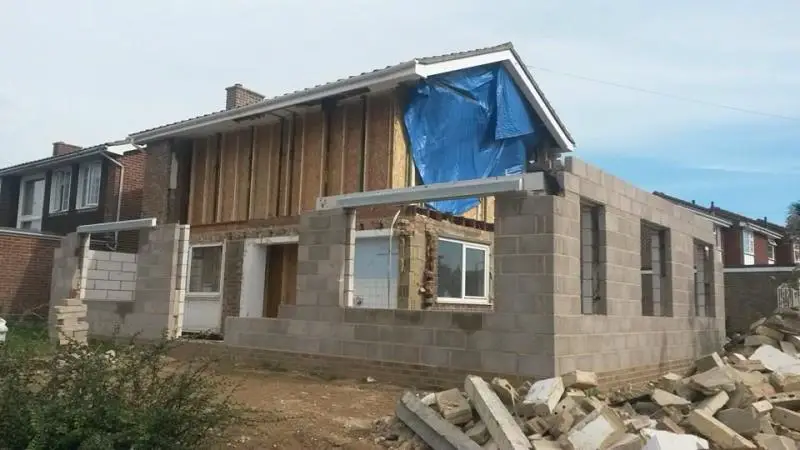
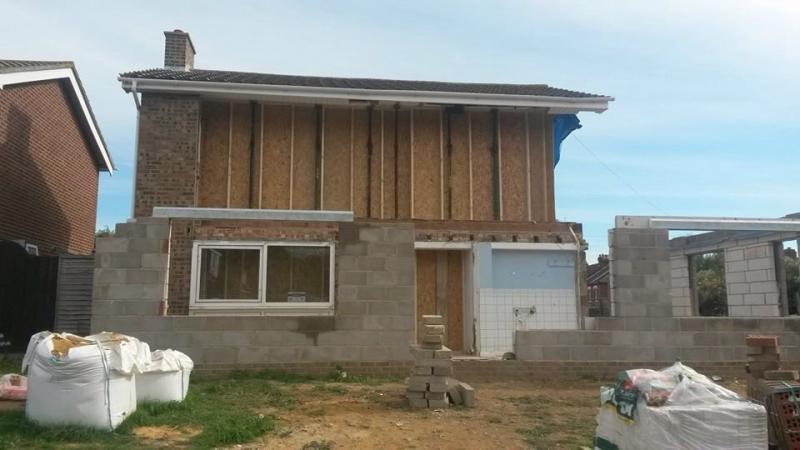
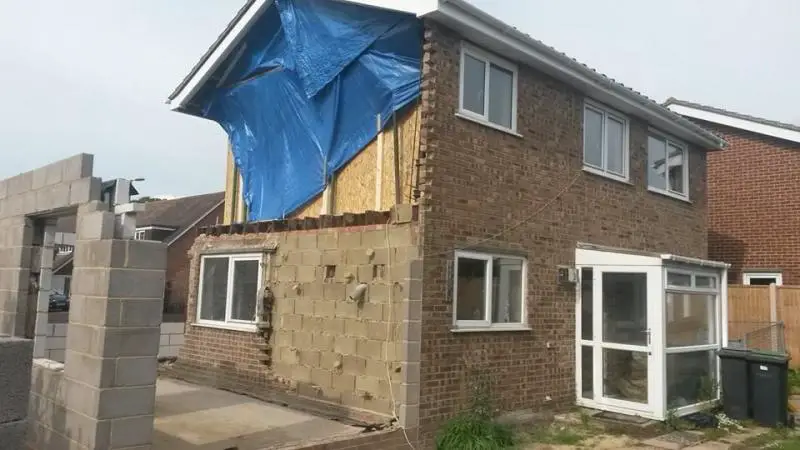
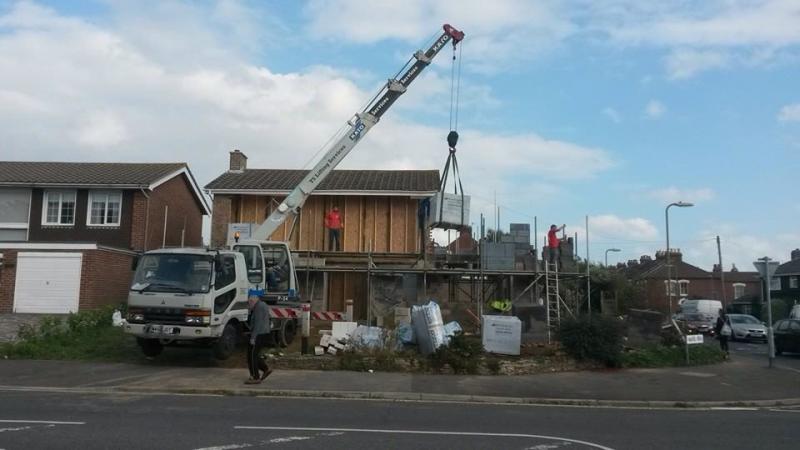
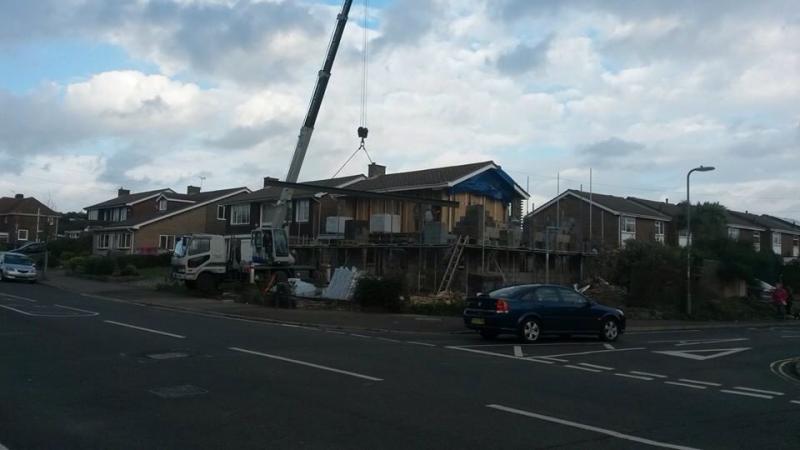
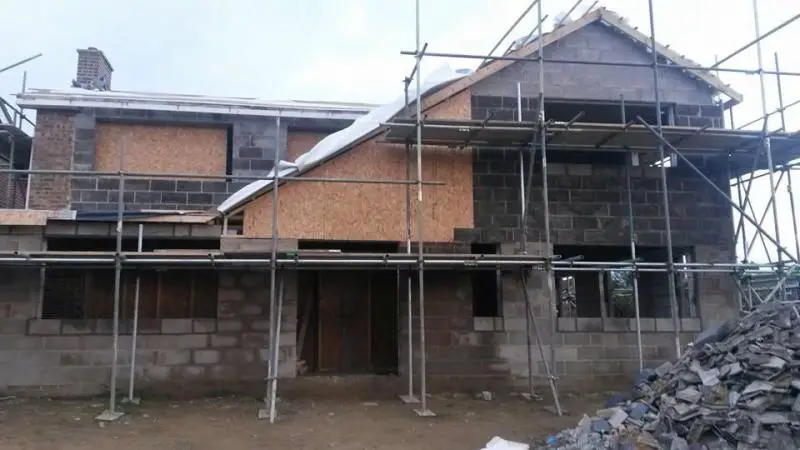
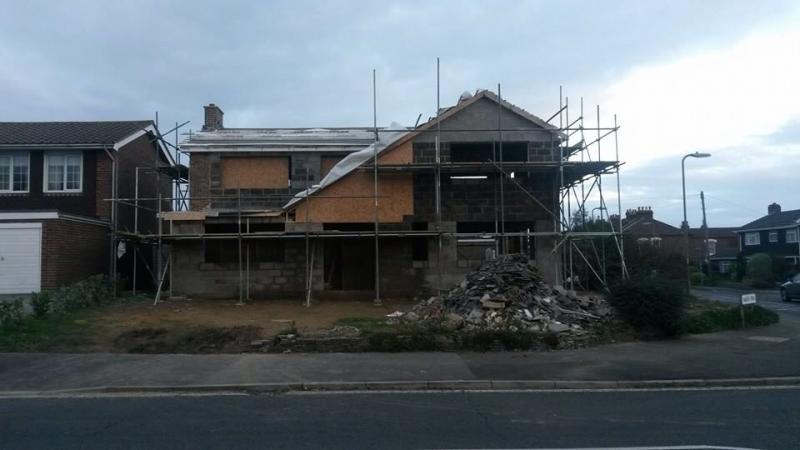
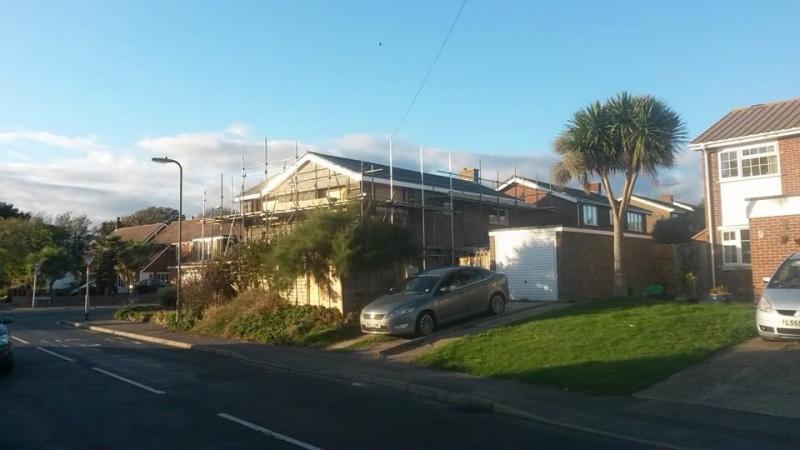
A bit of a disappointment this week as nothing has happened at all. The scaffolder let us down last week and there seems to be a shortage of it at the moment. We have been promised some will be up next Monday so fingers crossed. In the meantime there is not much to do.

I have been in touch with a friend who works for a local window company who do Rehau frames. They have done an amazing deal (53% off) so the downstairs windows have been ordered.

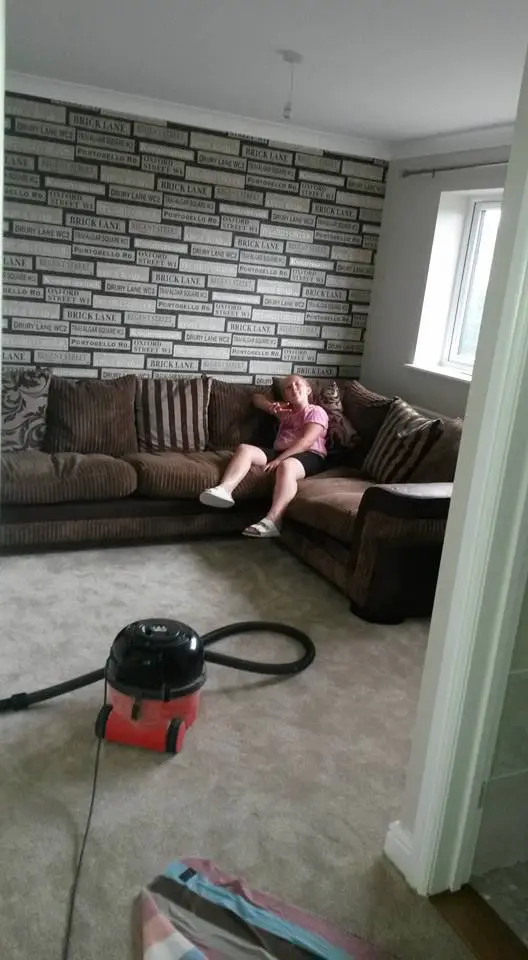
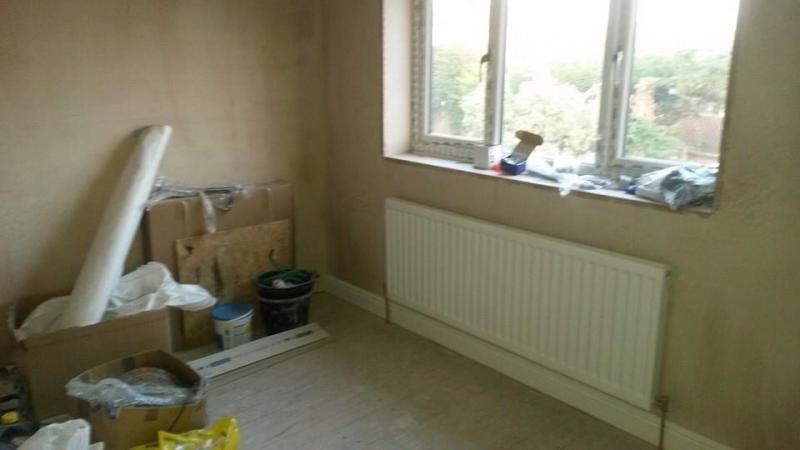
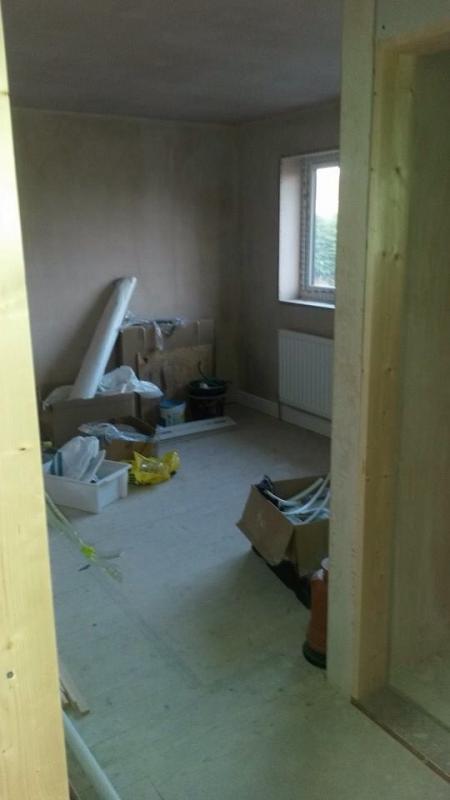
Today I started on clearing out what is currently the front room. I removed a fireplace and started stripping the wallpaper. A present surprise when I lifted some of the carpet to see some really nice looking parquet flooring (if that's how its spelt. I'm certainly not normally a fan of it but this actually looks really nice. I'm not sure if we will reuse it but I guess its an option.

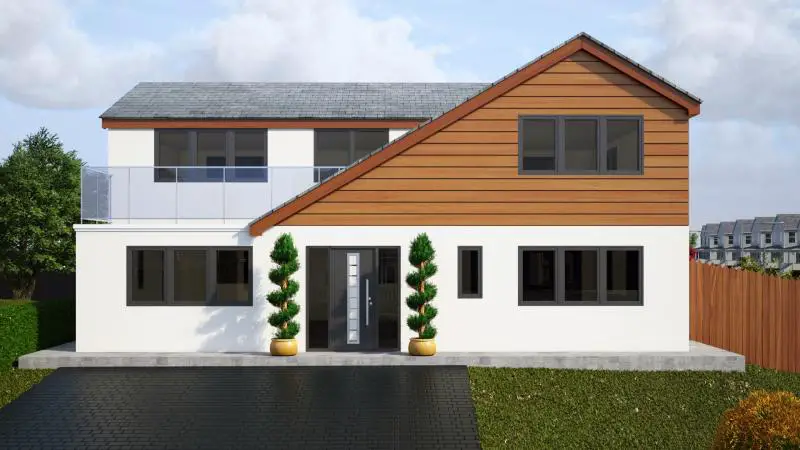
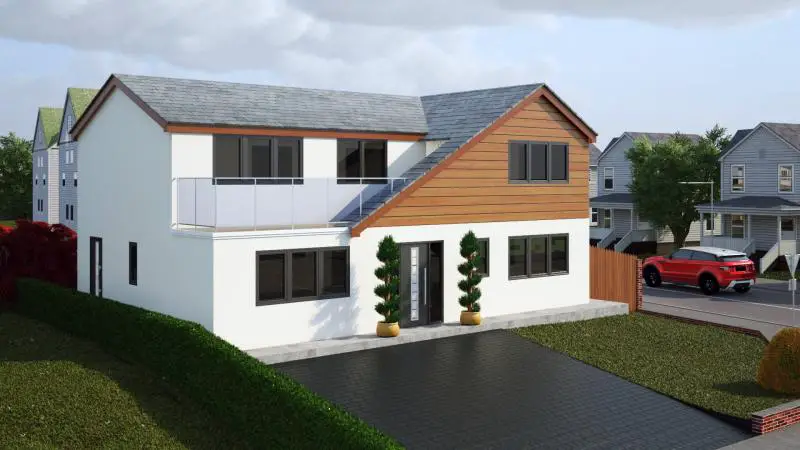
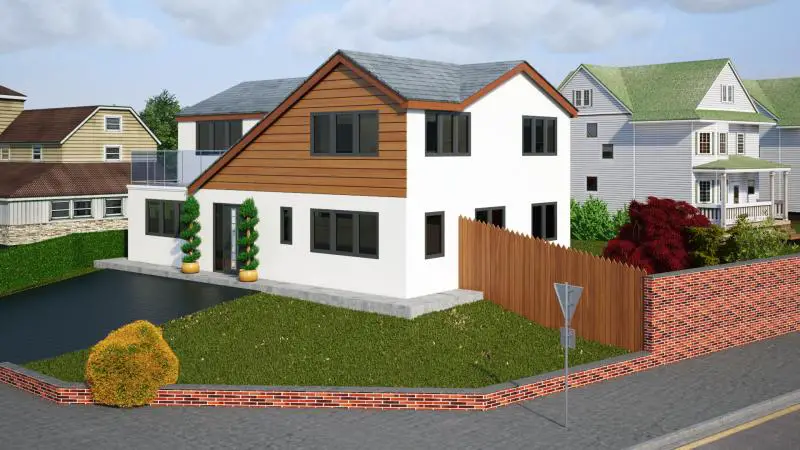
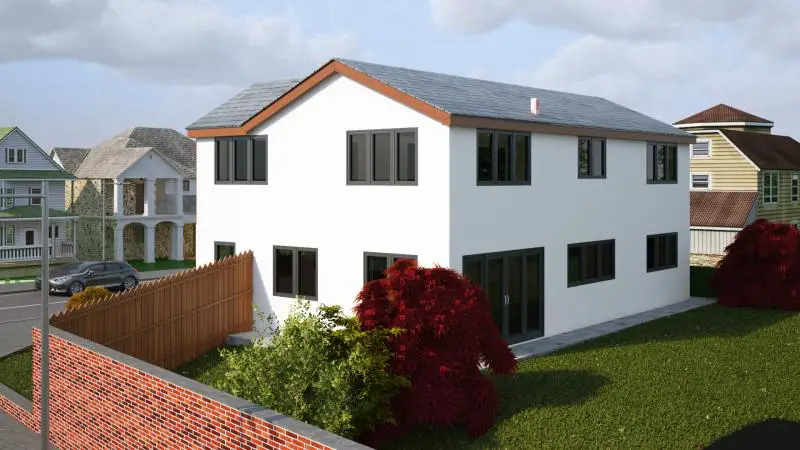
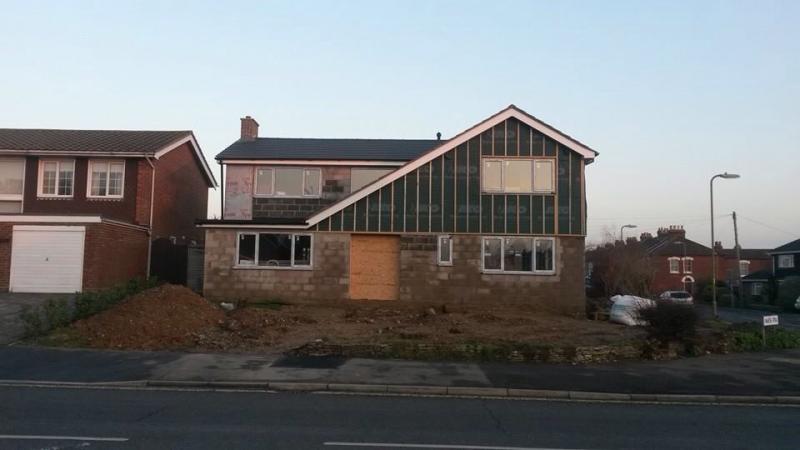
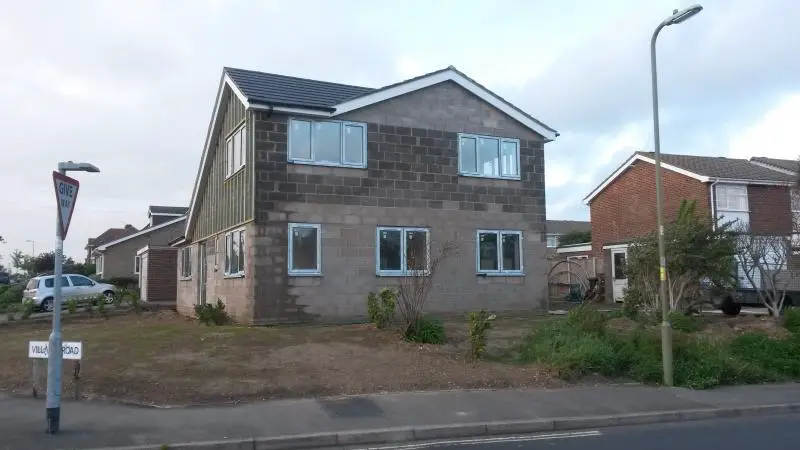
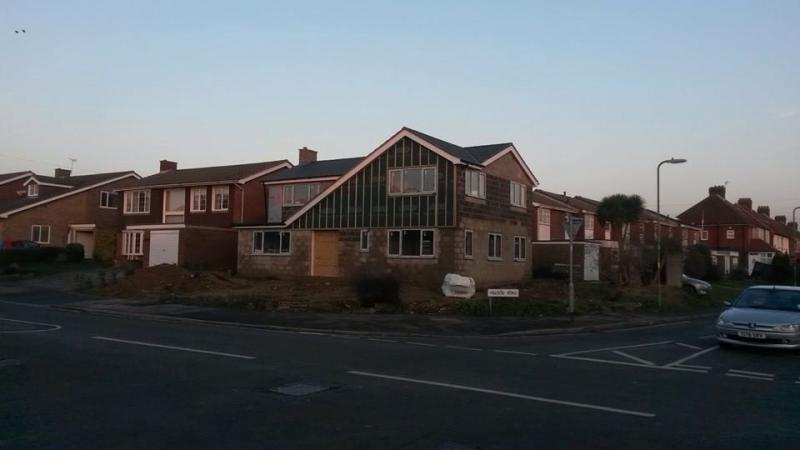
Andy kindly sent a message this week asking about the style of the house. I had been saving these in case the house doesn't look anywhere near as good but here goes. I was unsure quite how the design would look as it is reasonably unique. I had a good idea in my head but there were a few parts of the design I was not sure about and I didn't want to change my mind once it was built. As such I convinced myself it was worth spending a few ££ now to get some 3d renders done to see roughly how the finished article will look. I used a chap on line based on the other side of the world and it didn't cost much and was well worth doing.

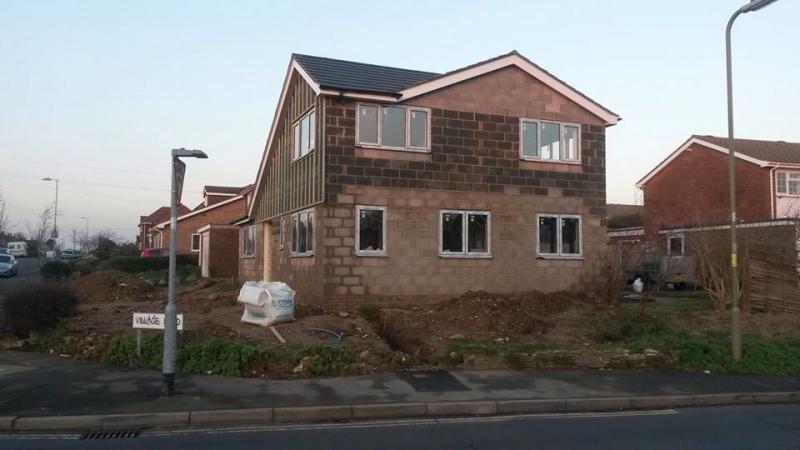
I would encourage anyone in a similar position to do something like this. To give an example on how it can help I was unsure of the colour render to go for. Now the rendering will cost me circa £8500 for the whole house and for these images I can make amendments for £20 a go once the design has been done. To me its a no brainer, I will go with the lighter render and know it will look ok once done. Anyway enough typing, here are the pics.

 
Sponsored Links
I'm not sure if anyone is following this but if anyone is here is an update.

You might notice I have changed the title and removed the words "extension on a budget". This is because of 2 reasons. Firstly I have completely blown any budget I originally had and secondly that I have learnt the hard way that cheap quotes can be a false economy. That was the chance I took and in my case it didn't work out.

So my last update was at week 7. Between week 7 and week 17 nothing happened. The builders kept coming back trying to charge for things which should have been included on their original quote but with only a basic specification written there were a lot of grey areas. I got a third party opinion for some of the extras they were charging for and was told that they were seriously excessive.

Left with a half finished shell I made the hard decision to get rid of the builders as felt that it would only get worse once the house was not watertight or worse still if they tried to sting me for more than I could afford when the roof was stripped.

When i was originally deciding on which builder to use I had narrowed it down to 2 firms. I went with this guy who hadn't worked out but fortunately parted on good terms with the other firm of builders who we turned down. I went back to the owner and explained the situation. I know a lot of builders won't touch a project started by someone else but fortunately he agreed to take the project on. I think he felt a bit sorry for us.

We had overpaid for what had been completed and so needless to say it cost more but at this stage we were just keen to get the right person on board. I took up 5 references on the builder as well as visiting a couple of sites he was working on and speaking to the owners. It may have been a bit excessive but I can't stress enough how I wished I had taken more than 1 reference for the original builder. Maybe then I wouldn't be in this situation.

Anyway this is an update on where I was 3 weeks ago. I will update with the current progress shortly when I have uploaded the pictures.
 
Gregory01,

Thanks for coming back. Sorry to hear about your troubles - all too common FWIW.

I'm sure that it will all be worth it in 12 months when most of the problems will have faded from memory.

I look forward to seeing whats happening now with your project.

AAMOI: running a wall to butt against the house can create a damp bridge - the garden wall should be isolated from that elevation. Intermittent buttresses will give stability, and broad coping stones will protect against penetrating moisture down into the garden wall.
 
Ok so I have a few minutes free so wanted to update the blog. We have now had weeks 18, 19 and 20. In the last 3 weeks alone the new builders have made incredible progress doing probably 3 times the amount of work in 3 weeks than the last builders managed in nearly 4 months.

It all went so quick I haven't managed to put a day by day account of what happened but this is a basic overview of what has been done so far.

So to start off the builders decided it would be easier to remove the upstairs walls of the house as there were 2 big steels to go in. One which run the entire length of the building and one the entire width. There was also a new wall which needed to support these steel beams. This was by far the scariest part of the build and a lot of trust in the builder to be able to put it all back together.


The crane came and lifted the blocks onto the scaffolding and with the help of a lot of men the steels were slowly inched into place.


The block work continued and it didn't take long until it started to take shape


Inside the new floor joists and flooring went in to the new extension. After that half of the existing house had the floor joists removed as new ones were needed. This is because we were changing the layout of the stairs and the existing joists were then not long enough.

 
Sponsored Links
To continue here are a few more pics.

Firstly my lovely misses (now 20 weeks pregnant) trying to work out what's happened to her beloved house. She doesn't come to site quite as often as me so normally is a bit shocked by the progress.


Upstairs internal. The chipboard flooring is down over 2/3rds of the house. There is a slight difference in floor height between old and new and the old one is not completely level. I am unsure how we will resolve this yet but there are a few options so will decide as we go.


The door to our balcony (without the door)


The roof which follows down to first floor height was made out of timber and OSB board which will be made ready for the cladding. This was one area I was concerned about as was not sure how the design would work but so far it's turned out reasonably well so panic over. As I think I may have mentioned earlier on the design of the house was not my first choice but unfortunately we had to get something through planning and this was a design I came up with which the council officer actually liked.


In the last few days the house has had new facia and soffit installed. The builders have also completely stripped the old roof. I decided whilst the scaffolding was up it made sense to replace the roof felt as the old lot was falling apart at the ends where it was exposed to the sunlight. I got a bit carried away but thought if they were having to take the tiles off to replace the felt I might as well go the whole hog. The roof was re felted, new batons and then re tiled with some marley edgemere tiles. These are very similar to marley moderns but quite a bit thiner and not too much more expensive.


And that is about where we are up to excluding the internal studwork which I have forgot to take photos of.

This week there is a rubber roof going on the balcony and the floors are being screened downstairs. We also have another chippie on site who is getting the front ready for cladding and the guttering is going on. It is a week of finishing up the odds and ends and then that is the builders done. Things after this will slow down as I take on some of the jobs in an effort to save some money as the bank balance is starting to run low.
 
It's been a few months since my last update and so for anyone interested I thought I would add a few more pics.

The rubber roof for the balcony is on and the front has been battened ready for the cladding. Over a number of weekends we managed to get all the windows in. Now the only thing missing is the front door. We went with a hormann tsp700 after seeing one on someone else's project on this site. Unfortunately they are all made to order from Germany which means there is a few months wait whilst they are made and shipped over. It should be here in a few weeks time.


For the back of the house we were going to go with upvc bifolds however found a local company who do aluminium ones for a reasonable price. We viewed the factory and we're happy so we paid a bit more and went with these. The quality is great and it's definitely a decision I'm really happy with. We would have liked them bigger but unfortunately given the way the house is structurally supported this wasn't possible.


Internally we got all the first fix electrics done. We ended up getting a company in which is owned by an old school friend of mine. It didn't take too long however there are wires everywhere. Certainly something which would have taken me weeks.


We have a plasterer who is a friend of my partners. He pops in and works Saturday's so progress is slowed down a bit. To be honest this is great as everything has been going at a hundred miles an hour up until now.

Downstairs


Upstairs
We have most of upstairs plastered now. It really starts taking shape when the boards go up. We made a slight change to the plans and added an en suite in one of the bedrooms. Now it's there we are really happy with the decision and hopefully it will mean I can have somewhere to go when the girls take up the bathroom in the mornings.


Heating. We have installed a new heating system - so far just the upstairs radiators. We used plastic pipe with push fittings. Just some advice here. We used stuff called floplast from screwfix. Please don't ever use this, it is complete crud. The pipe doesn't flex and the connectors are near impossible to de mount and occasionally are just as hard to push together. We changed when we were 80% of the way through, we used Hep2o in the end and it's definitely a far superior product. If you are about to embark on a project just pay the extra and use this from the start. It will save you in time what it costs extra for the pipe.

We fortunately got a voucher under the green deal home improvement fund when it first came out. This gave us £1600 back towards a boiler install. We used a company called the warmer group. Really nice guys to deal with and highly recommended for anyone living in the hampshire or surrounding areas. Great thing is the boiler after the cash back cost less than we could have purchased the parts for. Got to love a bargain.


So that is where we are as of today. Still a lot to do but we are making progress. The misses is now 33 weeks pregnant so need to get my scates on as I can't see much getting done quickly once the bubba is here.

As always any feedback or questions the please feel free to comment.
 
Hi Angela,

Thanks for the comments however I think you are just on here to advertise your business. Just a quick google of your name and the company you referred to shows a lot of spam posts including 1 today saying you are thinking about getting a balcony installed.

Got to be better ways to get business. Good luck.
 
Hi to anyone still following. It's been a little while since I updated this and as I have a few minutes before I nod off I thought I would do a quick update.

So firstly the best news... The baby has arrived! A georgous boy who we have called Harrison. Feeling like a very proud dad but being on a diy forum probably wasn't the update you were looking for.

So this update is just on the outside, I will do another on the inside over the next few days.

The outside of the house was full with trenches, piles of soil and rubble. We got a man with digger in for a day and not only did he dig out for the drive but also did some reasonable grading of the ground.


You will also see that since last time we now have a front door. It's a horman tps700. Really happy with the quality and look of it. Only downside was the 3 month or so wait for it but as they say, good things come to those who wait - did I really just reference a beer commercial?

Out the back of the house we removed the small upvc porch and also all of the paving slabs. The ground was very uneven so the digger also helped level this up. Once roughly levelled we ordered 5 ton of topsoil and spent about 3 days with me and my dad using a rake and roller to try and get it close to smooth. Really we needed a lot more soil but given the cost of it decided to try and make do with what we had.

I purchased a huge bag of grass seed from Boston seeds online which arrived the next day. I don't have a clue about seeds but the guy on the phone was helpful and time will tell if it all comes up ok.


So that is where we are up to so far with the outside. Hopefully in a month or two it will be looking a bit greener. I plan on getting some type 1 for the drive and wackering it down. The driveway sand and block paving will probably be put on the back burner until funds allow.

Any comments / suggestions are welcome. :)
 
Thanks for sharing your home extension experience with us. Really, you accomplish the whole process with full planning and great efforts. Well done..
cleardot.gif
 
Hi everyone.

I realise I haven't updated this for about 5 months so if you have been following I apologise for the lack of updates. Anyway here is another post of progress we have made. We have actually got a bit further than what I am putting on this update but I thought I would do this update in two parts.

So far we have owned the house for a couple of years and still haven't managed to move in. It's a bit push now to try and get it ready ish for Christmas. If I'm honest it has been a lot bigger project that I had ever anticipated and due to not wanting to compromise on much we have been going slow time as funds don't allow us to just pay someone to finish it for us. :(

Just a heads up before I start. I'm sure this is common knowledge but if not and you are considering using chrome plated copper for your radiators my advice is this.. Only do it if you are using compression fittings. I used mostly push fit for my heating system and wasn't aware these don't grip chrome plated tube properly. A very frustrating mistake to make. I have since had to cut holes in walls by a number of radiators to change the push fit fittings to compression ones. Unfortunately these are the consequences of not doing so.


So onto the positive. There are a few rooms upstairs which are finished.
My step daughters room was first


We then went onto my little boys room. I'm sure he will love this as he has massively outgrown his Moses basket and I'm sure will love a room of his own. This is actually now furnished but I can't seem to find any pics of it.


The we have mine and the girlfriends room. It's not huge but has dual aspect Windows plus has direct access to the balcony.


Rather than having a spare room we decided to have a snug upstairs but got a sofa with pull out bed. Hopefully it will be the best of both worlds as can be used all the time but we still have space for friends to stay when they have had a few too many. This is smaller than originally intended as we put in an en suite which wasn't in the original plans.


Lastly is the en suite. Originally I thought the room looked tiny but it's amazing how much you can fit into such a small space. It works really well and doesn't feel too cramped. It also didn't cost to much in the end so I'm really glad we put it in.


I will get a few more pics together and do another instalment for a couple more areas which are finished. Also the rendering has just started and should be done in a week or two so will do a separate post for that. Any questions / comments then feel free to post.
 
Great to see it finally get close to the finish line.
 

DIYnot Local

Staff member

If you need to find a tradesperson to get your job done, please try our local search below, or if you are doing it yourself you can find suppliers local to you.

Select the supplier or trade you require, enter your location to begin your search.


Are you a trade or supplier? You can create your listing free at DIYnot Local

 
Sponsored Links
Back
Top