Sorry to be a pain, but i need to order in the materials this weekend.
What i need to know is:
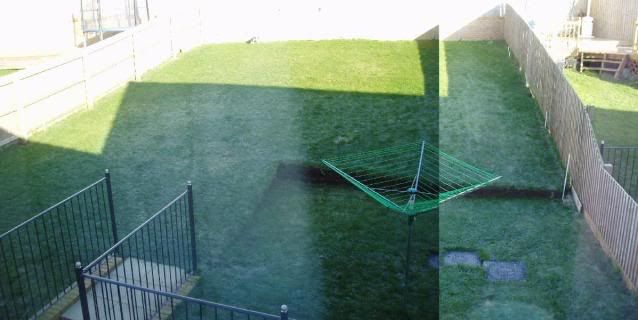
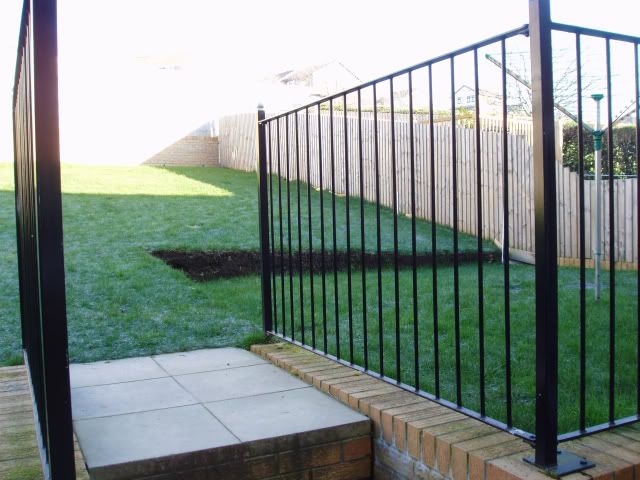
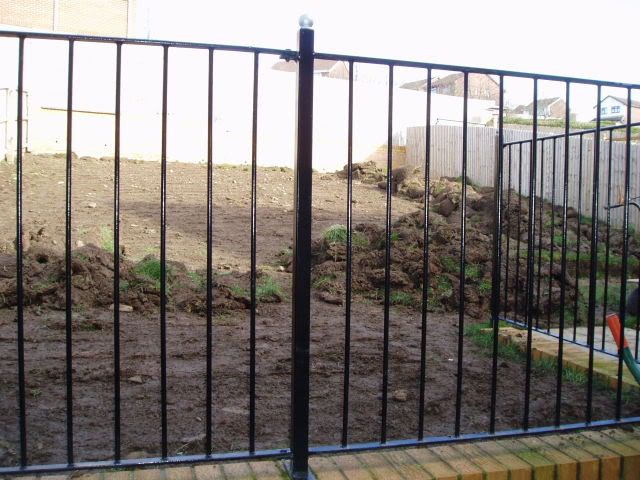
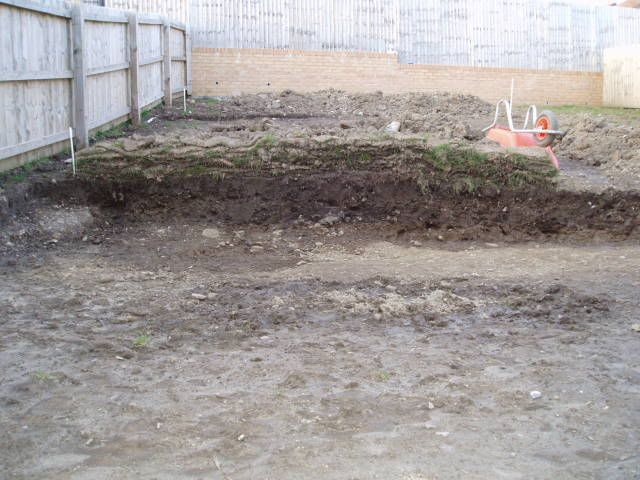
1) With the 4" round posts, how far should they be below ground?
2) I have reached the sub-base (solid rocks mostly) where the posts will go into, could i have a small trench say 150mm and build up a shutter on ground level of 200mm? So 150mm foundation below ground and 200mm above?
3) Would it be a good idea to use paving slabs concreated in against the earth wall before i put the posts in (To make in a lot stronger), then have a 5" gap between posts and slabs and fill with pea shingle for drainage and protection.
Thanks.
What i need to know is:
1) With the 4" round posts, how far should they be below ground?
2) I have reached the sub-base (solid rocks mostly) where the posts will go into, could i have a small trench say 150mm and build up a shutter on ground level of 200mm? So 150mm foundation below ground and 200mm above?
3) Would it be a good idea to use paving slabs concreated in against the earth wall before i put the posts in (To make in a lot stronger), then have a 5" gap between posts and slabs and fill with pea shingle for drainage and protection.
Thanks.
") I'll persevere and get down to at least 300mm.
I'll persevere and get down to at least 300mm.