Hi All, new to this site and have scanned for various bits of the info I need, however, here's my challenge. (I hope I haven't posted this twice but it didn't seem to work first time?)
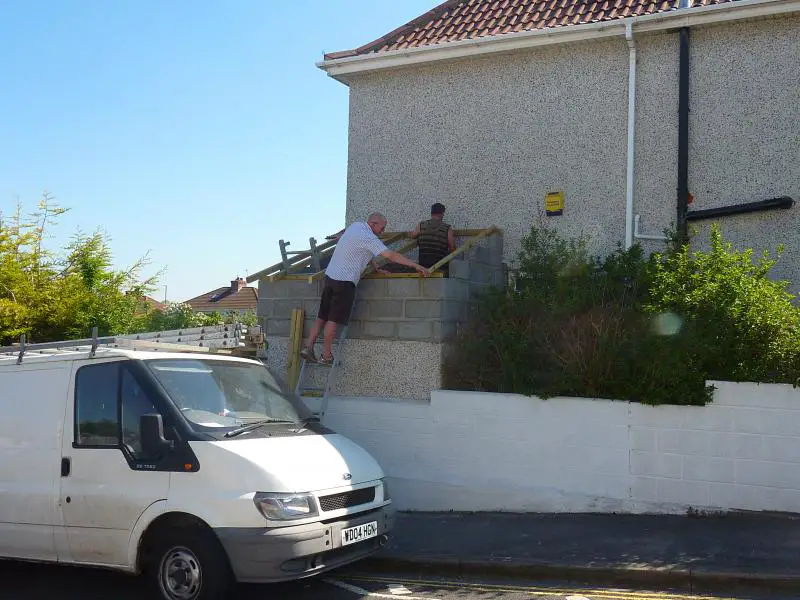
I've built a 17 foot wall between my house and garage to screen of the drive from a new sandstone patio I'm laying to the rear of the house. The wall is 6 ft high made of 190 width Topblocks on a 2 ft concrete footing. I tied the damp course into the house and garage and used the strip wall ties to connect to the house and garage walls. It has a 215 width brick and tile arch doorway through the middle and a tiled and round brick capping (@3.35 a brick I nearly passed out!). The house was built in the mid-30s and has exposed brick bands and white painted rough cast which to me appears to be a sort of pebble dash but then with a cement and sand final coat to soften the surface texture?? Various builders have tried to persuade me that it is just pebbledash with years of overpainting but I'm sure the "pebbles" were either mixed into the dash or a final coat of sand/cement overcoated.
Everything looks really great this far and now I want to roughcast both sides of the wall to match into the original house and garage finish. Effectively I have four panels of about 6'8" x 6ft (both sides/either side of the gateway) to render/roughcast. Previously where I have had to patch previous areas where windows have been moved etc by previous owners I have been most successful applying a PVA adhesive coating at 1:1 and then using white waterproof cement based tile adhesive, then pebble dashing on to that while wet, then applying a further coating of tile adhesive thinned to a goop with PVA adhesive once the pebbles had set. However this is the first time I'll have worked from a large area of bare blocks and I don't want to c*ck it up!. Here's my questions:
1. It seems from other topics and responses I should soak the blocks prior to rendering a first coat in 3/1 sharp sand to cement and then scratching the surface in wavy lines -- correct??
2. Should I add waterproofing to this first coat mix?
3. How thick should the first coat be roughly?
4. Should I use my tile adhesive approach prior to pebble dashing or should I use more 3:1 sharp sand to cement mix to pebble dash into?
5. Many of the smaller areas I've overcoated with tile adhesive/PVA have now been up for more than five years successfully -- but is there a better way of "rounding off" the rough profile of the initial pebble dash?
Any advice welcome.
 not sure why i suggested a stronger mix for top coat. Must have had an hard day when i responded to that one