rik - all is not lost as all the bits you need are available.
The most important question ... is the glass OK? Not the end of the world if you've got clean breaks and big bits left; it's possible to mount these in lead. However, glass supplies are readily available and matching is possible.
The lead sections are called lead came, these come in a couple of profiles - U (for outside borders, H for borders between the glass fields). You need a high wattage soldering iron to make the joints.
Another method of fixing the bits together is by using copper foil, which when wrapped around the meeting edges of the glass fields, is then soldered to produce the tell-tale lead appearance. This method is used for light stuff like Tiffanny lamps and isn't really suitable for windows (unless really small). This foil method is easier for the novice.
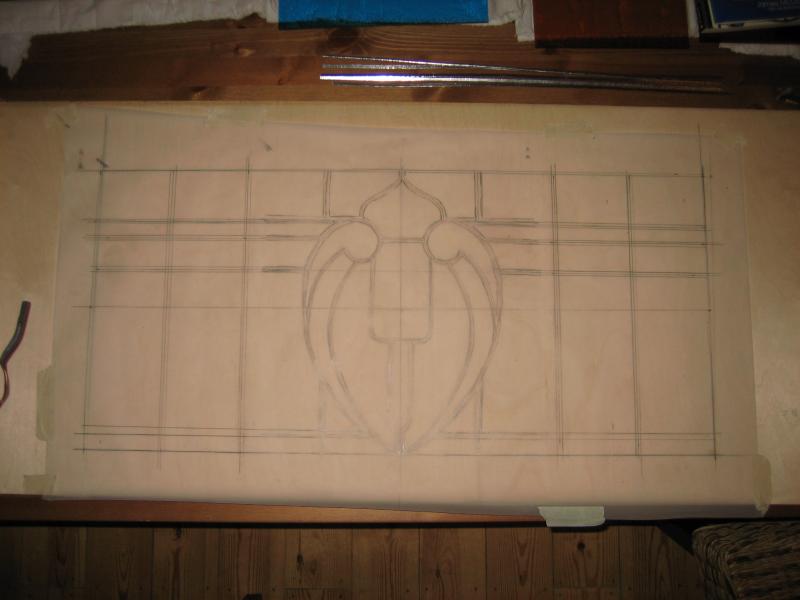
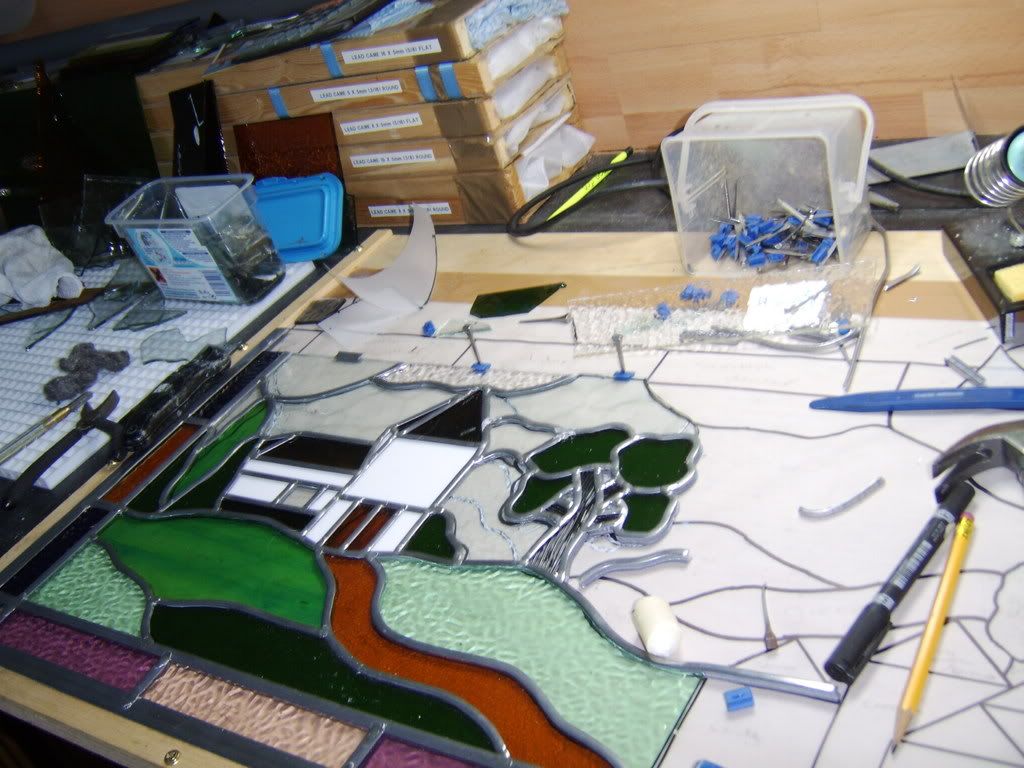
How to go about the repair: work on a sheet of ply or chipboard, layout all the glass bits in order to re-create the pattern, mark the patterm (cartoon) on the board below (lift the bits of glass in turn to do this then lay them down again). Cut the appropriate cames to length (over-lay on the glass and snip to length), fit the cames to the glass, then hold everything in position with panel pins or similar (hence the ply layout board). Now the hard part ... the soldering. Flux each joint in turn (use a small artist's brush or similar), apply heat to the joint with the iron (assumes you've prepared the iron by 'tinning' the bit to help produce a clean, even flowed joint). Don't over heat 'cos you'll melt the came away and create a hole also you must use the correct solder not any old stuff you might have in the tool box. When all the soldering is done whip out the panel pins, flip the window over (helps if you have a second ply board to sandwich the glass for the flip), then solder the joints on the second side.
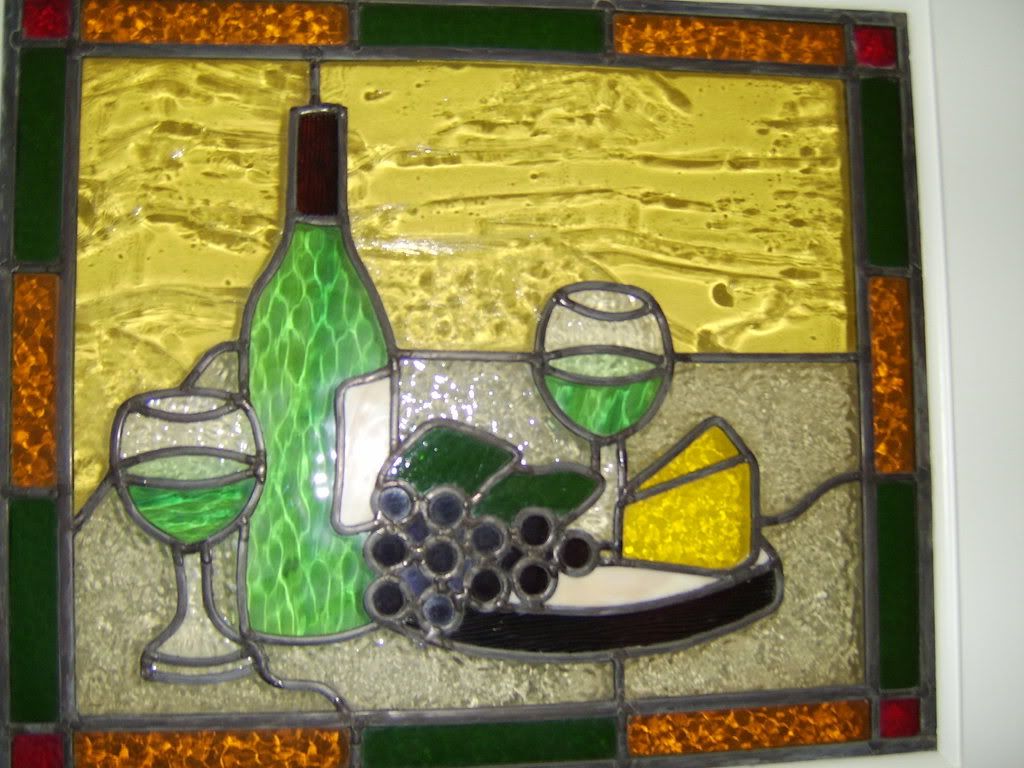
To finish off close any gaps with pressure, fill with sealing 'cement' (maybe with whiting added), apply lead Patina. Job done.
The key to all of this is practice with the soldering iron, and more practice - use short bits of came to do this on.
There are loads of decorative glass suppliers around, many doing mail order, but I'd check locally (Yellow Pages maybe) to see if there any so you can match glass. You'll get the cames, soldering iron, flux, solder, cement, etc. from these places.


 )
)