|
|
| Author |
Message |
francspencer

Joined: 01 Nov 2008 Posts: 77 Location: Oxfordshire, United Kingdom
|
Posted: Fri Apr 29, 2011 10:56 pm |
|
|
Hi Guys,
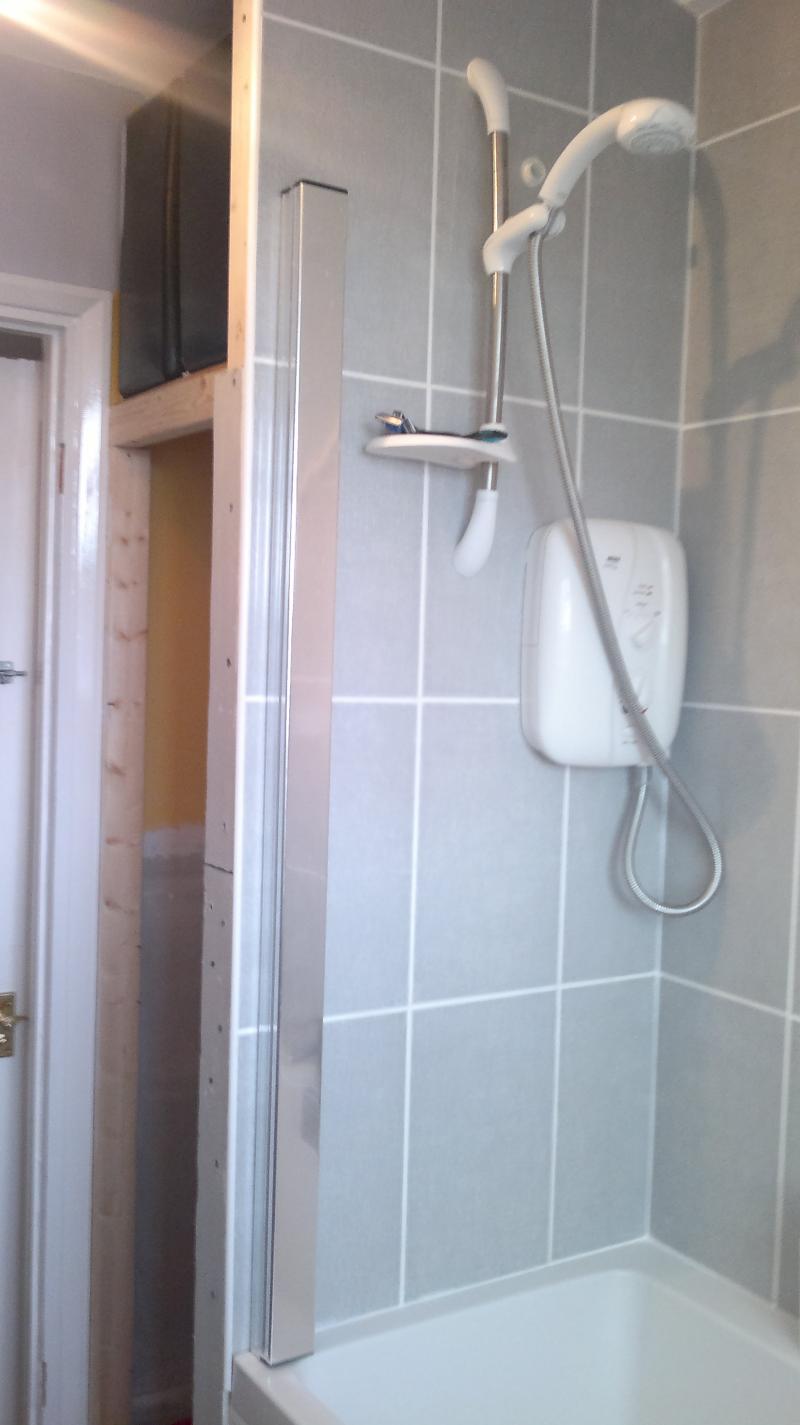
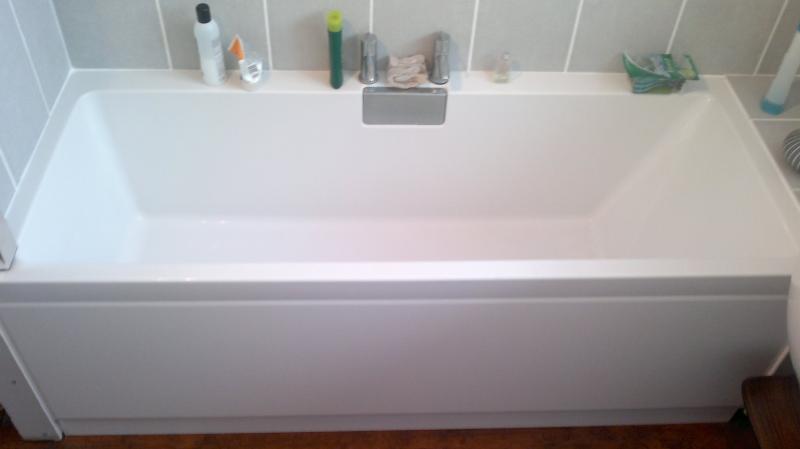
I'm on the last few days of my bathroom rennovation.
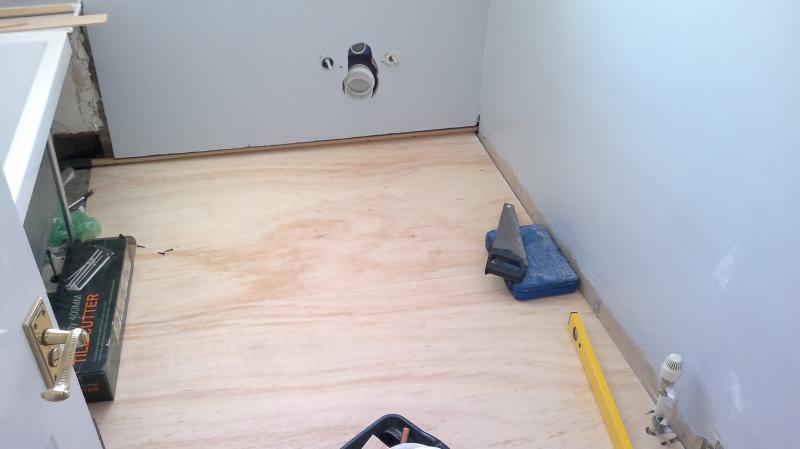
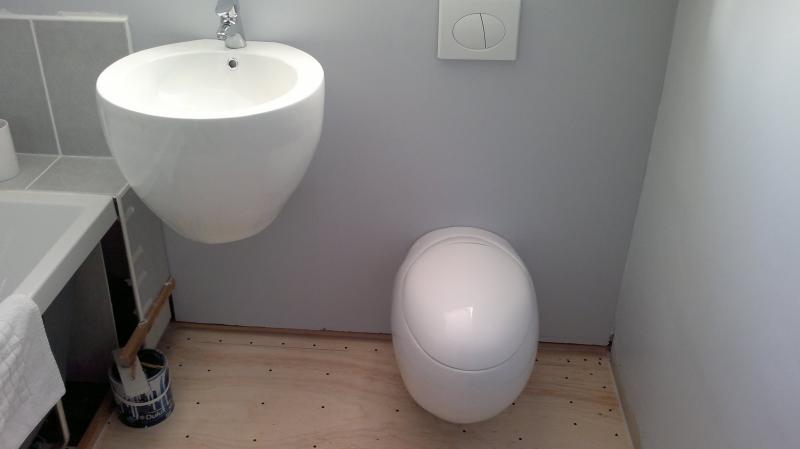
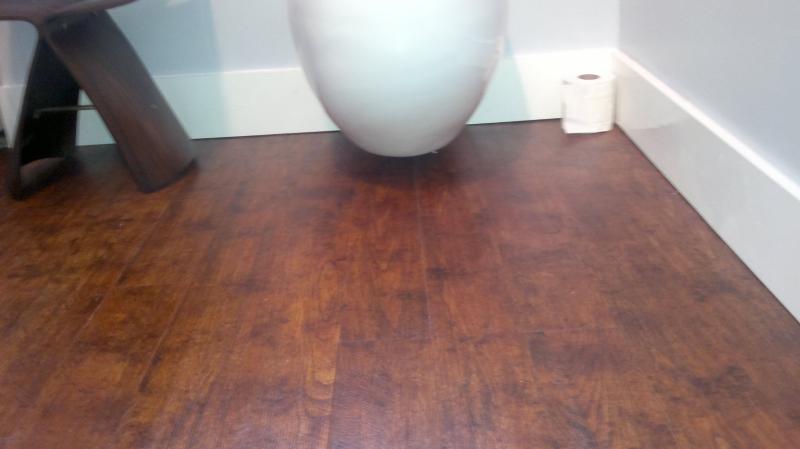
I've just laid 6mm wbp ply ontop of the floorbords using screws.
I have purchased F-ball 131 and 700 superflex.
Any advice on application and drying times.. (Also amtico ps adhesive)
I was hoping to have the amtico dowm tom.
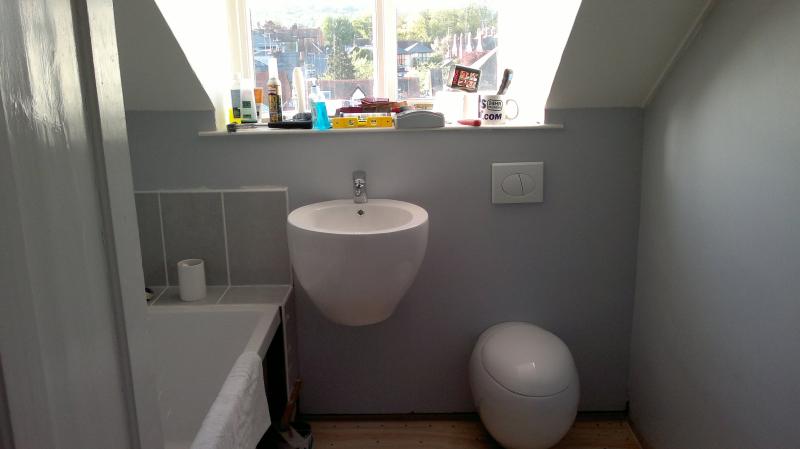
The room is 1500 x 2500mm
I dont have a roller for the amtico pressure adhesive.. can I use anything else? (I purchased the f-ball products from a local trade flooring supplier and he offered me a 56kg roller to rent.. I have a slipped disc in my back, so declined as I live on the 3rd and 4th floor of a house) |
|
| Back to top |
|
|
|
If you do not want to see this advert, click here to login or if you are new click here to join free. |
 |
lymmranger

Joined: 02 Nov 2009 Posts: 453 Location: United Kingdom Thanked: 47 times
|
Posted: Sat Apr 30, 2011 8:34 am |
|
|
Screed drying times vary according to site conditions...
Normally you would allow at least 24 hours
Pressure sensitive is spread very very thinly, it is usually white when freshly applied, you wait until it goes clear - this usually indicates that its ready
You do not really need a roller - press them down firmly - the clue is in the title "pressure sensitive" the more weight you put on it the harder it sticks, so - stand on it!!!!!!!!! |
|
| Back to top |
|
|
|
 |
francspencer

Joined: 01 Nov 2008 Posts: 77 Location: Oxfordshire, United Kingdom
|
Posted: Sat Apr 30, 2011 2:29 pm |
|
|
Perfect, thanks, I'll screed and leave the room alone until tom.
Great advice about the glue changing colour!
Thanks again,
 |
|
| Back to top |
|
|
|
 |
lymmranger

Joined: 02 Nov 2009 Posts: 453 Location: United Kingdom Thanked: 47 times
|
|
| Back to top |
|
|
|
 |
francspencer

Joined: 01 Nov 2008 Posts: 77 Location: Oxfordshire, United Kingdom
|
Posted: Sun May 01, 2011 11:52 am |
|
|
Yes, I'll take some photos for you all to have a giggle.
My next problem has arisen.
The floor area is 2.5 long x 1.5 meters wide.
The floor is sloping down width ways, It looks like 20mm in the slope.
I only have one bag of F-ball 700. Can I build up the right hand side of the floor with more plywood and screw down? |
|
| Back to top |
|
|
|
 |
francspencer

Joined: 01 Nov 2008 Posts: 77 Location: Oxfordshire, United Kingdom
|
Posted: Sun May 01, 2011 1:17 pm |
|
|
make that 30mm over 1500 any advice.. |
|
| Back to top |
|
|
|
 |
lymmranger

Joined: 02 Nov 2009 Posts: 453 Location: United Kingdom Thanked: 47 times
|
Posted: Tue May 03, 2011 7:31 am |
|
|
Floors are very rarely "spirit level" flat.
They nearly all have a fall one way or the other
...dont worry about it - just get it smooth blemish free and well adhered |
|
| Back to top |
|
|
|
|
|
 |
francspencer

Joined: 01 Nov 2008 Posts: 77 Location: Oxfordshire, United Kingdom
|
Posted: Tue May 03, 2011 12:16 pm |
|
|
Thanks,
But do I need to add more ply on top in the deep areas to save on levelling compound as it states no deeper than 10mm..?
I have added pix as promised.
Franc
 |
|
| Back to top |
|
|
|
 |
francspencer

Joined: 01 Nov 2008 Posts: 77 Location: Oxfordshire, United Kingdom
|
Posted: Tue May 03, 2011 1:50 pm |
|
|
I have a response from F-ball technical;
"Thank you for your recent enquiry regarding the above. We can confirm that Stopgap 700 Superflex underlayment should be applied at no less than 3mm in thickness but should not exceed 10mm. Therefore where the floor level needs to be made up by 20mm this should be undertaken by screw fixing plywood of the appropriate thickness ensuring it is at least 6mm, the surface then primed with dilute Stopgap P131 neoprene primer when it has dried apply the Stopgap 700 as directed in the data sheet.
We hope the above meets your requirements, data sheets on all our products can be found on our web site www.f-ball.co.uk. Assuring you of our best attention."
Looks like my plan will work. |
|
| Back to top |
|
|
|
 |
lymmranger

Joined: 02 Nov 2009 Posts: 453 Location: United Kingdom Thanked: 47 times
|
Posted: Tue May 03, 2011 2:29 pm |
|
|
He he - looks like you are getting there
Nice Bathroom
...only a small niggle - I hope tour toilet connector has been planned with the (eventual) increased floor height in mind ....it looks like you have but just wanted to check before its too late!
...keep the pictures coming - I would love to see how it turns out |
|
| Back to top |
|
|
|
 |
francspencer

Joined: 01 Nov 2008 Posts: 77 Location: Oxfordshire, United Kingdom
|
Posted: Tue May 03, 2011 2:57 pm |
|
|
Yes, the photos look a bit out of perspective, the toilet floats a good 3 inches above the ply at the moment, so should be fine.
Thanks for your feedback.  |
|
| Back to top |
|
|
|
 |
francspencer

Joined: 01 Nov 2008 Posts: 77 Location: Oxfordshire, United Kingdom
|
Posted: Thu Jun 02, 2011 9:13 pm |
|
|
Latest photos as promised.
Just need to finish off some skirting and construct shelves under the water tank.
Amtico was a dream to work with, I was worried about using a stanley knife to cut, but was fine.
 |
|
| Back to top |
|
|
|
 |
lymmranger

Joined: 02 Nov 2009 Posts: 453 Location: United Kingdom Thanked: 47 times
|
Posted: Fri Jun 03, 2011 6:47 am |
|
|
Thanks for the pictures!
....its nice when people let us know how the job finally turns out
.........Looks good to me, you can be proud of that |
|
| Back to top |
|
|
|
 |
francspencer

Joined: 01 Nov 2008 Posts: 77 Location: Oxfordshire, United Kingdom
|
Posted: Wed Jun 08, 2011 9:34 pm |
|
|
Thanks,
I'm really pleased with the flooring especially, its just so much warmer underfoot.
We've added some plants, candles and a mirror since, but will update once I've fitted the shelves.
Thankyou so much for your advice, it really has help me make some decisions quickly rather than worrying about everything and taking months to decide. |
|
| Back to top |
|
|
|
|
|
 |
|
|