R plastic wall plugs ok for a chimney breast

Joined
8 Aug 2011
Messages
54
Reaction score
0
Country
United Kingdom
Hi

Just a very quick query that I can't seem to find an answer to.

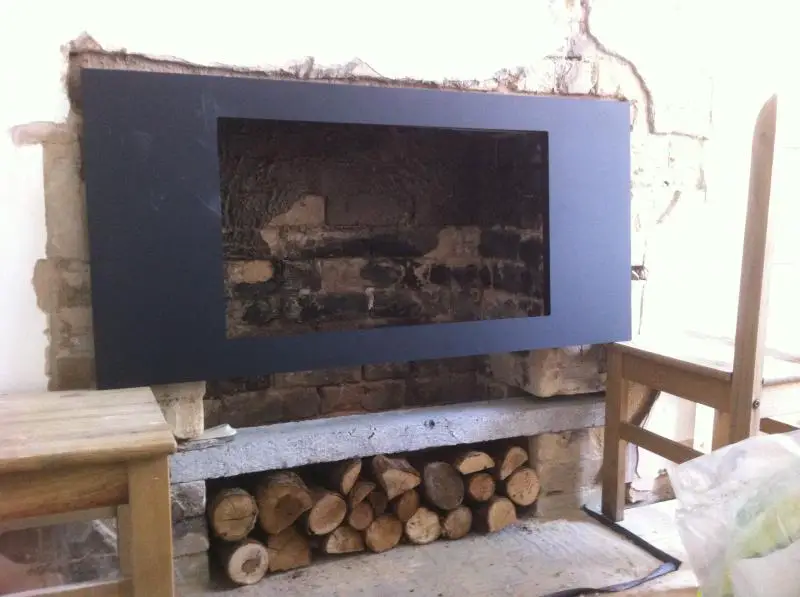
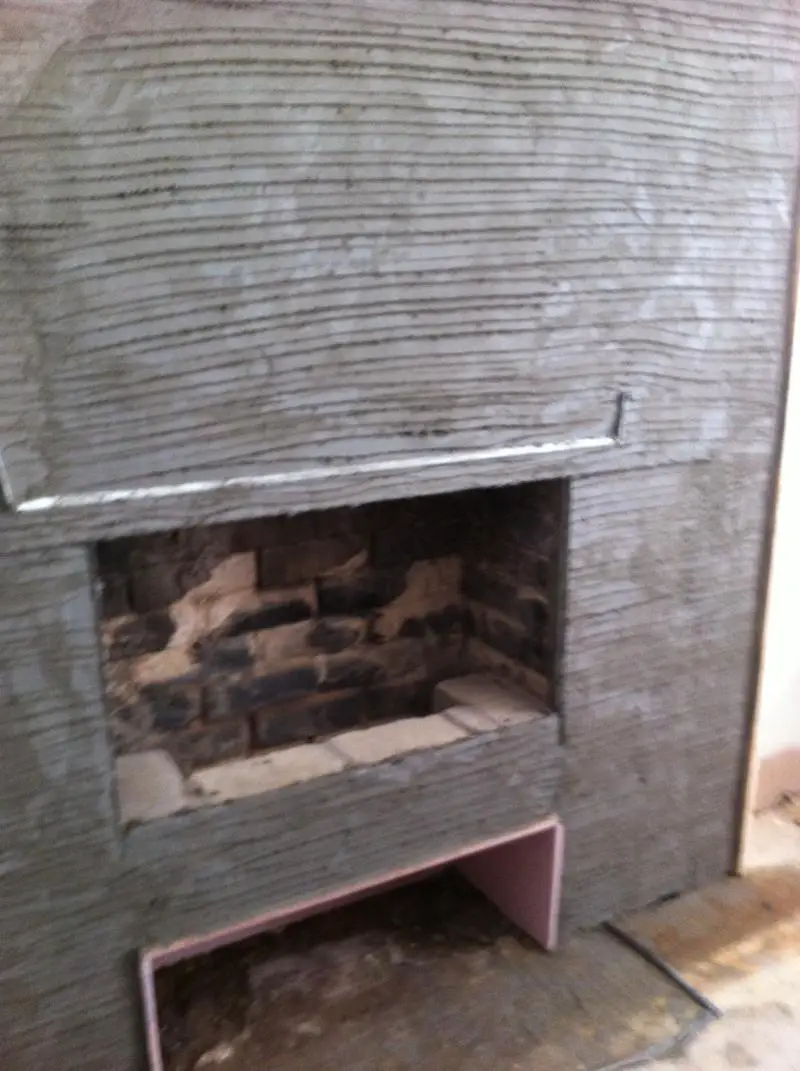
I need to screw a wire mesh on my chimney breast to plaster onto. Does anyone know weather it is ok to use normal plastic wall plugs or can u buy heat resistant ones?

I've just been searching on google and on diynot but can't seem to find anything on this, so any thoughts would be massively appreciated:)
 
Sponsored Links
Plastic plugs will be fine.
Why do you want to use wire mesh? Typically, you can simply plaster or render direct onto the masonry.
 
Thanks Tim

I thought I would add some wire mesh as it is a very thick render (40mm in places) to give it some strength and ensure it doesn't fall off.

Basically I'm fitting an inset wood burning stove and my chimney breast is 25mm too shallow so I am packing out 25mm by rendering on the front (and then getting someone else in to skim it)

I'm half way through doing it and am starting to think that I should have gone for metal battens and fireboard but i thought this way would be cheaper and also more solid feeling.

I scraped the paint off the chimney breast then hacked into it with an angle grinder (to give it a key)

I was thinking of screwing the wire mesh on b4 the final coat of render...do u think this is a good idea?

There r photos and more detail in here
//www.diynot.com/forums/viewtopic.php?p=2081547#2081547

And also here
//www.diynot.com/forums/viewtopic.php?t=286307&start=0
 
1. Having read and looked at your back post's i'm inclined to say you need to sort out definitively what you intend to do.
2. You must be accurate with your dimensions: eg. will a flue liner attach to the connection on top of your stove after you have dubbed out the extra 25 - 40mm? Connect without straining, that is. Have you thought about how the connection will be made and/or any future means of access to the flue liner conn?
3. Don't, under any circumstances, disturb the fire-opening back wall.
4. Why not pull the stove out, as was suggested, with some tile slips as furrings or decorative features, and merely make good the rest of the c/breast?
5. If you persist with dubbing out then: 2 x coats of PVA, second one tacky, and pull out in two coats of browning or render - no mesh reqd, keep it simple. However, your corners will cause further difficulties for you. No plastering until you have positively located the position of the stove, and sorted associated arrangements. 6. Have you taken care of chimney flue and terminal/stack arrangements?
 
Sponsored Links
I would not advise you use steel lath; the area around the fire will get very hot (maybe 100 degrees or more), the steel will expand & contract inside the render & I can almost guarantee it will crack it, making things worse rather than better.

You also want to be using sand/cement/lime render 5/6:1:1, do that in at least 2 coats the second slightly weaker than the first; 25mm is thick enough but I’m really not sure how 40mm thick render will cope, it may not work.

DO NOT whatever you do use Gypsum plaster, either base or finish, it won't stand regular exposure to heat (max around 50 degrees) & WILL fall off.

I see you posted a previous thread & Redherring2 posted a link to my standard stove install info; did you read it? If not, I would advise you do so here it is again;
//www.diynot.com/forums/viewtopic.php?p=2047417#2047417
 
Thanks for the replies.

Your absolutely right Tim I need to decide what to do and stick with it! I keep finding out new things and changing my mind about the best way to tackle this.

I have done 2 coats of render already so am going to stick with this method.

The only areas where it is 40mm is where the bear brick was exposed so there is 15mm to make up to get it the same depth as the rest of it.

I haven't yet sorted out the liner, I am actually looking to order that tomorrow. I am basically preparing the builders opening as requested in the site requirements on the manual. The flue at the top of the stove goes back 195mm to the back of the 6" connection and there is a 215mm depth going up the chimney so I hope this will be ok and will allow enough room for fittings. It has an inner and an outer box and the connections are all done by removing the outer box.
 
Thanks Richard

I have read (and studied!) your post and also the various threads that r linked to it. That's why I have kept changing my mind.

I have used a mix of 4.2.1 of sand lime cement, because I read somewhere else that this is 'fire proof' and I though that cos of the thickness required a bit of overkill with the lime was probably good.

That's very interesting about the mesh expanding and contracting I didn't think steel would very much. I guess then I just need to hope that it stays on.

I actually put a staneless steel offcut of pole above the opening cos I figured it may give it some structural support as this is the bit that will be 40mm thick...maybe I should remove this?

I have built a log store 300mm below the stove and I have dot n dabbed plaster board onto this which I think will be far enough away from the heat (I hope)
 
Oh and just one other quick question if you wouldn't mind...

How long should I leave between coats? Apparently 4days minimum is this right?

Also, I'm just thinking that maybe the mix of 4:2:1 is actually weaker than the discussed 5:1:1? Hmmm hopefully not!

Thank u both kindly for your help so far:)
 
At elevated temperatures, it’s the relatively high rate of expansion/contraction of steel compared with render that will give you problems. You should be OK with gypsum board at 300mm below the fire but you will get some heat transfer from the bottom of the stove, personally I would have used a silica or at least a cement based board.

Looks a nice install & I hope it works out for you; mine didn’t initially a few years ago (& I’m a plasterer!) which is why I now take a keen interest with stove installs.

How long should I leave between coats? Apparently 4days minimum is this right?
I usually leave the first coat 2-3 days, keep it damp after the initial set to avoid drying out too quickly & cracking; damp down again well before the second coat.

Also, I'm just thinking that maybe the mix of 4:2:1 is actually weaker than the discussed 5:1:1? Hmmm hopefully not!
It is quiet a weak mix, a fair bit weaker than I use; the stronger the mix the more likely it will crack. I normally use a 5/6:1:1 (sand/cement/lime), however, if you read through the sub links to other threads on my post you will see some say 8:1:1 & even higher so may be OK.
 
Thanks for advice Richard. I'm just getting bit confused about what is a strong mix and what is a week mix. So the more lime I use the weaker the mix but the less chance of cracking?

So, given the thickness I should probably try and use as strong a mix as possible? I am seriously worried about weather it will be strong enough as directly above the stove where the bricks have been exposed and the lintel installed it will be 40mm thick!

So if I continue with 5:1:1 this will be stronger and better able to cope with 40mm thickness?

I am half attempted to abandon ship and go with metal battens and fireboard (sorry tim00 lol) as I'm worried the whole lot will fall off due to its very heavy weight!
 
Do u think I could add this fibre stuff u can get to strengthen plaster?
 
I am half attempted to abandon ship and go with metal battens and fireboard (sorry tim00 lol) as I'm worried the whole lot will fall off due to its very heavy weight!
Given what you’ve posted so far, that’s what I would advise; at least you know it will stay up there. But remember it must be a Silica based board, not gypsum based.
 
Looking into it in order to make the stove fit I would have to hack off all the render I have just put on (even then it would be tight) since the battens are 25mm +12mm board +skim so 40mm min pack out is too much!

So, sticking with it! Going to do second coat of render tomorrow then 3rd on saturday.

Thanks for your help:)
 

DIYnot Local

Staff member

If you need to find a tradesperson to get your job done, please try our local search below, or if you are doing it yourself you can find suppliers local to you.

Select the supplier or trade you require, enter your location to begin your search.


Are you a trade or supplier? You can create your listing free at DIYnot Local

 
Sponsored Links
Back
Top