Hi guys, thought I'd sign up here and seek some professional advise.
Moved house not long ago and now working my round the house removing traces of the previous owner's questionable taste!
I'm onto doing the bathroom now - plan is to replace the toilet, sink and tiled floors. Bath to remain (for now).
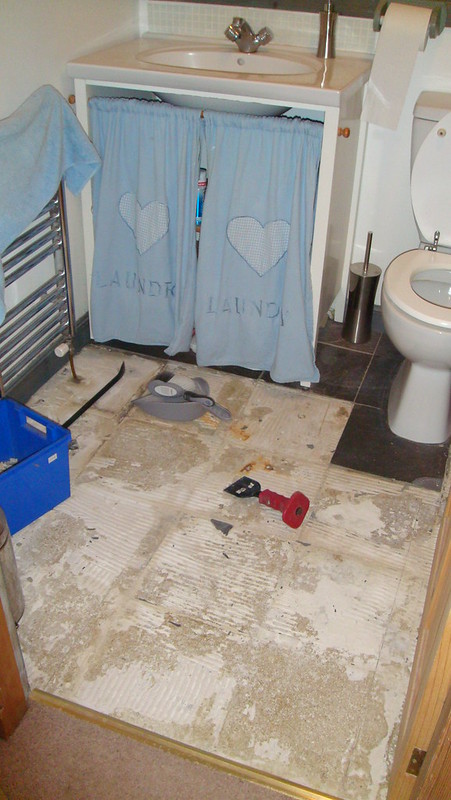
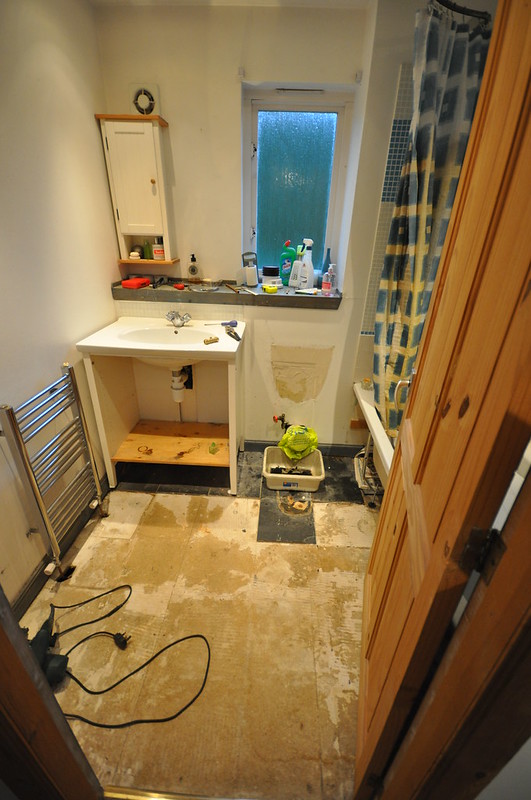
I've removed as much tiles as I can so the sink and toilet are still functional. Problem now seems to be removing the grout / adhesive from the back of the old tiles from the floorboards. Some of it has come up but there are sections that are absolutely refusing to budge - have tried a chisel, scrapers, a Bosch PFM 180E tool and I'm getting nowhere fast.
Thickness of the old grout varies from 1mm to 3mm at the worst parts but I could probably reduce this down to between 1 and 2mm.
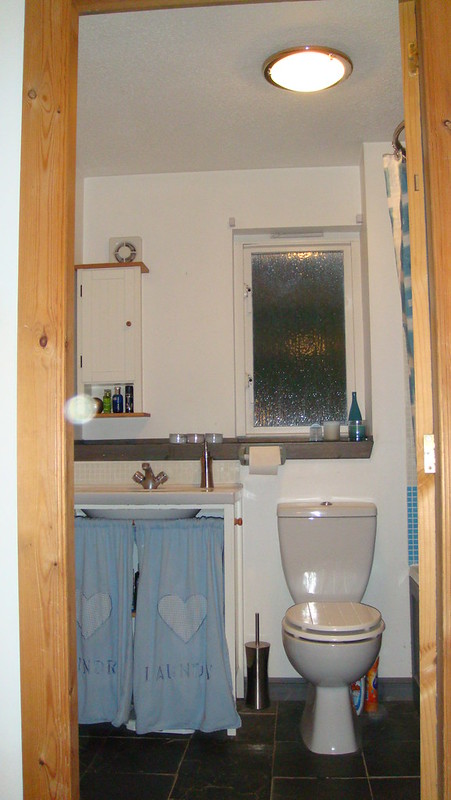
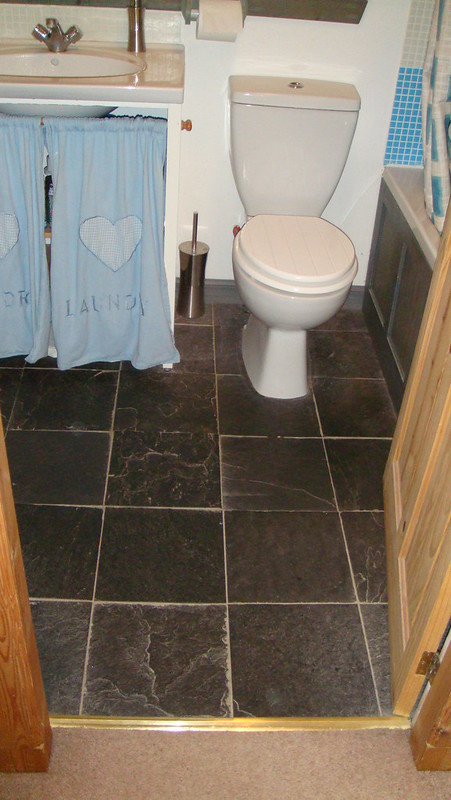
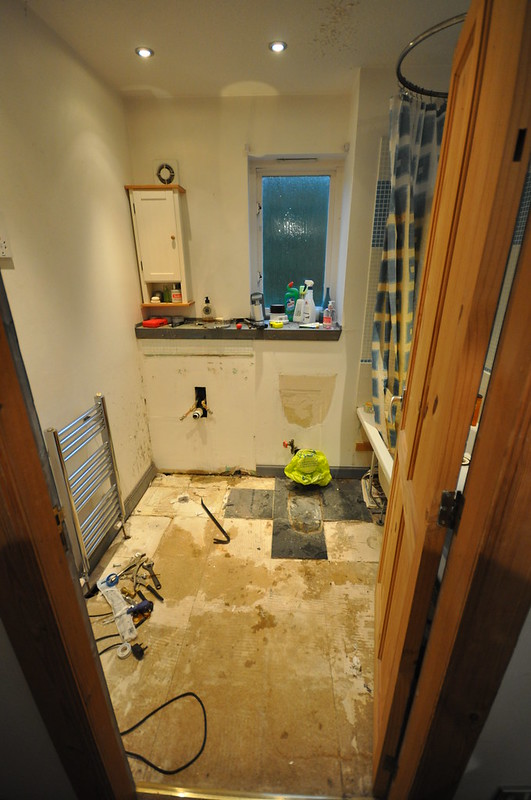
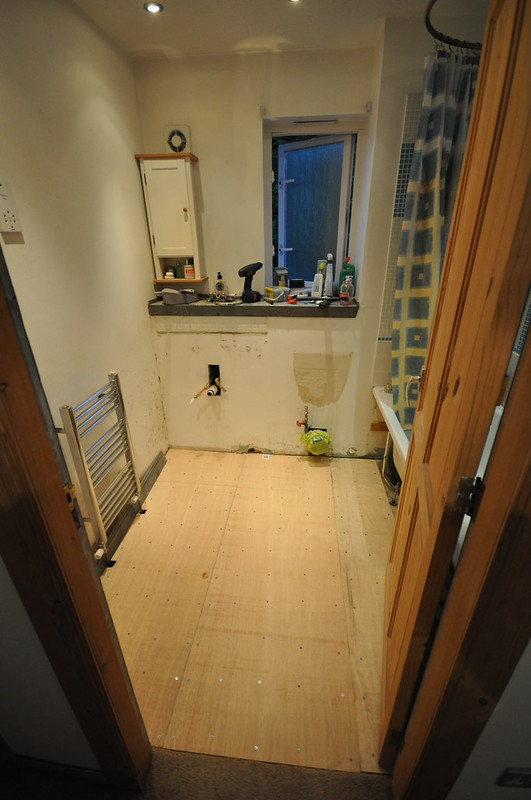
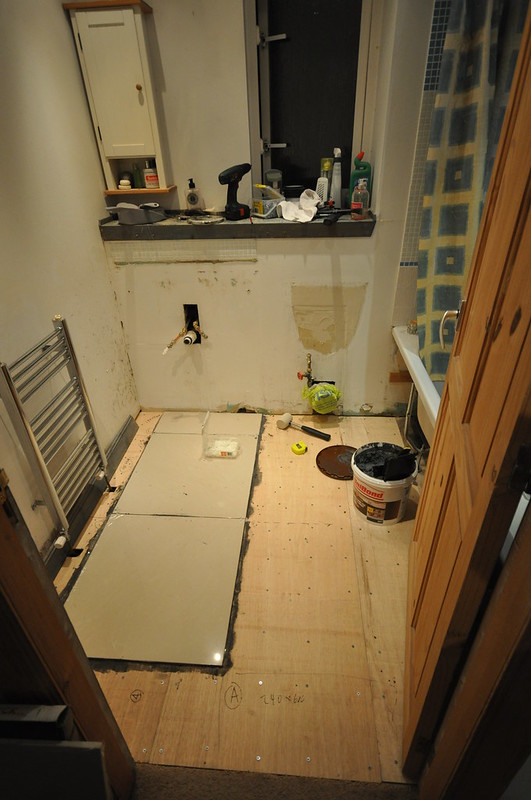
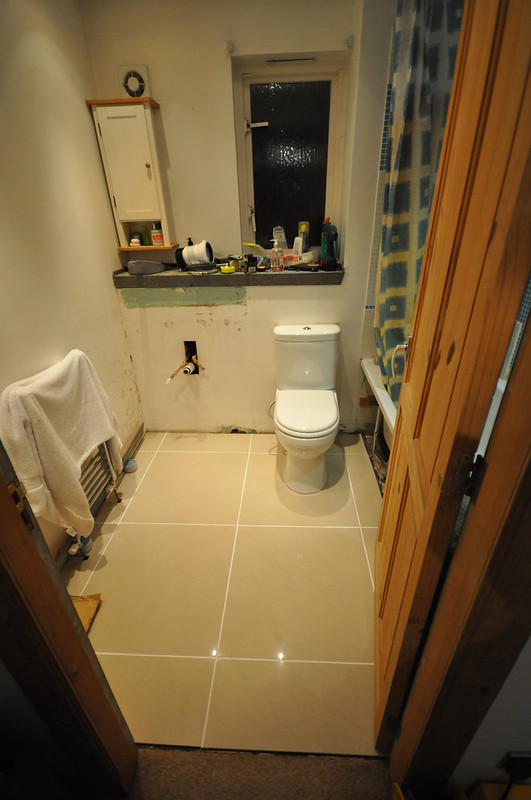
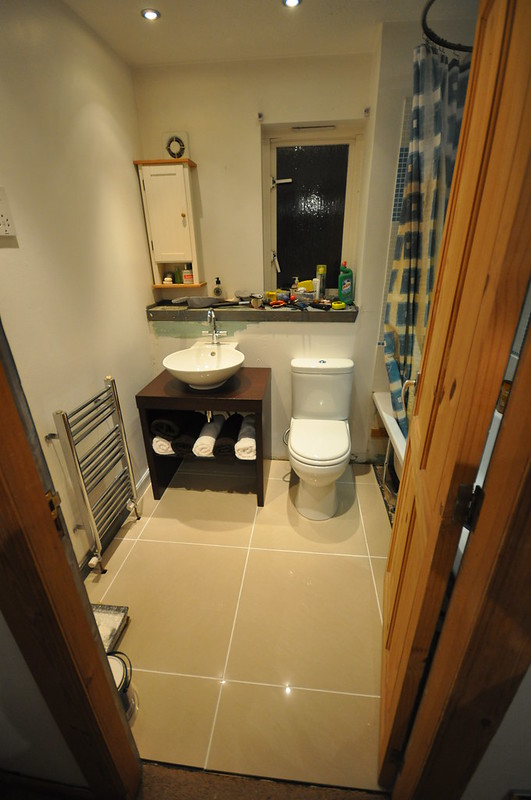
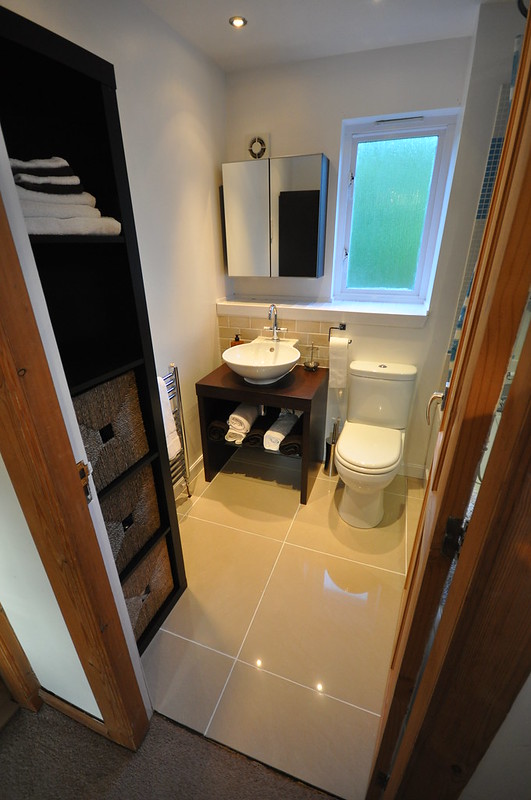
Photos of the offending room below:
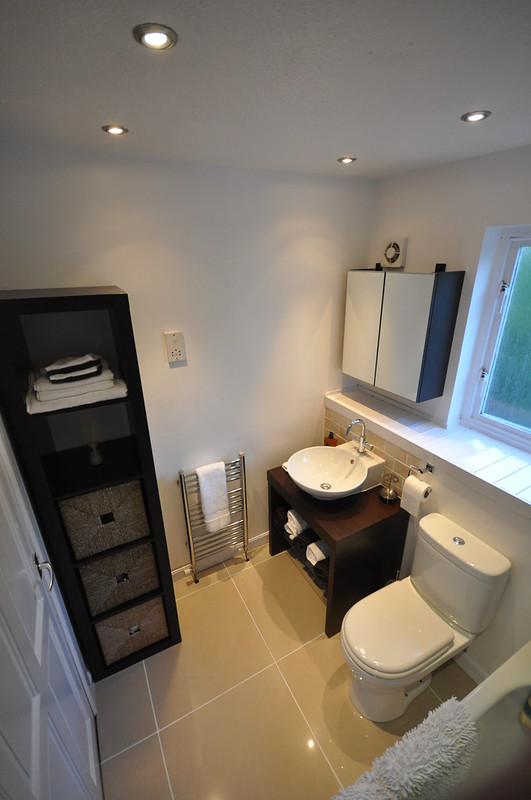
General view of bathroom.

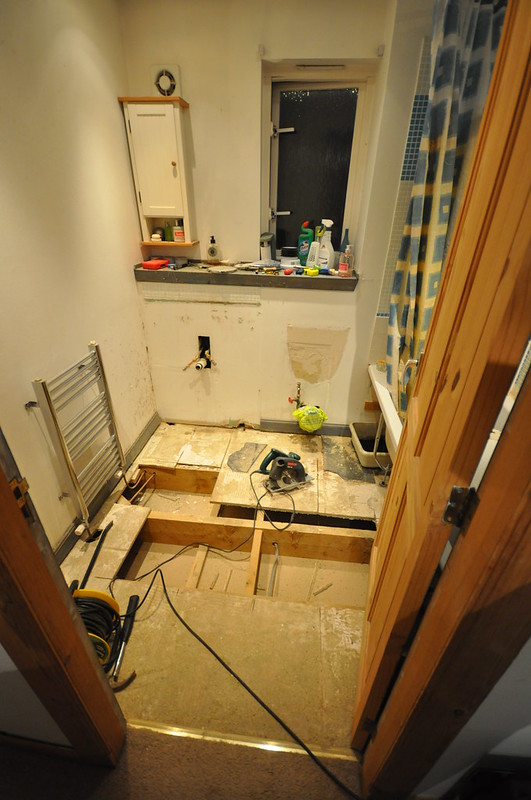
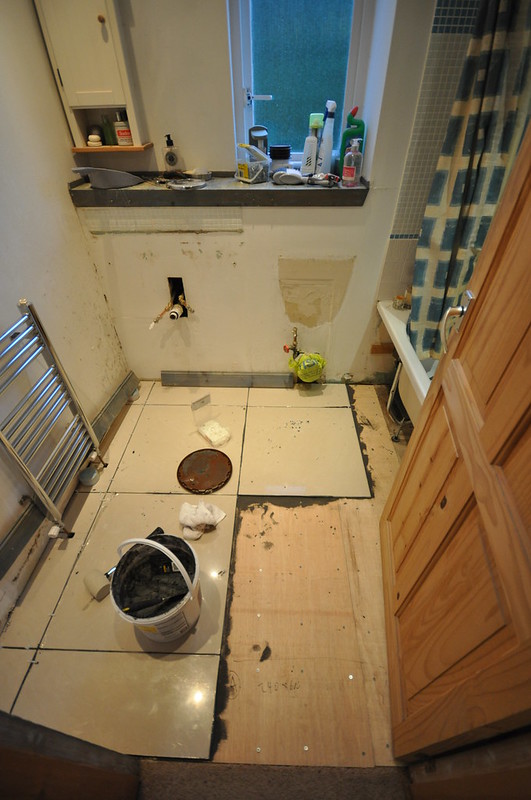
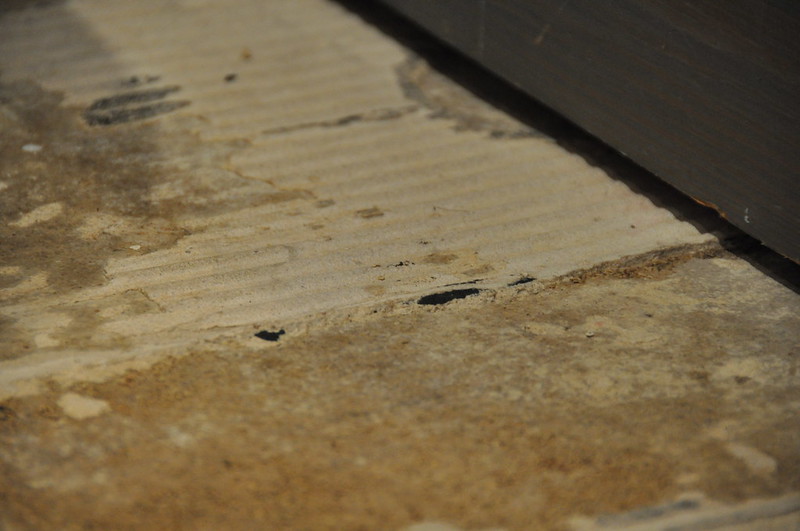
Worst looking area (around 3mm thick)
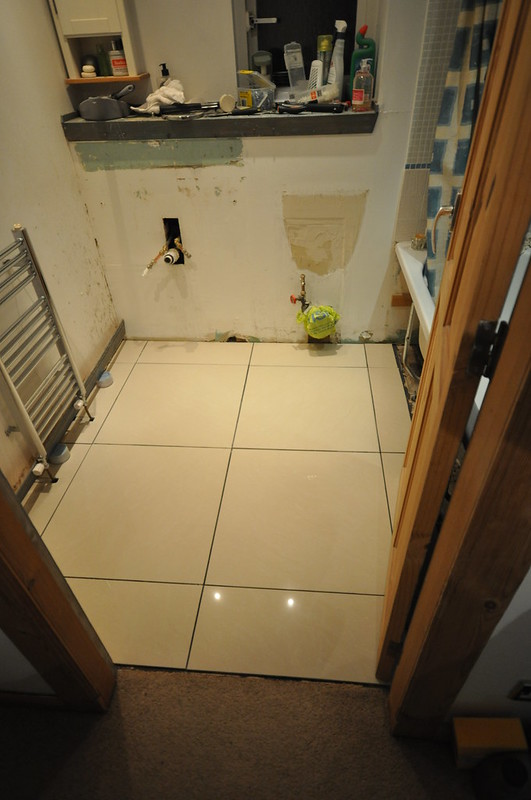
I have 600 x 600 x 9thk Porcelain tiles which I plan to lay down.
Floor area to be covered isn't spectacularly huge either, only 1500 x 1700.
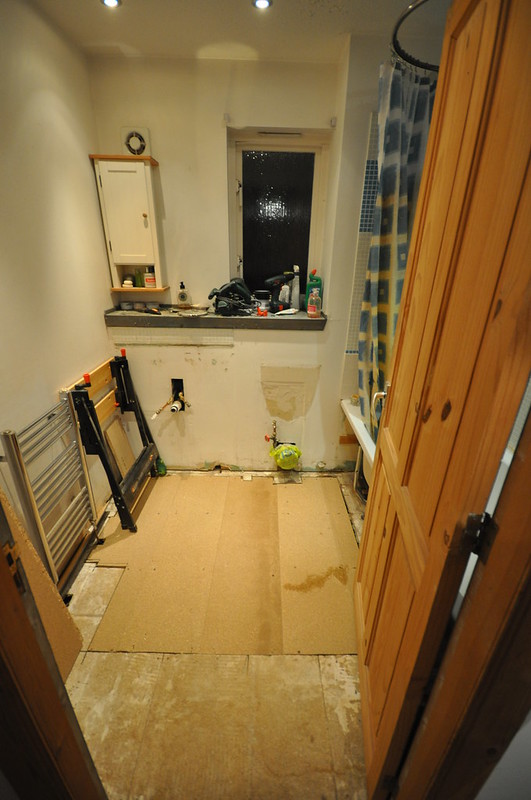
Question I have is would I get away with fixing 6mm plyboard over the floorboards and the existing grout / adhesive then laying the 600mm tiles on top or would there likely be too much flex and movement?
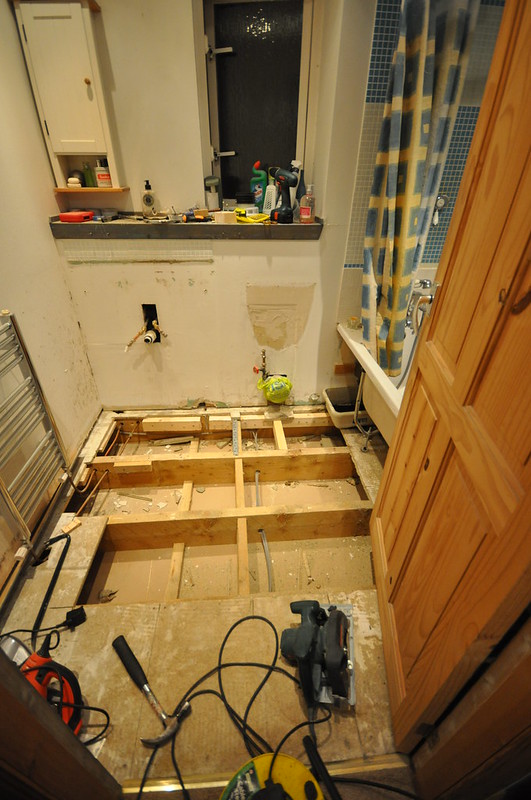
This existing grout / adhesive really is a pain to shift and the only other option I can think of (which is a bit extreme) is to remove the existing floorboards completely and starting from scratch.
Your thoughts and opinions much appreciated.
Pie
Moved house not long ago and now working my round the house removing traces of the previous owner's questionable taste!
I'm onto doing the bathroom now - plan is to replace the toilet, sink and tiled floors. Bath to remain (for now).
I've removed as much tiles as I can so the sink and toilet are still functional. Problem now seems to be removing the grout / adhesive from the back of the old tiles from the floorboards. Some of it has come up but there are sections that are absolutely refusing to budge - have tried a chisel, scrapers, a Bosch PFM 180E tool and I'm getting nowhere fast.
Thickness of the old grout varies from 1mm to 3mm at the worst parts but I could probably reduce this down to between 1 and 2mm.
Photos of the offending room below:
General view of bathroom.

Worst looking area (around 3mm thick)

I have 600 x 600 x 9thk Porcelain tiles which I plan to lay down.
Floor area to be covered isn't spectacularly huge either, only 1500 x 1700.
Question I have is would I get away with fixing 6mm plyboard over the floorboards and the existing grout / adhesive then laying the 600mm tiles on top or would there likely be too much flex and movement?
This existing grout / adhesive really is a pain to shift and the only other option I can think of (which is a bit extreme) is to remove the existing floorboards completely and starting from scratch.
Your thoughts and opinions much appreciated.
Pie