Hotpoint HUE61 Door Catch

Joined
22 Apr 2013
Messages
15
Reaction score
7
Location
Belfast
Country
United Kingdom
Hi,
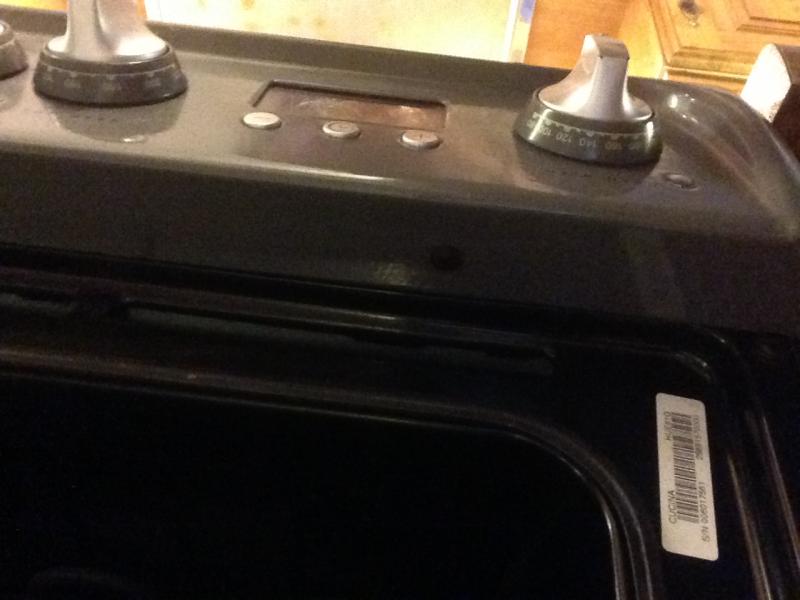
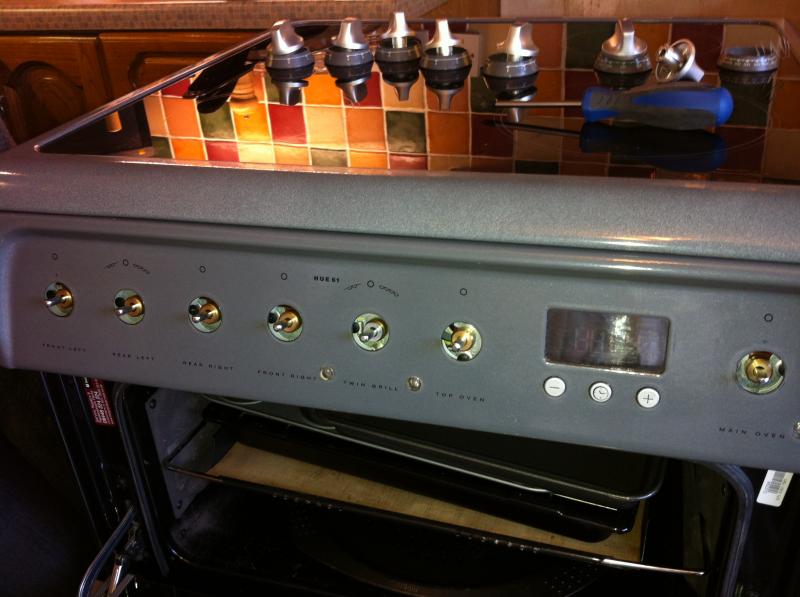
The main oven door catch for my Hotpoint HUE61G cooker is broken. I can get a replacement easily enough. I'm trying to work out how to fit it !
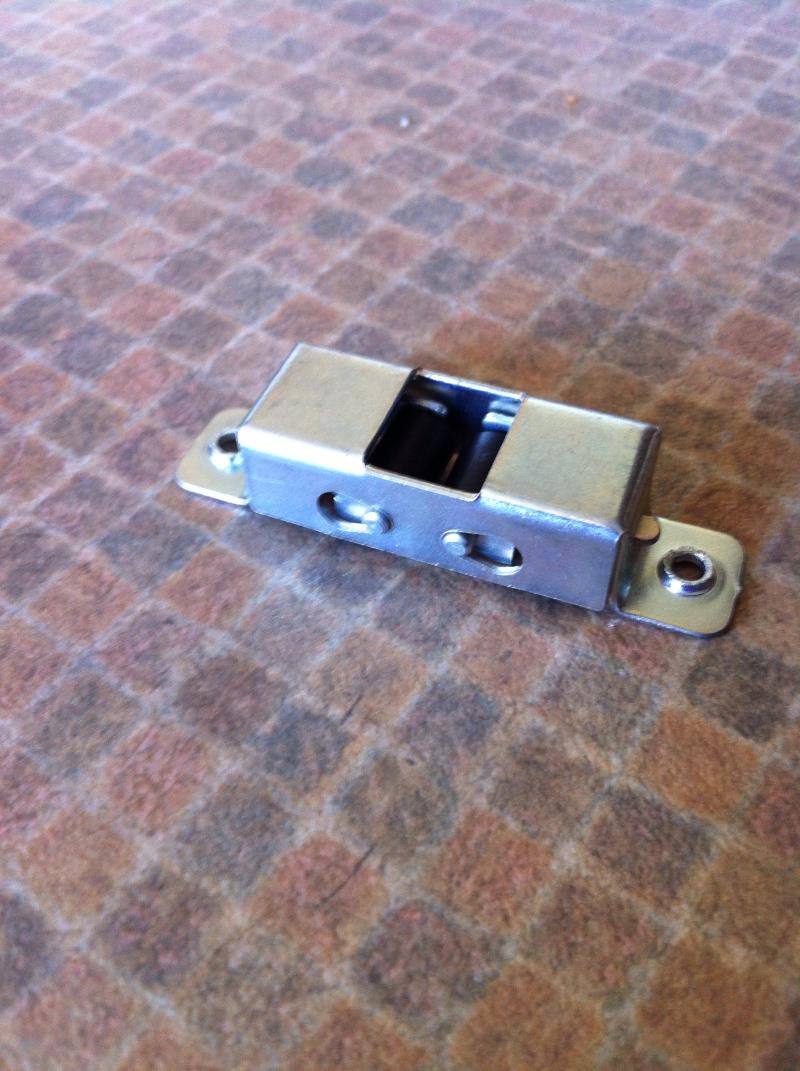
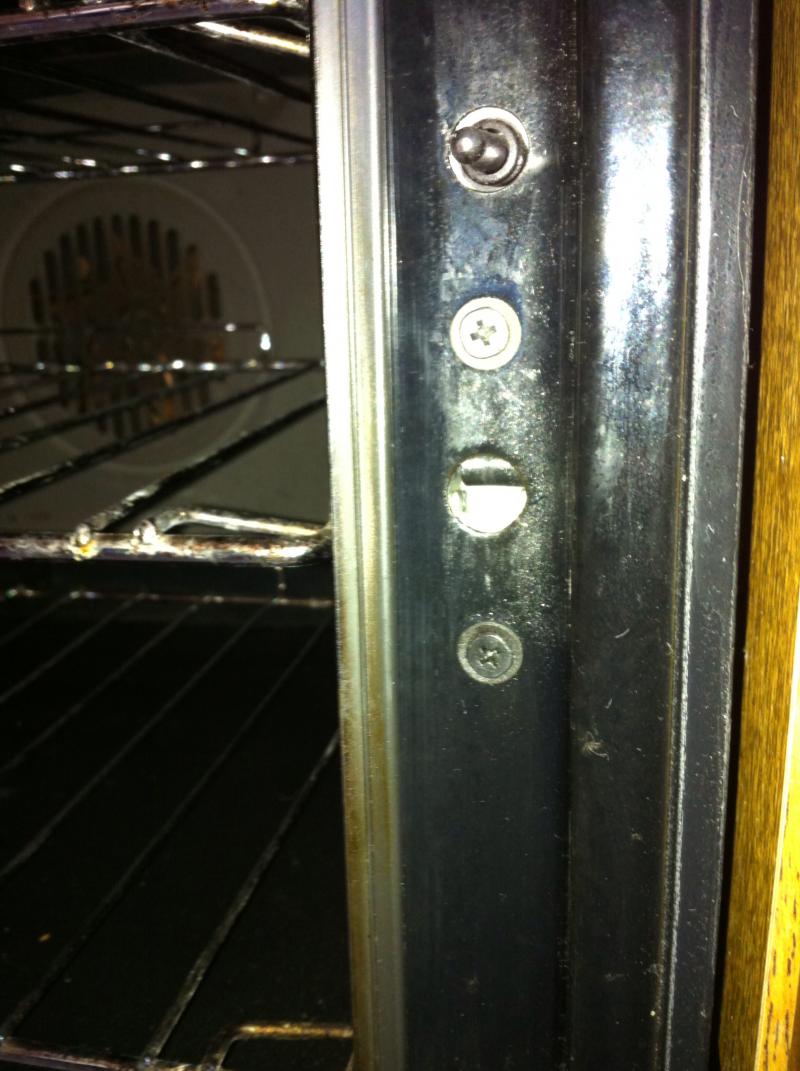
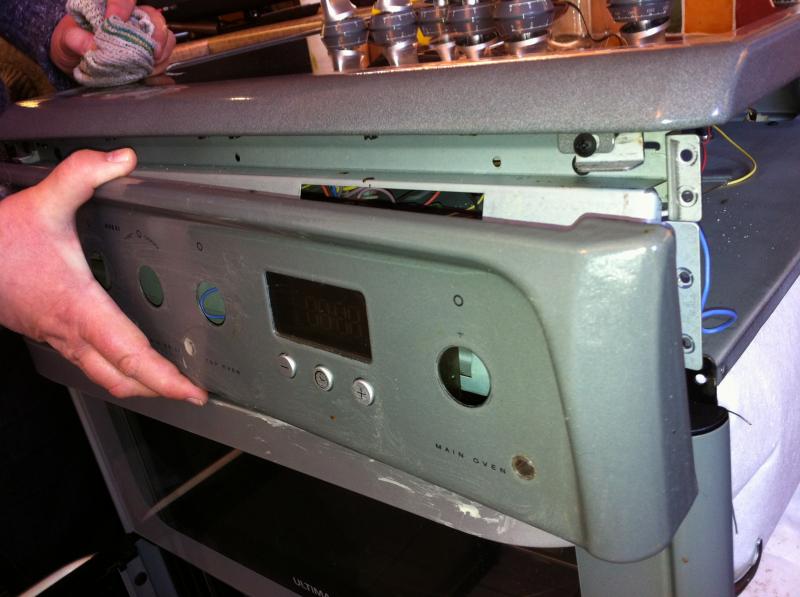
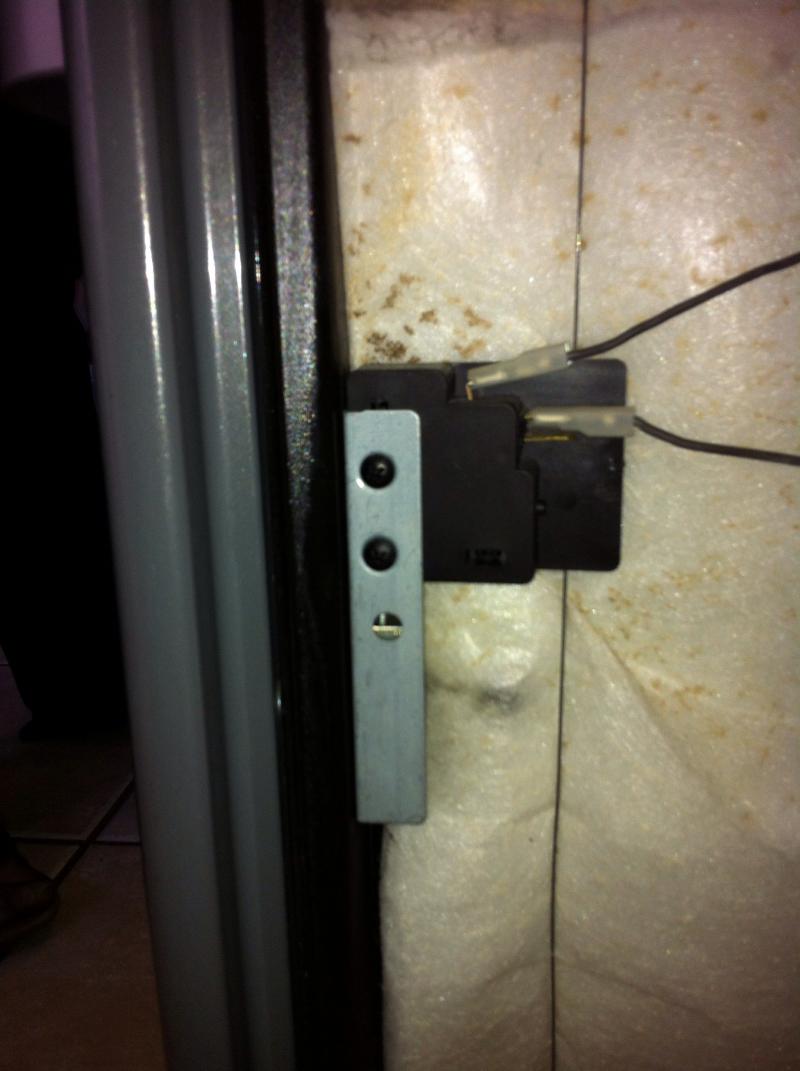
The door has hinges on the side, not the bottom. And the catch fits behind the front panel oven surround. There are two screws I see from the front which hold the catch in place, screwing though the frame into it.
So how do I access the rear of the front frame ?
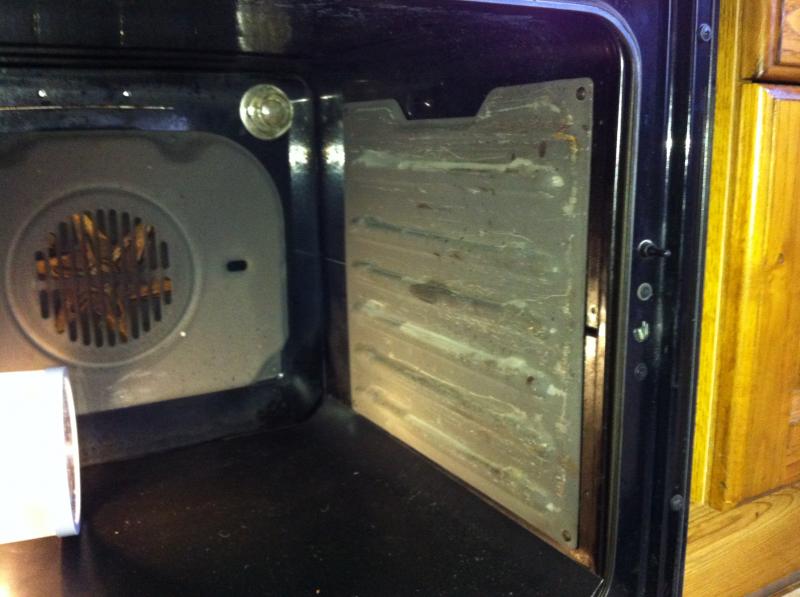
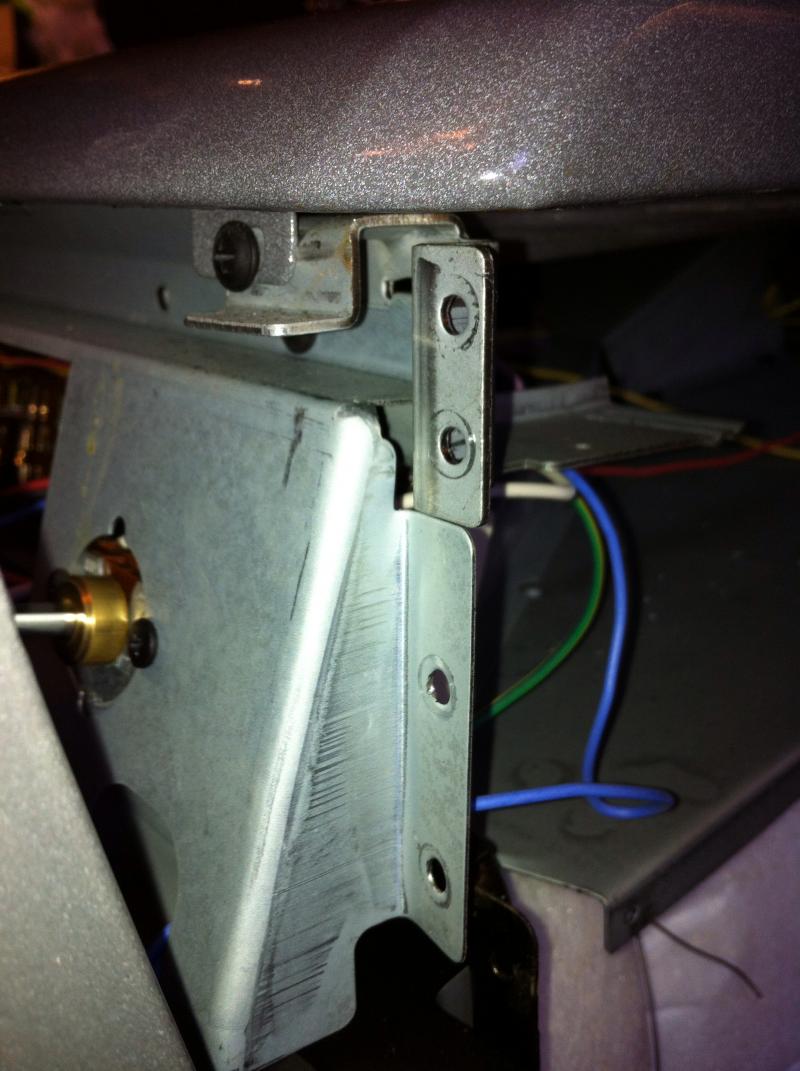
Do I have to take the door off, and how ? Does the frame come out the front, or should I try to take the side panel off ?
If anyone has any mechanical diagrams of how the frame goes together, I would appreciate the help.

Cheers,
Colin.
 
Sponsored Links
I have to do the same and like you said its not obvious how to get to it.

Any info appreciated

Cheers
 
Hi,

Yes I got the catch replaced.
You do have to dismantle a good part of the back, front and side to get at it.
I took pictures in the process.
I'll try to post them on Monday.

Cheers.
 
Sponsored Links
Some comments and pictures while fitting the door catch.

New catch, . . . . . . . . . . . . . . . . . . .where it goes.
.

You DO NOT need to remove the oven self-cleaning linings.

You need to remove the knobs and front control panel.
There are two screws under the control panel, open the top oven door fully to access them.
Then with the knobs removed the panel pull out gently.
There is a cable connecting the clock and timer, so dont pull too hard.
.
.

Then some screws behind the control panel, and further down the right hand side.There is a line of screws down the rear of the side panel too (sorry, no pic of the rear.)

Then the top lifts up a little to release the whole side panel.
And eventually you get access to the door catch.
The screws from the front (picture above) release the catch.
.

Refitting is straightforward, but do note the side panel has some tabs to be engaged behind the frame before screws are fitted.

Overall the job took me one hour, including cleaning around the control knobs etc when things were accessible.

Cheers.
 
HI Colin
Tried really hard but cannot take the front panel off where the buttons are. Managed to get the buttons off easily but cannot find the screws underneath. Can you help please? :?: :?:
 
Bit delayed Colin, but thanks for the pictures and info. Job took me 10mins rather than the hour if I'd had to work it out for myself.
:D
 
HI Colin
Tried really hard but cannot take the front panel off where the buttons are. Managed to get the buttons off easily but cannot find the screws underneath. Can you help please? :?: :?:

Hi Clause,
Apologies for the delay in replying.
If I remember correctly there are just two screws under the knobs panel. About 3 cm in from each end. You have to open the top oven/drill door fully to see them. I will take a picture this evening and post it.
Cheers
Colin.
 
Cheers very much for the accurate information.
Just sorted mine in almost the time it took me to log in to this and post a Thank you.

Stuart
 
HI Colin
Tried really hard but cannot take the front panel off where the buttons are. Managed to get the buttons off easily but cannot find the screws underneath. Can you help please? :?: :?:

Hi Clause,
Apologies for the delay in replying.
If I remember correctly there are just two screws under the knobs panel. About 3 cm in from each end. You have to open the top oven/drill door fully to see them. I will take a picture this evening and post it.
Cheers
Colin.

Pictures of the two control panel screws now added to above sequence.
The panel is still quite a tight fit under the top cover, so with knobs and screws out you have to pull at it quite firmly, ease it out either side a bit.
 
Thanks colinregan
was searching the net for a solution to this problem as I was half way throw and stuck read this post and it was done in a jiffy so I signed up to say thanks think ill stay as im rebuilding my house and looks very usefull cheers
 
Thanks for the above I've reassembled ok but the oven isn't coming on... The top one works, ignitors work but main oven isn't... any ideas?
 
Ignore the above... I forgot I need to set clock to get oven working. Thanks for guide £8 and all working..
 
I realised a week ago that our cooker latch was broken... Hotpoint were offering to fix it for £150 bearing in mind the part should have been 'free', so this cost was purely labour! The local man was charging £110 assuming it came in at up to 30mins to complete the job! Having fixed my fridge/freezer a couple of years ago, I decided this job was worth doing myself (with hubby). So for less than £30 I ordered generic new parts - a latch, a striker just in case, and an additional oven shelf!

This was the ONLY place I could find offering instructions on how to do the job... so thank you, we could not have done it without you! Especially thanks to @colinregan for the photos!

We have a HUD61K and these instructions worked! I would add three notes:
1) we struggled to get the front electronic panel off. If you unscrew and lift the bottom slightly and then slide the entire panel to the left mabe an inch or so, it should come free easily!
2) we really fought getting the side panel off too. Ensure you have removed the screw on the front (above the screws you removed under the electrics) which will help loosen the top. There is also a screw on the back to help this too. The panel needs lifting slightly to get it over two locator tabs on the very bottom edge. We mostly only managed to get the front section of the panel off at maybe a 45 degree angle away from the body but this was enough to get fingers in to fix the latch. P.S don't lift the top too much if you have a glass lid, ours didn't break but I envisioned it happening!
3) when you unscrew the latch it falls out, ok that is perhaps obvious but it is not attached in any way to the part (shown in colinregan's final picture in black and silver) which is the switch for the oven fan. The latch sits behind the silver part. Our latch needed to be held incredibly firmly as the screws had to partially cut into it! So we found it easier to cut it first before trying to fit it!

Thank you once again people! Hope others find the additional instructions helpful, and they save you half an hour in pulling, pushing, sighing and scratching your head with an incredibly greasy finger!!!
 
This forum has saved me loads of time so thanks for all the info above. Especially helpful were the pictures and description from colinregan and the additional advice from kistigger - especially the bit about sliding the electronic panel to the left a bit.
I too found that the latch screws were difficult to get back in but I kept unscrewing them in and out of the holes and eventually the thread seemed to 'catch' and they went in easily.
Good luck to the next person who discovers this page!
 

DIYnot Local

Staff member

If you need to find a tradesperson to get your job done, please try our local search below, or if you are doing it yourself you can find suppliers local to you.

Select the supplier or trade you require, enter your location to begin your search.


Are you a trade or supplier? You can create your listing free at DIYnot Local

 
Sponsored Links
Back
Top