

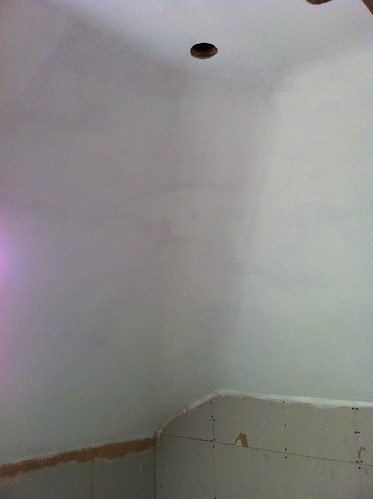
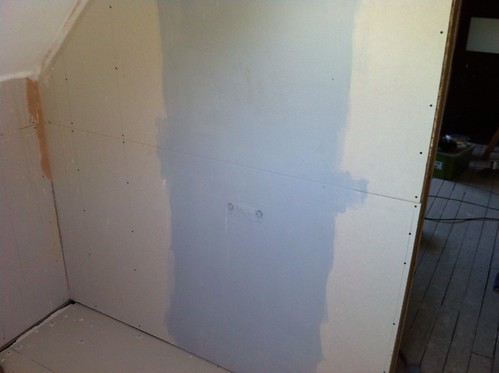
The plasterer has left and Debbie (my wife) has put a first coat of paint on the wall – a watered down bathroom paint which is to stop any moisture penetration or moult
This coat will be followed by another two coats of white emulsion.
We are very pleased with the work of the plasterer, he has put some nice curves in this difficult room, which makes the room actually bigger then it is
Untitled by mcluma, on Flickr
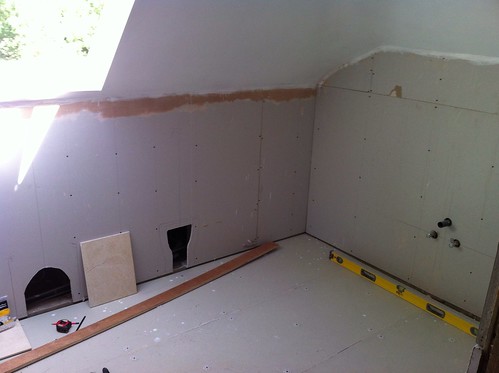
I have in the meantime put 6mm cement boards down which will bring more stability to the already 18mm plywood subfloor.
Untitled by mcluma, on Flickr
The cement boards are put down with tile adhesive and screws.
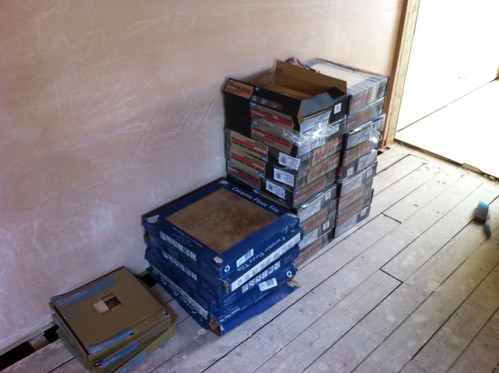
This is the small pile of tiles that have to go on the floor and wall. We will not be tiling the skeeling. Jut the flat walls.
Untitled by mcluma, on Flickr
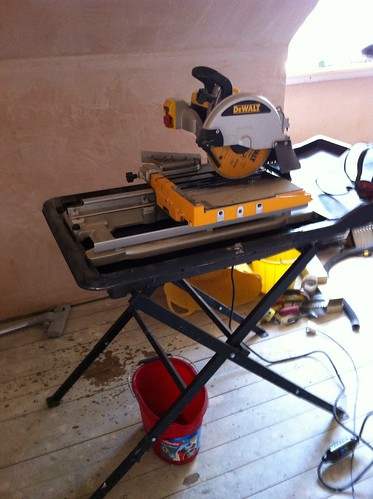
As you can see, I have treated myself to a new toy. A Dewalt 24000 tile saw. I should have bought this thing a long time a go, up to now I used a Plasplug wet tile cutter, but this is so smooth and is almost effortless.
Untitled by mcluma, on Flickr
I have also treated the shower wall to a coat of Mapei sealant. This is what we call tanking. It’s an 3mm thick coat of a rubber paint which seals’ the plasterboard completely from any water or moisture penetration,
Untitled by mcluma, on Flickr
This coat will be followed by another two coats of white emulsion.
We are very pleased with the work of the plasterer, he has put some nice curves in this difficult room, which makes the room actually bigger then it is

Untitled by mcluma, on Flickr
I have in the meantime put 6mm cement boards down which will bring more stability to the already 18mm plywood subfloor.

Untitled by mcluma, on Flickr
The cement boards are put down with tile adhesive and screws.
This is the small pile of tiles that have to go on the floor and wall. We will not be tiling the skeeling. Jut the flat walls.

Untitled by mcluma, on Flickr
As you can see, I have treated myself to a new toy. A Dewalt 24000 tile saw. I should have bought this thing a long time a go, up to now I used a Plasplug wet tile cutter, but this is so smooth and is almost effortless.

Untitled by mcluma, on Flickr
I have also treated the shower wall to a coat of Mapei sealant. This is what we call tanking. It’s an 3mm thick coat of a rubber paint which seals’ the plasterboard completely from any water or moisture penetration,

Untitled by mcluma, on Flickr
