Hi all
I've got a plumber booked for the New Year who is going to be doing some work on our central heating system. He is going to have to do a drain down, and so a week or two before he arrives I am going to add some Fernox F3 to the system.
Does that sound like a good idea?
If so, I want to make sure I put it into the correct header tank! In our loft we have three. One small one and two larger. One of the larger ones is uninsulated and has no lid. I've never been sure whether it is actually in use or what it's purpose is. So aside form asking which tank to put the F3 into, it would also be helpful to know what the uninsulated/lid-free tank might be there for.... [Update - I'm going to deal with the issue of the two linked large tanks in another thread]
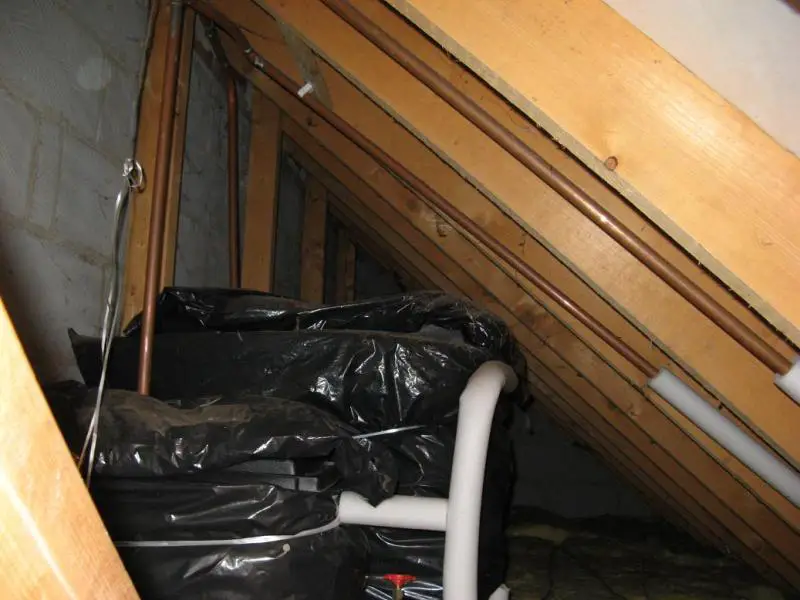
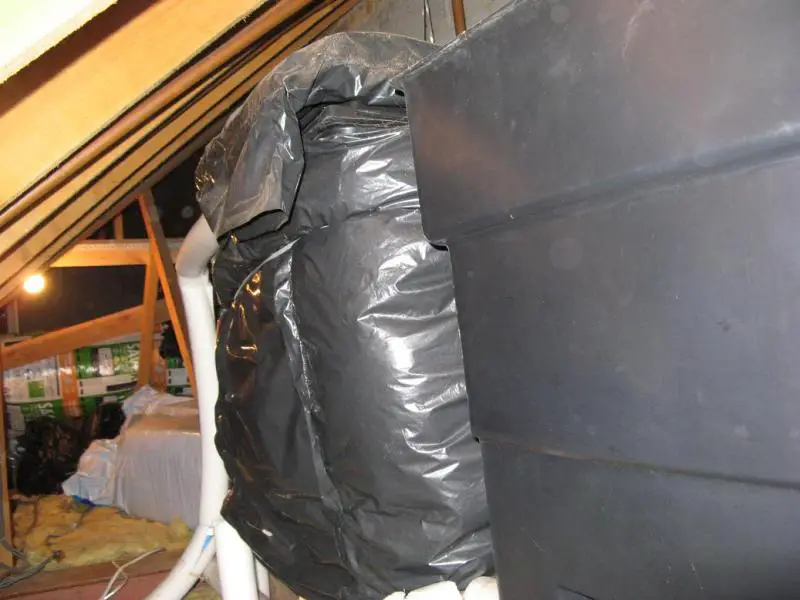
Here are some pics. This first one shows the two insulated tanks. The third uninsulated one is out of sight behind the large one.
A view looking the other way (so that the "hidden" tank is now at the front and the small one cannot be seen). Sorry for the crap angle but it's all a bit tight in there!
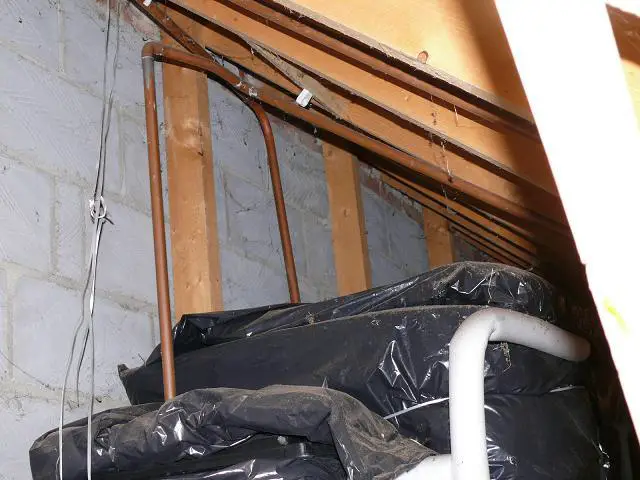
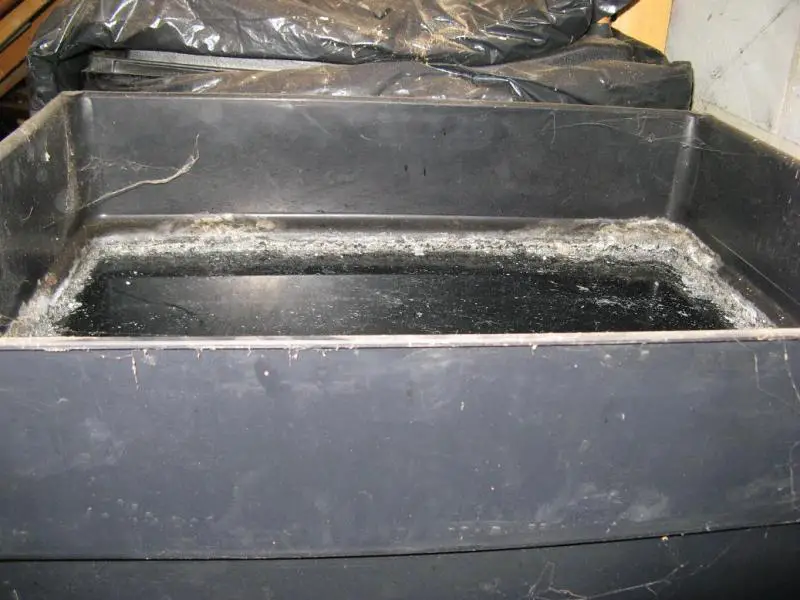
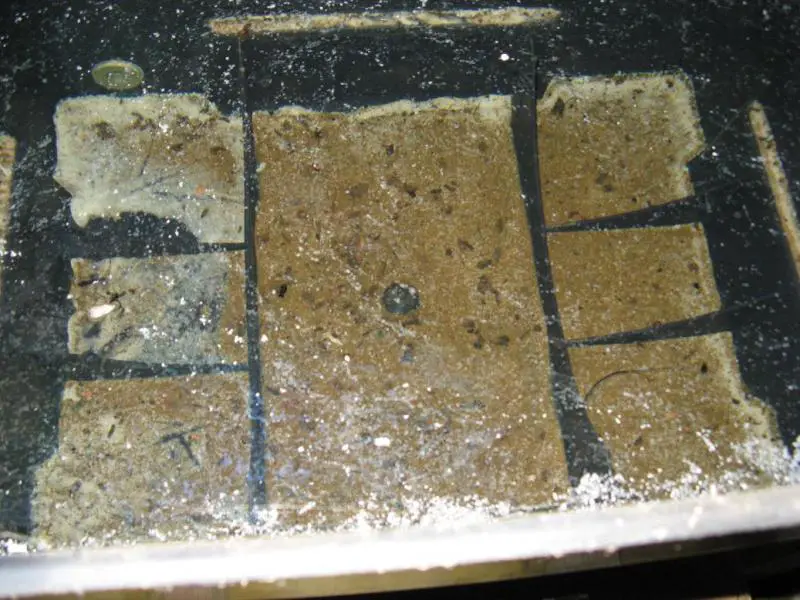
And here are a couple of shots of the uninsulated lid-less tank:
Any help would be hugely appreciated. And as ever, thanks to all you very helpful folk.
Max
I've got a plumber booked for the New Year who is going to be doing some work on our central heating system. He is going to have to do a drain down, and so a week or two before he arrives I am going to add some Fernox F3 to the system.
Does that sound like a good idea?
If so, I want to make sure I put it into the correct header tank! In our loft we have three. One small one and two larger. One of the larger ones is uninsulated and has no lid. I've never been sure whether it is actually in use or what it's purpose is. So aside form asking which tank to put the F3 into, it would also be helpful to know what the uninsulated/lid-free tank might be there for.... [Update - I'm going to deal with the issue of the two linked large tanks in another thread]
Here are some pics. This first one shows the two insulated tanks. The third uninsulated one is out of sight behind the large one.
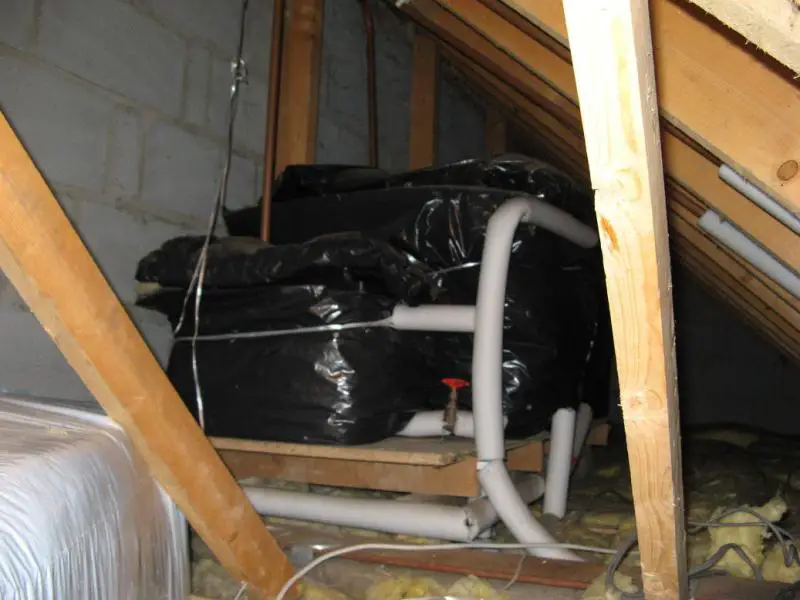
A view looking the other way (so that the "hidden" tank is now at the front and the small one cannot be seen). Sorry for the crap angle but it's all a bit tight in there!
And here are a couple of shots of the uninsulated lid-less tank:
Any help would be hugely appreciated. And as ever, thanks to all you very helpful folk.
Max
")