By RF Lighting
RF Lightings step by step guide to replacing a standard light switch with a dimmer switch
Step 1
Select the switch you wish to replace.
Step 2
Switch of the electricity at the consumer unit.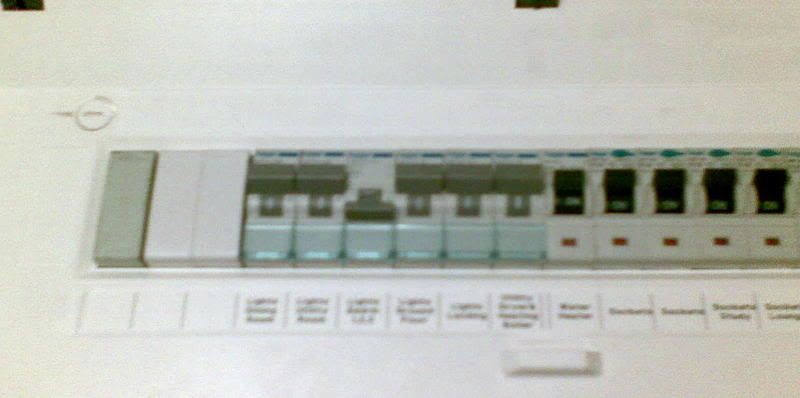
Step 3
Unscrew the existing switch from the wall, and gently pull the switch forwards taking care not to damage any of the wires.
Step 4
Test the wiring at the switch with a multimeter or approved test lamp, to ensure the correct circuit has been isolated, and no power still remains at the switch.
DO NOT use neon screwdriver or volt stick type testers for this, as they are not reliable or accurate.
Step 5
If you discover a black switched live then this should have a piece of red sleeving or tape fitted to it, to prevent confusion between switched lives and neutrals.
Step 6
Carefully note which wire connects to which terminal on the existing switch and mark each wire seperatly. Unscrew all the terminal screws, and remove the old switch.
Step 7
Connect each wire to the corresponding terminal on the dimmer switch.
If the terminals are labled differently on the dimmer from the old switch, then have a look in the wiki for common switch lables.
Step 8
If you are fitting a metal dimmer (brass, chrome etc) then you need to earth the switch plate.
If an earth lead is pre-attached to you dimmer then connect it to the existing earth wire in the terminal in the back box.
If no link is fitted then you need to install one yourself. You can do this with a scrap of earth wire, and some earth sleeving.
Step 9
If your metal back box has top and bottom screw lugs then you may need to flatten these to allow the switch to fit in the back box properly.
This can be done by carefully tapping a screwdriver with a hammer to bend the lug flat with the wall of the back box.
Step 10
If your wall has recently been plastered or painted then you must fit the supplied plastic gasket between the wall and the switch plate to prevent and damp in the wall from tarnising the finish of the switch plate.
Step 11
Carefully screw the new switch to the back box taking extreme care not to trap any wires. Be careful as the switch fixing screws can trap wires when the switch is screwed into place.
Use a spirit level to make sure the switch is on straight.
Step 12
Switch the power back on at the consumer unit.
Step 13
Test the switch, and wipe with a soft dry cloth to remove any fingerprints from the polised surfaces.
Step 14
Make your self a nice cup of tea.
You deserve it!