Best height for Built-in Mira Excel shower valve.

Joined
21 Feb 2009
Messages
174
Reaction score
0
Location
Cleveland
Country
United Kingdom
Hi,

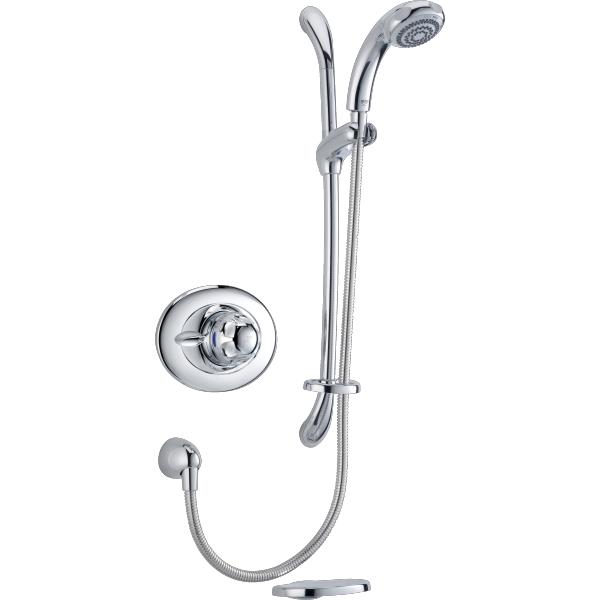
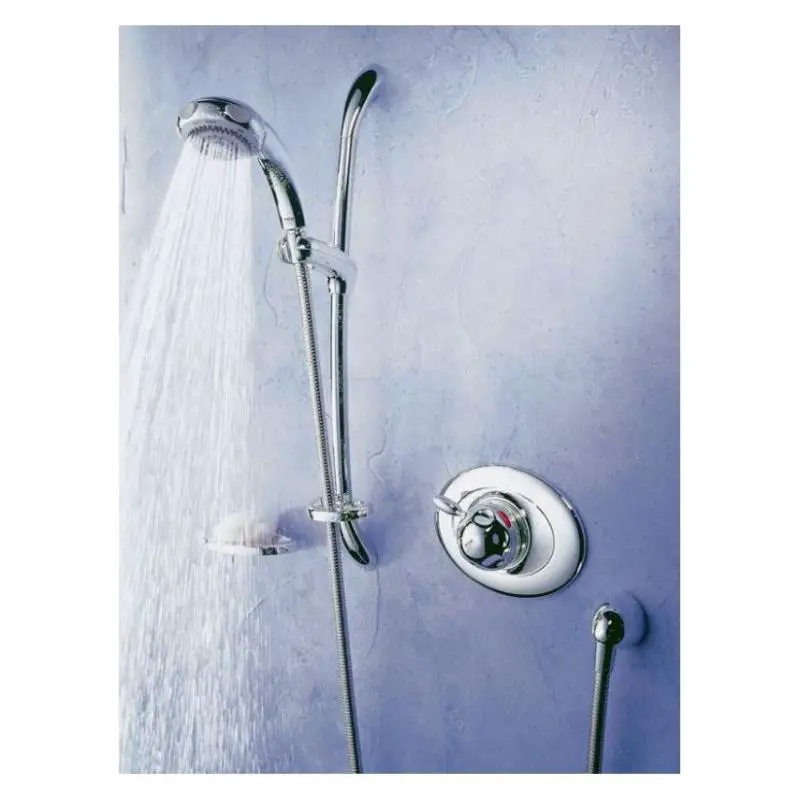
I'm in the process of fitting our Mira Excel built-in shower valve.

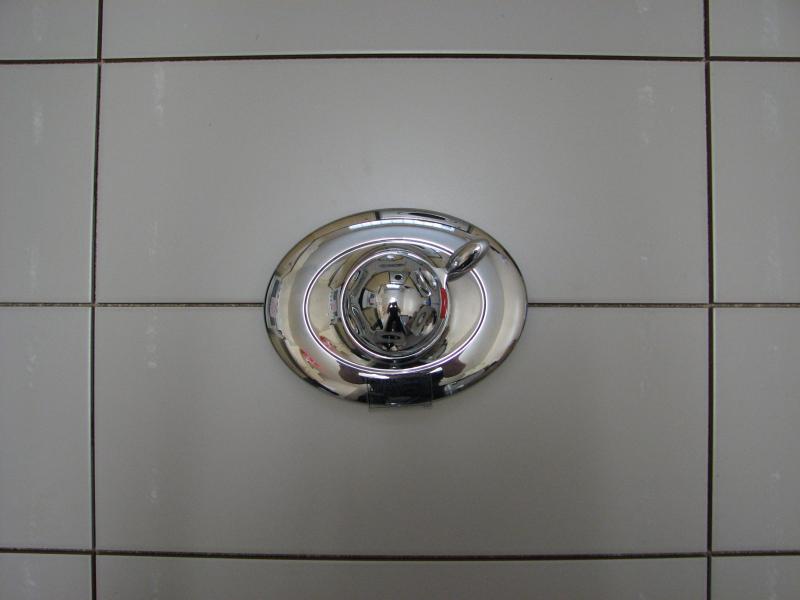
After doing some googling it seems the recommended height for a shower valve is generally considered to be 1200mm.

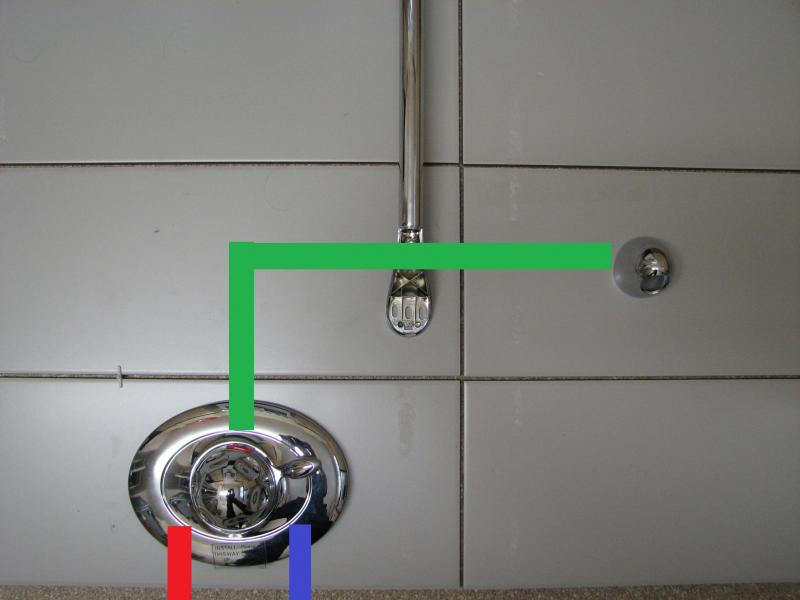
If I do this, it means that the shower valve will end up being on a grout line like this


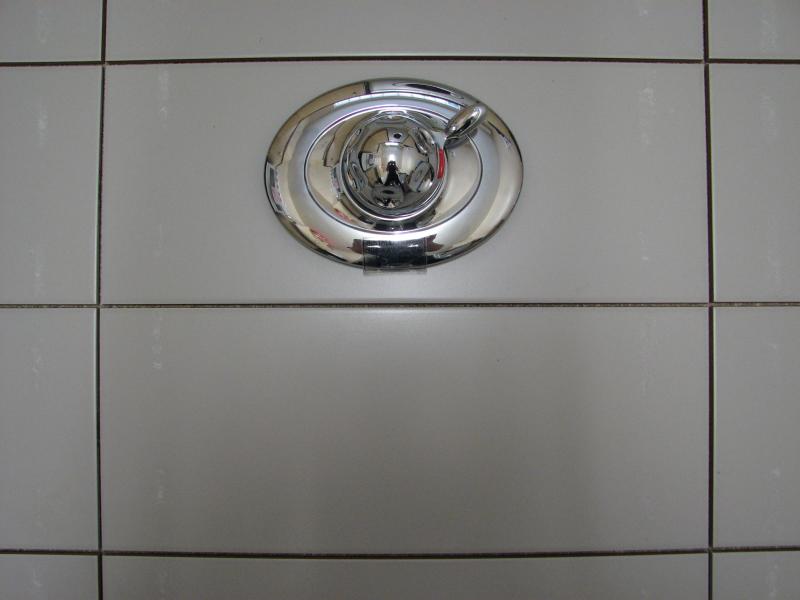
However, if I was to increase the height of the valve to 1300mm I could get the valve to be in the middle of a tile, like this


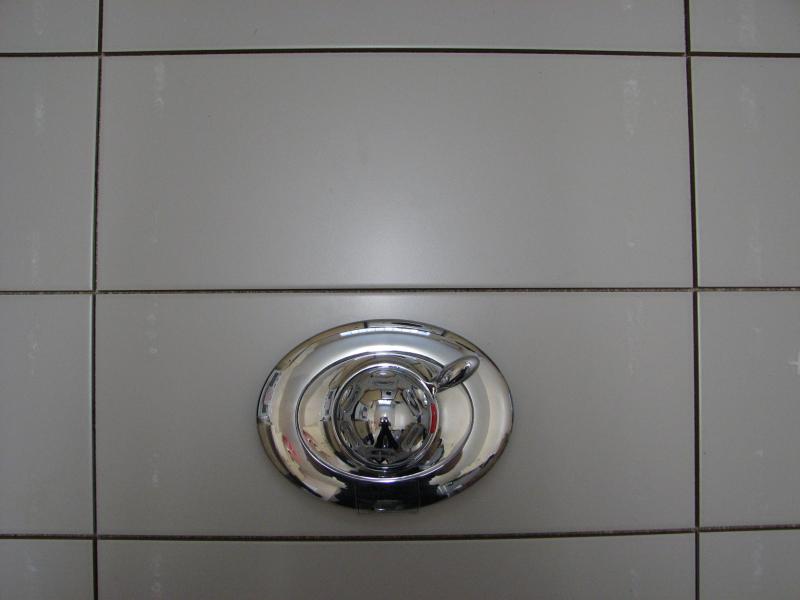
Another option would be to lower the height of the valve to 1100mm to also get the valve in the middle of a tile, like this


Which option would be the best ? Stick to the generally recommended height of 1200mm and be on a grout line, lower it to 1100mm and be in the center of a tile or increase the height to 1300mm and be in the center of a tile?

By the way, I'm mainly asking this because I would guess there is a much greater chance of water getting behind shower valve if it's on a grout line rather than the middle of a tile.

PS. The tiles and shower valve are just set out on the floor at the moment, so I could take the photographs.

Thanks in Advance.
 
Sponsored Links
Hi there,

Personally I wouldn't have thought a higher change of water getting in on a grout line, the seal is only as good as the face place as there is still going to be a great big hole for it :)

Grout (unless the Epoxy one I believe) is water resistant, not water proof. I.e. water wont break the grout down but it wont stop water going in after a proper soaking. That's what I am lead to believe. The epoxy I believe is water proof as I think I read its used in swimming pools/commercial kitchens.

Usually aiming for centre of the tile is interior design/aesthetics reasons. I've not seen many end up Centre tile without careful planning.

Is your shower area tanked?

I fitted out Mira Element shower and just managed to get it centre tile as its a large diameter. but we used a lot of tile planning/levelling to keep all tiles as full as possible around the entire bathroom on multiple levels/hidden access panels/ bath sides etc. Quite a complicated layout.

I would have thought it would be better to go slightly lower than higher. But at the end of the day its personal choice.

If you really wanted it at 1200mm couldn't you adjust your tile design?

Just a few thoughts. :)
 
Hi,

Thanks for your reply. I'm going to go with the height of 1100mm. I mistakenly measured the height from the top of the shower tray, but when you're stood in the shower tray the height of the valve will actually be 1160mm, which is only 40mm lower than the recommended 1200mm and will be in the center of the tile, so that's sorted.

Behind the tiles the whole area of the quadrant cubicle will be tanked with a Mapei Shower Waterproofing Kit.

The only trouble I'm having now is deciding exactly where to position the water outlet and the rail for the shower head. The guidance in the instructions from Mira is pretty useless. The water outlet comes out of the top of the valve and in my case the hot and cold feeds will be from below. I will probably end up with something like this. Unless anyone has any better layout ideas?

 
Hi there,

No problem at all. Ah yours is lower fed, that's how they come as standard I believe. Ours needed flipping for top down feed, which involved flipping the thermostatic cartridge.

That is the kind of setup you get for the outlet.

This was how ours exits - http://screencast.com/t/OTkUHkIKf5r

Hope that helps. If you are fixing your outlet like we did, ensure you leave ample exposed pipe so you can cut it to the correct depth and allow to tile thickness/adhesive etc. Better to make it stick out far more than you need.

The vertical riser you can position where you would like. I set out controls off to the right as you are looking at it so they are out of the way, then the outlet far left and then the riser centralised so there is little chance of hitting your back against either in the shower.
 
Sponsored Links
You're right, as standard the inlets are at the bottom and the outlet is at the top. The instructions do mention about flipping the cartridge so you can top feed instead.

Your walls appear to be a stud walls whereas our walls are solid (brick) with plasterboards dot and dabbed onto them, so I will be doing a fair bit of chasing for the pipe work and the valve already. If I was to flip the cartridge so that the outlet came out of the bottom I would have some deeper chasing to do, because I would end up with 2 pipes crossing each other like this.


By the way the pictures from Mira for our shower are totally useless. For example this one.


If I did the wall layout like that then the shower rail will be far too low (unless you're an 8 year old). Also the soap dish is in the way of the hose pipe.


Here is another example of our shower, again the shower rail is far too low for the real world


Why can't they show proper real world examples?


PS. You mention having the controls on the far right, so your back won't hit them. This sounds like a very good tip, however when finished our 900mm quadrant will be a exactly like this (ie the shower will be on that same wall and the rail in the same place).


So do I want the controls on the far left side or the far right side of the shower rail? If I put them on the far right as you suggest, they will be near where the 2 walls meet, if I put them on the far left they will be near the enclosure glass, which is best?

Thanks
 
hi

Changing the height of the valve will not make any difference. It all comes down to personal choice ie: some shorter people prefer the valve to be a bit lower.

The only situation where the valve height could be an issue is when fitting a rigid shower head on top of a valve, making sure the head is not higher than the ceiling.

generally valves are fitted at 'chest height'
 

DIYnot Local

Staff member

If you need to find a tradesperson to get your job done, please try our local search below, or if you are doing it yourself you can find suppliers local to you.

Select the supplier or trade you require, enter your location to begin your search.


Are you a trade or supplier? You can create your listing free at DIYnot Local

 
Back
Top