Although 150mm is the minimum in the book, in practice 225mm has always been regarded as the min.
So for going by the book I get called 'amateurish'.
Who said amateurish? Although it's true....

Although 150mm is the minimum in the book, in practice 225mm has always been regarded as the min.
So for going by the book I get called 'amateurish'.
So for going by the book I get called 'amateurish'.
You would be considered clinically insane to rely upon 150mm of concrete for a two storey extension, even way back when.
Foundations are fundamental and are extremely difficult to rectify. Adding an extra few inches in depth would not cost much.
Do you always do things to the absolute minimum?
Did i say amateurish?
I meant to say idiotic.
")
One of the reasons for going above the book min is that the bottom of the trench is unlikely to be dead level, so there would probably be areas where there was less than 150mm, as well as some that were thicker.
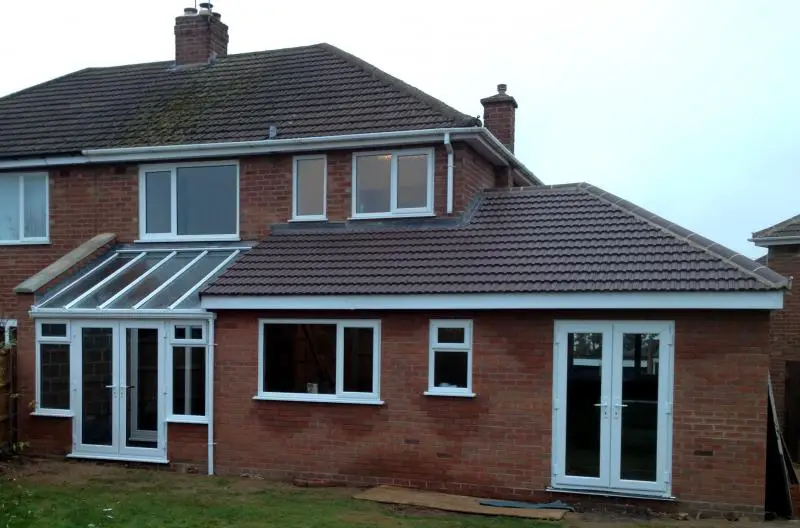
Why the fook was the guttering not fixed whilst the scaffold was in place?
Guttering is fundamental and is relatively simple to fix, yet does such an important job regards protecting the building.
Get it on, now!
Why the fook was the guttering not fixed whilst the scaffold was in place?
If you need to find a tradesperson to get your job done, please try our local search below, or if you are doing it yourself you can find suppliers local to you.
Select the supplier or trade you require, enter your location to begin your search.
Are you a trade or supplier? You can create your listing free at DIYnot Local