Doing up my house - Completely!!

Joined
16 Aug 2009
Messages
9
Reaction score
1
Location
Gloucestershire
Country
United Kingdom
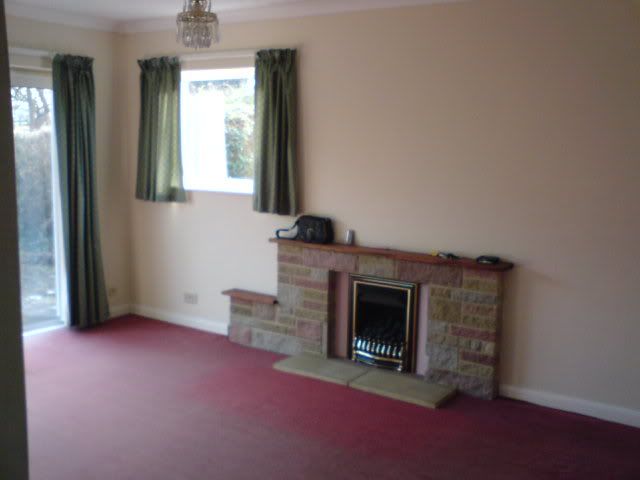
So back in March I completed on a lovely little bungalow (i'm not old, it just had the space I wanted)

I was going to replace the central heating and boiler then be living in it and doing it up as I go along. Got the keys on the 4th and walked in... thought.. ahhh crap! lol

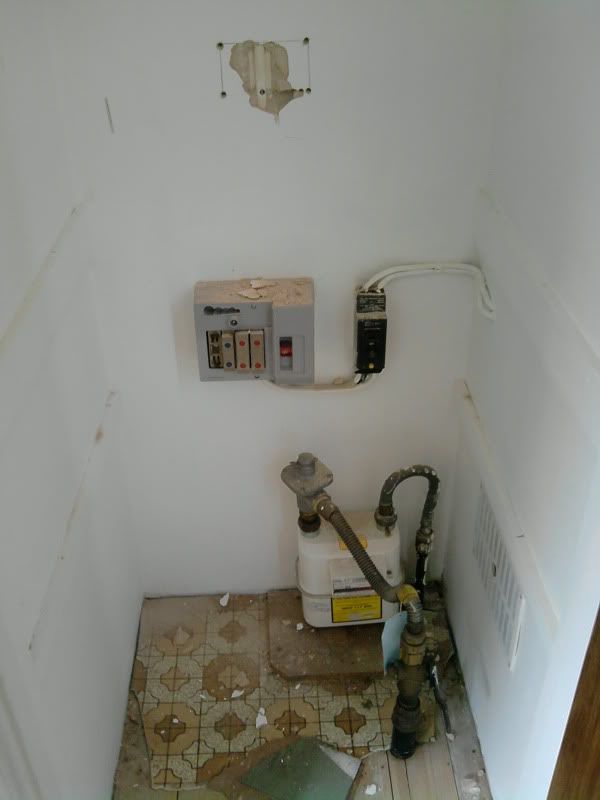
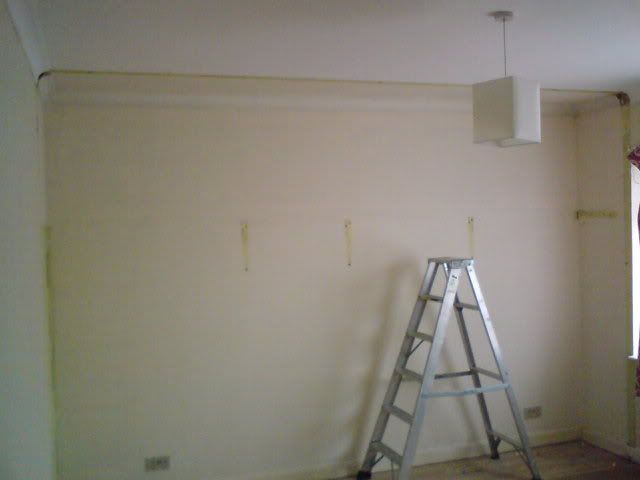
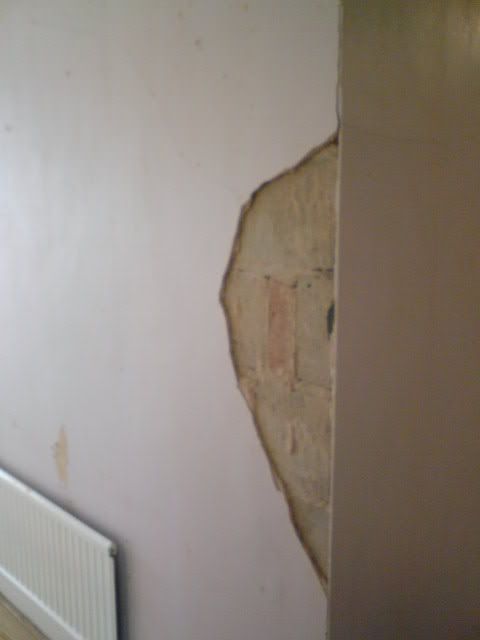
Somehow we missed that the eclectics were in need of attention to.

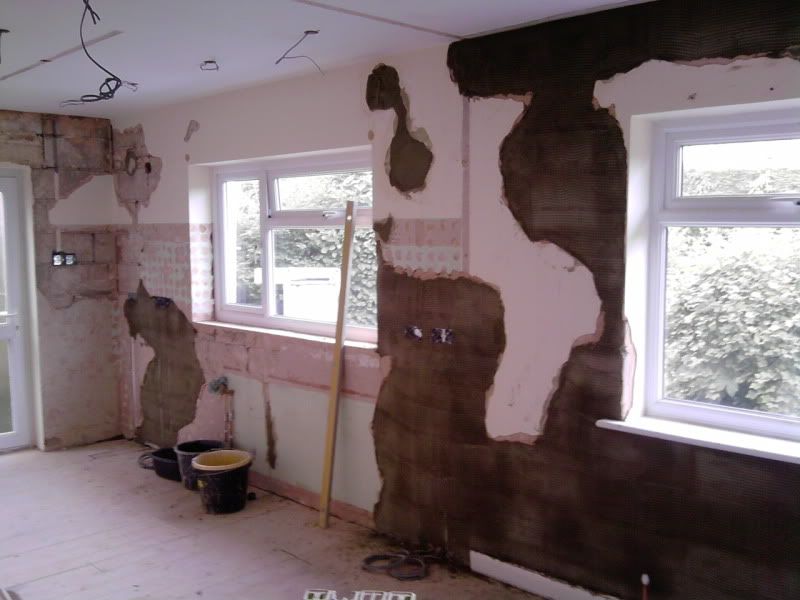
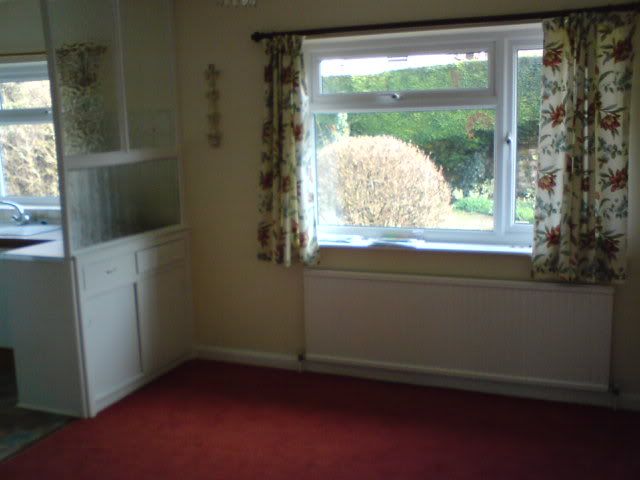
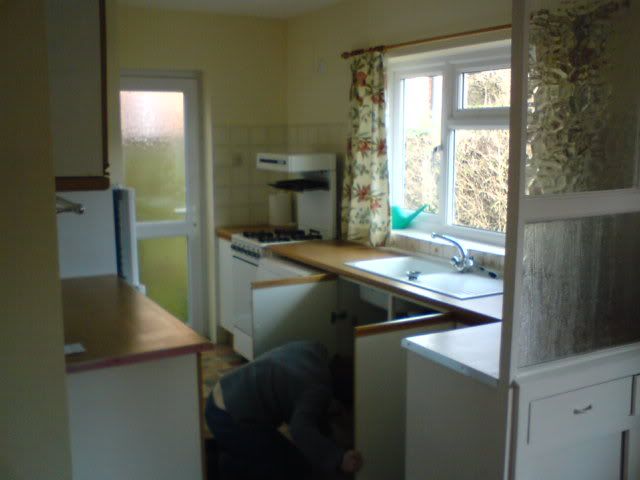
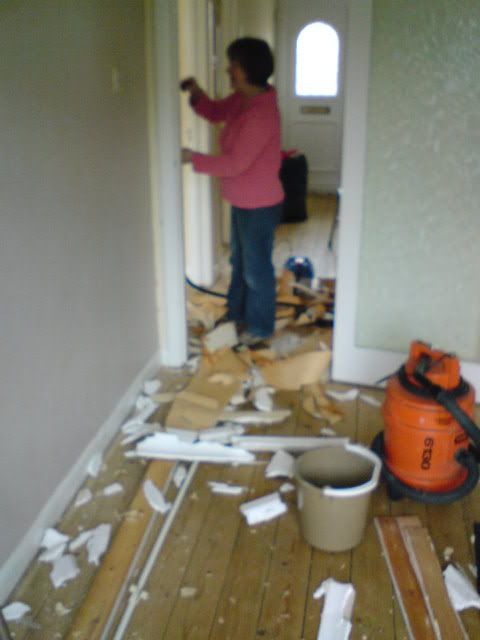
Figured as that needed doing as well as the kitchen, bathroom and all general decoration we (me and my parents) may as well rip it all up and I spend a bit longer living with the folks.

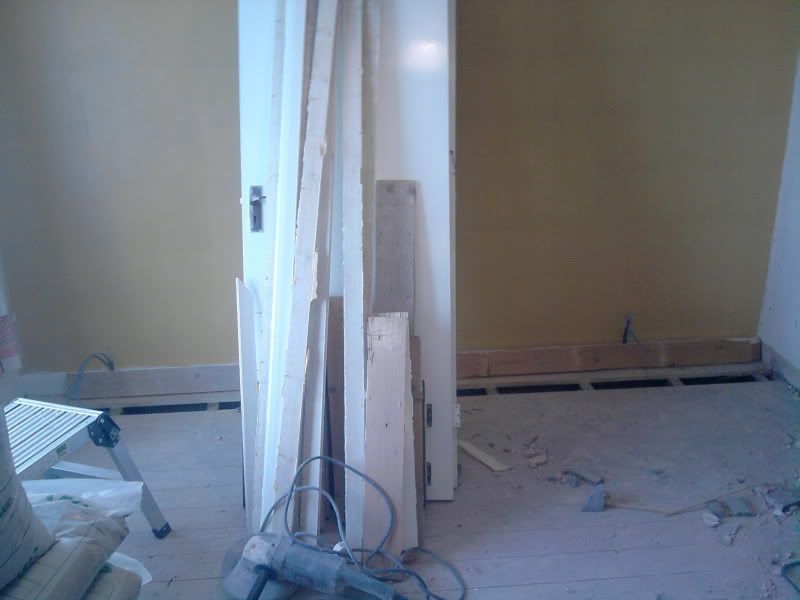
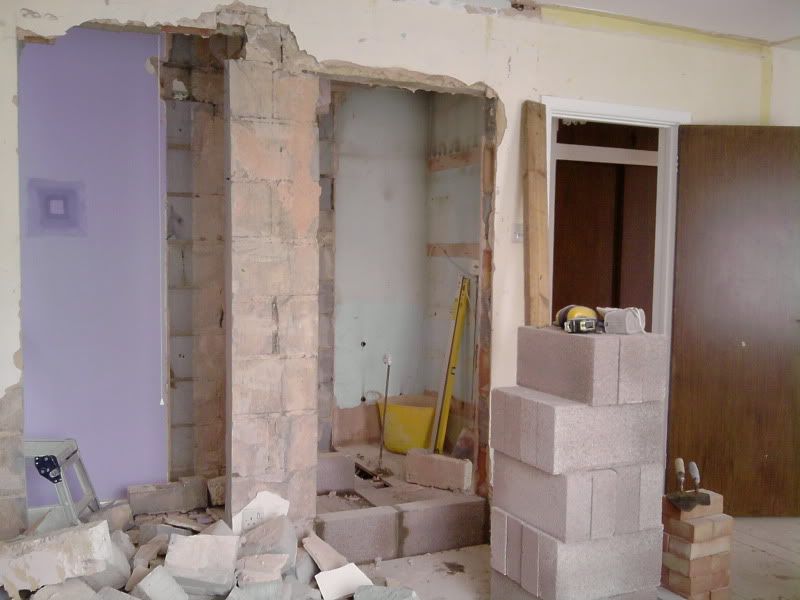
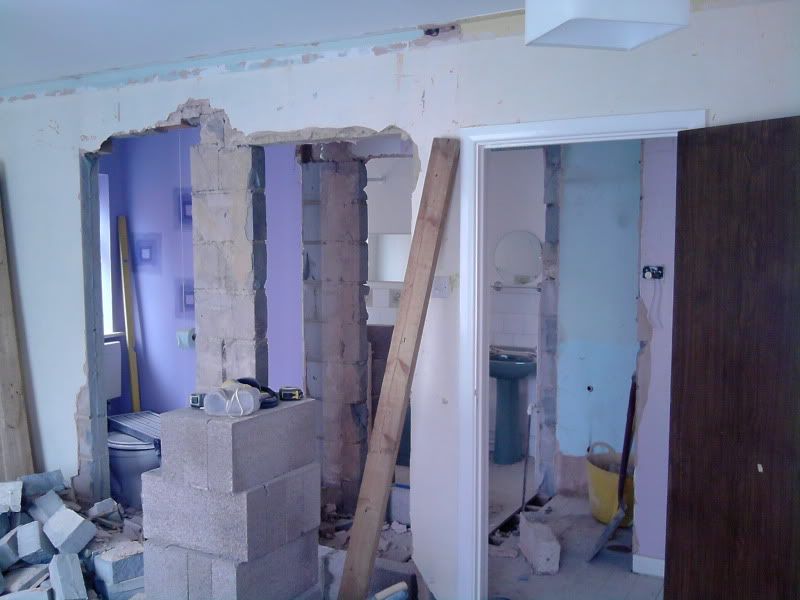
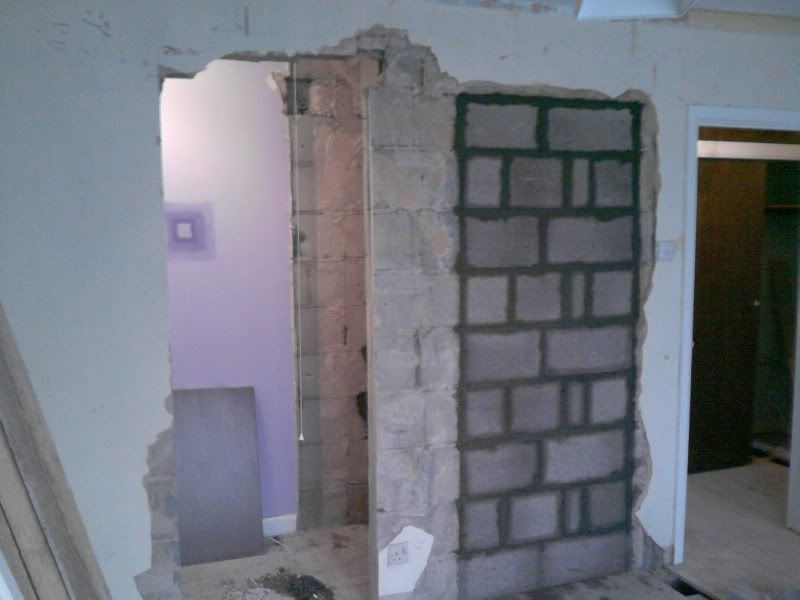
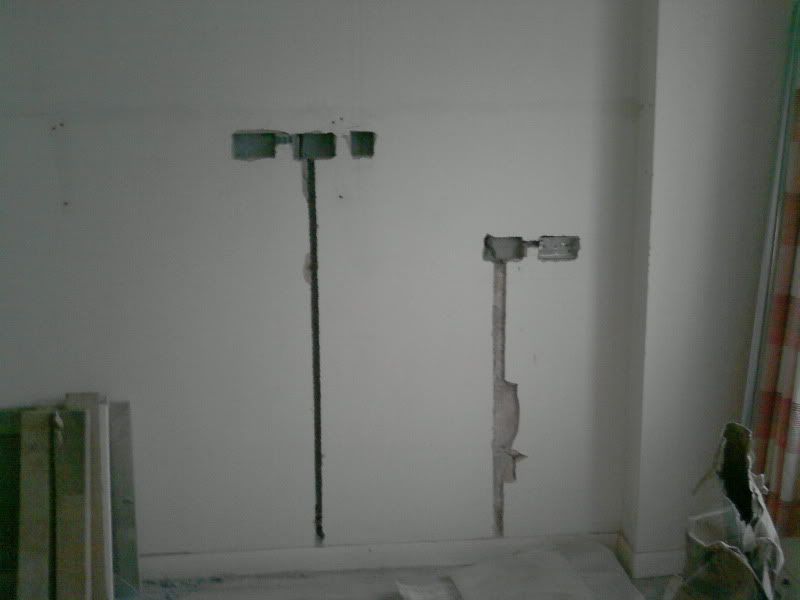
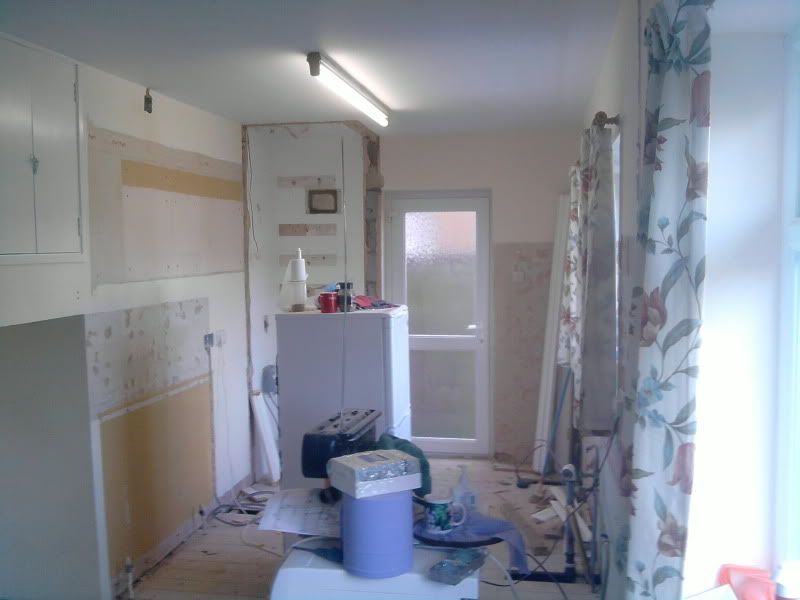
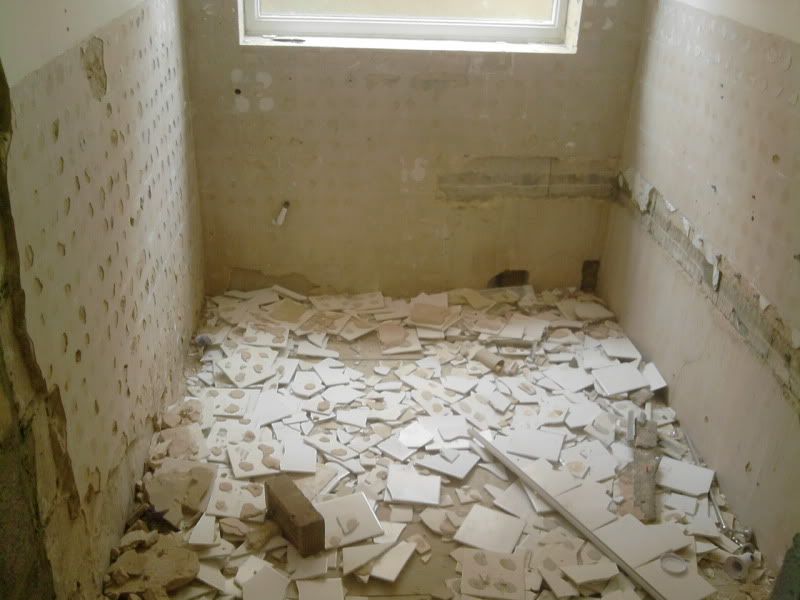
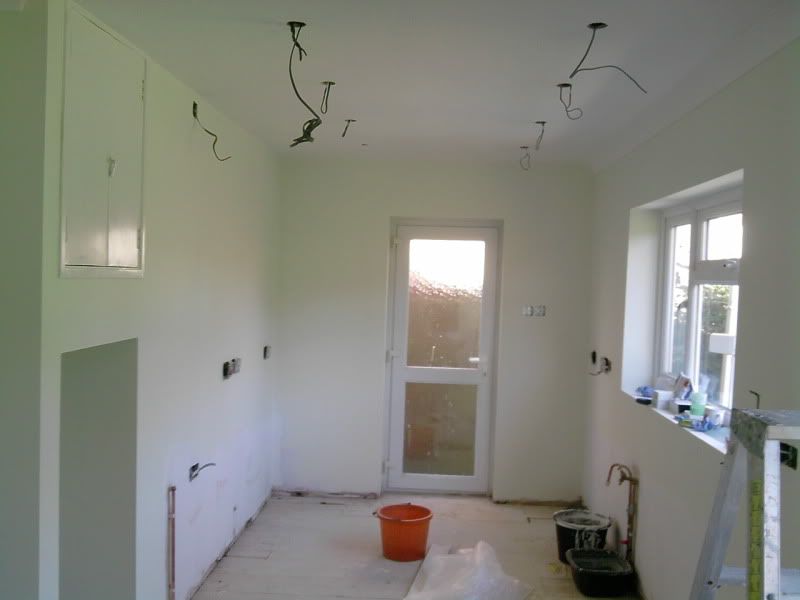
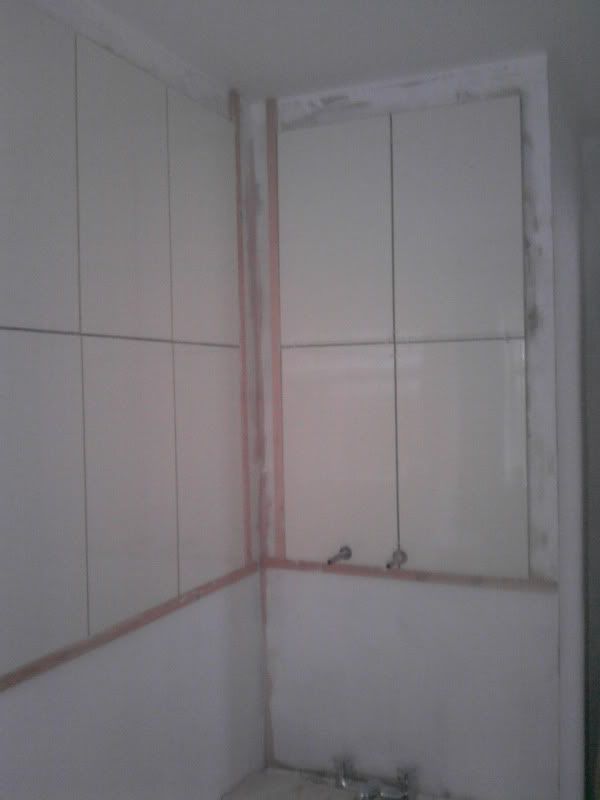
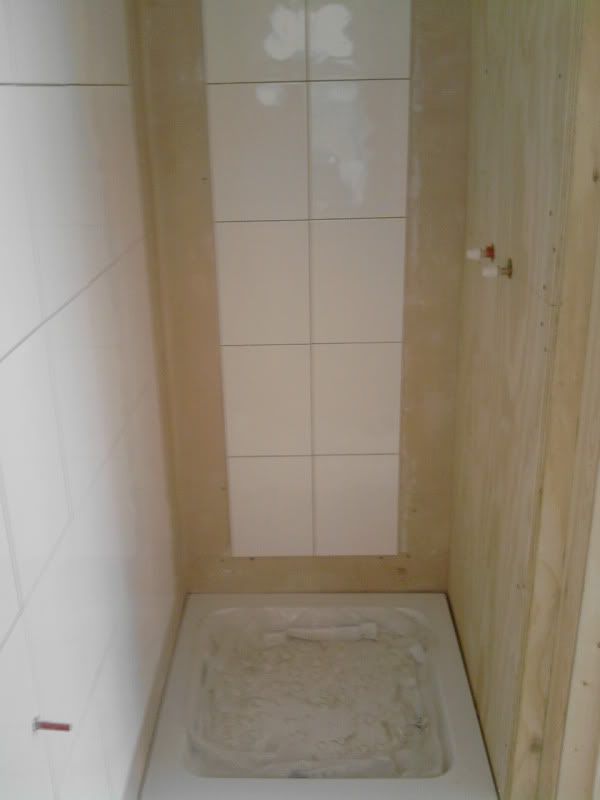
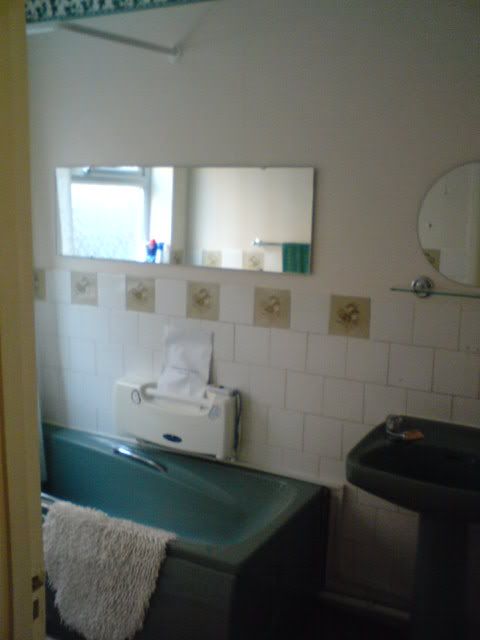
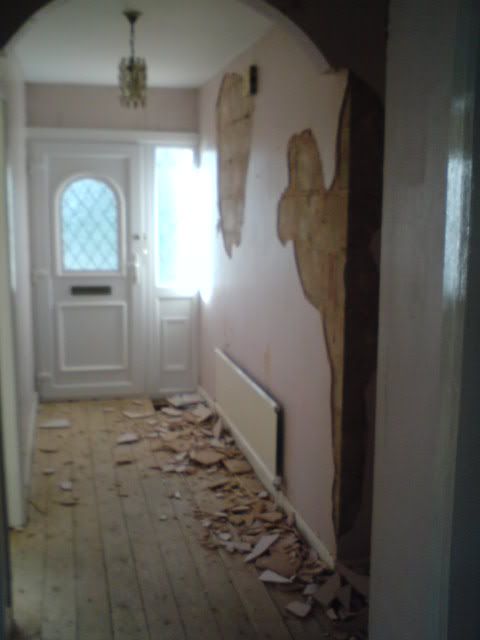
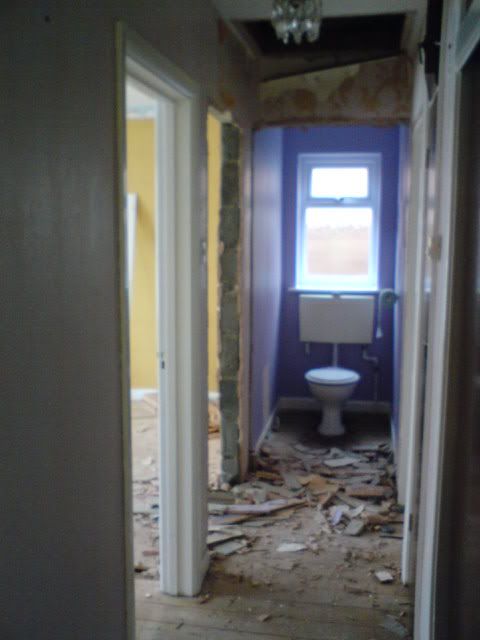
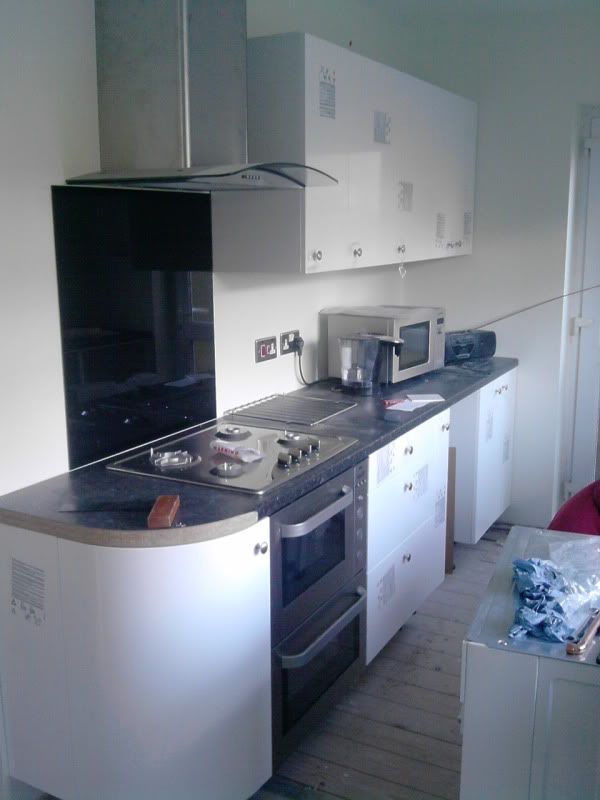
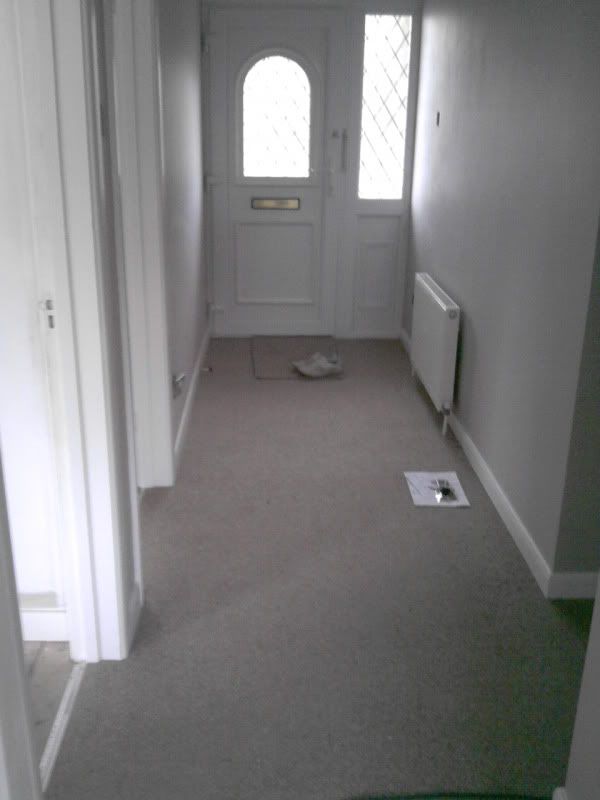
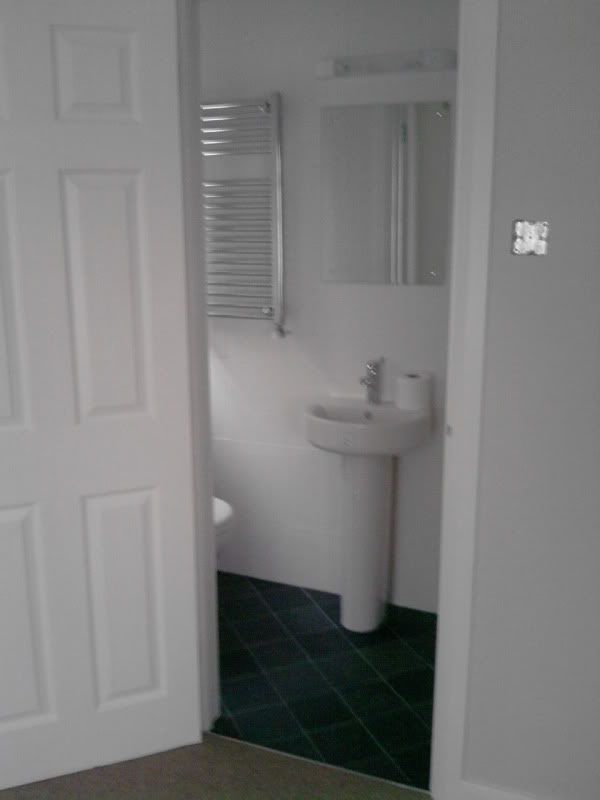
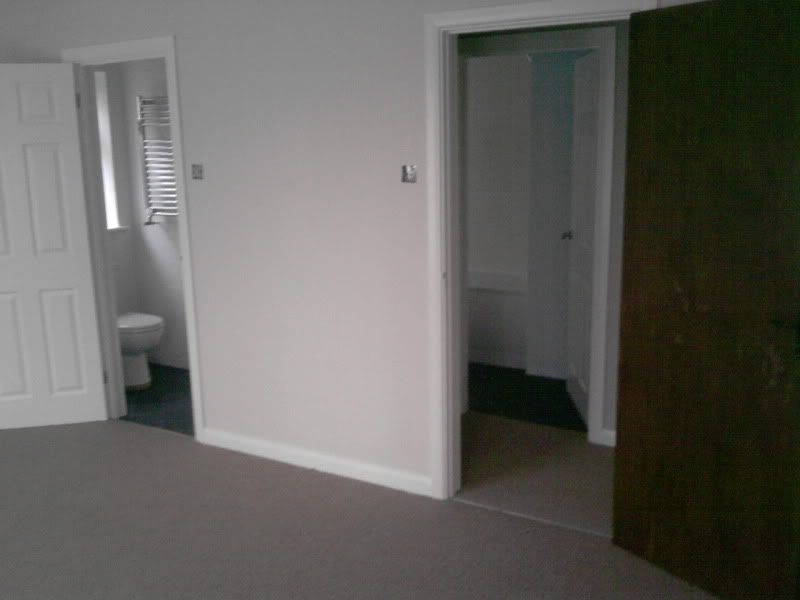
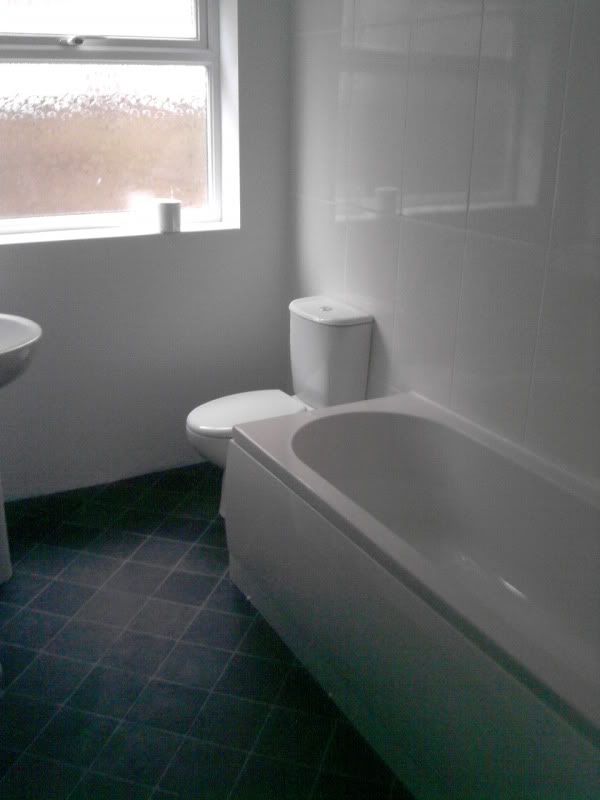
Nearing 1/2 a year later! We are still missions off ;) Not that far now. Layout has been changed, bathroom extended into the old location of the hot water tank and toilet extended into the hallway where the old bathroom door used to be to create an en-suite, bathroom tiled and grouted with all bits in place and fixed excluding the extractor fan, ensuite part tiled, kitchen opened into the dining area, doors painted white from the dark brown which made the hallway very dark, nearly completely re-wired between myself, my dad and our electrician (just finishing off the lights), so much more to do but I finally feel like I am getting somewhere.

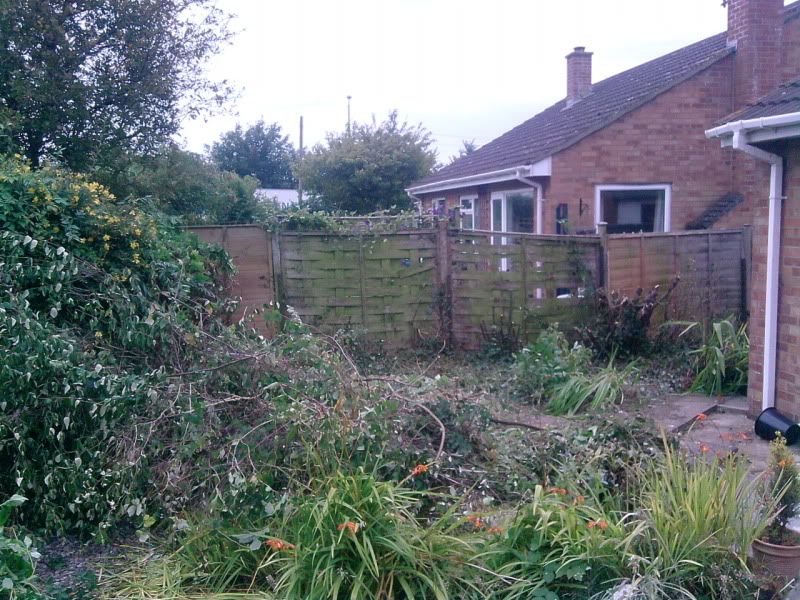
We have recently been turning our minds to the garden now (including the resident mouse). The first thing is to try and stop all the Russian Vine and Ivy from existing!!! Then sorting out the 40 year old fences which have been in place since new. :S Will be concrete posts (no I won't be painting them ;) )

Once the fencing has been replaced and bushes either cut back or dug out depending what they are. I will be in need of getting rid of all the rubbley stones that the previous owner had on both the front and the back garden. Now, I don't really want to have to take it all to the waste recycling centre if someone locally has a use for it but I wouldn't have a clue where to start on getting rid of the stuff... I'm pretty sure it would make a good hardcore for something.

Any Ideas?

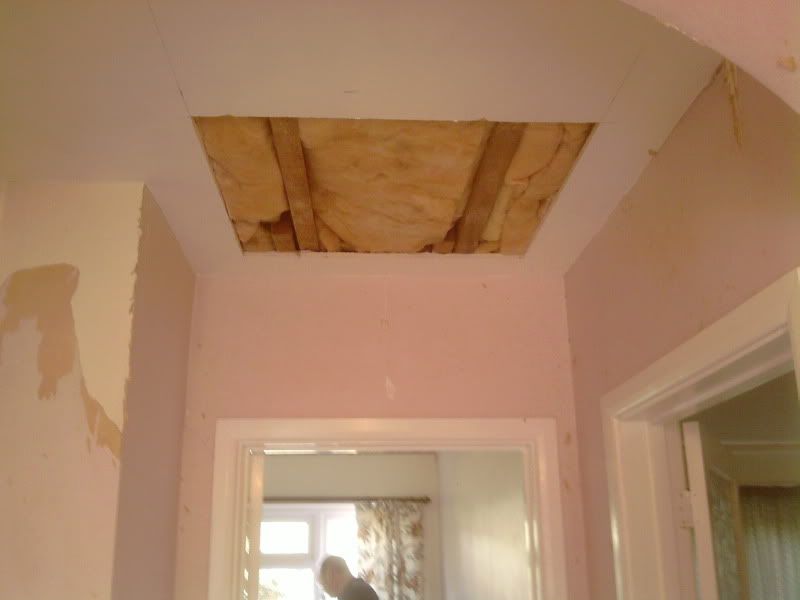
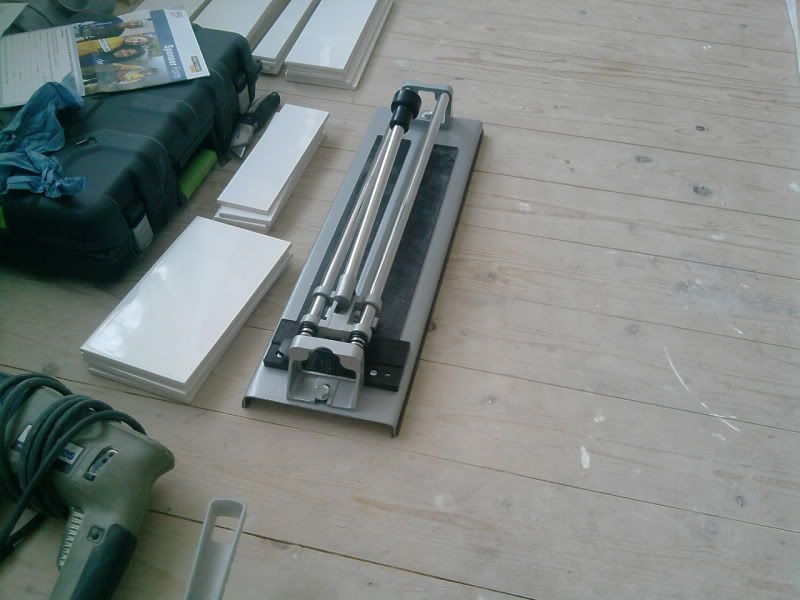
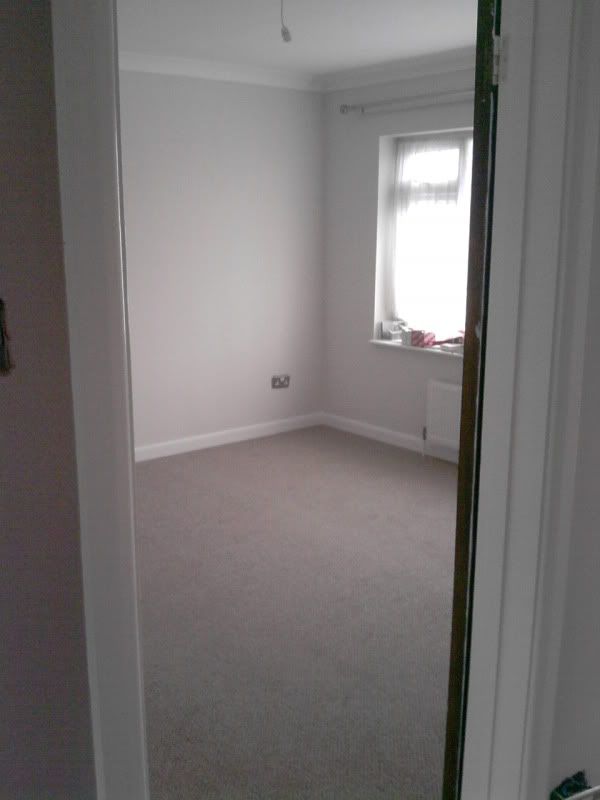
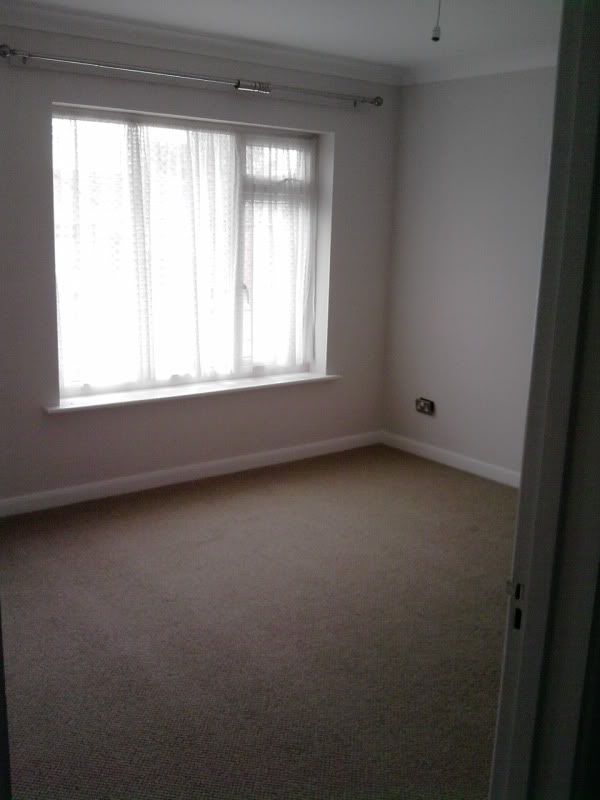
Anyways... pics to follow of all the work that has been done so far. Hopefully I won't bore you all too much.... :p
 
Sponsored Links
Congrats on the house - we're doing ours up completely as well and hope to finish by 1st October. I will be :evil: if it's not as we're doing a LOT of work and very quickly (hell at times but all good fun)

Ref. the garden. I've seen and been advised to advertise in free ads, preloved.co.uk and local adverts for when we get rid of our garden. People have been paying around £10 a bag for "dig your own topsoil" around here, apparently, so I would imagine if you advertised it, you'd not only get people to shift it for you but also get some cash into the bargain.

I'd be glad to give it away for free if someone wants to dig out the garden for us! :LOL: :LOL: :LOL:

Just worth a shot in saying "grab a bag for a fiver" or whatever you think is a cheap/reasonable price, and provide some rubble sacks for them. It's surprising what folk want! :eek:
 
Well here is all the pics now (as promised).

I think an advert on preloved and maybe a cheap ad on eBay might do the trick.. there are a few people giving the stuff away for free so I think maybe if I do that. Plus, it saves me on hiring a skip or runs to the dump. :)

Hopefully the pics load nicely.
I will also do floor plans later to show you how it has changed as there are not really any before pictures... I will scan the property details pictures though.

First bit... the doors for the toilet and the bathroom had to be removed. No such thing as privacy in this house!
House1.jpg


This is the view from the master bedroom... first door (right) is the original door for what was the 3rd bedroom (walls were taken down by previous owner to make one room). This door will be staying.
The 2nd (middle) hole was the 2nd bedroon door which was plasterboarded over. Due to changing the layout we were getting the hole bricked uo for strength - you can also see the old hot water cylinder space. This is going to be part of the bathroom entrance.
3rd hole (left) new door for what will be an ensuite. Looking carefully you can see where the door was and you can still see the lighting pull cord.
House11.jpg


I have included this so you can see the lovely green suite :p
House12.jpg


All blocked up :)
House13.jpg


As the loft hatch would now be right above the ensuite shower I needed this moving. Again this is a job for our builder to do. (Actually a carpenter but he has done a lot of work for my parents in the past and he knows his stuff)
House15.jpg


New wiring going in :) Special heights for two reasons... The taller ones, my tv and playstation etc will be going on top of my drawers and so I want access to the sockets. The slightly lower ones, I have two geckos with waterfalls in. The cords are pretty short so need them to be situated behind their cages. Plus resale for old people will be useful... altho i don't plan on selling
House17.jpg


kitchen ripped out. There used to be a larder cupboard in the back left corner. thats gone too :D The boiler used to be in the alcove in the near left of the picture. It's now resident of the back garden - rusting away. it will go to the dump for recycling when i can get it in the car.
House18.jpg


in the larder... lovely old fuse box with the DIY fuse wire fuses and the gas meter. The gas meter has now been moved outside by our gas safe plumber guy. Fuse box has been moved to a cupboard in the hallway.
Look above the fuse box :D :D
Drilling out holes for a new plug socket in the kitchen - Oops! Lucky the drill was insulated. Yes, the drill bit was blown apart!
House19.jpg


The plaster work on all the houses in the close was horrible. everyone in the other houses have said I should have just papered over it. lol. when we started stripping the paper off the walls we realises it was pretty horrid. Patched. Plaster patching and skimming pretty much the whole house.
House113.jpg


Everything out of the bathroom. Tiles off the wall. How fun that was! It was short lived though. I had to clean it all up.
House118.jpg


Not without injuries - tiny slice but bled lots
House119.jpg


Painting and wiring - Kind of the start of the finish but oh so far off! Coving is up on the right as a continuation from the dining area. None on the left due to kitchen units going to go up. (My dad broke one of them today :/ )
House121.jpg


Bathroom tiles. The edge pieces are a little small but I have been working with free tiles of a very limited supply. basically my parents did a bathroom with these tiles and they were end of range so they just bought the lot. that was about 1 1/2 years ago. Turns out I had just 1 full tile left spare and that has a fault in the middle of it :s Any break in the future and I'm gutted!
House134.jpg


All the bathroom tiles were cut on a diamond disc cutter as they were pretty big (60 x 30 cm) I got my dads tile cutter out to do my ensuite tiles. no can do :( The tiles were slightly too big (1cm too big) So off I went to the local DIY store.
My lovely new cutter.
House136.jpg


Shower tray in what was the hallway. Tiles going on the walls nice and even. Just over 1/2 tile on both edges.
House139.jpg


My reward for doing the work? One day maybe.
House140.jpg


What a lovely garden! Spot the two 40 year old fences. Lots of work to do here but the 'hedges' are/were 7 foot thick. Going to be reclaiming the garden for my enjoyment. I am taking the wildlife into consideration. Destroying one side at a time, replacing fences, planting up new wildlife friendly shrubs etc and then starting on the next.
The hedges are thick with ivy and russian vine (mile a minute) :(
House141.jpg
 
Sponsored Links
It's up there... :p
"Fuse box has been moved to a cupboard in the hallway."

The master has been relocated to the outdoors box and a new fuse box in the hallway. Reason being is some sort of regs about where the main switch has to be X distance from the electric to the house... our electrician I was working with explained it all.
 
Guess what I found!!

I know its a bit back to font but here are some pics from the start...

Living room - lovely fireplace and very worn carpet!
DSC00383.jpg


Dining Area - That divide and unit is to be taken out. The unit was very well made! Not like todays units.
DSC00387.jpg


All the best kitchens have an old skool cooker ;) Check out the lovely fire hazard in the form of the cooker and curtain right next to each other. (My dad under the sink)
DSC00389.jpg


My room - great big hunk of a built in wardrobe.
DSC00398.jpg


Gone!
DSC00410.jpg


Green suite - Bath seat thingy. The long mirror has been saved to go in the hallway.
DSC00403.jpg


My mums stripping the walls and some plastic coving on the floor too.. taken off by me.
DSC00412.jpg


Taking off the paper we discovered this;
DSC00434.jpg


Which soon lead to this;
DSC00437.jpg


The reason being is that the plaster simply was not a good job when the house was made 40 years ago. This next pic is an example of how far away the plaster was from the wall

The left is the brick and left plaster... that black bit - a whacking great hole
DSC00442.jpg


This one is a good example of the changes.
Checkout the old hole in the ceiling. Thats the loft hatch that is now blocked up. Imagine that as the shower area of my ensuite with a new door hole yet to be added in the pic.
DSC00438.jpg
 
If you want to get rid of something, try freecycle - it is a group in yahoo. Somebody in my area was going to dig his front garden for a driveway recently, he placed an offer for grass turf and top soil. And guess what - people who wanted the grass and the soil dig the garden for him for free. Almost made me regret that I always have a driveway, otherwise would use this brilliant idea :LOL:
 
Well folks, it has been a long time coming but the interior is pretty much done. still waiting for wooden flooring to be put down (Monday) but other than that the house is finished (minus two replacement doors, 4 door handles, 2 kitchen door knobs, kitchen kick boards and a fire in the living room)

When the flooring is down I will get some pics of the kitchen diner in its finished state.
For now though, more progress pics :)
And some pics which look as if they were of just an empty house ;)

Two lovely kitchen worktops supplied by Knightsbridge Kitchens having their trial fit and measure up. Note the one on the left is far too big.

P090909_1538_01.jpg


Guess how many attempts it took to get a matching curved edge to the worktop? This was mainly caused by a cheap router and not having the right bit for the job. With it being a nasty cheap router too, it also decided to die meaning we had to go out and buy another.

P170909_1524_01.jpg


Trial fit number two, the hole for the hob has been but out too so that is getting its trial fit in addition to the curved worktop & unit. Unfortunately a slight cock up on the measuring meant the worktop is actually too short but at £100 a pop a bit a creativity has been used rather than going through hell again.

In the pic you can also see my glass splash back. Again supplied by Knightsbridge Kitchens, its produced by CDA and I figured it adds a little touch of class to the kitchen set off against the white units.

P200909_1754.jpg


The finished product!!

This is the 2nd bedroom, remember the big built in wardrobe?

P020909_1707.jpg


Hallway (note where you can see floorboards this has now been done) - remember the mass of plaster just falling off the walls and the shocking shelf above the radiator?

P020909_1708_01.jpg


Master Bedroom

P020909_1708_03.jpg


Now complete with ensuite (i would love to get a real camera rather than a phone, stick a wide angle lens on and get some real shots) Remember back in the day (aka march) this used to just be a toilet and not even a sink. Right of sink is the shower and left you can just see a bit, the toilet.

P020909_1708_05.jpg


Looking through to the bathroom and ensuite.

P020909_1711.jpg


No more green suite. Previous owner Hilda would be pleased with me having been reliably informed she never liked it.

P020909_1715.jpg


of course now I have the finishing touches to complete, soffits and fascias, both currently wooden and falling to pieces - corners are completely rotten.
Probably slightly more concerning is the fact that it is a 1970 built house and one wall needs repointing already :s god knows what cowboys put these houses up.
 

DIYnot Local

Staff member

If you need to find a tradesperson to get your job done, please try our local search below, or if you are doing it yourself you can find suppliers local to you.

Select the supplier or trade you require, enter your location to begin your search.


Are you a trade or supplier? You can create your listing free at DIYnot Local

 
Sponsored Links
Back
Top