

I've received a lot of great advice from this forum in the past and I'd like to start giving back by sharing some of my own tips and successes. This one is actually inspired by some old advice I found after digging through this forum but as I was able to take photographs along the way, I hope that this can also be of assistance to others.
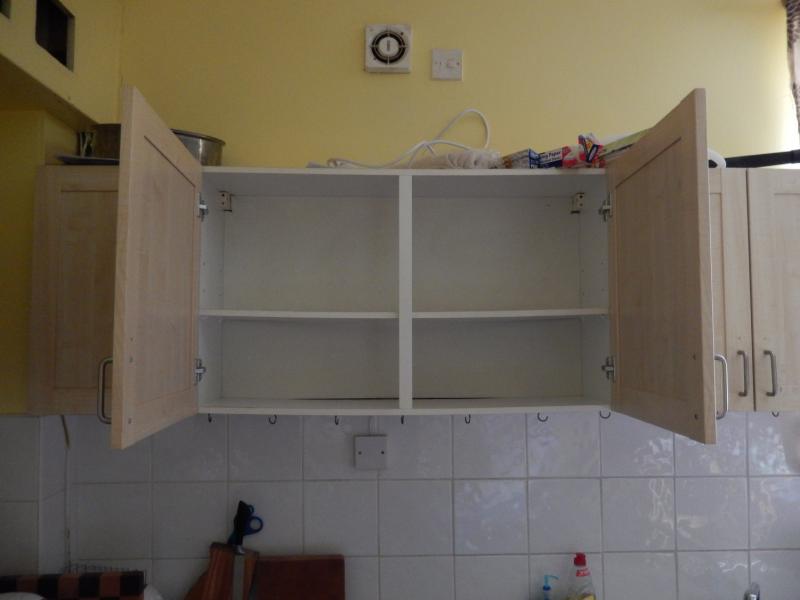
It all started with a wall unit in my kitchen, which is 1m - and, for a chipboard construction, that's asking too much! It was sagging in the centre by almost 12mm when I moved in a year ago.
My plan, based on the advice found here, was to reinforce the bottom shelf or base by doubling its thickness.
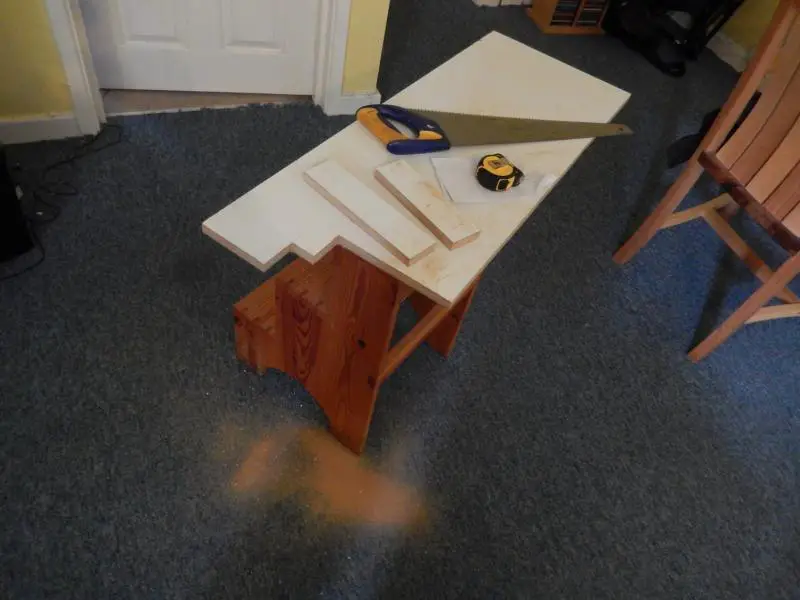
After a bit of a scrounge on Freecycle, I found a guy in Bristol who was replacing his kitchen and so I had a couple of oversized panels to play with - these were actually MDF but no easier to cut with a blunt handsaw!
I cut a notch in the centre so it would fit around the central upright.
I drilled and countersunk a series of pilot holes from underneath but before screwing the two boards together, I had to prop it back up in to shape and the use of a pair of spreader clamps worked even better than I'd hoped - you may wish to use something more rigid than a cooler box though!
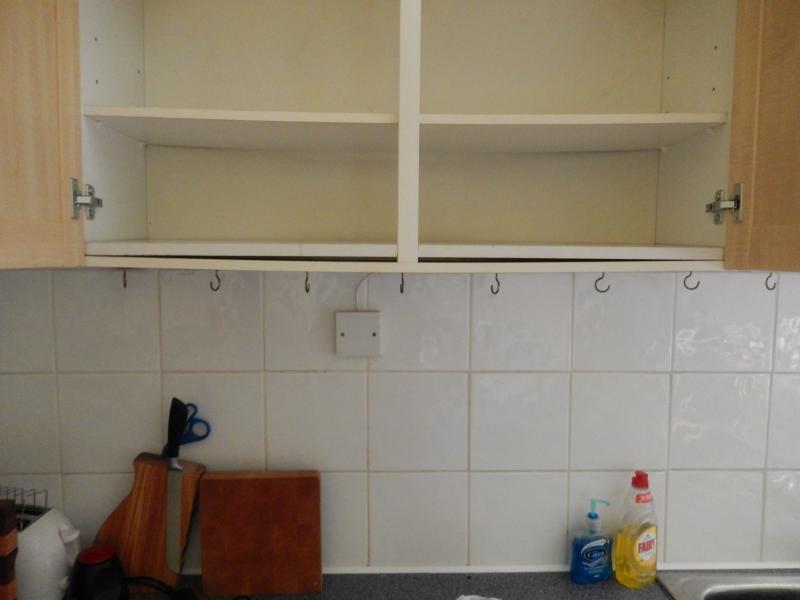
Not only had the bottom shelf dropped by the back panel (4mm hardboard) had popped out of its groove and was pointing towards the wall behind.
I actually forgot about this until after I'd put the last screw up through the bottom but it should've been pulled back in to its groove before fixing - to do this, I put a couple of small pilot holes in, partially inserted a self-tapping screw (for its finer thread) and pulled it back in to position by hand.
Had I remembered the back panel sooner, this repair may've been perfect but I'm pleased to say that the sag has been reduced to only 3mm!") I've also flipped the middle shelf over so it's now convex and not concave.
I've also flipped the middle shelf over so it's now convex and not concave.
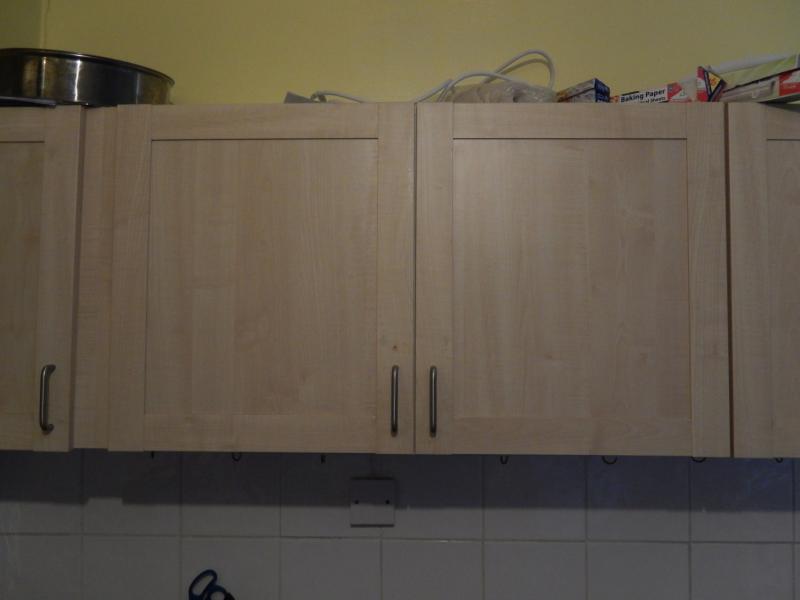
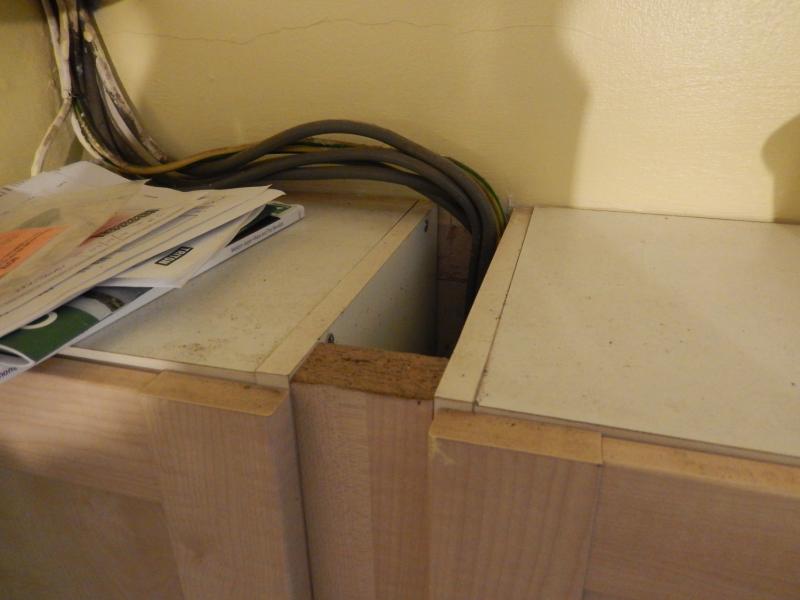
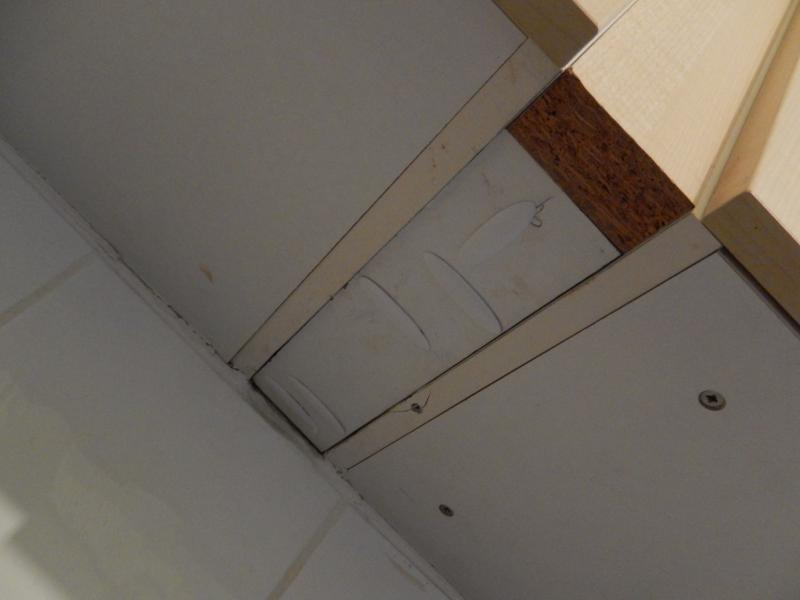
While I was there, I also went about plugging a couple of large holes between this wall unit and the small cabinet to the left:
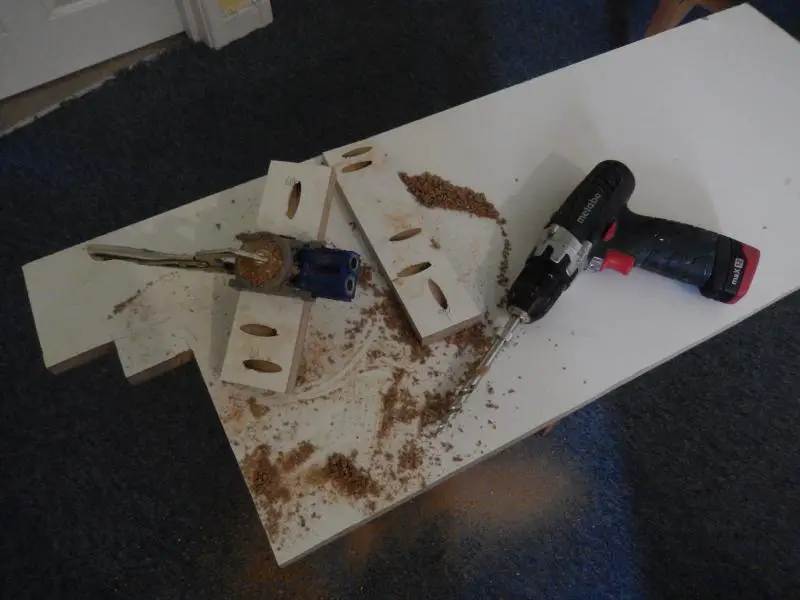
I cut some more of the MDF:
And peppered each piece with pocket holes - I love this jig!
I wasn't concerned about the appearance of the filler piece on top as it would never be seen but I wanted to hide the (excessive number of) screws underneath and I just so happened to have enough of these white pocket hole plugs:
They push in, hold firmly and require no glue.
I'm pleased with the results and I hope this helps someone else.
It all started with a wall unit in my kitchen, which is 1m - and, for a chipboard construction, that's asking too much! It was sagging in the centre by almost 12mm when I moved in a year ago.
My plan, based on the advice found here, was to reinforce the bottom shelf or base by doubling its thickness.
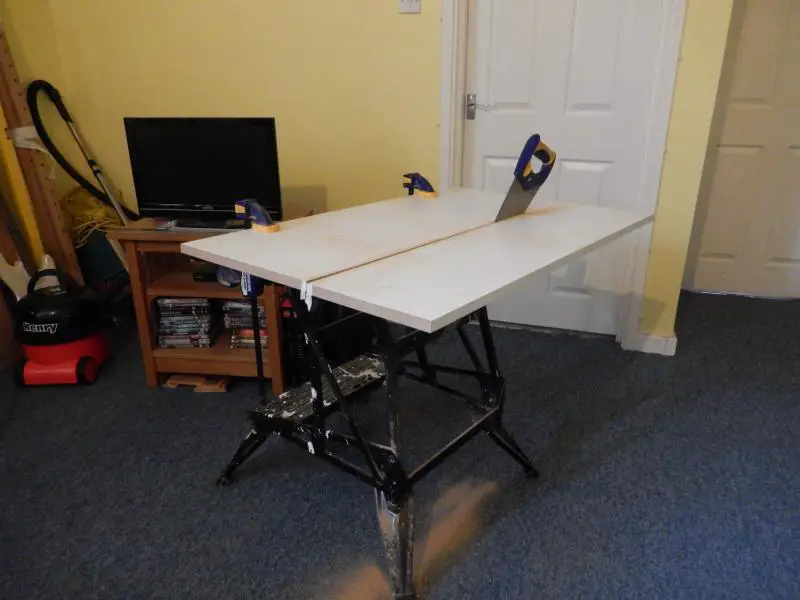
After a bit of a scrounge on Freecycle, I found a guy in Bristol who was replacing his kitchen and so I had a couple of oversized panels to play with - these were actually MDF but no easier to cut with a blunt handsaw!
I cut a notch in the centre so it would fit around the central upright.
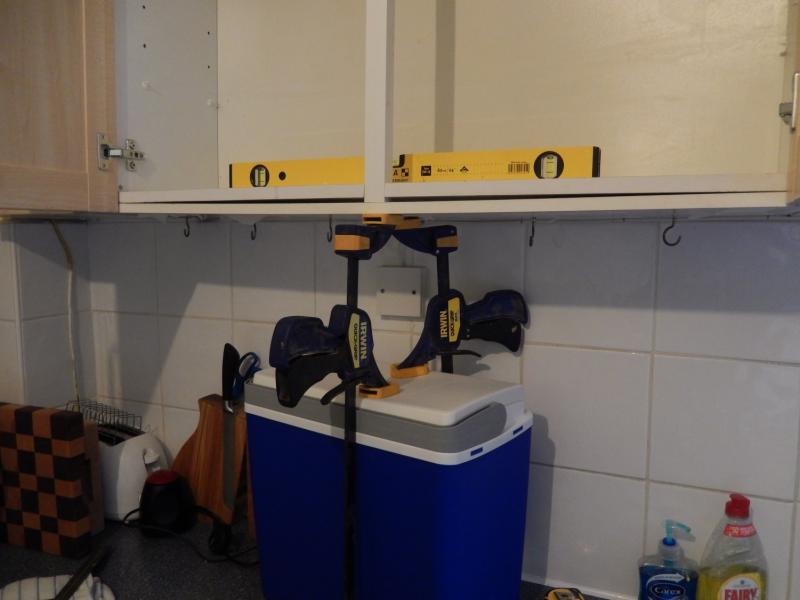
I drilled and countersunk a series of pilot holes from underneath but before screwing the two boards together, I had to prop it back up in to shape and the use of a pair of spreader clamps worked even better than I'd hoped - you may wish to use something more rigid than a cooler box though!
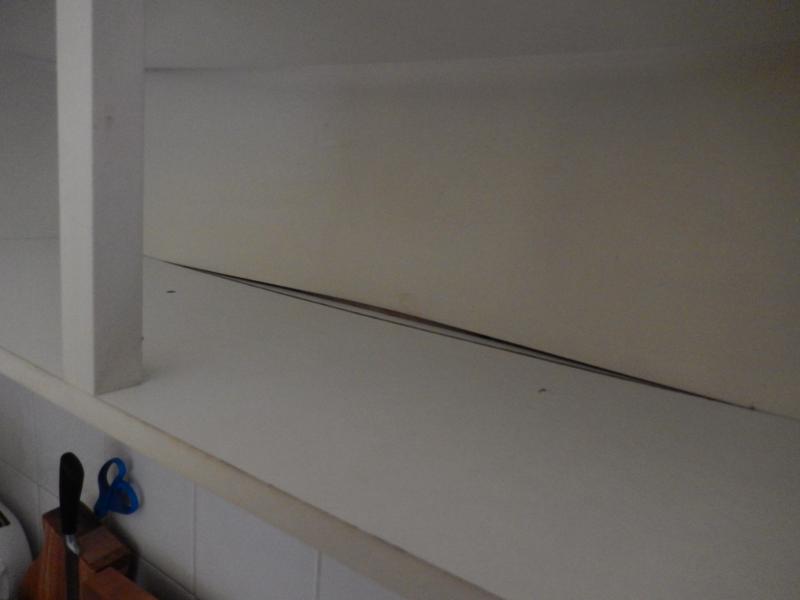
Not only had the bottom shelf dropped by the back panel (4mm hardboard) had popped out of its groove and was pointing towards the wall behind.
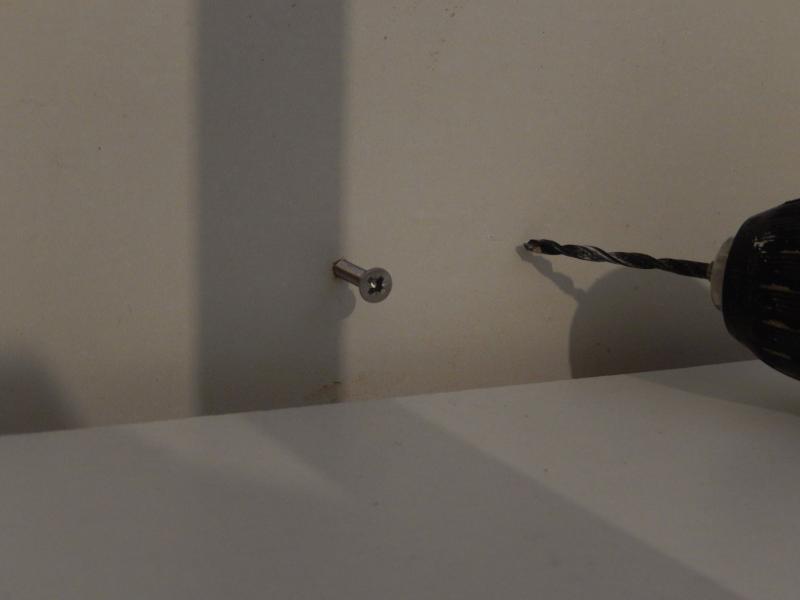
I actually forgot about this until after I'd put the last screw up through the bottom but it should've been pulled back in to its groove before fixing - to do this, I put a couple of small pilot holes in, partially inserted a self-tapping screw (for its finer thread) and pulled it back in to position by hand.
Had I remembered the back panel sooner, this repair may've been perfect but I'm pleased to say that the sag has been reduced to only 3mm!
I've also flipped the middle shelf over so it's now convex and not concave.While I was there, I also went about plugging a couple of large holes between this wall unit and the small cabinet to the left:
I cut some more of the MDF:
And peppered each piece with pocket holes - I love this jig!
I wasn't concerned about the appearance of the filler piece on top as it would never be seen but I wanted to hide the (excessive number of) screws underneath and I just so happened to have enough of these white pocket hole plugs:
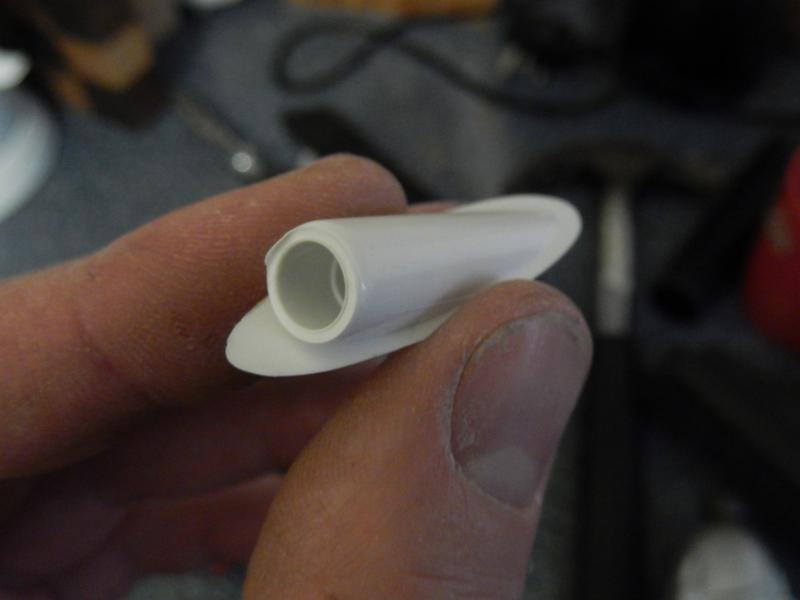
They push in, hold firmly and require no glue.
I'm pleased with the results and I hope this helps someone else.
