Patching an unplastered area

Joined
8 Oct 2012
Messages
21
Reaction score
1
Location
Wiltshire
Country
United Kingdom
Hi all

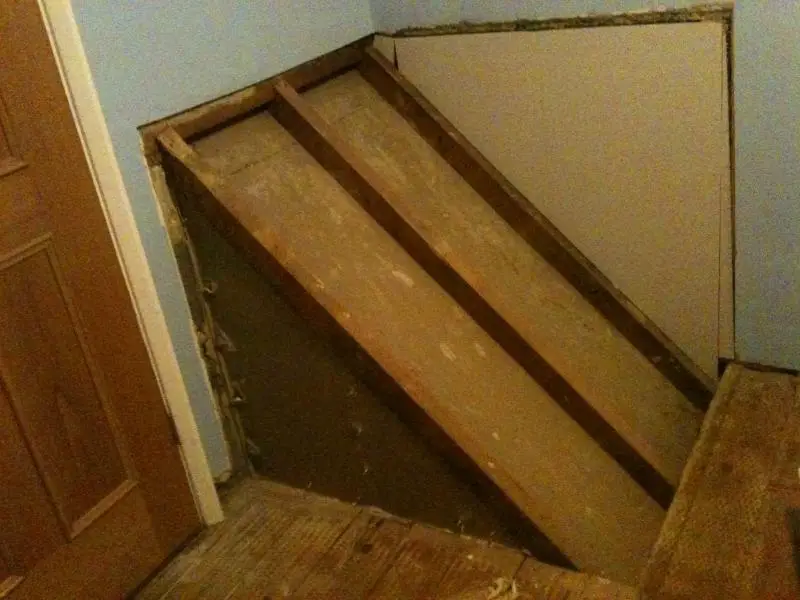
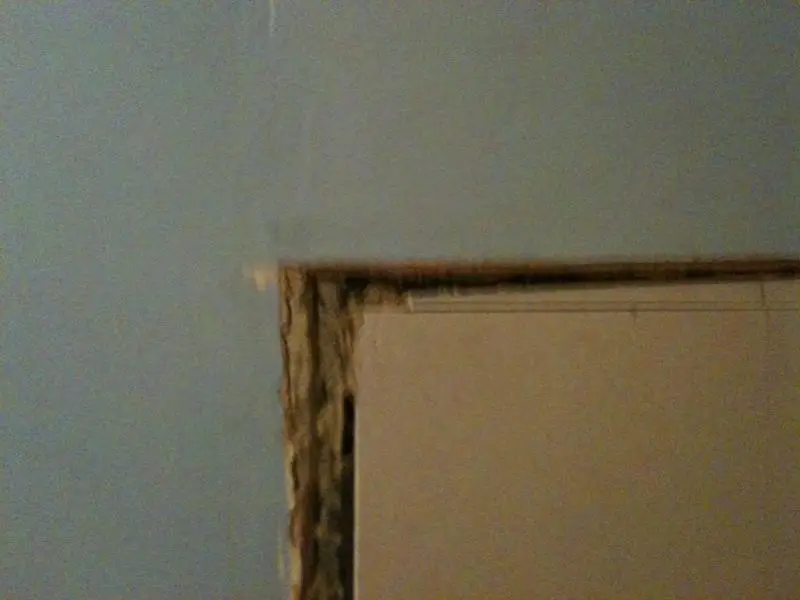
I have started a little built in wardrobe project. I am building a wardrobe over the stairs where there is one of those ramps in the room. After taking out the shelf and frame that existed before i found that the area under the frame had not been plastered from when the property was built.

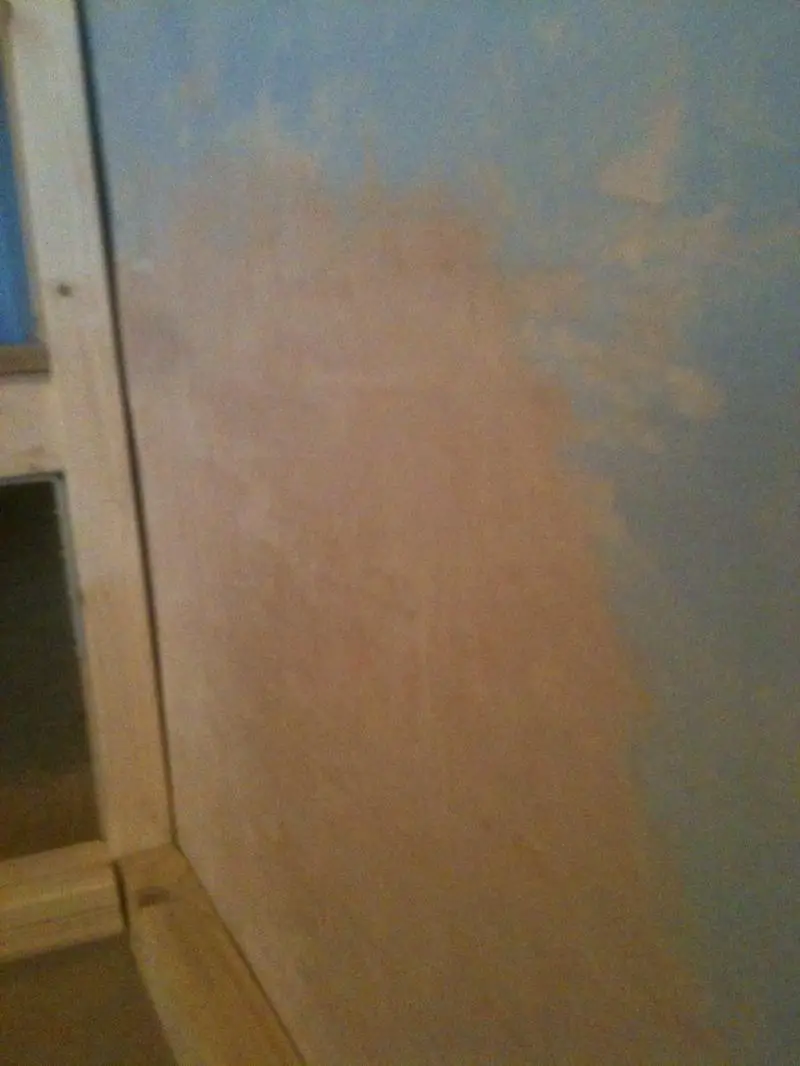
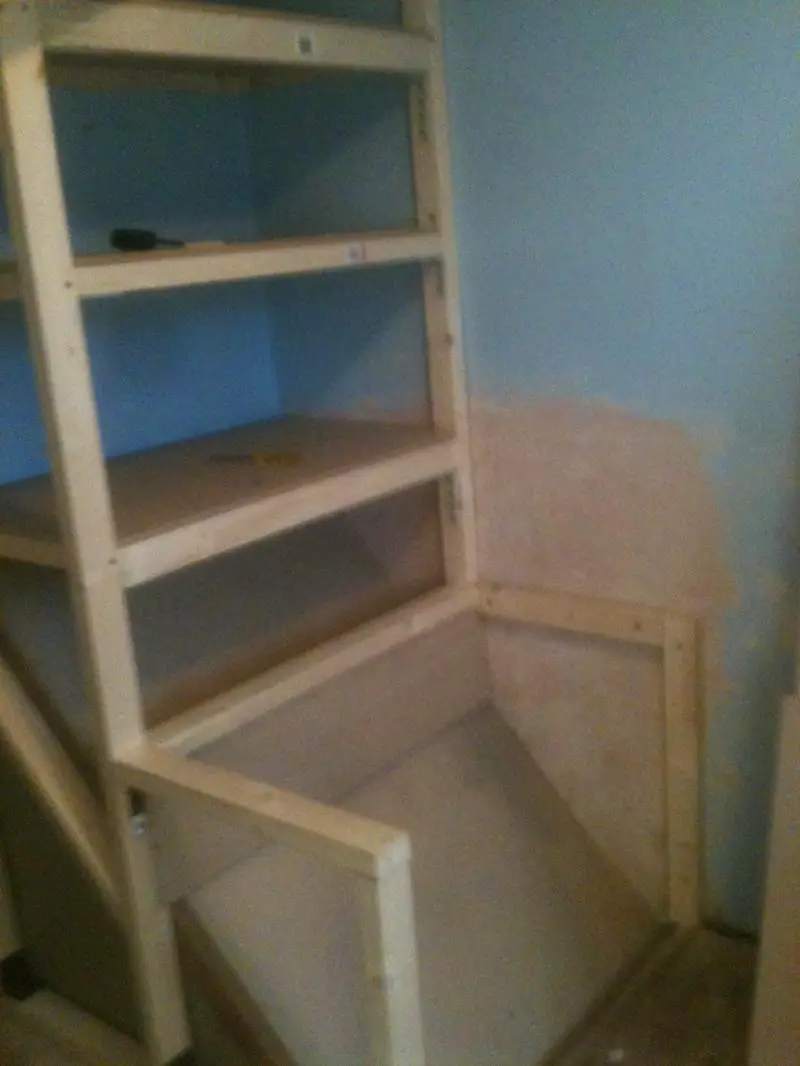
The wardrobe will not cover the entire area of the wall as it will include a stepped shelf area so I will need to plaster and skim and would like it to join as seamlessly as possible. I have PVA'd the wall and stuck plasterboard to it using grab adhesive and that seems to have gone pretty well. (See Picture). I am clueless in this area, have done some polyfilla in the past but went and bought a bag of thistle multi finish. Will this be ok for filling the gaps and skimming or should i fill with polyfilla and then skim? Will I need to tape the joints in the plasterboard? Will I be able to get a good finish on the joins with this stuff?

Any advice would be greatly appreciated.

Thanks. Steve.


Sponsored Links
A plasterer will soon take care of a small job like that. Better that way than trying it yourself.
 
Awww c'mon give me a little clue of how to do it! :LOL:

A plasterers gonna want around 70 quid. It's half a days. I reckon I could do a decent enough job with a little advice and I would enjoy trying.

Cheers

Steve
 
Ok Steve,, i'd fill up the gaps with bonding coat plaster the let it set. Once it's set, put tapes over the joints. If there is quite a depth to bring out on the overall patch, then bring it out with bonding coat and again, let it set. One the bonding coat has set, mix up a small amount of multi finish and skim over the area. Leave it a while to pick up then put another thin coat of multi over the area. As the multi begins to pick up and set, go over the area with a trowel and a wet brush a few times to smooth it out, paying particular attention in feathering the edges away to nothing. Good luck anyway. ;)
 
Sponsored Links
Thanks Roughcaster. I'll give it a go this week. And will let you know how i got on. Maybe post a picture if it goes really well!

Steve
 
Cheers Steve,, yeh, give it a go, i'm sure you'll manage it no problem,, a good job to practice on. ;)
 
Hi Roughcaster

Thanks for your help. I did what you said and its come up pretty good. I only did one layer of skim as I brought the gaps pretty flush with the bonding coat and on finishing it looked good.

However looking at it in the light of day there are a few areas I would like to skim over again just to make it look very good. Should I wait until completey dry and will i need to PVA it before skimming and how long should I wait before I can start drilling and screwing batons in?

Thanks again

Steve
 
Well done for giving it a go. It shouldn't take long to dry out anyway. If you want to go over it again, give the area a coat of pva and let it dry,, that will kill any suction. Once that coat of pva has dried, give it another one and skim onto it while it's still tacky. Keep the skim coat tight this time,you don't want to end up with a bump. You could put batons onto it soon after it's finished, but i'd leave it 'till the following day, just to give it a chance.
 
Thanks again for all your help. I'll re-skim it this weekend. Will have to clean the plaster of the food blender first before the wife sees it! :LOL:

I'll post a picture to show the results.

Thanks

Steve
 
Hi Roughcaster and anyone else reading.

All plastered now. Plastering all finished and frame nearly built. The plastering is not perfect but i'm pleased with the results and would definately attempt it again. It's a little uneven in areas but once the paint is on will hardly notice unless you get it at the right angle! :LOL:

Thanks again for your help roughcaster! :mrgreen:

Steve
 

DIYnot Local

Staff member

If you need to find a tradesperson to get your job done, please try our local search below, or if you are doing it yourself you can find suppliers local to you.

Select the supplier or trade you require, enter your location to begin your search.


Are you a trade or supplier? You can create your listing free at DIYnot Local

 
Sponsored Links
Back
Top