

Had a new kitchen fitted ? Most likely you have a load of splashback left over.
Well both my brother and a friend had such leftover splashback. My brother made a load of placemats and mug mats out of his. I blagged some my my friend's spare and also made some placemats and mug mats. Then I had an idea ...
So I tried making a toothbrush stand. This one is designed to take one electric toothbrush and four brush heads. You can design it for whatever you want.
The first one went down well, and I was asked to make another one. I got a little carried away as you'll see from the photos ...
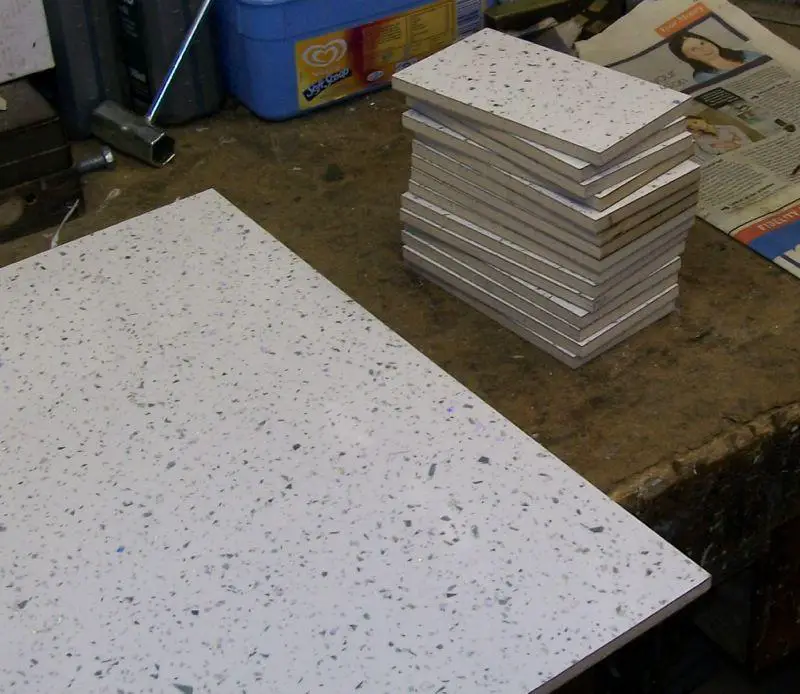
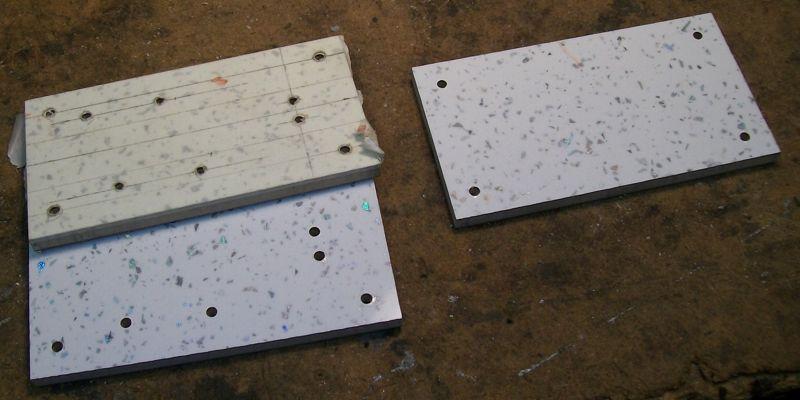
Having decided on the size you need, which in my case was largely determined by the size of the offcut I was using, you need to cut some blanks.
Then mark out what holes you'll need
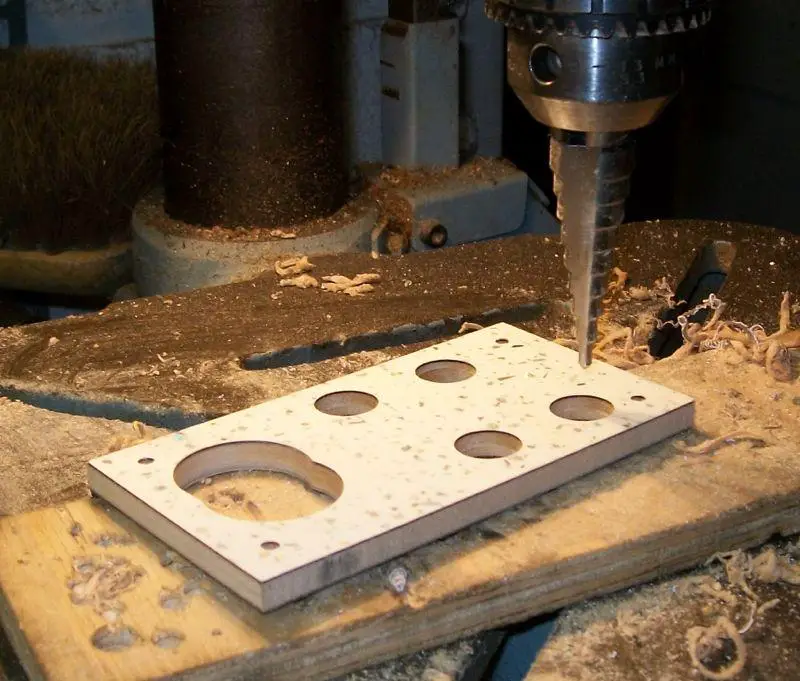
and start drilling
Note how I've clamped several pieces together, and uses spare drills to keep everything lined up.
Important Don't forget that every 3rd piece has only the 4 corner holes drilled !
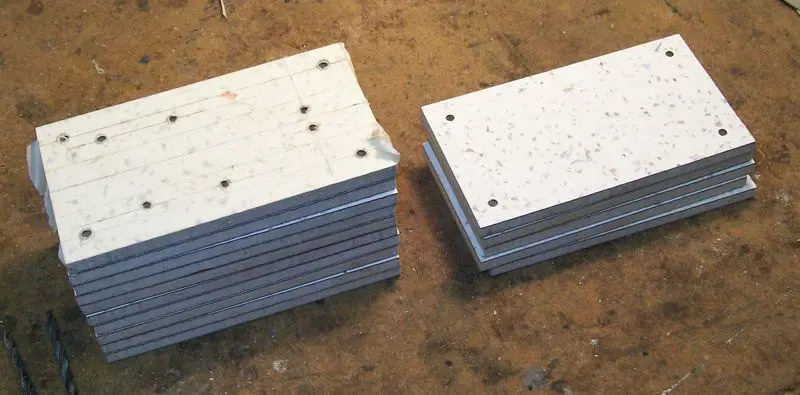
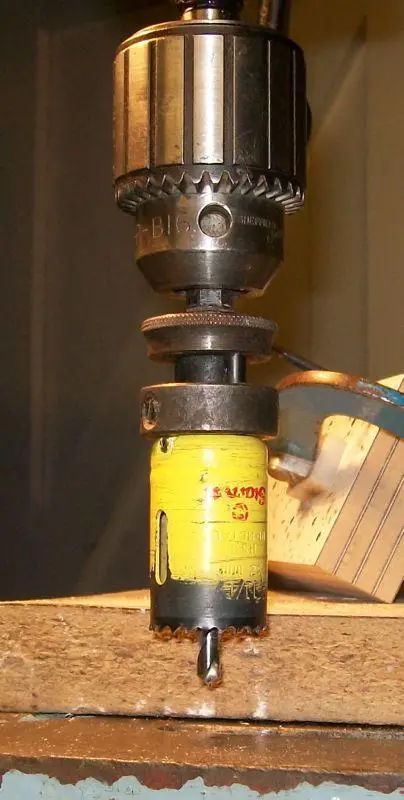
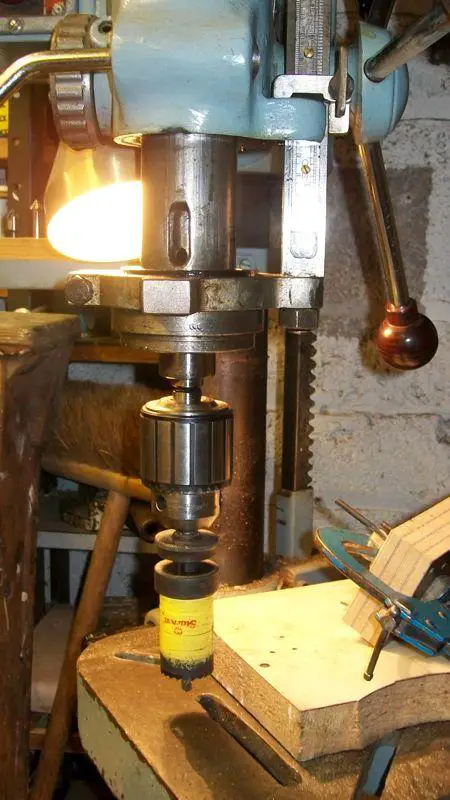
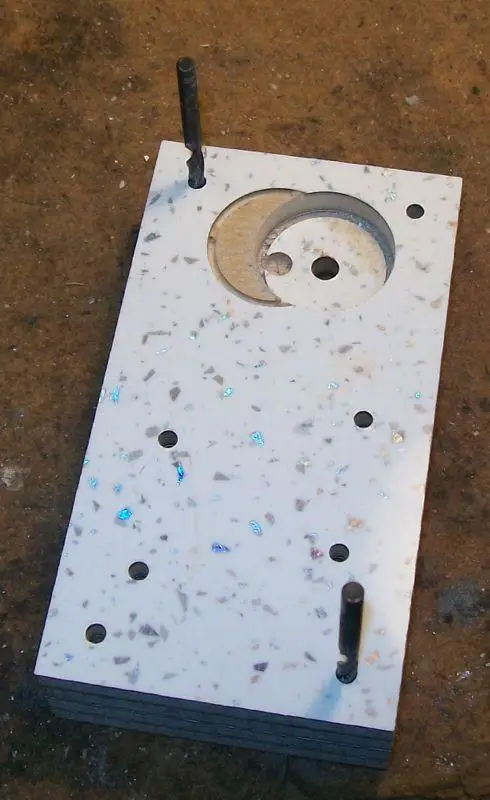
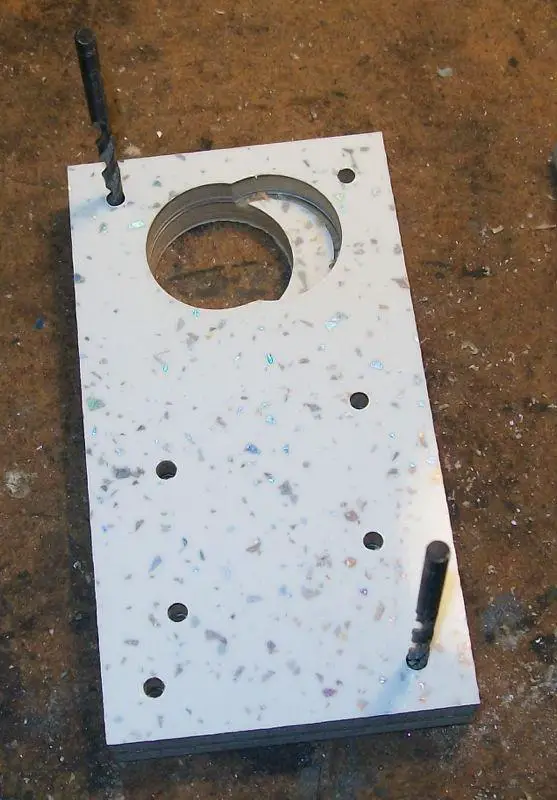
When cutting the large holes, I set the depth stop appropriately, and then started cutting. Note that when you cut the first hole, it removes the pilot hole for the other. So I cut nearly through on one hole, then did the other - this way, the existing saw cut guides the saw without the need for the pilot drill while you complete the cut.
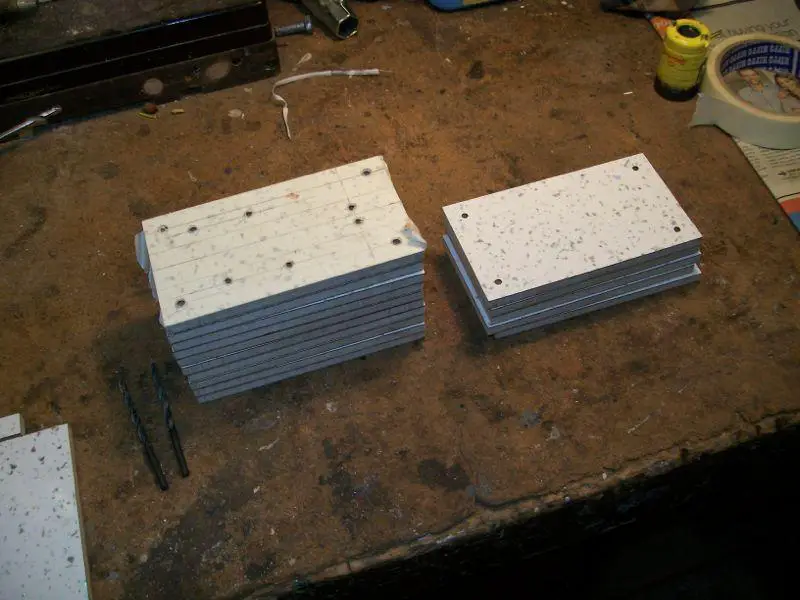
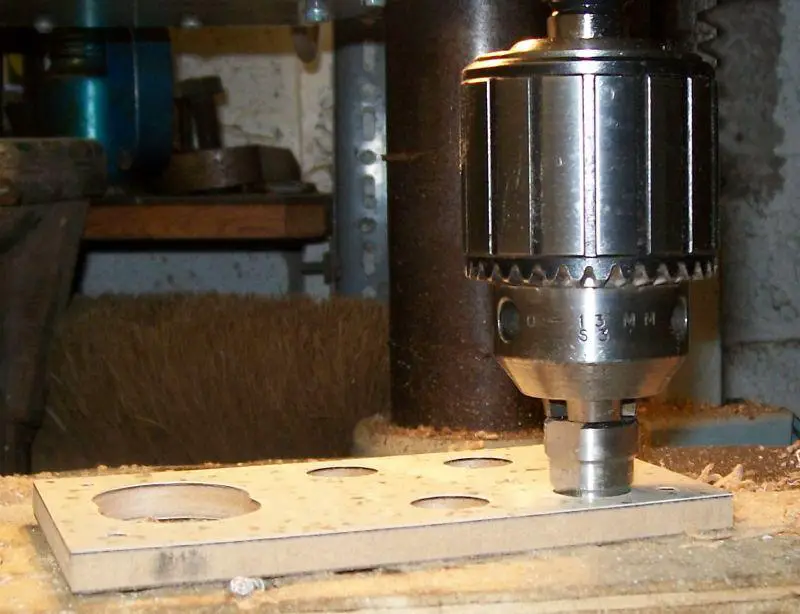
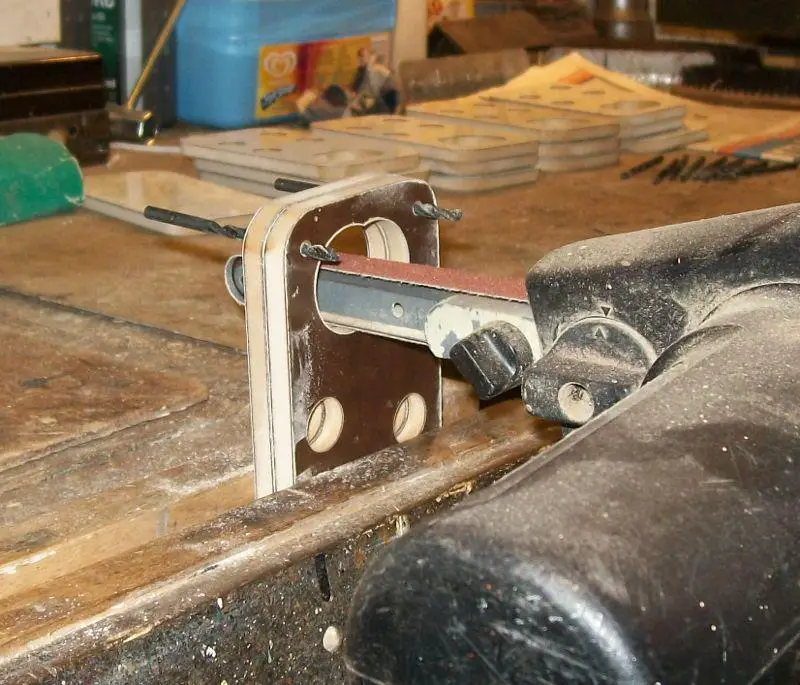
For the brush holes, I used a step drill to enlarge them. Again I set the depth stop appropriately, and cut from both sides as the thickness fo the board is more than the length of each step.
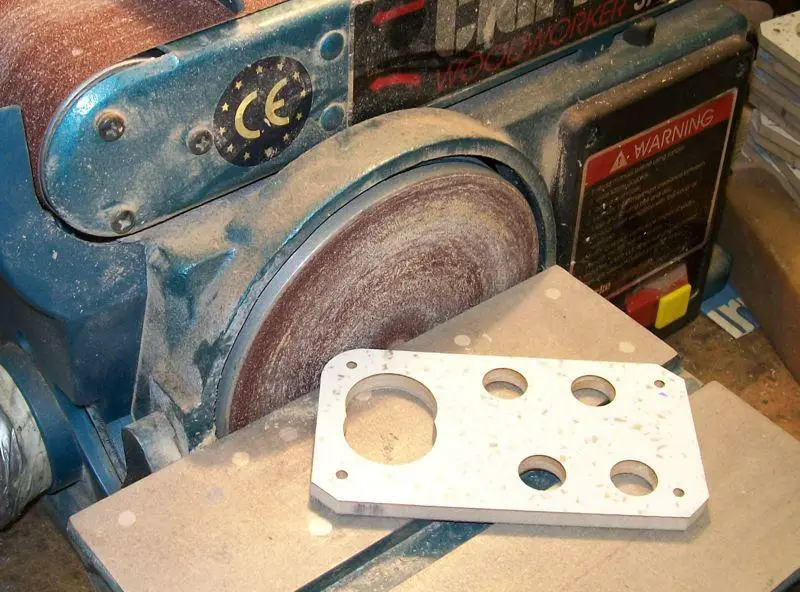
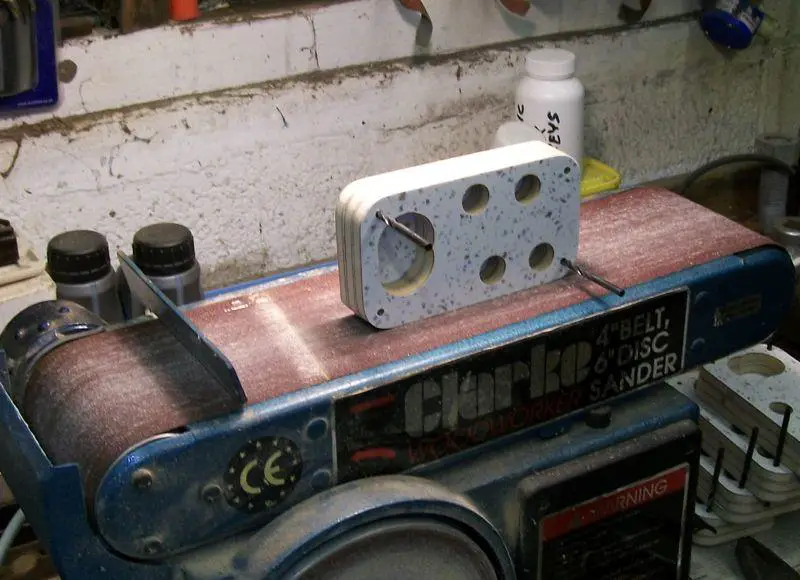
Use the saw to take the corners off, and then round them off (in this case with a bench sanding disk). Then I fitted sets of 3 together and sanded off the sides and corners so they all match.
Cutting the large holes leaves two points that need removing.
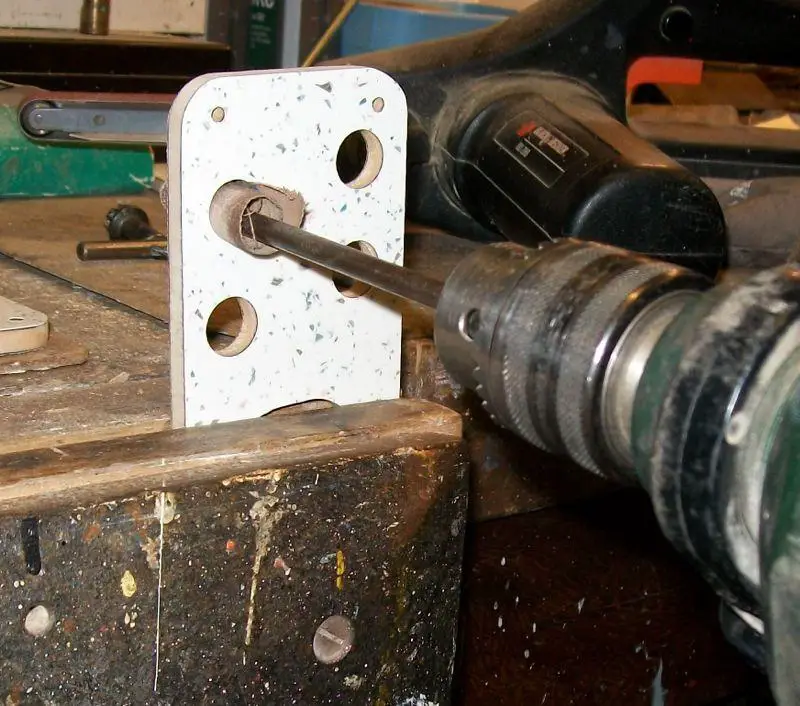
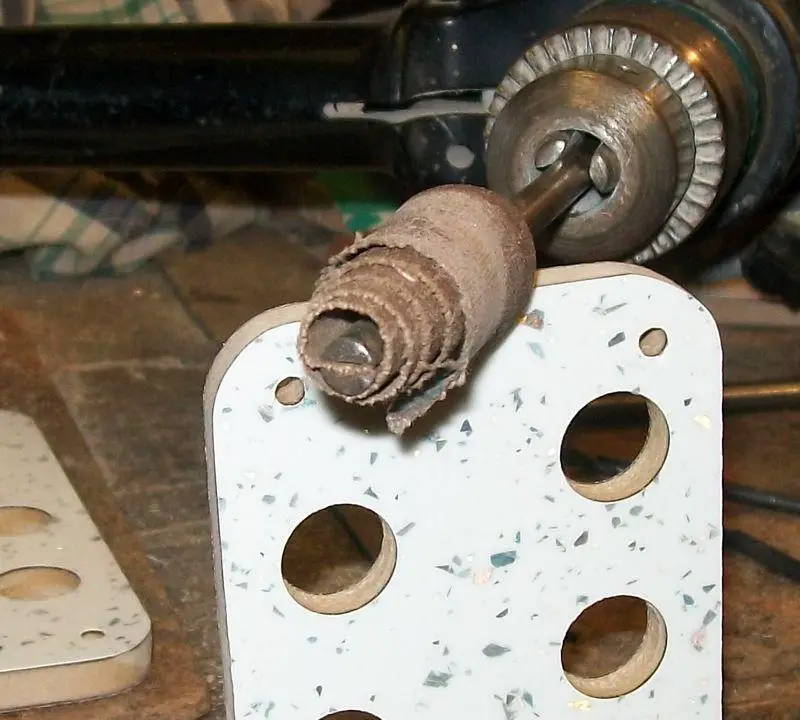
And I cleaned out the holes with a homemade tool - it's just a length of bar with a saw cut down the end. Thread a bit of abrasive tape into the slot and wrap it round the bar.
Finally, by hand go round all the edges and holes taking the sharp edge and any flash off. The hole saw in particular tends to leave quite a flash sticking up.
Now we've finished working the parts, the edges need sealing. I used 3 applications of Danish Oil, though I suppose varnish or similar would also do. I found that fitting a strip of cloth in the same tool I used for sanding out the holes earlier made application of the oil easy - even inside the holes.
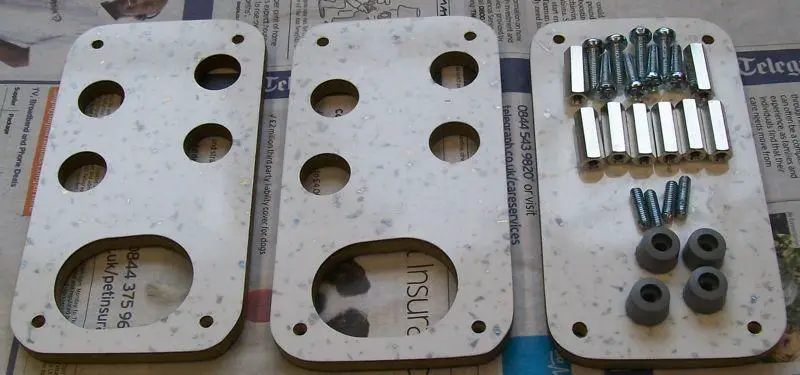
The complete assembly needs 8 spacers and some screws. For the middle, I cut the heads off some screws to make short bits of threaded bar.
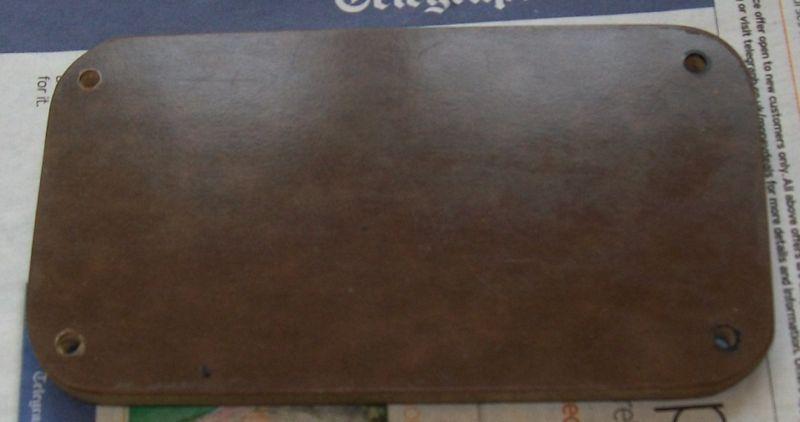
As a tip, unless your marking out and working is far better than mine, then the parts won't be identical. So I marked the bottom piece to show which way round it goes - as an easy way to do it without it showing, I just used a marker pen round the holes at the "big hole end" of the unit.
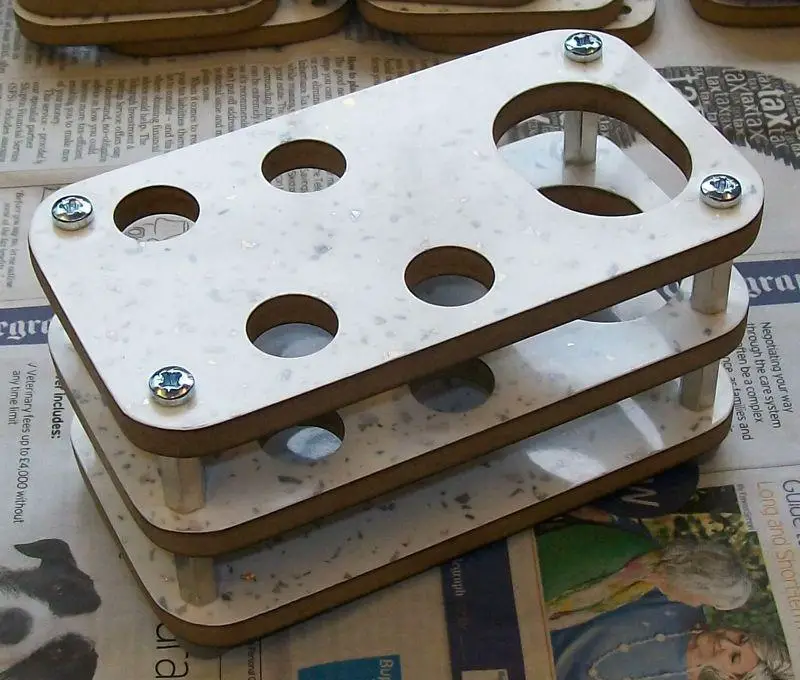
And the finished item
Some more notes :
The MDF that forms the core of this board produces both dust and unpleasant fumes when worked. You really need at the very least some dust extraction while working it - you will make quite a bit of dust.
Also, unless the tools are very sharp, the fibres tends to catch on the edge and clog the drill or saw. Withdraw and creale the tool regularly or you just end up making a lot of heat that decomposes the resin (making toxic fumes I believe), discolouring the board, possibly distorting the board, and overheating your tools.
When sealing the edges, clean off the faces before the oil or varnish has dried. Don't do as a friend did and leave it until it's dried as it takes a lot of cleaning off then !
Well both my brother and a friend had such leftover splashback. My brother made a load of placemats and mug mats out of his. I blagged some my my friend's spare and also made some placemats and mug mats. Then I had an idea ...
So I tried making a toothbrush stand. This one is designed to take one electric toothbrush and four brush heads. You can design it for whatever you want.
The first one went down well, and I was asked to make another one. I got a little carried away as you'll see from the photos ...
Having decided on the size you need, which in my case was largely determined by the size of the offcut I was using, you need to cut some blanks.
Then mark out what holes you'll need

and start drilling

Note how I've clamped several pieces together, and uses spare drills to keep everything lined up.
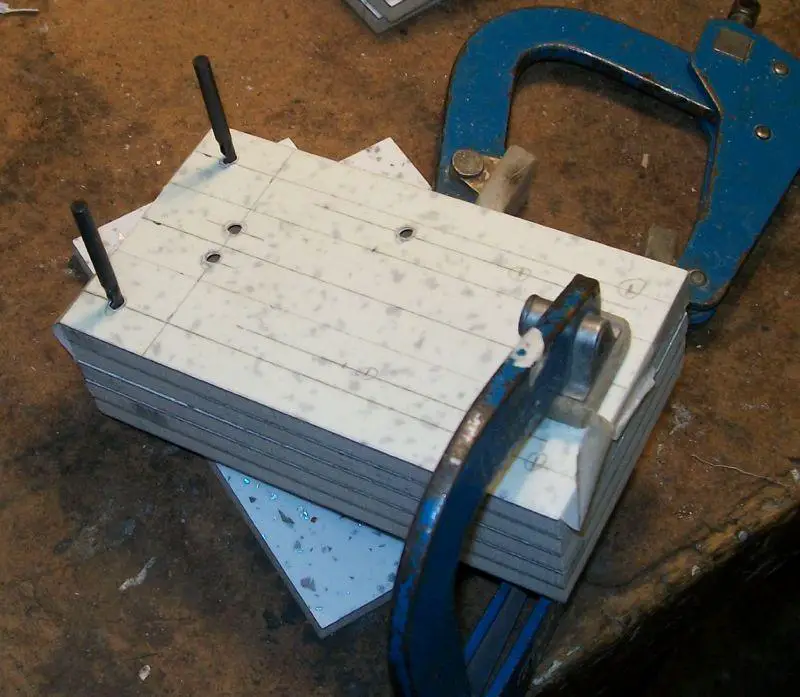
Important Don't forget that every 3rd piece has only the 4 corner holes drilled !
When cutting the large holes, I set the depth stop appropriately, and then started cutting. Note that when you cut the first hole, it removes the pilot hole for the other. So I cut nearly through on one hole, then did the other - this way, the existing saw cut guides the saw without the need for the pilot drill while you complete the cut.
For the brush holes, I used a step drill to enlarge them. Again I set the depth stop appropriately, and cut from both sides as the thickness fo the board is more than the length of each step.
Use the saw to take the corners off, and then round them off (in this case with a bench sanding disk). Then I fitted sets of 3 together and sanded off the sides and corners so they all match.
Cutting the large holes leaves two points that need removing.
And I cleaned out the holes with a homemade tool - it's just a length of bar with a saw cut down the end. Thread a bit of abrasive tape into the slot and wrap it round the bar.
Finally, by hand go round all the edges and holes taking the sharp edge and any flash off. The hole saw in particular tends to leave quite a flash sticking up.
Now we've finished working the parts, the edges need sealing. I used 3 applications of Danish Oil, though I suppose varnish or similar would also do. I found that fitting a strip of cloth in the same tool I used for sanding out the holes earlier made application of the oil easy - even inside the holes.
The complete assembly needs 8 spacers and some screws. For the middle, I cut the heads off some screws to make short bits of threaded bar.
As a tip, unless your marking out and working is far better than mine, then the parts won't be identical. So I marked the bottom piece to show which way round it goes - as an easy way to do it without it showing, I just used a marker pen round the holes at the "big hole end" of the unit.
And the finished item
Some more notes :
The MDF that forms the core of this board produces both dust and unpleasant fumes when worked. You really need at the very least some dust extraction while working it - you will make quite a bit of dust.
Also, unless the tools are very sharp, the fibres tends to catch on the edge and clog the drill or saw. Withdraw and creale the tool regularly or you just end up making a lot of heat that decomposes the resin (making toxic fumes I believe), discolouring the board, possibly distorting the board, and overheating your tools.
When sealing the edges, clean off the faces before the oil or varnish has dried. Don't do as a friend did and leave it until it's dried as it takes a lot of cleaning off then !