
You are using an out of date browser. It may not display this or other websites correctly.
You should upgrade or use an alternative browser.
You should upgrade or use an alternative browser.
Butt jointing boards.
- Thread starter conny
- Start date
Sponsored Links
- Joined
- 22 Jul 2016
- Messages
- 5,880
- Reaction score
- 1,085
- Country

Biscuits?
D
Deleted member 174758
Dowels or biscuits will align them for glueing-up but won't do that much to keep them together. What does that is having a clean, straight edge at 90 degrees to the top on boyth boards, using a decent glue and adequately clamping the joint while the glue goes off
Sponsored Links
Foxhole, by 'wood glue' are you referring to the PVA type or something like Cascamite? (Something I remember from my school days many, many moons ago! LOL)
Is 24 hours under pressure long enough or should I leave for longer?
JobandKnock. Yes edges are perfectly 90 degrees and when laid together on a flat surface you can't see/feel the join. By using dowels I meant gluing them in on both sides, not just a tap in fit to align.
Is 24 hours under pressure long enough or should I leave for longer?
JobandKnock. Yes edges are perfectly 90 degrees and when laid together on a flat surface you can't see/feel the join. By using dowels I meant gluing them in on both sides, not just a tap in fit to align.
Something like gorilla glue or a pva based good quality glue, some will set very quick so you only need it clamped for few hours.
D
Doggit
Dowels will be a bit trickier to align, so biscuits (which have a little bit of play) would suit better.
Managed to joint them using dowels and Gorilla Glue as I don't have a biscuit jointer but thinking now about investing in one.. Got the alignment spot on by using a marking gauge to mark out and precision drill with the aid of a set square and my partner watching I stayed vertical from the side. All clamped up, (got a thin even line of excess glue squeeze out which I wiped away with a slightly damp cloth), until I get home from work tomorrow and unclamp it.
Thanks for all the advice lads. Much appreciated.
Thanks for all the advice lads. Much appreciated.
Managed to joint them using dowels and Gorilla Glue as I don't have a biscuit jointer but thinking now about investing in one.. Got the alignment spot on by using a marking gauge to mark out and precision drill with the aid of a set square and my partner watching I stayed vertical from the side. All clamped up, (got a thin even line of excess glue squeeze out which I wiped away with a slightly damp cloth), until I get home from work tomorrow and unclamp it.
Thanks for all the advice lads. Much appreciated.
If by Gorilla Glue you mean the transparent brown stuff (polyurethane) then for future reference you're better off leaving the excess glue alone until it cures then scraping it off with a card scraper etc - if you really need to wipe it while wet then iirc you need to use isopropyl alcohol (or meths - can't remember which as I always leave it to dry).
The real trick with these sort of joints is getting the faces to be glued really good and flat so that when you present them to each other as a dry fit there's no gaps (looks almost seamless), then you need to get enough clamps on them to not only hold them together but also hold them flat and perfectly aligned.
D
Deleted member 174758
Glad to see that you were successful!
Posted for information
Gorilla Glue shares with most other PU (polyurethane glue) the trendency to foam. This can be an issue as it is often a bugger to remove the dried foam sufficiently well that light marks become visible when finishing, particularly staining. A recent type of glue on the market whicjh is more manageable and sets quickly without foaming is D4 PVA, like this one from ToolStation. Like PU glue it is suitable for use outdoors and it can be used for tasks where PU would cause problems such as glueing T&G plywood or chipboard sub-floors (PU tends to blow the joints open a bit). As far as biscuit jointing goes, if you are jointing on the flat (i.e flat boards) and already own a router a cheaper solution is the biscuit jointer bit set. It isn't as versatile as a biscuit jointer but it is a useful addition to a router kit.Managed to joint them using dowels and Gorilla Glue as I don't have a biscuit jointer but thinking now about investing in one.
Posted for information
Chud, the fact they were perfectly flat edged and mated perfectly gave me the confidence to try, lol.
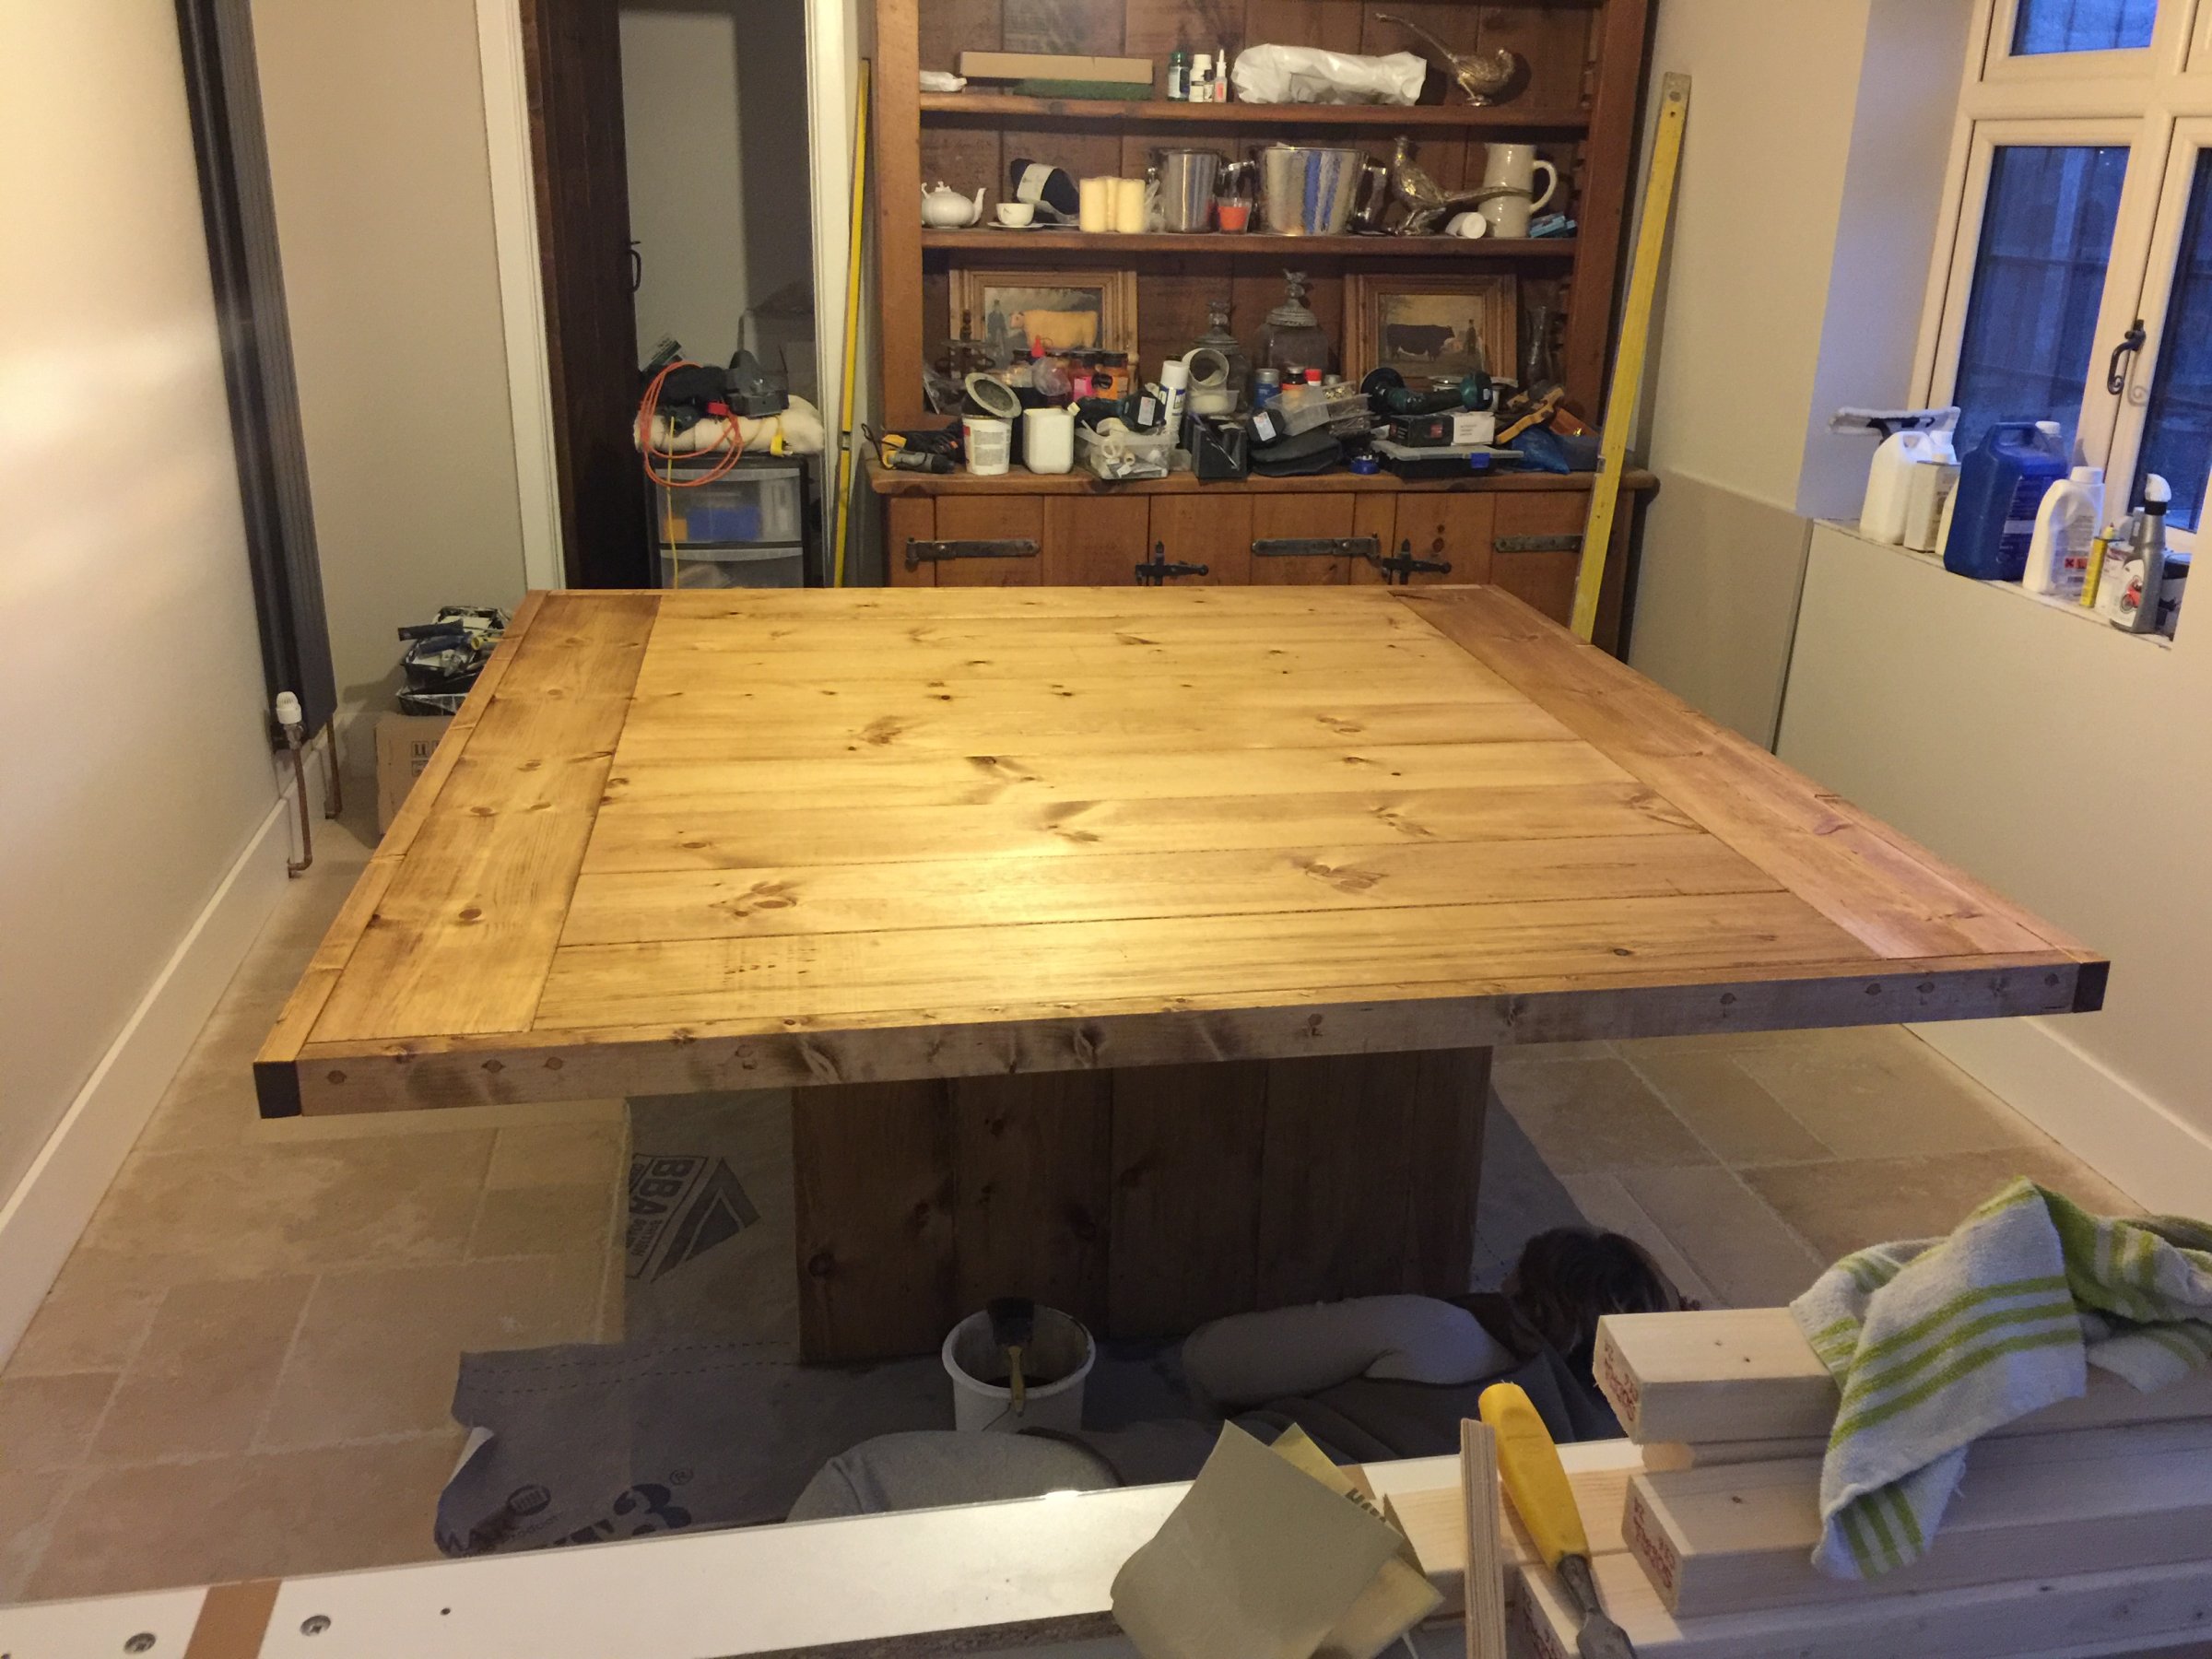
As I don't have sash cramps I made my own cramps by screwing down two straight battens, further apart then the jointed boards, and made 4 sets of wedges to tap in once the joint was made. I ensured they stayed flat by constantly checking along the length with a steel rule across the full width and then a final check when the glue was dry before knocking the wedges out. The top now sits resplendent on a kitchen 'chopping block' style table. Partner is over the moon with the result.")
As I don't have sash cramps I made my own cramps by screwing down two straight battens, further apart then the jointed boards, and made 4 sets of wedges to tap in once the joint was made. I ensured they stayed flat by constantly checking along the length with a steel rule across the full width and then a final check when the glue was dry before knocking the wedges out. The top now sits resplendent on a kitchen 'chopping block' style table. Partner is over the moon with the result.
Got the alignment spot on by using a marking gauge to mark out and precision drill with the aid of a set square
Are you familiar with "centre points"? (Do a Google Image Search.)
Drill holes on one side, fit centre points, push pieces together, other side is now marked.
Years ago I saw a tool that solves the other problem, i.e. holding the drill straight. Here are some approximations:
http://www.ebay.com/itm/Wood-Drill-...ool-Jig-Dowel-Hole-Center-Guide-/222295146901
http://www.wolfcraft.com/en/products/p/dowel_jointers/1_dowelmaster/s/p/
The thing I remember had a handle like the second link, but had a twisting-centering action like thr first link.
Links in this post may contain affiliate links for which DIYnot may be compensated.
You can reduced cupping tendency in table tops by screwing and gluing a sheet of mdf underneath .
You can reduced cupping tendency in table tops by screwing and gluing a sheet of mdf underneath .
Unless the MDF is quite thick I doubt it would stop natural wood from cupping.
DIYnot Local
Staff member
If you need to find a tradesperson to get your job done, please try our local search below, or if you are doing it yourself you can find suppliers local to you.
Select the supplier or trade you require, enter your location to begin your search.
Please select a service and enter a location to continue...
Are you a trade or supplier? You can create your listing free at DIYnot Local
Sponsored Links
Similar threads
- Replies
- 10
- Views
- 59K
- Replies
- 8
- Views
- 1K
- Replies
- 3
- Views
- 984
