We "trial and error" our hip rafters into place.
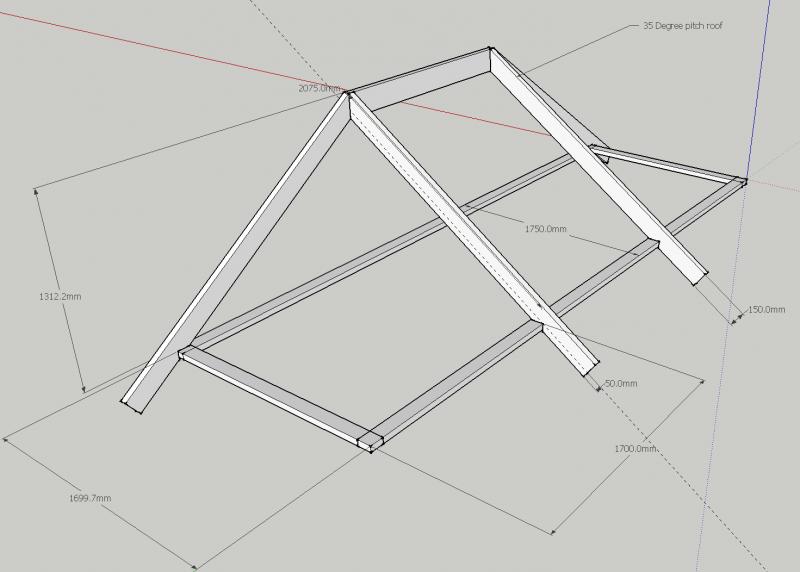
First we cut the corners off the edge of the wall plate junction so that it is no longer a point but a 50mm wide 45 degree edge.
We then cut a pair of short (opposing) hip end jacks and temporarily site them close to the edge of the wall plate junction on opposite elevations. These are butted together and fixed.
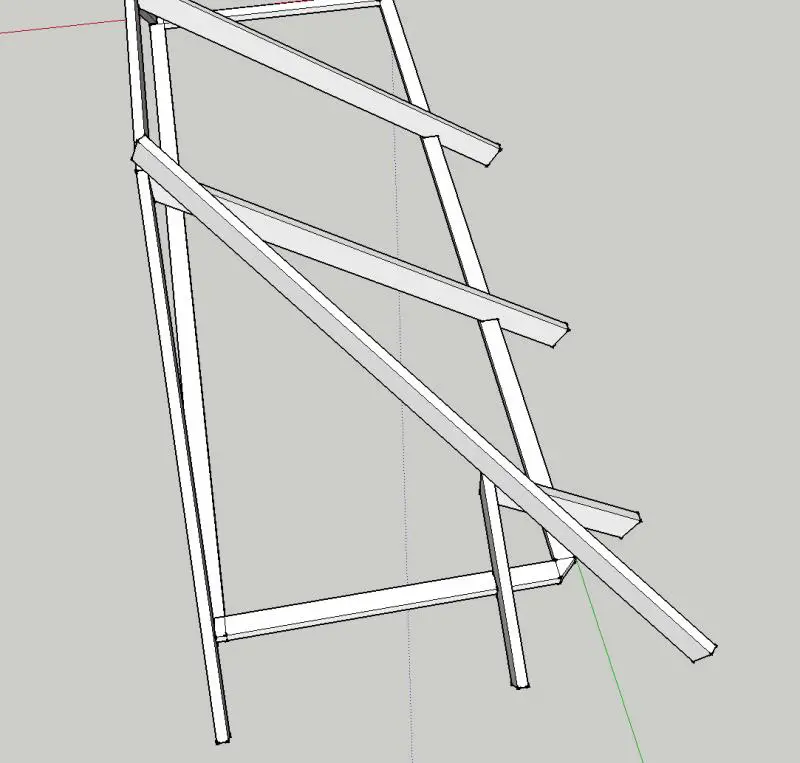
We then lay the (uncut) hip blade onto the top of this pair of jacks and rest it on top of the peak of where the two last full commons meet.
You now have the plane of the hip blade, albeit on the underside of the resting hip blade. You can now use the bevel and a short level to gauge the plumb cut and set it on the bevel.
You then do the 45 degree bevelled end cuts which will be the top cut on the hip blade. You need to do a bottom cut also even if it means leaving the hip blade long. This is so you can use a level on it on the next step.
You then remove your temporary jacks and offer the hip blade into place. Obviously, until you have cut the bottom wall plate b/m, the top cut of the hip blade will sit high in the crook of the last two commons. You fiddle with this height whilst siting a level on the bottom cut and until the level reads true.
Once your level reads upright you can then mark off the bottom b/m cut. The depth of which will be determined by how much the top of the rafter is sitting above the crook of the commons.
Simples.


")