
- Joined
- 11 Jan 2004
- Messages
- 42,930
- Reaction score
- 2,689
- Country

On a new-build public building:
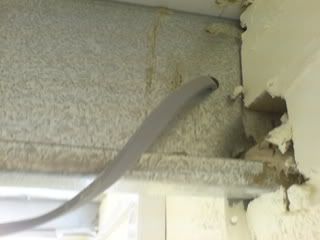
LARGE green/yellow conductor:

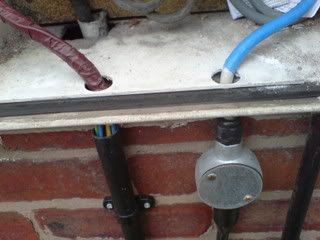
In a PO depot:
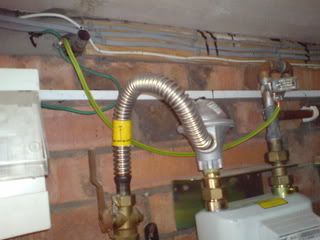
Hmmm:
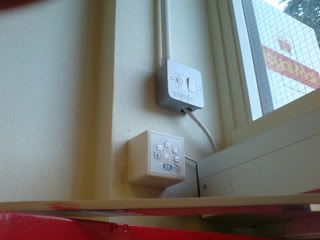
You have to press what to override it??:
Refurb with NIC rewire:
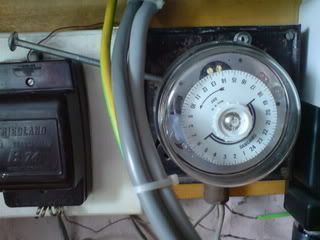
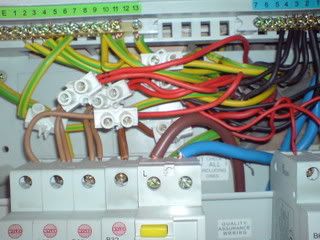
Dodgy Terminal Blocks:

LARGE green/yellow conductor:

In a PO depot:

Hmmm:

You have to press what to override it??:

Refurb with NIC rewire:

Dodgy Terminal Blocks:

")
