
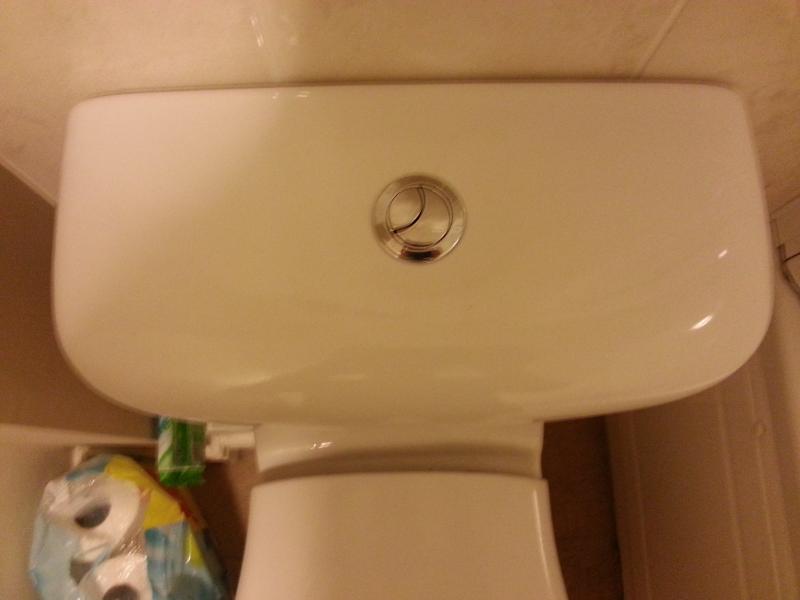
A homeowner with a push-button Ideal Standard toilet noticed that after a routine flush, water kept running steadily into the bowl. It wasn’t a full-flow gush – more a constant trickle, loud enough to hear from outside the bathroom. The toilet had worked fine for years with no issues, and this started out of nowhere. No one had touched the internals or changed anything.
This is a common one in UK houses. Before you start spending money, do a couple of simple checks so you’re fixing the cause, not the symptom. I’ll run through what’s likely happening, what you can safely check yourself, and what a proper fix looks like – plus the usual bodges that don’t last.
What’s Likely Going On
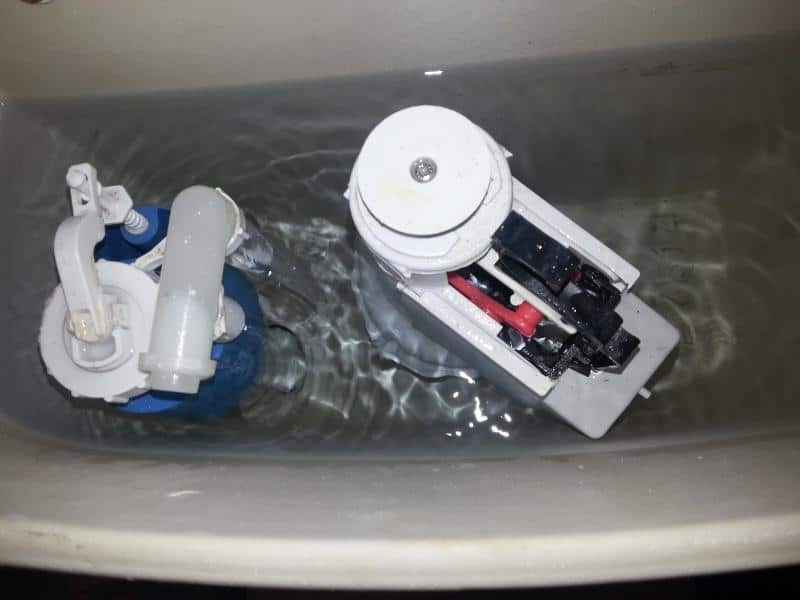
Inside every close-coupled cistern there are really only two valve mechanisms doing all the work: the fill valve (which lets mains water into the cistern) and the flush valve (which releases cistern water down into the bowl when you press the button). When water keeps running into the bowl after a flush, one of these two has failed – and working out which one saves you time and money.
Here’s the chain of events. Normally, you press the button, the flush valve lifts and dumps the cistern water into the bowl, then drops back down and seals. The cistern refills via the fill valve, the float rises, and the fill valve shuts off. Job done, silence.
When water keeps trickling into the bowl, the most common cause is the fill valve failing to shut off. The cistern overfills, and the excess water runs down through the flush valve’s internal overflow route into the bowl – that’s actually a safety feature to stop your bathroom flooding. So the flush valve isn’t necessarily broken at all. It’s doing its job by getting rid of the water the fill valve won’t stop letting in.
The second possibility is the flush valve seal itself. If the rubber doughnut seal at the base of the flush valve has perished, warped, or picked up a bit of grit, water will seep past it constantly into the bowl even when the cistern is at the right level. You can usually tell the difference: if the cistern water level is sitting above the marked line or overflow point, it’s the fill valve. If the level sits noticeably low and never quite fills up, it’s the flush valve seal letting water bypass straight to the bowl.
Simple Checks First
Before you buy anything or take anything apart, run through these:
- Lift the float by hand. Take the cistern lid off, flush, and as the cistern refills, gently lift the float arm or cup all the way to the top. If the water stops flowing in, your fill valve is basically working but the float may not be rising high enough or the water level is set too high. If the water keeps running even with the float fully raised, the fill valve diaphragm or washer has failed – it physically can’t shut off the supply. That’s your answer right there.
- Check the cistern water level. There’s usually a moulded line on the inside wall of the cistern or on the flush valve body itself. If the water is sitting above that line or pouring into the top of the flush valve overflow tube, the fill valve is overfilling the cistern. The flush valve is just dumping the excess.
- Look at the flush valve seal. With the cistern lid off and everything settled after a fill, watch the water surface. If it’s slowly dropping even though the fill valve has shut off, water is creeping past the flush valve seal. You can sometimes hear it – a faint hiss or see a slight ripple at the base of the flush valve.
- Check for debris. Especially in hard water areas or after any mains work, a tiny grain of grit can lodge under the fill valve diaphragm and hold it open. Sometimes just dismantling the top of the fill valve, rinsing the diaphragm under the tap, and refitting it clears the problem completely. Costs nothing.
The Proper Fix – Good, Better, Best
Good – replace the diaphragm or washer. The fill valve has a rubber diaphragm or washer that sits under a large plastic cap on top of the valve body. Unscrew that cap, pull the diaphragm out, and take it to a plumbing merchant to match it up. This is the cheapest fix – a couple of quid at most – and works well if the valve body itself is still in decent nick. The catch: on older cisterns, the exact diaphragm can be discontinued, and a near-match often doesn’t seal properly. If you can get the right one, it’s a five-minute job.
Better – fit a complete replacement fill valve (like-for-like type). If the diaphragm isn’t available or the valve body is scored or calcified inside, swap the whole fill valve. Isolate the water supply to the cistern (there’s usually a small isolation valve on the feed pipe beneath or behind the toilet), flush to empty the cistern, disconnect the supply, unscrew the back nut, and swap the valve. A replacement bottom-entry fill valve runs around ten to fifteen pounds. Make sure you match the entry point – bottom entry or side entry – to your cistern.
Best – fit a quality universal fill valve with a brass shank. Something like a Fluidmaster bottom-entry fill valve with a brass thread is the go-to for most plumbers. The brass shank gives you a more reliable seal against the cistern body and is less prone to cracking or cross-threading than an all-plastic version. It’s adjustable for height, the diaphragm is a standard replaceable part, and it’ll outlast most budget alternatives. Around twelve to eighteen pounds from any plumbing supplier. If you’re already under the cistern with a spanner, it’s worth the extra few quid for something that’ll last.
If the problem turns out to be the flush valve seal rather than the fill valve, you can usually just replace the doughnut washer on the flush valve – lift the valve out (quarter-turn on most modern types), peel off the old seal, fit the new one. A couple of pounds and ten minutes.
Bodges and Mistakes to Avoid
- Bending the float arm down to “fix” an overfill. This just masks a failing diaphragm. The valve still isn’t shutting off properly – you’ve just lowered the point at which it starts overflowing. It’ll get worse.
- Fitting a replacement valve without checking the washer orientation. On some fill valves, the rubber shut-off washer can be fitted upside down. If it’s inverted, the valve will never fully seal, even brand new out of the box. Always check the instructions and make sure the dished side faces the right way.
- Using PTFE tape to “seal” a weeping fill valve body. The leak isn’t at the thread – it’s internal. Tape on the outside does nothing for a failed diaphragm inside.
- Ignoring a slow flush valve leak because “it’s only a trickle.” That trickle is costing you on the water meter and it won’t fix itself. The seal will only get worse.
When to Bring in a Specialist
This is a straightforward DIY job for most people – no gas, no electrics, no structural concerns. The main thing you need is the confidence to isolate the water supply and work with a couple of plastic fittings. If you can’t find or reach the isolation valve, or if the supply pipe is old lead or corroded copper with no isolation, get a plumber in to fit one while they’re sorting the valve. It’s not worth risking a burst connection with no way to shut the water off quickly.
Reality Check
You’ll need towels on the floor, a shallow container to catch drips when you disconnect the supply, and about thirty to forty-five minutes if you’re doing it for the first time. The cistern will be out of action while you work, so plan around that if you’ve only got the one toilet. There’s no drying or curing time – once the new valve is fitted and the water’s back on, flush a couple of times to check for leaks at the connections and confirm the fill level is right. Adjust the float if needed so the water sits on the marked line, then put the lid back on and you’re done.
Nine times out of ten, a running cistern is a three-quid diaphragm or a fifteen-quid valve swap. Don’t overthink it – start with the simple checks, prove which valve is at fault, and fix the cause.