one-man stairwell plastering advice

Joined
17 Jun 2010
Messages
5
Reaction score
0
Location
Devon
Country
United Kingdom
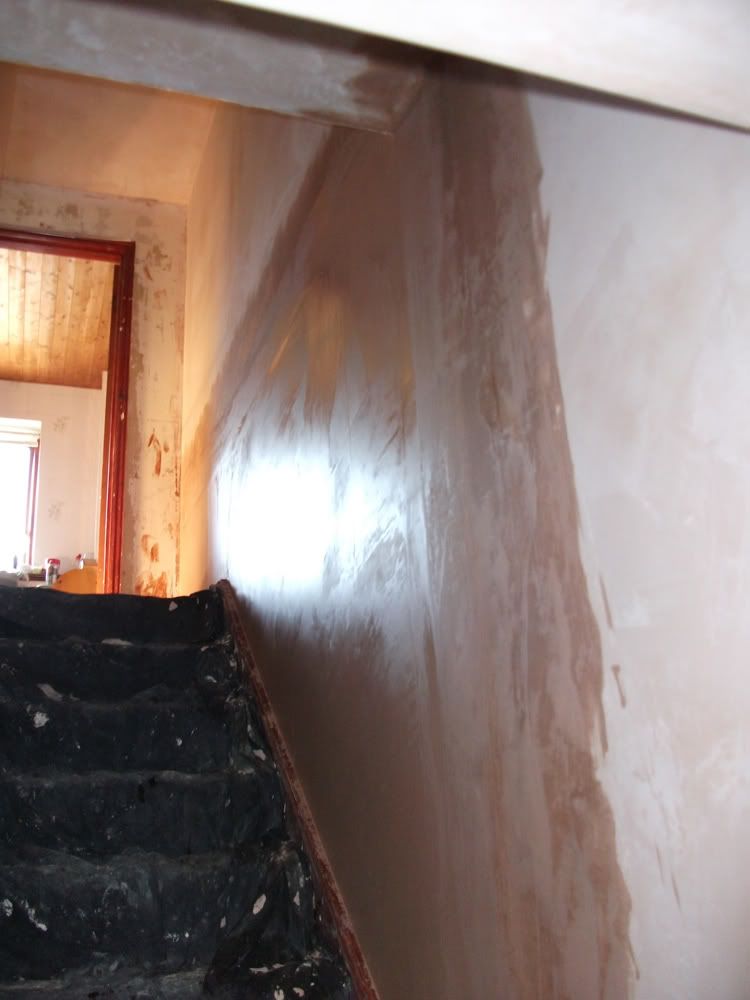
Hi there, I have plastered my stairwell (2story) on my own. The only way I found I could tackle this was to break it into upper section and lower section using horizonal stop bead. as could find no way to get up to the top without use of scaffold. So hence had to blend in the joins which I think I did a pretty good job of. I have been plastering diy for a couple of months now , first starting on walls in my lounge.

But still not totally happy with the result of the stairwell. its not as flat as I want, the wall was not plumb and level to start with so required some packing out and straightening up before I skimmed it.

While the finish looks good to the eye, when i Put a 72" featheredge across it, i still have some variations, 3mm in some places. So Im considering doing the whole wall again to take out some of these imperfections and get it much flatter.

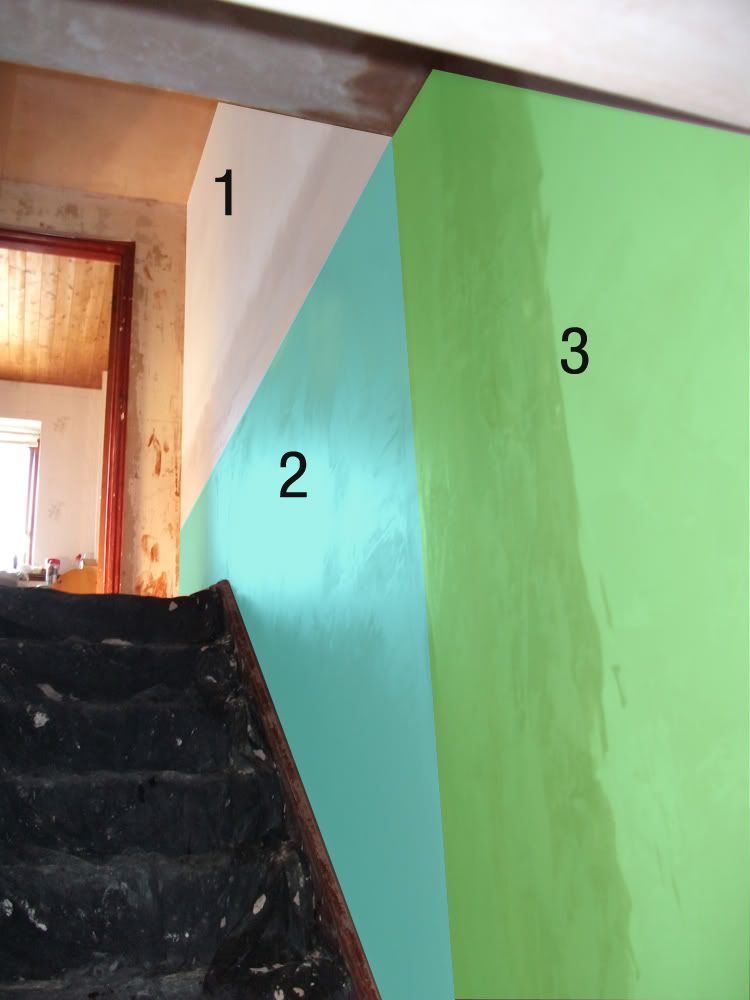
Here is a series of pics of my plastering the stairwell


Any advice on how to correctly tackle this wall? Does it need to be hit in one go? I dont know how a professional plasterer would tackle a stairwell wall, Putting up scaffold to reach the hights then looses your access to do the rest, so i figured doing it in 2 halfs is the only way.

im using a 14" trowel, on bigger walls would it be best using like a 18" trowel ?

many thanks
Jonathan
 
Sponsored Links
DSCF0330.jpg


this is the wall im not happy with, so I want to do whole thing again. Just its a right pain doing it in sections. maybe its better to do all this wall down the stairs again, and just blend it into the really high section that cannot be reached from landing level without ladder and planks. I just want to make it flat so when look up from the bottom of the stairs, its really flat and smooth. , not like this.

I did it in sections like this
DSCF0330-sections.jpg


So I think I will re-skim this to get a better finish i want, I will leave section 1 (the high bit, that goes right back out of view of camera) and replaster section 2 & 3 in one go. But Im not that quick at plastering , and doing it by myself its hard having to stop and mix up more plaster.

any ideas
 
It looks like you are using way too much PVA and instead of making a nice smooth application you are fighting the finish all the way. Your timings are wrong and it looks like your mix is wrong too. Plastering is a gentle art where consistence and timing is all important.
 
It looks like you are using way too much PVA and instead of making a nice smooth application you are fighting the finish all the way. Your timings are wrong and it looks like your mix is wrong too. Plastering is a gentle art where consistence and timing is all important.


im using typically 5:1 water:pva. and roll it on. then plaster when its gone kinda tacky. Im mixing the plaster up to consistancy so it will slop out of the bucket yet still retain a heap on the spot board. sort of like a thick cake mix i suppose , as i dont like it too thick takes more work to lay it on. But im not sure what is the correct way. I learned watching youtube videos and trying to see what they do. But this wall didnt work out too well doing it in sections, as blending it in was difficult. its much easier to do one wall in a go

DSCF0333.jpg

in this light while its still wet, clearly see the join line.
 
Sponsored Links
firstly Jon, don't put a 72" edge against and you'll be fine! most if not all plastered walls will have SOME kind discrepancy and i think 3mm is within tolerance.

the wall in the pic looks flippin' shiny, hope that's not polished?

i use a stairwell ladder from wickes for this, can just about squeeze past it (without the stablizers on though)and it's quick to take apart.

I would start top left on the landing, lay on section 1, quickly dismantle the platform, lay on section 2 then 3, get back up, erect the platform, flatten in section 1, dismantle platform, flatten 2 then 3 and so on.

Hmmm I had the 72" on it last night, with a level against it. givvin me a headache. the wall was not plumb and level to start with, so was not just a couple of skim coats. ...Shiny.... no i think its still a bit wet and the camera making it look like that.

I have seen the stairwell ladders, and was tempted. in the end i put a ladder up the stair well and then a bunch of 4'2 timbers from the top of the stairs to the ladder rung. Nice and stirdy, but cant work around it.

I just think if I can detect these variences in the plaster finish , un painted, it will show up more painted i think. But then wiping my hand down the wall it does feel really smooth, so sometimes its the grain of the plaster playing tricks on the eye.

I had professional plasters do my living room ceiling which cost a bomb, that was before i even knew what a trowl was..kinda.. and I was not happy with the finish, they even left a couple of trowl scrapes in it and the ceiling was still not flat, eventhough they overboarded the old artex with new board.
then when I painted it I could see more where its not flat... so was not happy. , yes it was a large ceiling, but shudda been able to make it flat, but they just didnt seem to have that attention to detail or care about it. so i did not want to shell out for tradesmen again. after a few years of living in diy-sos zone house, decided the only way i will finish the house was to do it myself. started out a few months ago attempting to replaster a large hole in the wall, then the wall with hole in, then geting the hang of it and have by now skimed over all the artex walls in living room, borded and skimed the understairs cubboard, done the artex ceiling upstairs landing, now the stairwell. still have 1 bedroom walls, 2 bedroom ceiling, and a bathroom to get around to. as whole house had this 80's wall artexing. taking a long time as not that quick at it and never attempted to mix up more than 3/4 bucket of plaster in one go. I find working by myself I mix up enough to get one coat on, then quick clean up and mix up fresh for the second coat.
 
hi john you start off saying the walls look good to the eye,if thats the case i was going to say leave it, and like monkey says dont put any straight edges on it ,if it looked good by the eye then leave it, but having seen the pics they do not look good by the eye and it needs redoing, i can see by the pics you havent crossed troweled the walls cross troweling the walls will get them a lot flatter
 
good point about the cross trowel Steve!

have to take my hat off to you Jon, for a diy/newbie, you're doing a good job and seem pretty competent for your level of experience.

now back to the wall, why not give it a mist coat of paint and see how it looks? won't take long and will give a good idea of what it actually looks like, if ir does indeed look pants then you can PVA it and have another go.

if your walls are out a lot too begin with though mate you'll only get so much of it out with a skim coat of 3mm.

you only really want it look good to the once painted, same with pretty much any surface including ceilings, only exception is it it's a wall your fitting something to or against, like kitchen worktops and units or baths etc where square and plumb become more important, and to get this right you need to float before skimming.
 
Get it painted, i am sure it will look fine mate. You seem to be over critical of your work, which isn't a bad thing, but as mentioned, put that feather edge on almost any surface anywhere and see what they are like.
 

DIYnot Local

Staff member

If you need to find a tradesperson to get your job done, please try our local search below, or if you are doing it yourself you can find suppliers local to you.

Select the supplier or trade you require, enter your location to begin your search.


Are you a trade or supplier? You can create your listing free at DIYnot Local

 
Sponsored Links
Back
Top