Hi,
I am doing a very small bit of DIY to render an external wall in the back of our London flat.
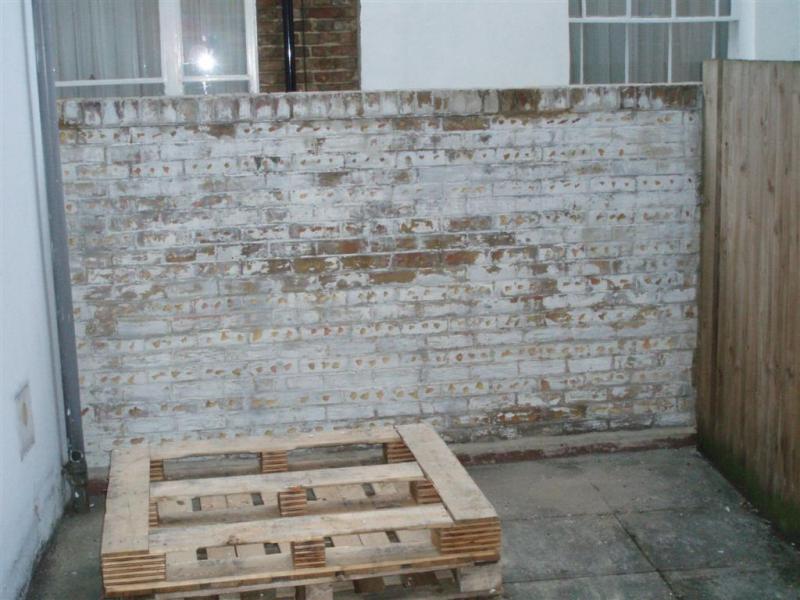
So far, I've had to remove some of the top bricks and scrape out a tree that was beginning to grow (it had bedded itself in the mortar and already leveraged up the top row, trunk outside the brick work was already up to 7mm dia). I scraped down and re-mortared these bricks back into place (a little roughly, but sufficient for current needs). Would have been useless to render it with a tree growing in place!
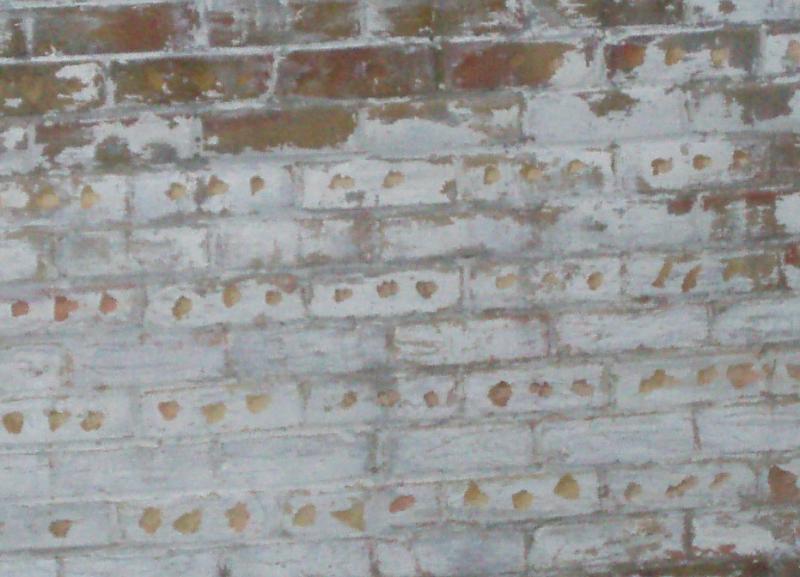
Next, I had a real hard time getting existing plastic based paint off. I used a chemical stripper and some hard graft with a wire brush and a scraper, with partial success. To aid grip of the mortar (which I plan to do as standard 2 layer, using a 3:1 s/c w/ waterproofer for 10mm base layer, and 4:1:1 s/c/l for top layer) I chipped out every second row of bricks. See the current photo. Perhaps I should put in a rough 1:1 s/c scud layer? Should I do more hard graft?
I have some metal beading to go on the rear at the top (since the rear side of the wall is not going to be rendered), at the right hand side (since the brick wall goes past the timber fence and into the neighbours patio), and at the lower end (note there is a small ~30mm skirting to the bottom anyway) to aid the edging -- we are eventually going to replace the timber fence with horizontal timber cladding and deck the area, so I don't need to go all the way to the bottom. I also have some right angle beading to help with the front/top edge. I'll also screw in 2 or 3 vertical 10mm batons to help as guides. I'm also putting in two wall up/down lights, so will clip some cable across the wall so that base layer of plaster goes over it (I was wondering whether I should use some conduit?).
Also, we intend to put some horizontal timber cladding above the wall (~30 cm high) -- this photo (http://www.mylandscapes.co.uk/img/ful_image01.jpg) is our inspiration. I was planning on finishing up the rendering, then later putting two right angle brackets (shelf brackets, really) onto the top of the render/wall, so the timber can be fixed to this. Is this a good way to do it?
Three main questions are (a) have I done enough to aid suction?, (b) is the proposed way to fix cladding acceptable?, (c) any other comments?
Much appreciated. Been about 10 years since I used to help my old man do DIY like this, so bit unsure on some points!
M
I am doing a very small bit of DIY to render an external wall in the back of our London flat.
So far, I've had to remove some of the top bricks and scrape out a tree that was beginning to grow (it had bedded itself in the mortar and already leveraged up the top row, trunk outside the brick work was already up to 7mm dia). I scraped down and re-mortared these bricks back into place (a little roughly, but sufficient for current needs). Would have been useless to render it with a tree growing in place!
Next, I had a real hard time getting existing plastic based paint off. I used a chemical stripper and some hard graft with a wire brush and a scraper, with partial success. To aid grip of the mortar (which I plan to do as standard 2 layer, using a 3:1 s/c w/ waterproofer for 10mm base layer, and 4:1:1 s/c/l for top layer) I chipped out every second row of bricks. See the current photo. Perhaps I should put in a rough 1:1 s/c scud layer? Should I do more hard graft?
I have some metal beading to go on the rear at the top (since the rear side of the wall is not going to be rendered), at the right hand side (since the brick wall goes past the timber fence and into the neighbours patio), and at the lower end (note there is a small ~30mm skirting to the bottom anyway) to aid the edging -- we are eventually going to replace the timber fence with horizontal timber cladding and deck the area, so I don't need to go all the way to the bottom. I also have some right angle beading to help with the front/top edge. I'll also screw in 2 or 3 vertical 10mm batons to help as guides. I'm also putting in two wall up/down lights, so will clip some cable across the wall so that base layer of plaster goes over it (I was wondering whether I should use some conduit?).
Also, we intend to put some horizontal timber cladding above the wall (~30 cm high) -- this photo (http://www.mylandscapes.co.uk/img/ful_image01.jpg) is our inspiration. I was planning on finishing up the rendering, then later putting two right angle brackets (shelf brackets, really) onto the top of the render/wall, so the timber can be fixed to this. Is this a good way to do it?
Three main questions are (a) have I done enough to aid suction?, (b) is the proposed way to fix cladding acceptable?, (c) any other comments?
Much appreciated. Been about 10 years since I used to help my old man do DIY like this, so bit unsure on some points!
M