
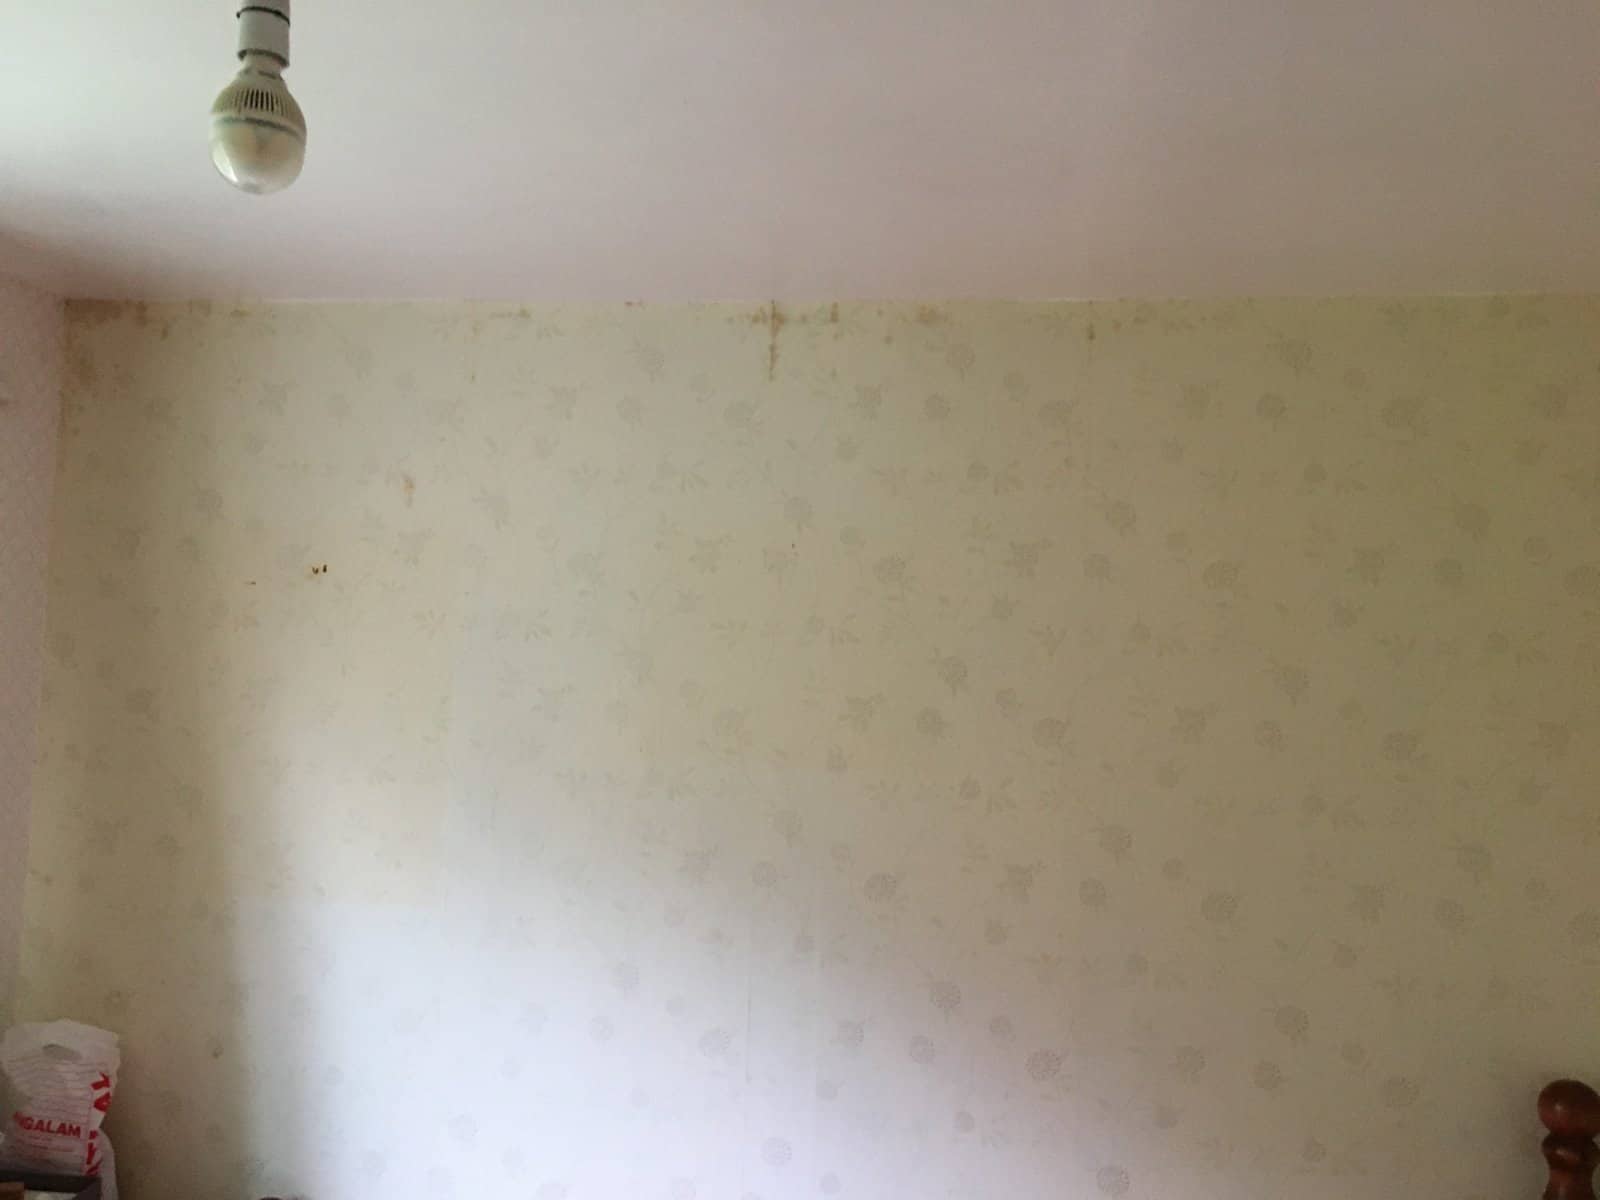
This is a common one in UK houses. A homeowner has noticed brown blotchy stains on the wallpaper of an upstairs back bedroom, mainly clustered along the top of an external wall with a few isolated patches lower down. The brickwork outside looks sound, the loft has been checked and there’s no obvious leak, the old feed-and-expansion tank is long gone (replaced by a combi), and peeling back the paper shows only very light staining on the plaster behind. They want to know what’s causing it and how to put it right without throwing money at the wrong problem.
What’s likely going on
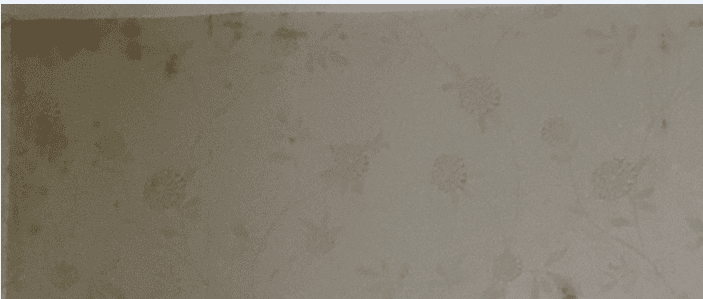
Brown, blotchy marks on wallpaper that sit mostly along the top of an external wall usually point to one of three things: an intermittent water track from above (roof or flashing), tannins or paste residue bleeding through the paper, or condensation feeding mould that’s growing on old wallpaper paste. The colour matters. Clean water leaks and condensation mould tend to come up black or grey with a spotty pattern. Warm browns and tan patches more often mean something organic is dissolving and migrating through the paper: old paste, size, timber dust from the loft, or tannins from the plaster.
Water gets in, then it shows up somewhere else. If it is a leak, the staining concentrates near the wall/ceiling junction because that’s where water tracking down rafters or along the wall plate hits the top of the plaster. A clean cavity wall with no tie-line staining and sound pointing outside makes classic penetrating damp less likely. You’d normally see a more regular pattern following the wall ties or a defined damp ‘shadow’. Nine times out of ten, when the outside checks out and the loft is dry, you’re looking at either a roof detail that only leaks in driven rain, or a surface issue on the paper itself.
Simple checks first
Don’t guess, prove it. Work through these before lifting a tile or stripping paper:
- Touch test the stains. Press the back of your hand against them on a dry day and again after heavy rain. Cold and damp after rain means active water ingress. Dry both times means historic stain or surface contamination.
- Moisture meter on the plaster. A cheap pin or capacitance meter will tell you if the wall is actually wet behind the paper. Dry readings rule out current penetrating damp.
- Look in the loft with a strong torch, ideally during or just after rain. Follow the rafters down to the wall plate above the stained area. Look for dark tide marks on timber, damp insulation, or daylight where there shouldn’t be any. Water can track a long way along a rafter before dripping.
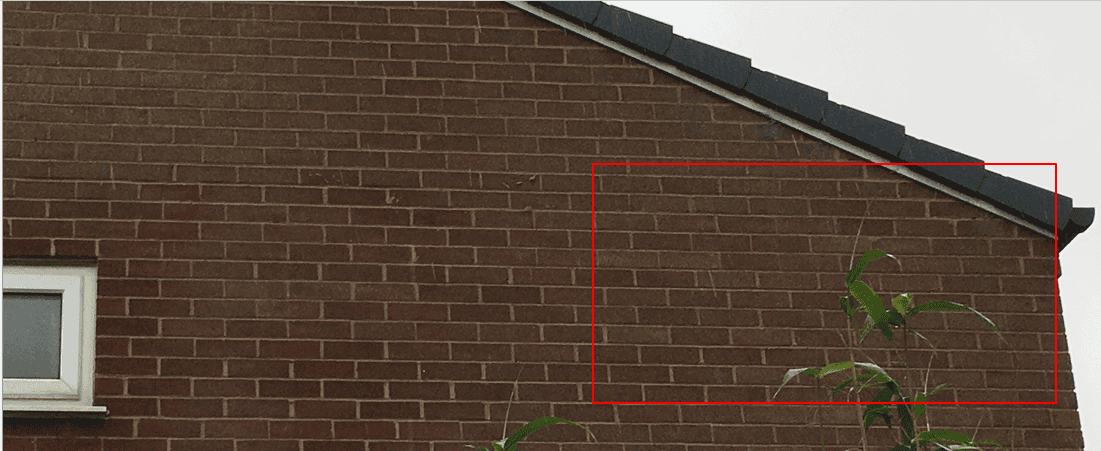
- Check the roof verge and the tiles directly above. Binoculars from the garden are your friend. Slipped or cracked tiles, a lifted verge, missing pointing at the gable, or felt that doesn’t drop into the gutter properly will all let water in only when wind drives rain at a certain angle.
- Check inside the room for condensation clues. Furniture pushed tight to the cold external wall, curtains closed across radiators, a window kept shut all night with two people breathing in the room. All classic recipes. Look behind the headboard or wardrobe for black spotting.
- Strip a small test patch of wallpaper. If the plaster behind is dry and only lightly marked, and the brown is mostly on the paper itself, you’re looking at a paper/paste problem, not a structural damp problem.
- Note whether the stains are growing. Mark the edge with a pencil and check again in a fortnight. Spreading means active. Static means historic.
The chain of events
If it turns out to be a roof detail, the sequence usually goes like this: wind-driven rain gets past a lifted verge or a hairline crack in a tile, runs down the underside of the felt or along a rafter, soaks into the top of the masonry or the wall plate, and then wicks down into the top of the plaster on the warm side. Because it only happens in certain weather, the outside looks fine when you check it on a dry day, and the loft can look dry by the time you get up there.
If it’s a paper issue, the chain is different. Old paste left on the wall from previous papering jobs is organic. Add a cold external wall, a bit of humidity from normal living, and mould or bacteria start feeding on the paste. The by-products are brown and they migrate through the new paper from behind, showing as blotches. It looks alarming but the wall itself is sound.
Proper fix: good, better, best
Good (if it’s paste/tannin staining on a dry wall): Strip the wallpaper right back to bare plaster. Wash the wall down thoroughly with warm water and a mild fungicidal wash to kill anything living in the old paste. Let it dry properly: days, not hours. Seal the plaster with a stain-block primer (oil-based or shellac-based block works best for tannins; water-based won’t hold brown stains back). Then re-line with lining paper and redecorate. The prep is what makes it last. Skip the stain block and the marks will ghost back through within months.
Better (if there’s a suspect roof detail but no obvious failure): Do the above inside, but also get someone up a ladder to lift the tiles along the verge and the courses above the stained area. Check the felt drops into the gutter, the verge is bedded or clipped properly, and there are no cracked tiles or failed mortar. Redress anything marginal while you’re up there. Cheap insurance.
Best (if checks show active damp or you want belt-and-braces): Sort the roof detail properly: new verge, replacement tiles, fresh underlay dressing into the gutter as needed. Inside, hack off any blown or contaminated plaster back to brick, let the wall dry fully (weeks, not days, in a cool back bedroom), then re-plaster with a sand/cement undercoat or a breathable system depending on the wall build-up, skim, stain-block, and redecorate. This is the ‘do it once’ option.
If the room runs cold and humid, factor in ventilation too: a trickle vent in the window, a decent extractor in the nearest bathroom, and no drying washing on radiators in that room. Thermal lining paper on a cold external wall can take the edge off condensation risk for not much money.
Bodges and mistakes to avoid
- Painting straight over the stains with emulsion. They’ll bleed through within weeks. Emulsion is water-based and brown tannins love water.
- Slapping new wallpaper over the old. You’re just trapping the food source for whatever’s causing the staining.
- Assuming it’s penetrating damp and injecting a chemical DPC. Wrong diagnosis, wasted money, and it does nothing for a roof leak or surface contamination.
- Ignoring it because ‘it’s only small’. If it is a leak, the timber up top is getting wet every time it rains hard. Rot doesn’t fix itself.
When to bring in a specialist
If the moisture meter shows the plaster is genuinely wet, or the loft timbers above are damp or soft to a screwdriver point, get a roofer up there. Don’t fudge it from the ground. If you find evidence of an old plumbing leak from a previous tank or pipework run, and you’re not confident tracing it, a plumber with a thermal camera will save you guessing. Structural sagging or spongy plaster over a wide area needs a proper look before you decorate over it.
Reality check
This kind of job looks small but can sprawl. Allow time for the wall to dry before you seal and paper. Rushing this is the single biggest reason stains come back. Budget for dust sheets, a steamer for the old paper, a tin of proper stain block (not cheap own-brand emulsion sold as ‘damp paint’), lining paper, and the decoration on top. If you do end up needing a roofer, a half-day visit to redress a verge and swap a couple of tiles is usually modest money compared to repeatedly redecorating the same patch every spring. If it were my house, I’d strip the paper this weekend, get a meter on the wall, and decide from there. You’ll know within an hour whether you’re chasing a leak or just cleaning up after old paste.