
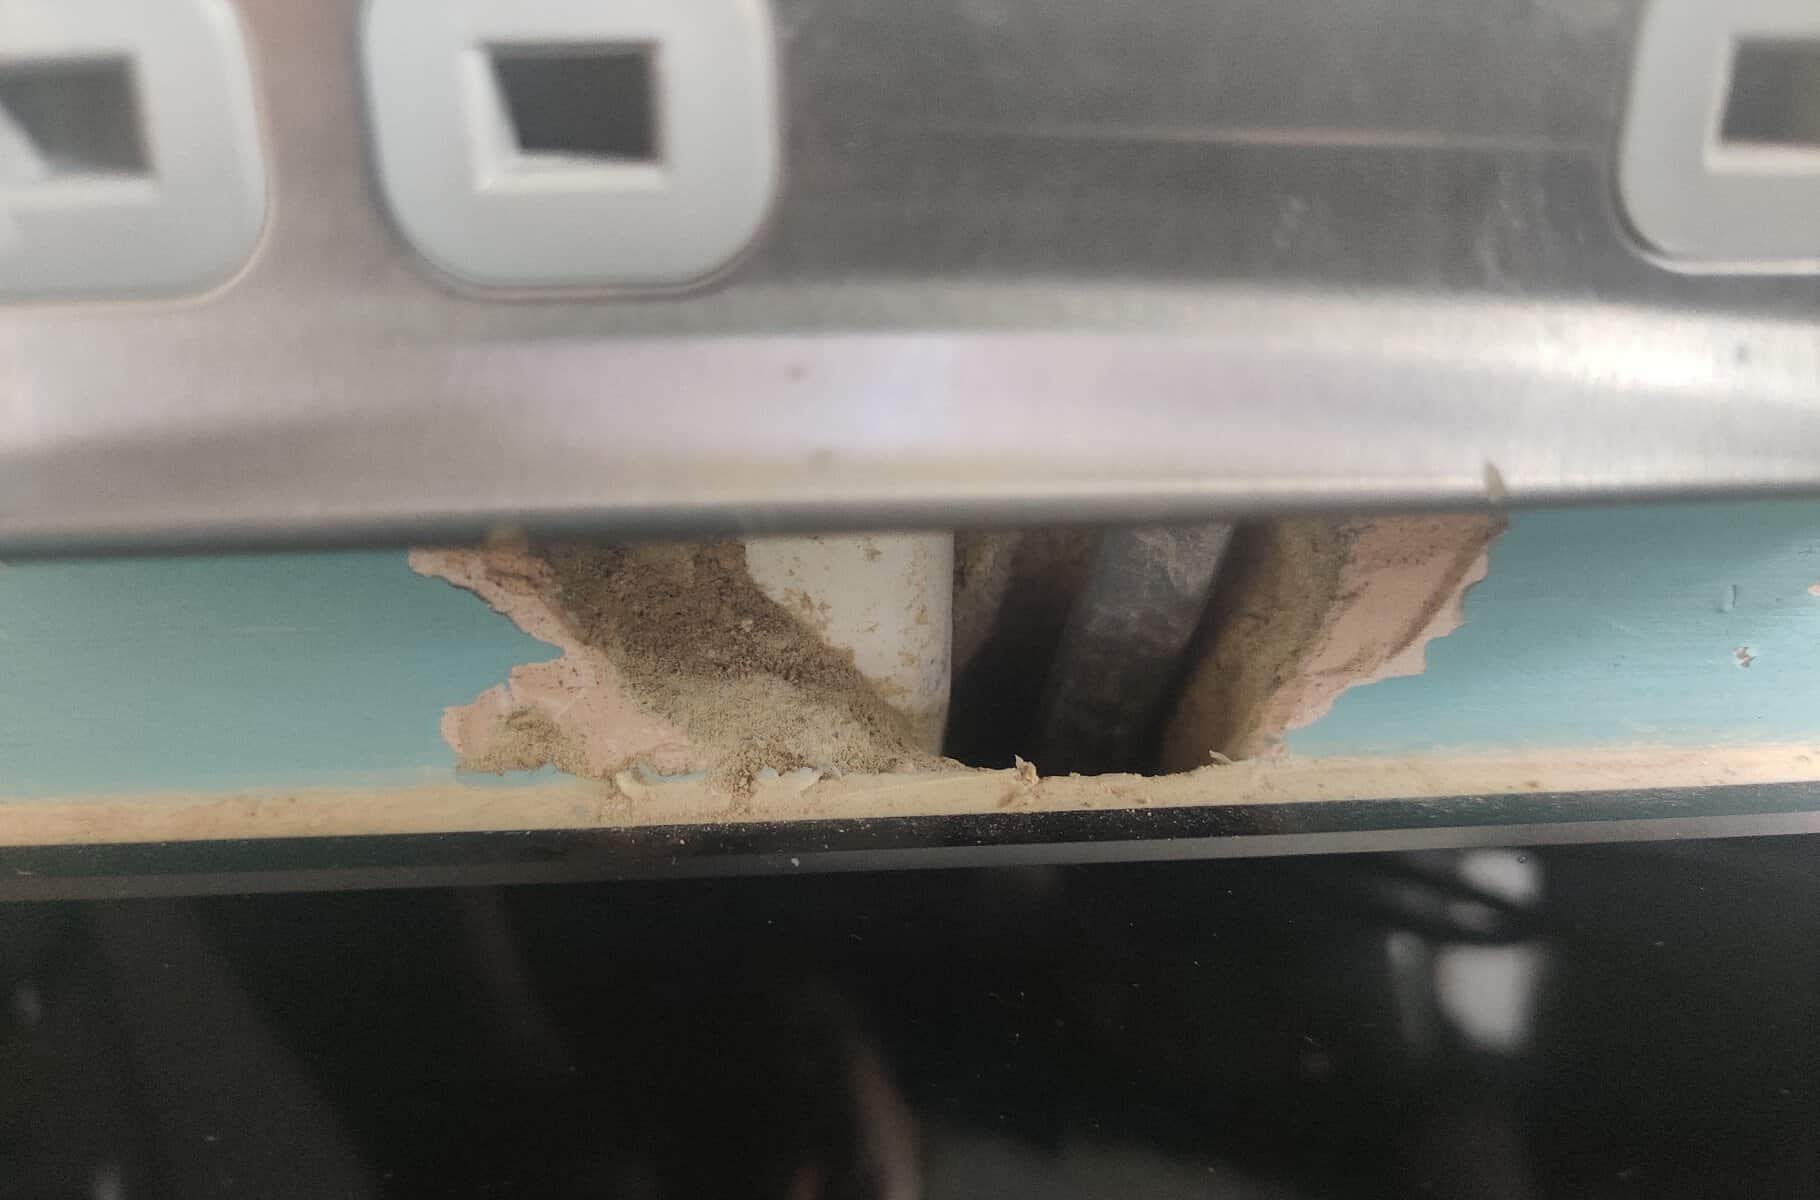
An electrician has cut a small chase into the kitchen wall below a socket and just above the glass splashback to sort out some cabling. The hole now needs making good, but there's uncertainty about whether the cables should be "capped" before filling over them, what capping actually is, and the safe steps to follow – turning power off, removing the socket, filling in layers and so on. The homeowner wants to do it by the book without paying a tradesperson for a ten-minute job nobody wants to turn up for.
This is a common one in UK houses. Before you start spending money, do a couple of simple checks so you're fixing the cause, not the symptom. I'll run through what's likely happening, what you can safely check yourself, and what a proper fix looks like, plus the usual bodges that don't last.
What capping actually is
When sparks chase a cable into a wall, they're supposed to protect it with either plastic or metal capping, a thin channel that sits over the cable in the chase before it's plastered or filled over. The plastic stuff is the cheap white or grey channel you'll see in the trade sheds, usually sold in 2m lengths in 25mm or 38mm widths. Metal capping is a thin galvanised version that does the same job.
The point of capping isn't really to protect the cable from the plaster. It's there for a bit of mechanical protection so that if someone later drills or nails into the wall on the line of the cable, there's a small chance the drill hits the capping and gives them a hint before they hit copper. It also stops the cable pulling through when plaster is being pushed in.
Do you need it on a small patch like this?
Honestly, on a short repair right under a socket, no. It's not going to add much. The cable route under a socket is a "safe zone" anyway (straight down from the accessory), so anyone drilling there is asking for trouble regardless. And as often happens with a small chopped-out repair, there isn't really enough room to fix a length of channel in with nails without making the hole bigger than it needs to be.
If it makes you feel better to cover the cable, a short offcut of plastic capping laid over the cable (not fixed, just sat in) before you fill is fine. It won't hurt anything. Don't jam anything metal in there that could chafe the cable sheath.
Simple checks before you start
- Look at the cable sheathing where it's exposed. If the outer grey sheath is intact and undamaged, you're filling over a properly insulated cable and there's no bare copper anywhere near your filler. That's what you want to see.
- Check the cable isn't under tension or pulled tight across a sharp edge of the chase. If it is, ease it so it sits naturally in the slot.
- Have a look at how deep the chase is. You want at least a few millimetres of filler over the cable once it's finished. If the cable is proud of the wall surface, that's a problem to flag to the electrician, not something to bury.
- Check the socket faceplate screws and the position of the box. If the box is loose or the faceplate won't sit flush after filling, you'll want to sort that before you make good.
How to do the repair
Keep it simple and work in stages. Filler and plaster don't like being slapped on thick in one go. It cracks, slumps and takes forever to dry.
- Turn the power off at the consumer unit. Don't just trip the socket circuit, isolate it properly and check the socket is dead with a socket tester or a known-working lamp. Don't guess, prove it.
- Undo the two screws on the socket faceplate and ease it forward on its tails so you can work around the box without filler getting behind the faceplate or into the terminals. You don't need to disconnect anything.
- Brush the dust out of the hole. A quick mist of water with a plant sprayer helps the first coat grab, especially on dry old plaster or brick.
- If you want to lay a short piece of plastic capping over the cable, do it now. Otherwise, just make sure the cable is sitting flat in the chase.
- First coat: push filler firmly into the back of the hole so there are no voids behind the cable. Bring it up to about two-thirds depth and leave it a bit rough so the next coat keys in. Let it set properly.
- Second coat: fill just proud of the surrounding wall. Let it go off.
- Sand back flush with fine paper on a block. Wipe the dust off.
- Refit the faceplate, turn the power back on, test the socket.
For a hole that size, a bag of ready-mixed lightweight filler or a setting-type powder filler (the ones that go off in 30-60 minutes) will do the job. Setting fillers are better for depth because they harden chemically rather than just drying out. The prep is what makes it last.
Good, better, best
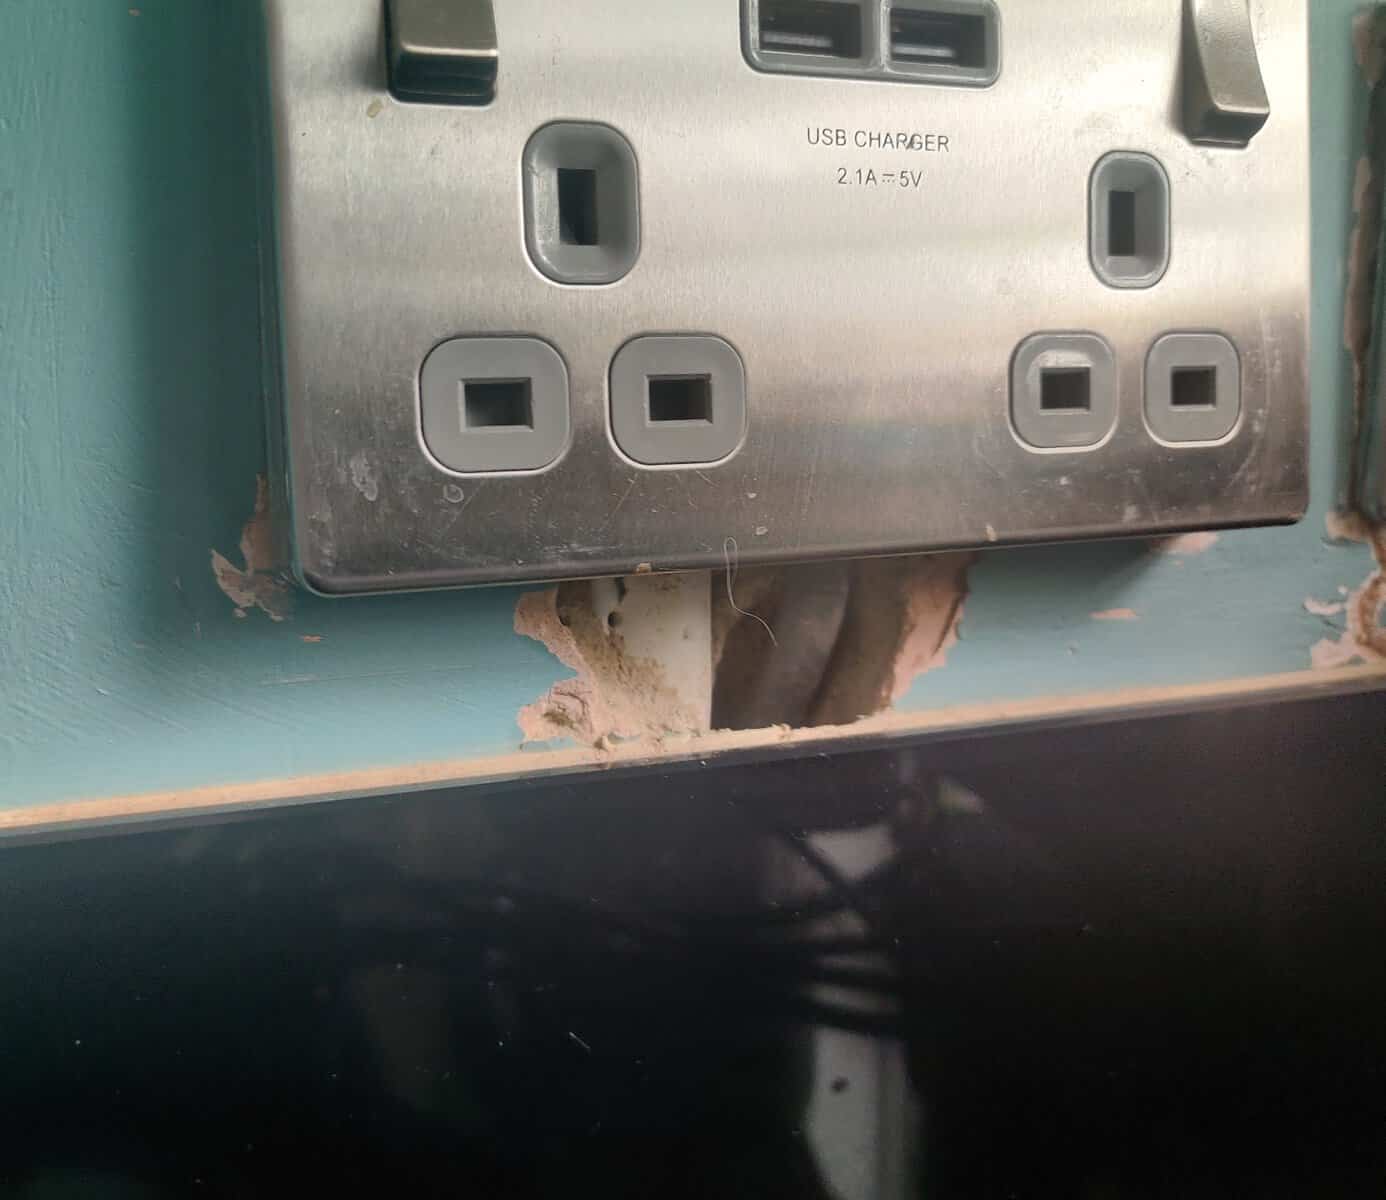
- Good: fill in two or three layers with a setting-type filler, no capping, cable sitting flat. Perfectly acceptable for a small patch under a socket. Longevity is fine as long as the wall stays dry.
- Better: same as above but drop a short offcut of plastic capping over the cable before filling. Costs pennies, gives you peace of mind, and looks the part if anyone opens it up later.
- Best: get the electrician back for ten minutes to widen the chase enough to fix proper capping with galvanised nails, then skim the whole patch with bonding coat and finish plaster for a seamless repair. Overkill for a hole this size, but it's the by-the-book answer.
Bodges to avoid
- Don't cram the hole full of filler in one go. It'll crack as it dries and you'll be back doing it again.
- Don't use expanding foam around the cable. It's a nightmare to finish over, it traps moisture, and it's not what the wall wants behind a socket.
- Don't wrap the cable in insulating tape thinking you're "protecting" it. The sheath is the protection. Tape just traps any damp against the cable.
- Don't fill with the power on and the faceplate in place. Filler gets everywhere, including into terminals, and you can't clean it out properly once it's set.
When to call someone in
If when you look in the hole you can see damaged sheathing, exposed copper, joints wrapped in tape, or cables that look scorched or heat-damaged, stop and get a qualified electrician back. Same goes if the socket feels warm in use, or the faceplate is loose because the back box is knackered. Making good over a hidden electrical problem just buries it for the next person.
Reality check
This is a one-evening job with a next-day sanding session. The filler needs time to properly set between coats, and rushing it is where DIY repairs go wrong. Expect a bit of dust when you sand, so pop a dust sheet over the worktop and the splashback. If the kitchen is in use, do the fill in the evening, leave it overnight with the power to that circuit off (or restore power once the faceplate is refitted after the first coat has gone off hard), and finish the sanding and painting the next day. Nine times out of ten, once it's painted in you won't know it was ever there.