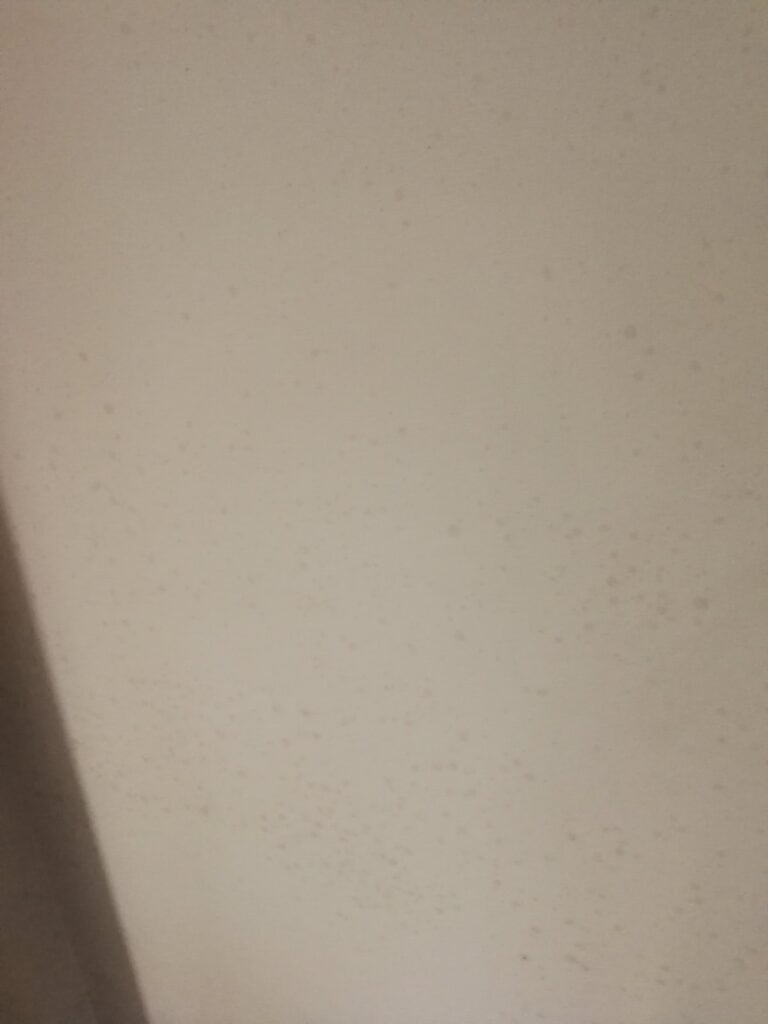
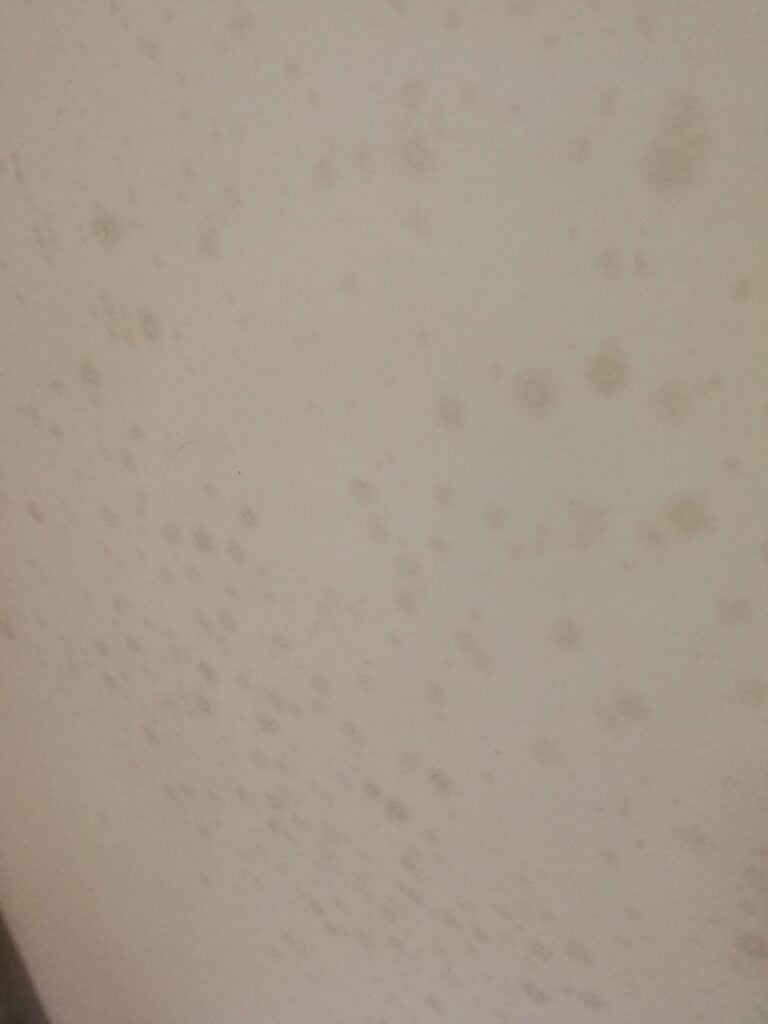
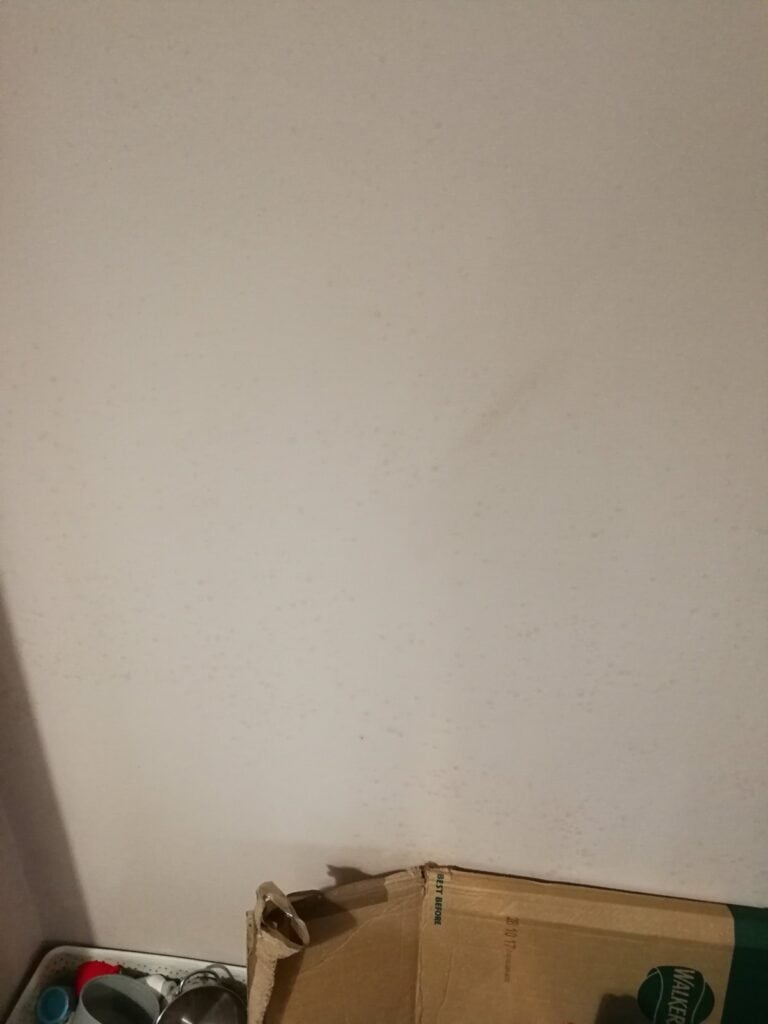
A homeowner in a UK property noticed small damp spots, roughly 5mm to 10mm across, spreading over one internal living room wall and creeping onto others. The room had been replastered the previous year, and the house was mid-extension with no working boiler or heating at the time. Condensation was visible on the windows, mould had appeared behind the sofa, and black spots were forming around the window frames. The spots had been worsening over several months and were climbing higher up the wall.
What’s Likely Going On
This is a common one in UK houses, and this particular situation has a few things stacking up against it. The biggest clue here is the combination of no heating, recent plastering, building work disrupting the normal airflow of the house, and washing being dried indoors. Each one of those on its own raises the moisture level inside the property. Put them all together and you’re creating conditions where damp and mould are almost inevitable.
Here’s the chain of events. Fresh plaster holds a significant amount of water – it can take months to fully dry out, and during that time it’s releasing moisture into the air. Normally your heating system helps deal with that. Warm air can hold more moisture than cold air, so when you heat a room, the relative humidity drops. That drier air then picks up moisture from damp surfaces, and when you ventilate – opening windows or running extractors – that moisture-laden air gets swapped out for fresh air. Without heating, this cycle breaks down. The air inside the house sits at roughly the same humidity as outdoors, which in the UK is often above 80%. Add moisture from cooking, bathing, breathing, and drying clothes, and the internal humidity climbs even higher with no mechanism to bring it back down.
The small, evenly distributed spots across the wall are characteristic of condensation settling on a cold surface. An internal party wall shared with a neighbour can be surprisingly cold if the neighbour’s heating is off or if there’s poor insulation in the cavity. The moisture in the air hits that cold wall surface, condenses, and gives mould spores exactly what they need to get going. The fact that the spots started lower and have been creeping upward fits – the lower portions of the wall are typically the coldest, and as conditions worsen, mould colonises further up.
Simple Checks First
- Foil test on the wall. Tape a piece of kitchen foil (about A4 size) flat against the affected wall using tape around all edges. Leave it for 24-48 hours. If moisture appears on the room-facing side of the foil, it’s condensation from the air. If moisture appears behind the foil, between it and the wall, there’s moisture coming through the wall itself, that points toward penetrating damp or a failed damp proof course. This tells you whether you’re dealing with an air moisture problem or a structural one.
- Check the water meter. With every tap, appliance and toilet cistern turned off, go out to the meter and look for the small dial or flow indicator. If it’s still ticking over, you’ve got a leak somewhere in the supply pipework. A slow leak under a floor can pump moisture into the building fabric for months without any obvious puddle.
- Test the bathroom extractor. Hold a single sheet of toilet paper up to the fan while it’s running. If it doesn’t hold the paper against the grille, the fan is either blocked, failed, or undersized. A bathroom fan that isn’t pulling its weight leaves all that shower and bath moisture to drift through the house.
- Check air vents and trickle vents. Building work can easily block or cover airbricks and trickle vents. Have a walk around inside and out. If any have been bricked over, filled with foam, or buried behind new render, the house has lost part of its background ventilation.
The Proper Fix – Good, Better, Best
Good (immediate damage control): Get a decent dehumidifier running in the affected room. A compressor-type unit rated for the room size will start pulling moisture out of the air straight away. Keep doors to the room closed while it’s running, otherwise you’re trying to dehumidify the whole house through one machine. This won’t solve the root cause, but it’ll stop things getting worse while the building work finishes. Wipe down the mould spots with a dilute bleach solution or a proper fungicidal wash – not just soapy water, as that won’t kill the spores.
Better (once heating is restored): Get the boiler back up and running and maintain consistent low-level heating. You don’t need the house roasting – keeping it at 15-17 degrees even when you’re out prevents wall surfaces dropping to the dew point where condensation forms. Combine that with proper ventilation: working extractor fans in the bathroom and kitchen that run on a humidistat or overrun timer so they keep going after you’ve left the room. Make sure trickle vents are open. This heat-and-ventilate cycle is how UK houses are designed to manage moisture.
Best (long-term): Once the extension is done and the house is back to normal, get the ventilation strategy right for the whole property. That means adequately sized extractor fans in every wet room, trickle vents in all habitable rooms, and if the house is being sealed up tighter as part of the extension work, consider whether a positive input ventilation unit in the loft would help. These gently pressurise the house with filtered, slightly warmed air and push stale, moist air out through the normal leakage points. They’re particularly good in older UK housing stock where condensation is a recurring problem.
Bodges and Mistakes to Avoid
- Painting over the mould with standard emulsion. The mould will come straight back through because you haven’t addressed the moisture. Even anti-mould paint is only a surface treatment, it doesn’t fix the cause.
- Blocking up all the ventilation to “keep the heat in.” This traps moisture inside and makes condensation worse, not better. A house needs to breathe.
- Calling in a damp proofing company before you’ve done the basic checks. Some firms will sell you an injected damp proof course you don’t need. In this case, the evidence points strongly toward a condensation problem driven by temporary circumstances, not rising damp.
- Relying on opening windows alone when there’s no heating. Without heat, you’re just swapping cold damp air for cold damp air. It feels like you’re doing something useful, but the relative humidity barely changes.
When to Bring in a Specialist
If the foil test shows moisture coming through the wall from behind, that’s a different problem – possibly a failed damp proof course, penetrating damp from the extension works, or a plumbing leak. At that point you want an independent damp surveyor, not one linked to a treatment company, to have a proper look with a moisture meter and give you an unbiased diagnosis.
If the mould is extensive and you’ve got anyone in the household with respiratory issues or allergies, get it treated promptly. Prolonged mould exposure isn’t something to sit on.
Reality Check
The good news here is that most of the contributing factors are temporary. The building work will finish, the boiler will go back in, the temporary kitchen will be replaced by a proper one with extraction, and the plaster will eventually dry out. Once all that settles down and you’ve got a functioning heat-and-ventilate cycle running again, the conditions driving this problem should largely resolve. The mould will need cleaning off properly and the walls may need redecorating once they’ve dried through, but you shouldn’t be looking at major structural repairs. If it were my house, I’d get a dehumidifier on it now, get the heating back as soon as possible, and then reassess once everything’s been running normally for a couple of months.