
The question
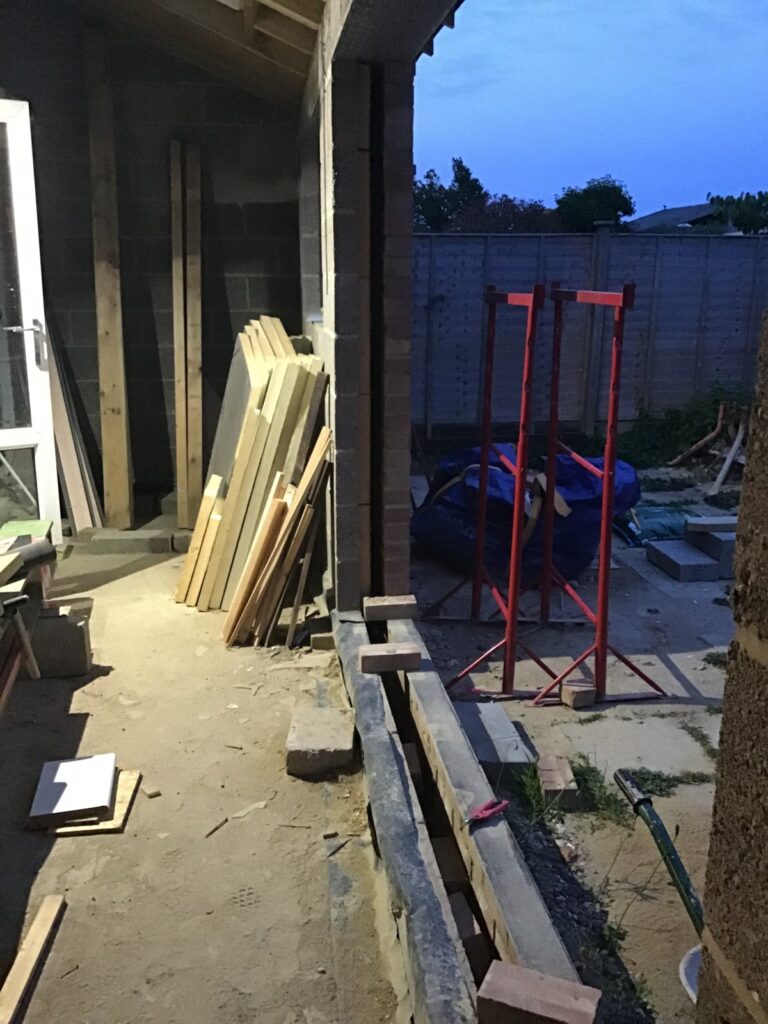
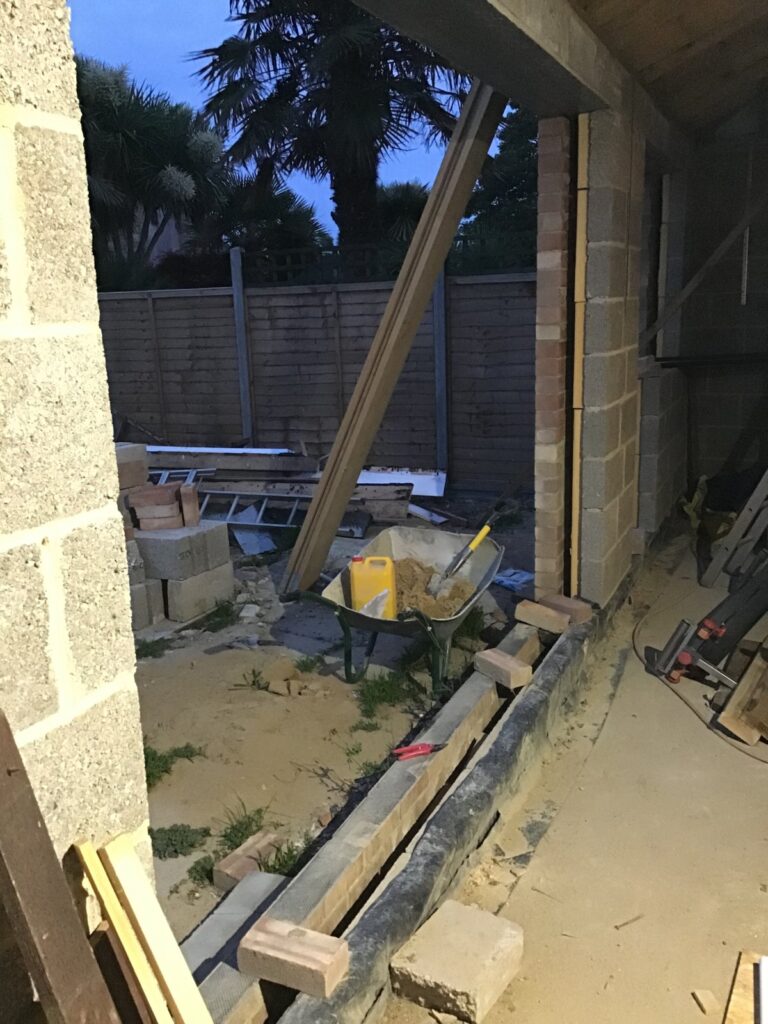
A homeowner is part-way through a rear extension and wants to fit a 3.1m aluminium bifold door set into a new cavity wall. The architect hasn’t given them a clear answer on where in the wall the frame should sit, how to bridge the cavity at the threshold, or how to get solid fixings into the lintel and reveals. The cavity closers they had in place kept blowing out in the wind, so they’ve taken them out for now. The bifold panels are around 100mm deep, the lintel is a proprietary cavity lintel (IG type), and they want to know the right way to set this up so it runs smoothly, doesn’t leak, and doesn’t cold-bridge.
What’s actually going on
A bifold isn’t like a standard window. The track carries real weight and has to stay dead straight – any sag in the head or hump in the threshold and the doors stop running properly. So the frame needs solid, repeatable fixings at the head, the jambs and the cill, and the structure behind those fixings has to be right. On top of that you’ve got the usual cavity wall jobs to sort: keeping water out, stopping cold bridging, and closing the cavity neatly around the opening.
Nine times out of ten the problems people get later – draughts, doors dropping, water tracking inside, condensation around the reveals – come from decisions made at this stage. Get the position in the cavity right and the rest follows.
Where to sit the frame in the cavity
With a 100mm aluminium frame you’ve basically got three choices: hard up against the outer skin, central in the cavity, or back near the inner skin. For most domestic bifolds the sensible position is aligned with the cavity insulation line, typically set back around 50-70mm from the external face. That does a few things:
- Lets the cill nose and any drip detail sit proud of the brickwork so water sheds clear.
- Keeps weep and drainage holes on the cill clear of the masonry.
- Gives you a sensible reveal externally for sealant and a bead of mastic.
- Lines the frame up with the insulation line, which cuts thermal bridging at the reveals.
Sitting it dead flush with the outside looks tidy until it rains – you lose your drip and water tracks back. Pushing it right back to the inner leaf gives you a big external reveal that looks like a window, not a door, and makes the threshold detail awkward. Sitting it too far forward puts the frame outside the insulation line and you’ll get cold reveals.
Fixings – head, jambs, cill
Bifold manufacturers usually specify fixings every 300-600mm along the frame (check the specific schedule for your brand), with extras at load points and corners. They all need something solid behind them.
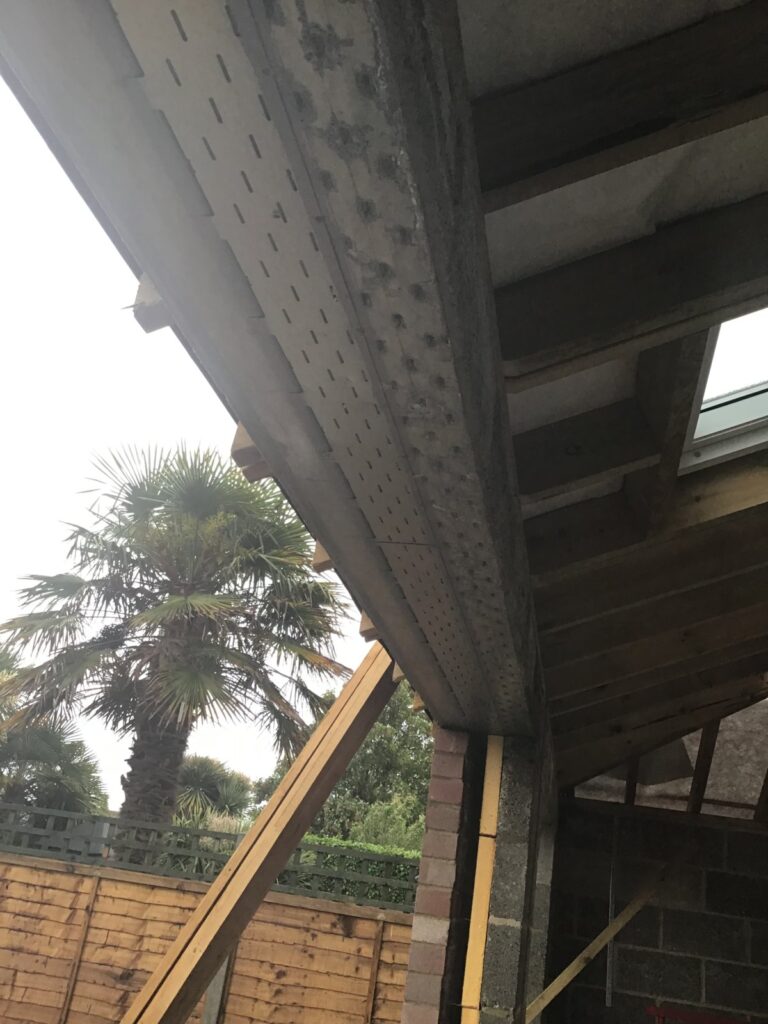
Head: a proprietary cavity lintel (IG or similar) is a pressed steel section. It’s not thick enough to take self-drilling tek screws reliably and the steel is often galvanised, which you don’t want to chew through. The usual approach is to fix up through the inner flange of the lintel into a treated timber packer set in the lintel’s box, or to use the manufacturer’s recommended fixing detail (some lintels have pre-drilled fixing flanges or accept specific frame fixings). If you’ve got a single rolled steel beam instead, plan the track position so your fixings hit the flange, not thin air either side of the web (the web being the vertical part in the middle of an I or H section). Don’t guess – prove it. Mark out where every fixing lands before you offer the frame up.
Jambs: the reveals are where people come unstuck. If your fixing lands in the cavity itself it’s grabbing nothing. Options are:
- Use proprietary frame straps or fixing lugs that screw to the inner block and bridge across.
- Build the reveals so the closer or return brings solid material to the fixing line.
- Pack out with treated timber bedded properly so screws bite.
Cill: ideally you want fixings down into something solid – a concrete upstand, the slab, or a bedded timber sub-cill. The threshold has to be dead flat. A hump in the middle of a 3.1m run will have the doors dragging within weeks.
The threshold and cavity detail at the floor
This is where the original question really mattered. Carrying the cavity straight across the opening at floor level is messy and often cold-bridges. The cleaner way:
- The inner blockwork stops at slab level (or is taken down to foundation as a thermal break detail with insulation between).
- Floor insulation runs across the full width, including under where the door sits, and butts tight to the cavity insulation.
- Screed goes over the insulation and finishes up to the threshold.
- The bifold sits on a structural bearing – typically the inner leaf or a bedded sub-cill – with DPC lapped properly up and out, dressed into the cavity tray principle so any water drains to the outside.
That way your floor finish runs right up to the door without a cold strip of block underneath it. The DPC needs to lap so any water that does get in finds its way back out via the outer skin, not into the room.
Don’t seal the cavity up airtight at the bottom and forget about drainage – you want weeps in the outer skin above any cavity tray, and the cill drainage holes clear.
Closing the cavity around the opening
Since the original cavity closers kept falling out, do this properly before the frame goes in. Options, good to best:
- Good: insulated proprietary cavity closers, mechanically fixed (not just wedged) and sealed to the DPC.
- Better: closers plus a continuous strip of rigid insulation tight to the back of the frame, taped at junctions.
- Best: full insulated reveal detail with airtightness tape from the frame onto the inner blockwork before plastering. This is what stops the black mould lines you see around badly-fitted bifolds two winters later.
Simple checks before the frame turns up
- Measure the structural opening in three places top, middle, bottom – is it square and consistent?
- Mark on the lintel where every head fixing will go, and confirm there’s solid material behind each one.
- Check the threshold bearing is level along its full length with a long straight edge – not just a 600mm spirit level.
- Confirm the DPC and any cavity tray over the head lintel are present and lap correctly, with weeps in the outer skin above.
- Dry-fit a length of cill or packer to check the setback works with your brickwork line.
If any of those throw up a problem, sort it before the doors arrive. Trying to pack out a wonky opening with a £4k door set hanging off your shoulders is no fun.
Bodges to avoid
- Fixing into mortar joints in the reveal – it’ll hold for a bit, then work loose as the doors operate.
- Foam-only fixing – expanding foam is a sealant and insulator, not a structural fixing. Frame must be mechanically held.
- Skipping the sub-cill or bedding the frame straight onto rough block – guarantees a hump somewhere.
- Running the inner blockwork across under the threshold with no thermal break – cold bridge and a pain to detail the floor finish around.
- Sealing the outside up tight with no weeps – water gets in, then it shows up somewhere else, usually on your new plaster.
When to bring someone in
The doors themselves are usually best fitted by the supplier’s approved installer, or at least someone who’s hung that brand before. The adjustment of the rollers and top hangers is fiddly and the warranty often depends on it. If there’s any doubt about the lintel spec for a 3.1m opening, get it confirmed by whoever did your structural calcs. Don’t take a punt on it.
Reality check
A 3.1m bifold is a two to three day job done properly: prep and level the opening, set the frame, pack and fix, seal and insulate the perimeter, then hang and adjust the leaves. Allow drying time for any bedding mortar or screed before you load the threshold. Keep the opening covered overnight – one wet night with the cavity open and you’ll be drying blockwork out for weeks. The prep is what makes it last. The doors are the easy bit once the hole is right.