
A homeowner working next to an office refurb is watching the builders next door strip out an old lath and plaster ceiling. The place is thick with dust and bits of plaster, and the builders have said the ceiling is “shot to pieces”. They want to know whether lath and plaster contains asbestos, whether it depends on the age of the building, and whether it’s sensible to just board over a knackered ceiling rather than pull it down. Same question comes up from another homeowner with a bowed ceiling in a first-floor flat, wondering whether to strip it out or overboard.
This is a common one in UK houses. Before you start spending money or panicking about dust, do a couple of simple checks so you’re fixing the cause, not the symptom. I’ll run through what’s likely happening, what you can safely check yourself, and what a proper fix looks like, plus the usual bodges that don’t last.
What lath and plaster actually is
If your house is pre-war, Victorian, Edwardian, or between the wars, the ceilings upstairs and often downstairs will be lath and plaster. Thin strips of timber (the laths) are nailed across the underside of the joists with a small gap between each one. Wet lime plaster is then pushed up through those gaps so it squeezes over the back and forms little hooks, called nibs or keys. Those keys are what hold the whole ceiling up. Two or three coats go on the underside, finished smooth.
Give it 80 to 120 years of vibration, foot traffic upstairs, the odd leak and general shrinkage, and those keys start snapping off. The plaster then sags away from the laths under its own weight. That’s why old ceilings bow, crack in lines, and eventually let go. Nothing sinister, just old materials at the end of their working life.
Does it contain asbestos?
Straight answer: no, not the lath and plaster itself. It’s timber laths and lime plaster, sometimes with a bit of horsehair mixed in for reinforcement. Neither of those contains asbestos. The age of the building doesn’t change that. If anything, the older it is, the more likely it’s pure lime plaster with no modern additives at all.
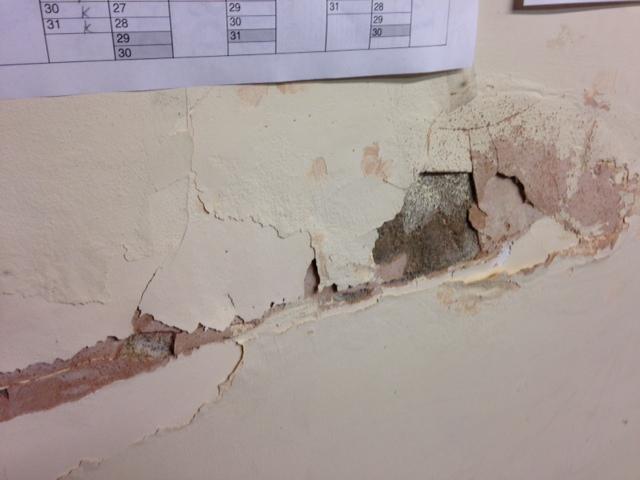
Where asbestos does turn up in ceilings is in later materials:
- Textured coatings (Artex-type finishes) applied roughly from the 1960s through to the mid-1980s can contain small amounts of chrysotile. Not all do, but you can’t tell by looking. It needs a sample tested.
- Asbestos Insulating Board (AIB) was used as ceiling panels, soffits, around boilers and airing cupboards, and sometimes as a fire-check layer. It looks a bit like a chalky, fibrous board and is very different from lath and plaster.
- Loose fill insulation in some lofts (vermiculite). Most is fine, but a small proportion has been found contaminated. If in doubt, test.
So if the concern is a genuine lath and plaster ceiling coming down, the dust is unpleasant (decades of soot, mouse droppings and lime) but it isn’t asbestos. Wear a proper mask anyway. You don’t want any of that in your lungs, asbestos or not.
Simple checks you can do yourself
Before committing to strip out or overboard, prove what you’ve got and what state it’s in:
- Look up at the ceiling from below in raking light. Long straight cracks running in one direction usually follow the laths. Sagging or dished areas mean the keys have failed in that zone.
- Press gently upwards with a flat palm on a suspect patch. If it moves and you can feel it flex against the laths, the keys behind are broken. A solid ceiling won’t budge.
- If there’s access from above (loft or lifted floorboards), have a look at the top side. You should see rows of little plaster nibs curled over the laths. Big gaps, loose lumps sitting on the laths, or bare timber where the plaster has fallen away all tell you it’s past saving.
- Tap gently across the ceiling with your knuckle. A dull, dead thud usually means sound plaster keyed to the laths. A hollow, drum-like sound means the plaster has separated and is hanging on by not much.
- If you’re worried about a textured finish or any suspect board, get a sample tested. It’s about £30 to £50 through a UKAS-accredited lab, and it beats guessing.
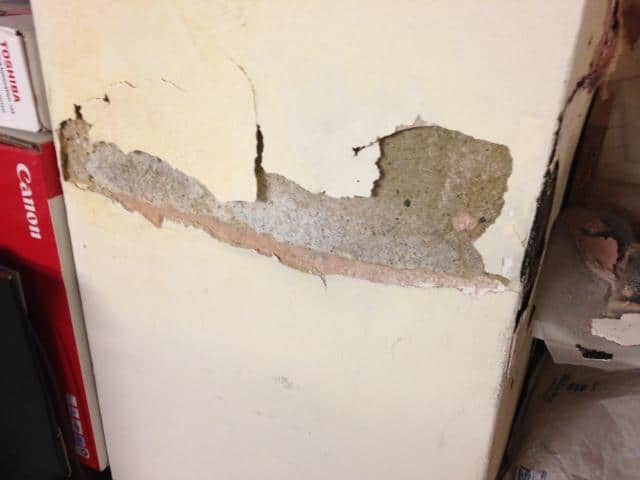
The proper fix: good, better, best
Good: overboard the existing ceiling
If the ceiling is only lightly cracked, not badly sagging, and the keys are mostly intact, you can screw plasterboard straight up through the old plaster into the joists above. Use long drywall screws (65mm or more) so you’re getting a proper bite into the joist, not just into old plaster.
The catch, and it’s a big one, is weight. A plasterboard and skim layer adds real load to a ceiling that’s already tired. If the keys are marginal, the extra weight can pull the old plaster away from the laths, and now you’ve got both layers hanging off your screws. There’s a case in the trade of someone taking down an overboarded ceiling and the floor above springing up half an inch once the load came off. Only overboard if the original is genuinely sound.
Better: take it down and reboard onto the existing joists
If the ceiling is bowed, cracked in multiple places, or drums when you tap it, the honest answer is it needs to come down. Yes, it’s filthy work. The dust from a century-old ceiling is something else. Dress for it:
- Disposable coveralls, goggles that seal, and a proper P3-rated mask (not a paper one).
- Empty the room, or sheet everything heavily with polythene taped down. Seal the door with a zipped dust screen.
- Take it down in manageable sections rather than pulling the whole lot at once. Bag as you go.
- Once the laths are exposed, prise them off the joists with a bar. Check the joists for old nails, splits or notching before boarding.
- Board with 12.5mm plasterboard, screws at 150mm centres into the joists, stagger the joints, then skim.
Run any new cables while the joists are open. It’s the perfect chance.
Best: independent suspended ceiling below the old one
If the joists themselves are bowed (and on old properties they often are), a new ceiling fixed straight to them will follow the same curves. The proper answer is to build a new level ceiling below. Fix timber battens or metal furring around the perimeter at the height you want, hang joists across, level with a laser or a long straightedge, then board and skim.
You lose 40 to 60mm of ceiling height, but you get a genuinely flat ceiling, better acoustic separation, room for insulation and services, and the old ceiling stays put doing no harm. This is the route I’d take in a room where the bowing is severe or the joists are clearly not straight.
Bodges and mistakes to avoid
- Nailing plasterboard over lath and plaster with old-style nails. Nails work loose, the sheet sags, and you end up with a wavy ceiling. Screws only.
- Overboarding a ceiling that’s already drumming when you tap it. You’re adding weight to a failing structure. It will come down, and take your new board with it.
- Skimming over cracks without addressing the movement behind them. Cracks in lath and plaster mean the keys are going. Filler won’t hold them back.
- Taking a ceiling down without proper masks and containment. The dust will be through the whole house within an hour and you’ll be cleaning for weeks.
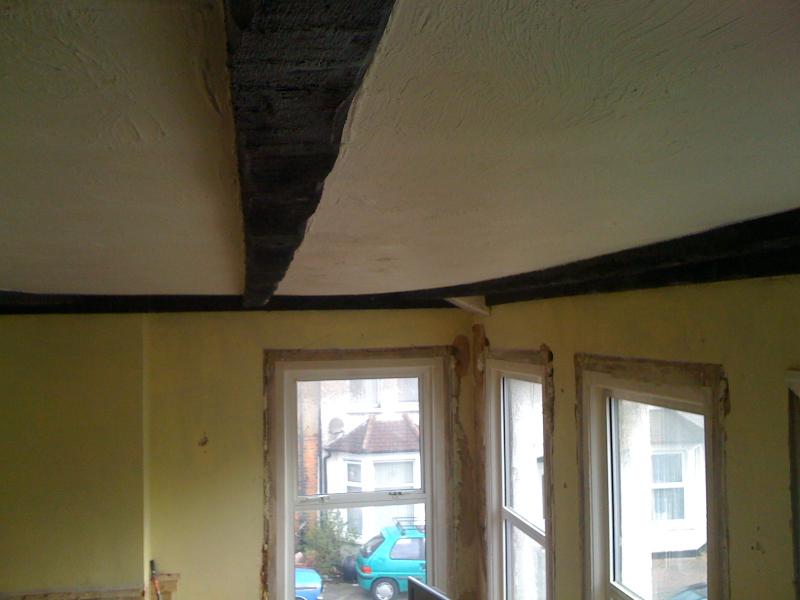
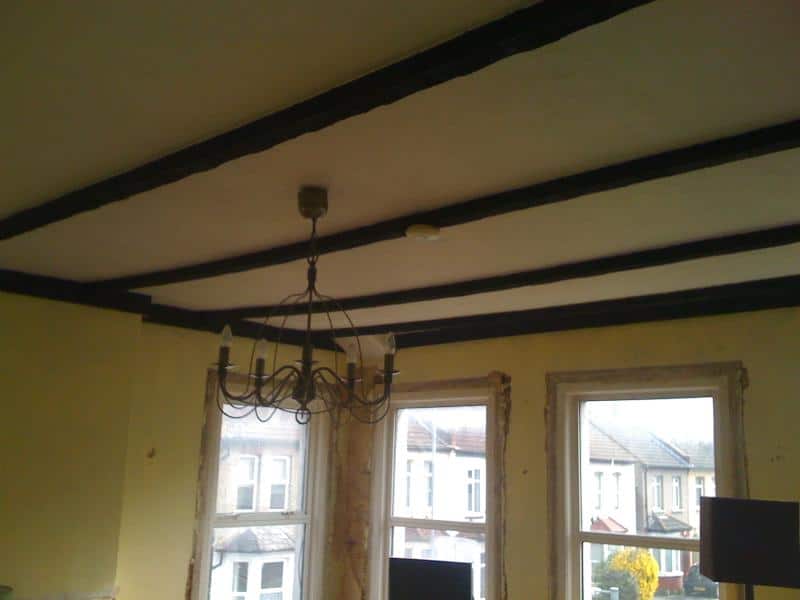
- Assuming decorative beams are decorative. Sometimes they’ve been added to hold a failing ceiling up. Investigate before you remove anything.
When to bring in a specialist
Get a UKAS-accredited testing lab or licensed asbestos surveyor involved if:
- There’s a textured coating (Artex-style) you want to disturb.
- There are suspect boards around old boilers, airing cupboards, service risers or ceiling hatches that don’t look like plaster.
- There’s loose fill insulation in the loft that you can’t positively identify.
If joists are visibly bowed, cracked or notched, get a builder or structural engineer to eyeball them before you load a new ceiling onto them. And any live cabling exposed when the ceiling comes down: get a qualified electrician to check and reconnect it properly.
Reality check
Stripping a lath and plaster ceiling is one of the dirtiest jobs in domestic building. Even with sheeting and masks, expect grit in every corner of the house for a fortnight. Budget a full day for a decent-sized room just to take it down and bag it, plus another day to clean up before the plasterer can start. Skim needs to dry properly before decorating: a week minimum, longer in cold weather.
Nine times out of ten, an old ceiling that’s genuinely gone is better down and replaced than patched or overboarded. Do it once, do it right, and you won’t be back up a ladder in five years’ time chasing the same cracks.