
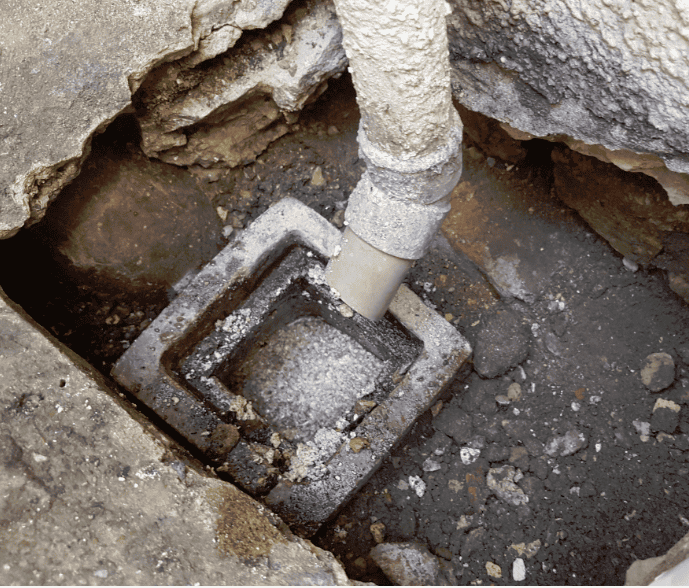
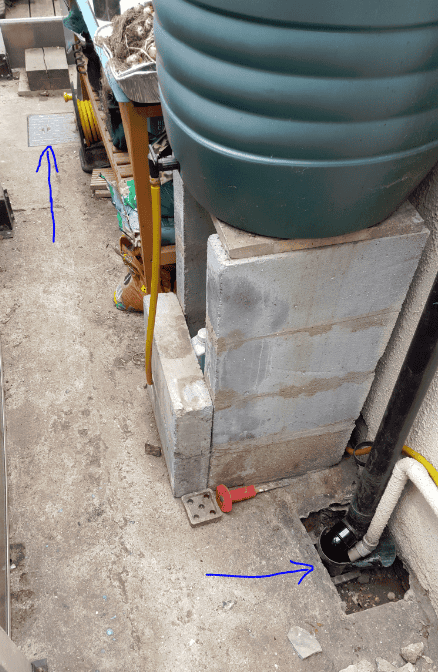
A homeowner in a late-Victorian London terrace has damp showing up on the inside wall of the side return, right by where the main rainwater downpipe and the kitchen waste (sink, washing machine, dishwasher, boiler condensate) both discharge into an old square clay gully set into a concreted side return. The gully has sunk slightly, the concrete around it is cracked and hollow, water splashes everywhere when appliances drain, and the washing machine causes the gully to back up and overflow before it clears. They want to know whether to patch it up with a plastic riser and hopper, or dig the whole lot out and start again.
This is a common one in UK houses. Before you start spending money, do a couple of simple checks so you're fixing the cause, not the symptom. Here's what's likely happening, what you can safely check yourself, and what a proper fix looks like, plus the usual bodges that don't last.
What's likely going on
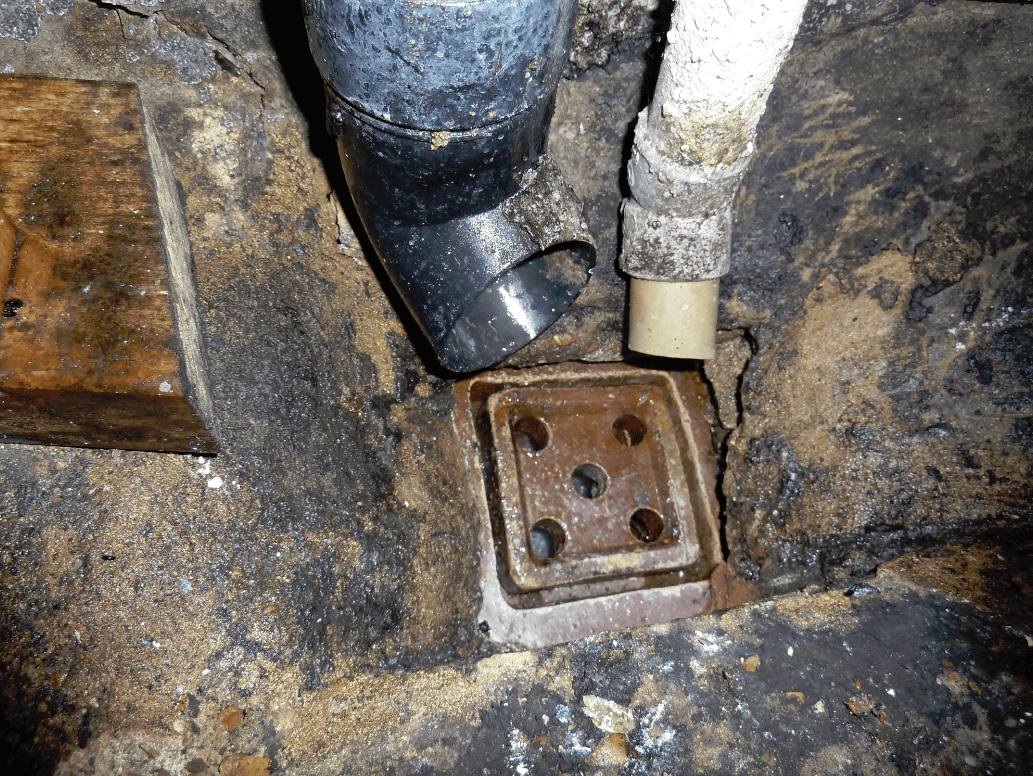
Old square clay gullies in Victorian side returns take a hammering. They're 130-odd years old, sitting on London clay that shrinks and swells with the seasons, and there was plenty of bomb damage and ground movement across the city that never really settled down. Nine times out of ten, when one of these has sunk or the surrounding concrete has cracked, the gully itself hasn't just moved on its own. The collared joint at the base, where the trap meets the run heading off to the manhole, has fractured. Water then leaks straight into the ground around it, softens the sub-base, and the whole lot drops a bit more. That's why the concrete goes hollow: it's been undermined from underneath.
The backing-up when the washing machine drains is another giveaway. A healthy gully should swallow a machine discharge without the level rising much at all. If the water climbs and overflows, either the trap is partially blocked, the outgoing pipe is broken or displaced, or the gully has tilted so far that its outlet is now above the natural water line. Add in damp on the internal wall next to it and you've got a pretty clear picture: water is getting into the ground right next to your foundations, and it's showing up inside because water gets in one place and shows up somewhere else.
Simple checks first
Before you commit to digging, prove what's actually wrong. Do these in order:
- Clear and inspect the gully. Get the sludge out and look at the clay itself. Cracks, missing pointing round the collar, or a visible tilt tell you the trap area is compromised. If it's smooth and level inside but the surround is shot, you might only be dealing with a bedding issue.
- Do a fill-and-watch test. Pop a bit of newspaper or a rag down the outlet, fill the gully with clean water to just below the rim, and time it. If it drops noticeably over 15 to 20 minutes with the outlet plugged, you've got a leak somewhere in the trap or collar.
- Run the appliances and watch levels. Drain the washing machine and watch the water rise. If it climbs past halfway and takes ages to clear, the run downstream is restricted. Could be a partial blockage, could be a broken pipe with soil ingress.
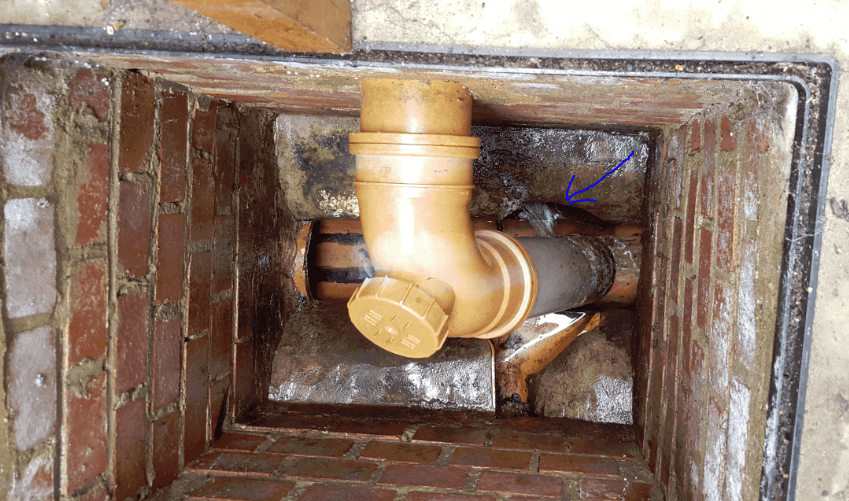
- Lift the nearest manhole cover and run water. Water from the sink should arrive quickly and cleanly at the manhole. Slow arrival, or arriving dirty when only clean water went in, points to a broken pipe pulling in ground.
- Poke a torch down the outlet. You can often see the next joint from above. If you see a step, a gap, or daylight round the collar, that's your smoking gun.
- Check the ground around the gully. Damp soil, red brandling worms working the wet patch, or a soft spongy feel underfoot all confirm long-term leakage into the sub-base.
- Consider a CCTV survey. If in doubt, a drainage firm will push a camera down for a modest fee. Don't guess, prove it. It's cheap insurance before you bury the problem again.
The proper fix: good, better, best
Good: plastic riser and reseal
If, and only if, your checks show the clay trap is sound and the outgoing pipe is intact, you can dress the top of the existing gully with a plastic square hopper riser, bed it in on fresh mortar, and re-form the concrete apron around it with a proper fall towards the grating. Use a flexible drainage sealant or a rubber adaptor at the clay-to-plastic interface, not silicone from a bathroom tube, which won't last. This is the quickest, cheapest route but it only works if the underlying drain is genuinely healthy. On an 1890s property, that's a big if.
Better: cut back and fit a modern bottle gully
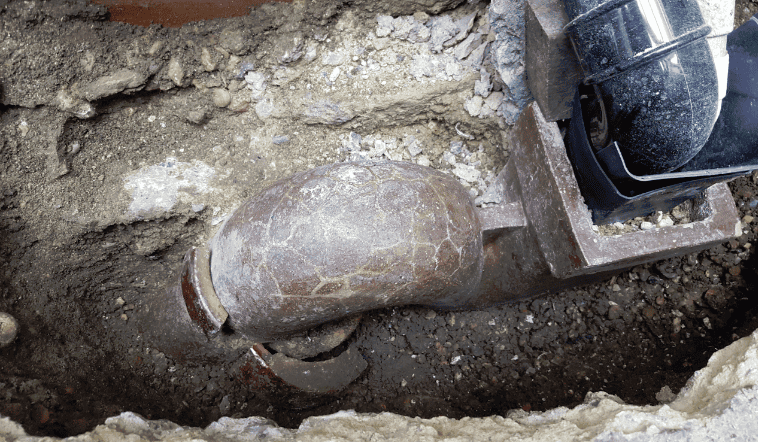
Break out the surrounding concrete, expose the clay run back to a sound length of pipe, and cut it cleanly with an angle grinder and a diamond disc. Plug the downstream side with newspaper first so debris doesn't wash on down. Fit a flexible rubber coupling (the type with two jubilee-style bands) from the clay onto 110mm plastic, run a short length across to a modern plastic bottle gully with a large grating on top, and bring the rainwater downpipe and the kitchen waste into the side of the gully via bossed connections. Adjustable bends let you sort out any awkward angle where the old clay wasn't laid level. Snug the band clamps up, leave them 24 hours, then nip them up again. Rubber relaxes and they'll always need a second tighten.
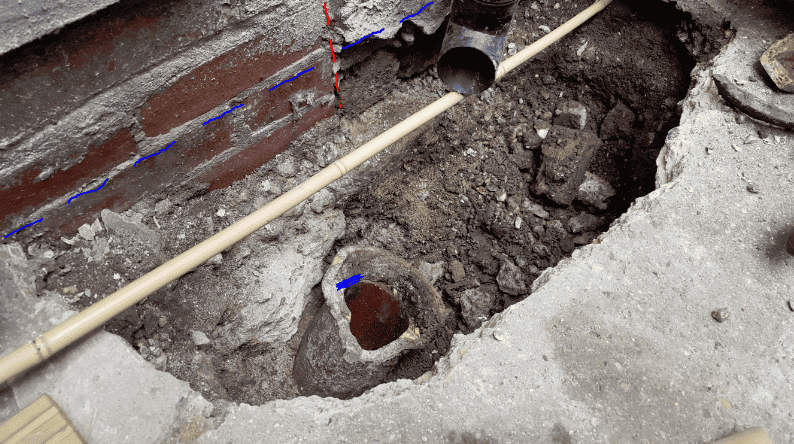
This is the sweet spot for most people. You get a serviceable, rodable, sealed system that'll outlast the rest of the house, and you keep as much of the original run as is still good.
Best: replace the run to the manhole
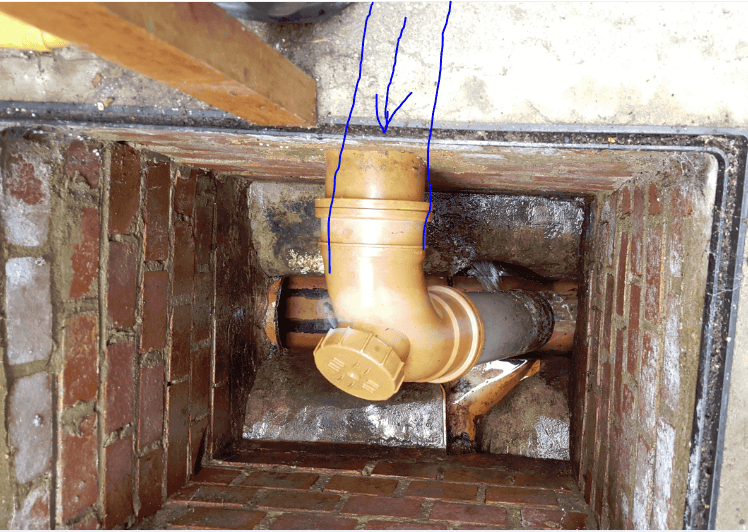
If the CCTV or your fill test shows the pipe is broken further along, and on London clay in a Victorian terrace it very often is, stop patching and replace the run properly. Dig out from the gully position through to the manhole, lay new 110mm plastic on a pea shingle bed with a consistent fall (minimum 1 in 40 for foul drainage, though steeper is better where space allows), form a proper connection into the manhole with the right channel fitting or a saddle, and finish with a new plastic bottle gully at the house end. If there's a newer plastic soil run nearby serving the bathroom, it's often tidier to branch the new gully run into that with a proper Y junction and abandon the old clay route entirely. One fewer weak point, and everything ends up in modern pipe you can rod and camera in future.
Bodges and mistakes to avoid
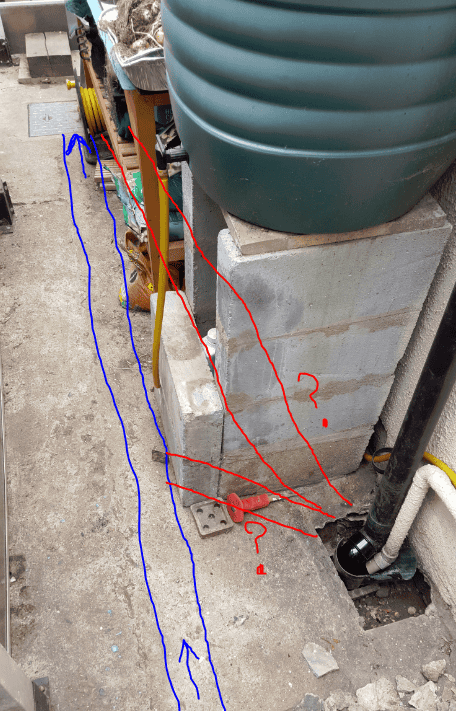
- Silicone or mastic round the top only. Seals the visible crack, does nothing about the leak underneath. It'll be back within a winter.
- Slapping fresh concrete over hollow ground. Without dealing with the leaking joint first, you're just building a lid over a hole that will keep growing.
- Sealing rainwater downpipe straight into the trap. You want an air gap over the grating so the pipe can be lifted, cleared and inspected. A tight-sealed downpipe with no access is a nightmare when it blocks.
- Trying to combine kitchen waste into the rainwater downpipe above ground. On a combined system it might discharge to the same drain eventually, but bringing greasy warm waste into a rainwater pipe leads to smells, deposits and blockages. Keep them separate until they meet in the gully.
- Cutting clay with a hammer and bolster. You'll shatter more than you cut. Diamond disc on a grinder, dust mask, eye protection, and take your time.
When to bring in a specialist
If the fill test shows the pipe is losing water, if the ground around the gully is visibly wet, or if the internal damp patch is spreading, get a drainage contractor in with a camera. Once you've opened it up and can see multiple failed joints, or the run disappears under an extension foundation (which happens a lot on side returns where later builders have simply concreted over the top), it's a job for someone with the kit and the insurance. Any dig within a metre or so of a foundation should be done carefully. If you're undermining brickwork, stop and get proper advice.
Reality check
Budget a full weekend minimum, and expect it to grow. Breaking out old concrete is heavy, dusty work. Hire a decent breaker, wear ear defenders, and sheet up anything you don't want covered in grey dust. You'll almost certainly find more damage than you expected once the pipe is exposed; that's the nature of Victorian drainage. Have spare couplings, a length of 110mm pipe and a couple of adjustable bends on hand before you start, because nothing kills momentum like a Sunday afternoon trip that ends at a locked merchant's yard. Let any fresh concrete or mortar cure properly, a couple of days minimum, before you subject it to a full downpipe hammering in a rainstorm. And keep the house usable: isolate the washing machine and dishwasher while the drain is open, and have a bucket and a plan for the kitchen sink.