Aco drains in garden - how to connect to existing hopper

Joined
26 Jul 2018
Messages
6
Reaction score
0
Country
United Kingdom
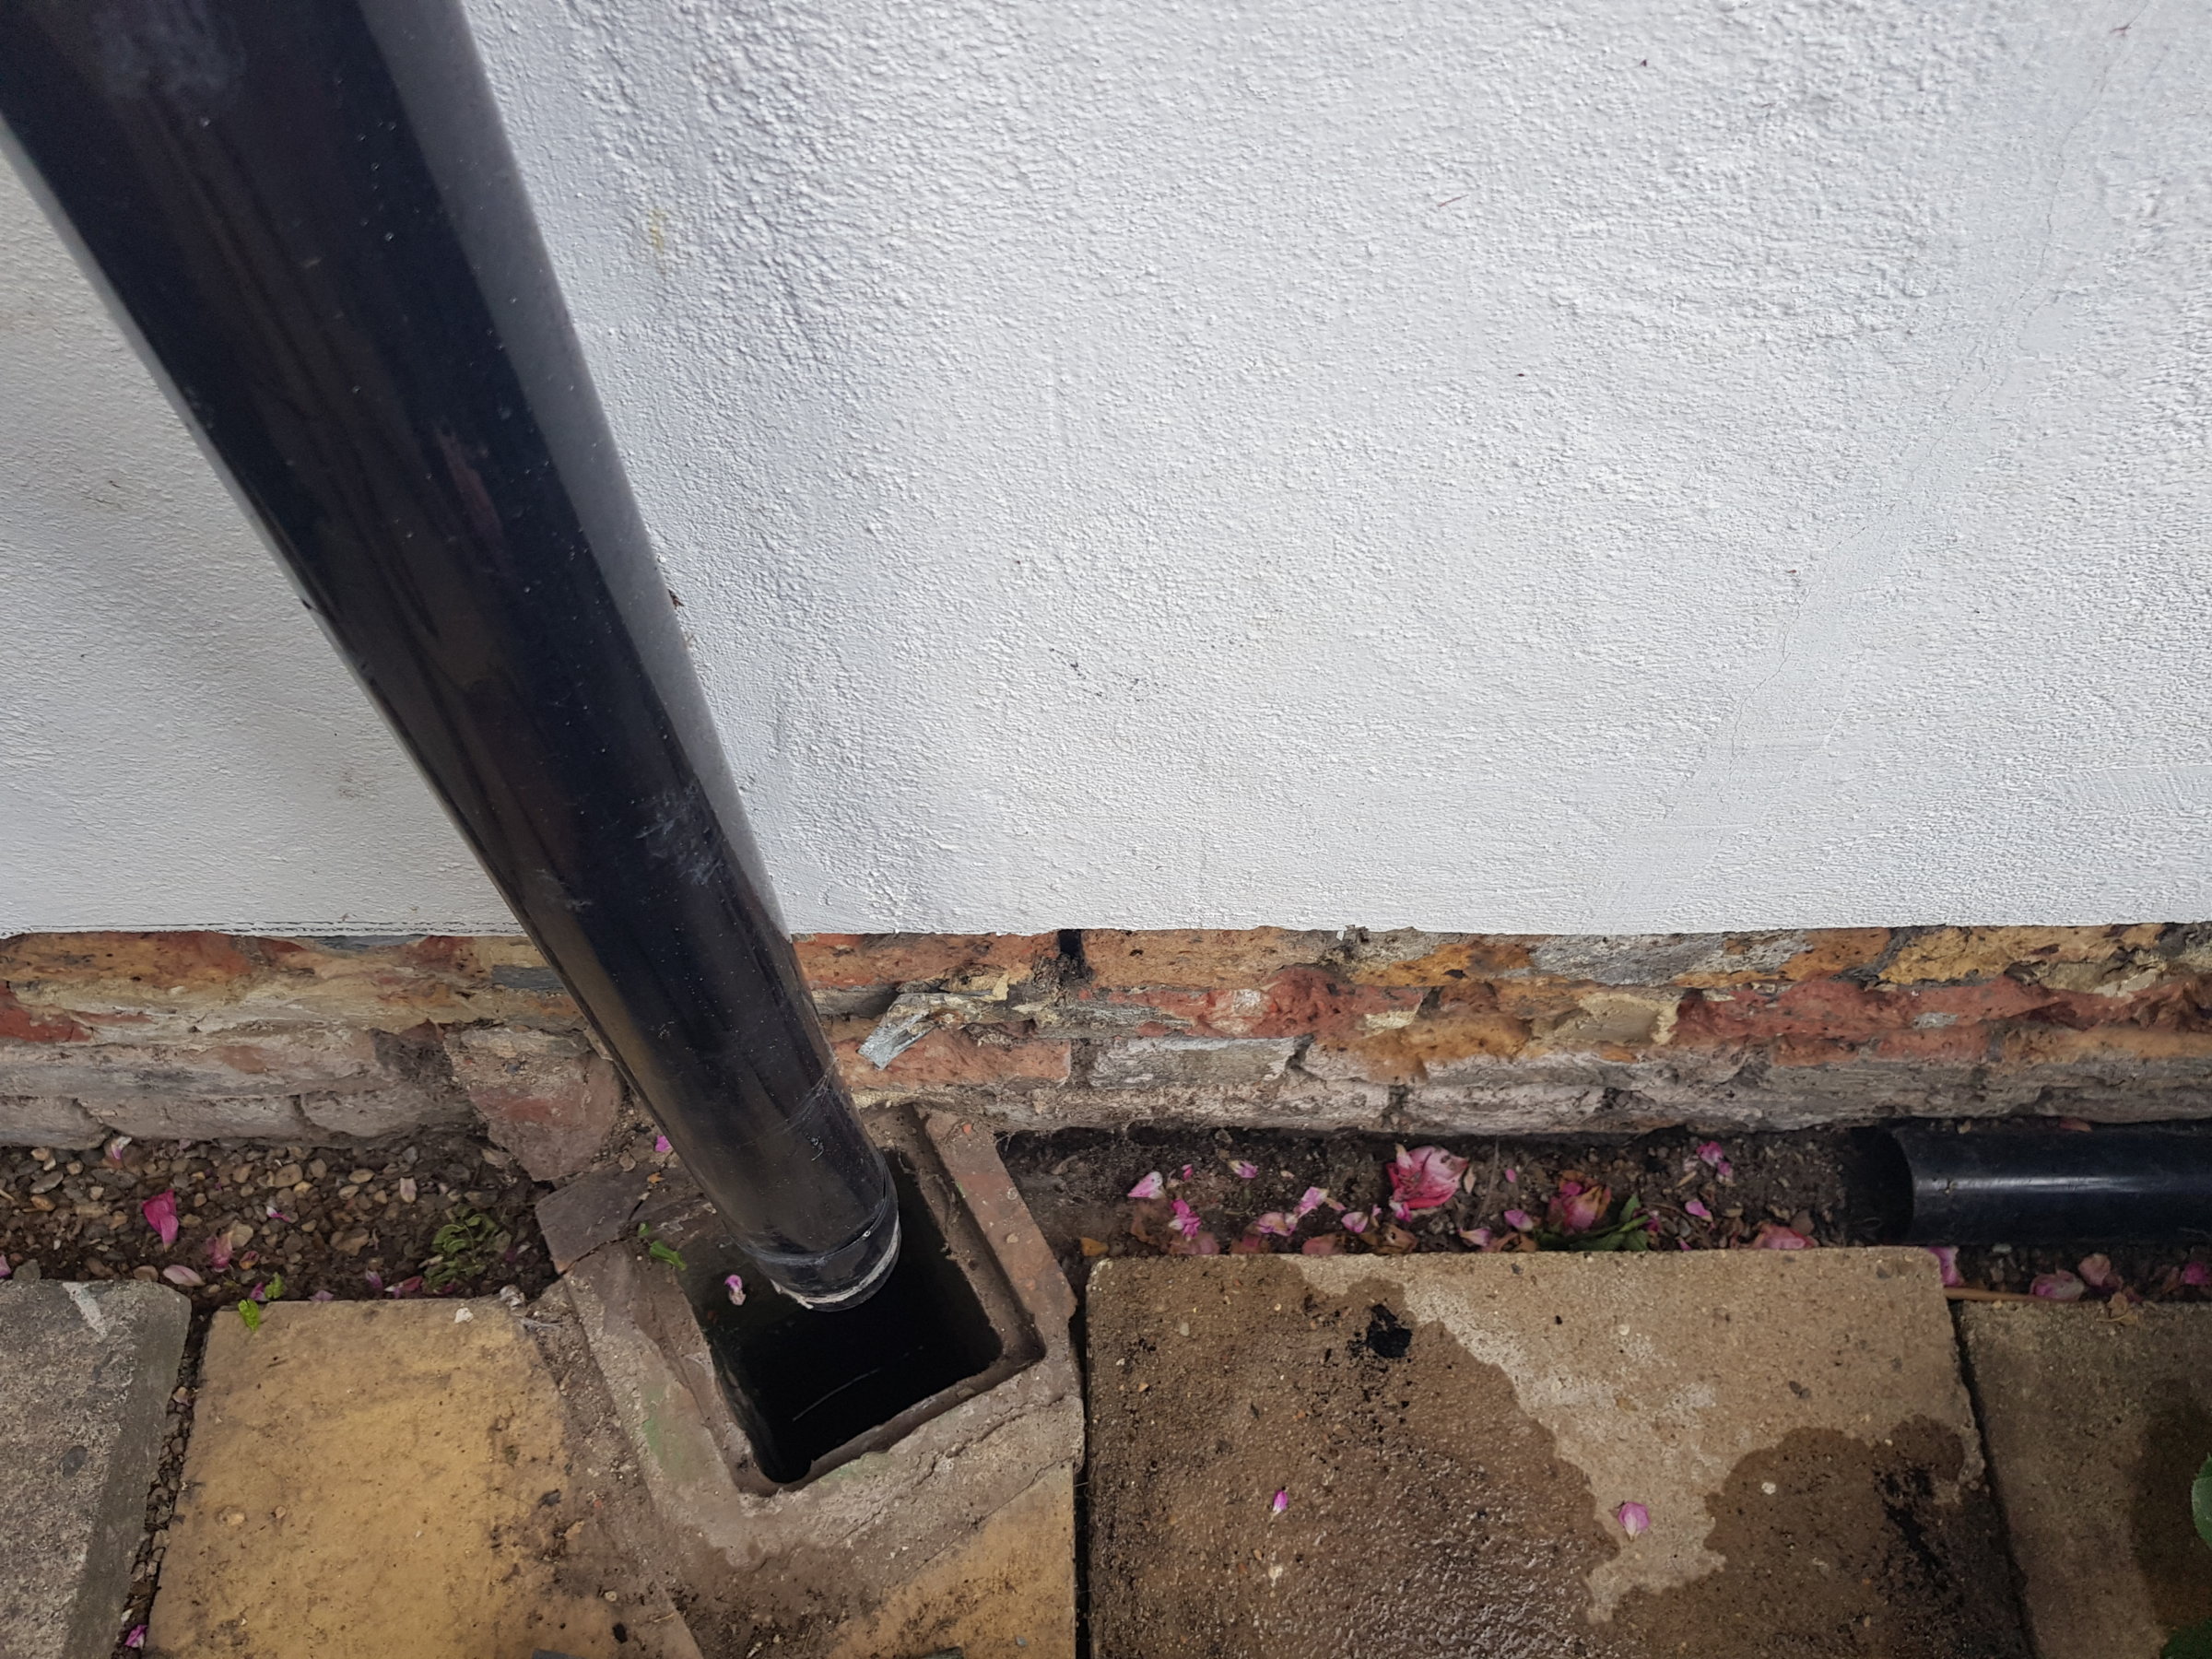
Hi, have a ditch between my patio and back wall of the house, presumbly dug out by the previous owner, and filled in with shingle. Had a damp problem on the back wall, and removing some of the mud/shingle that was going above the DPC, and some of the render to let bricks breath seems to have sorted it.

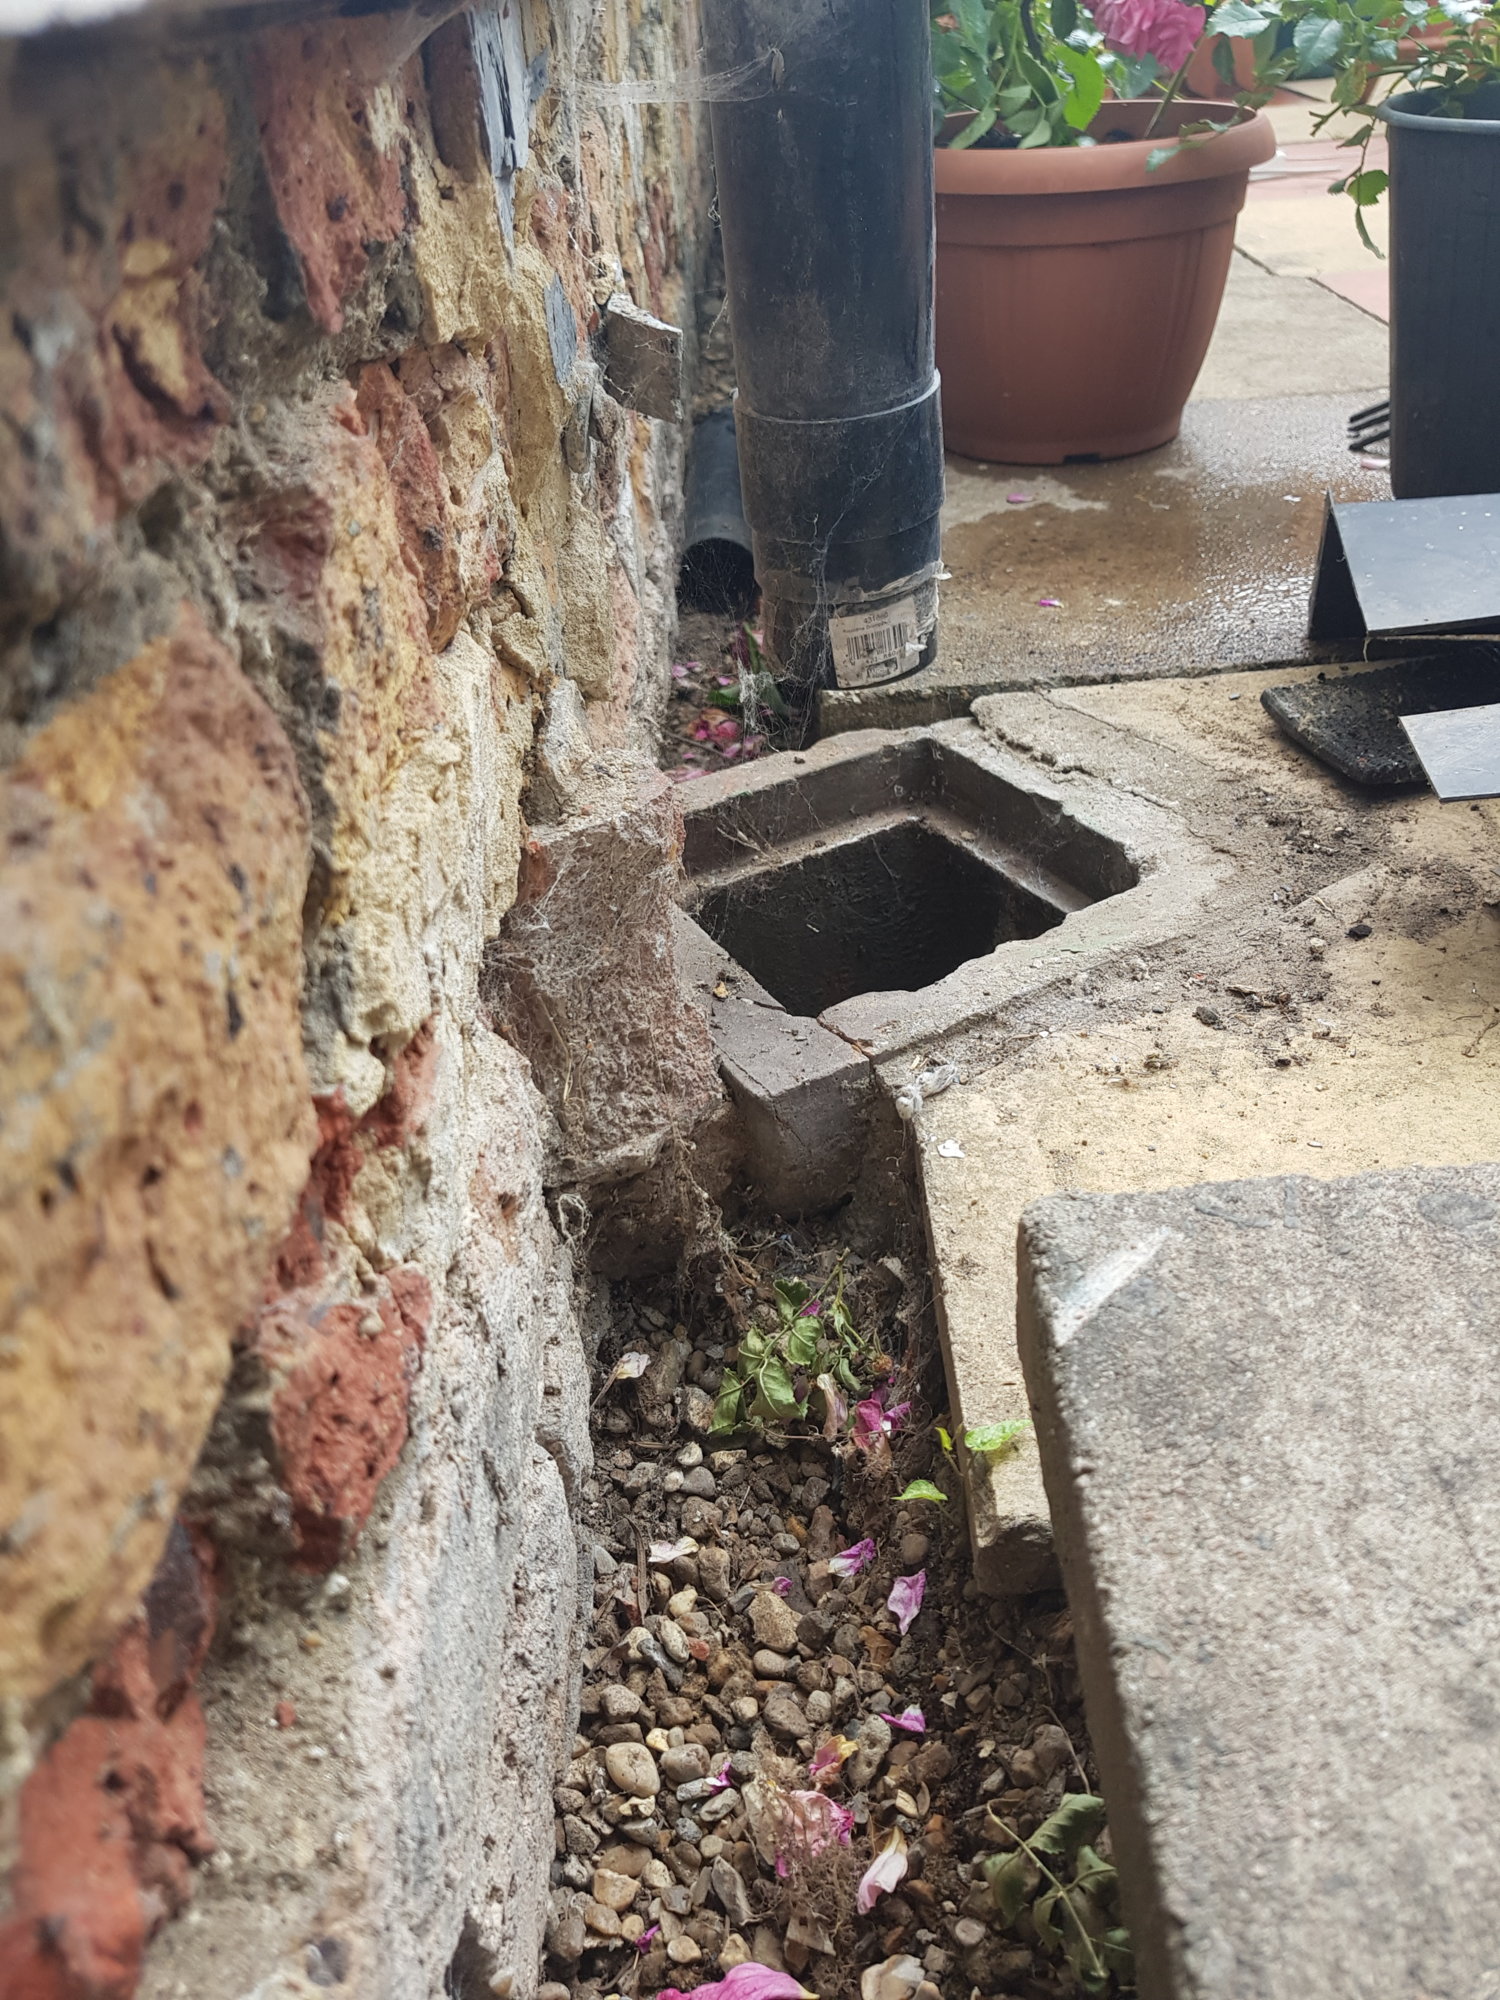
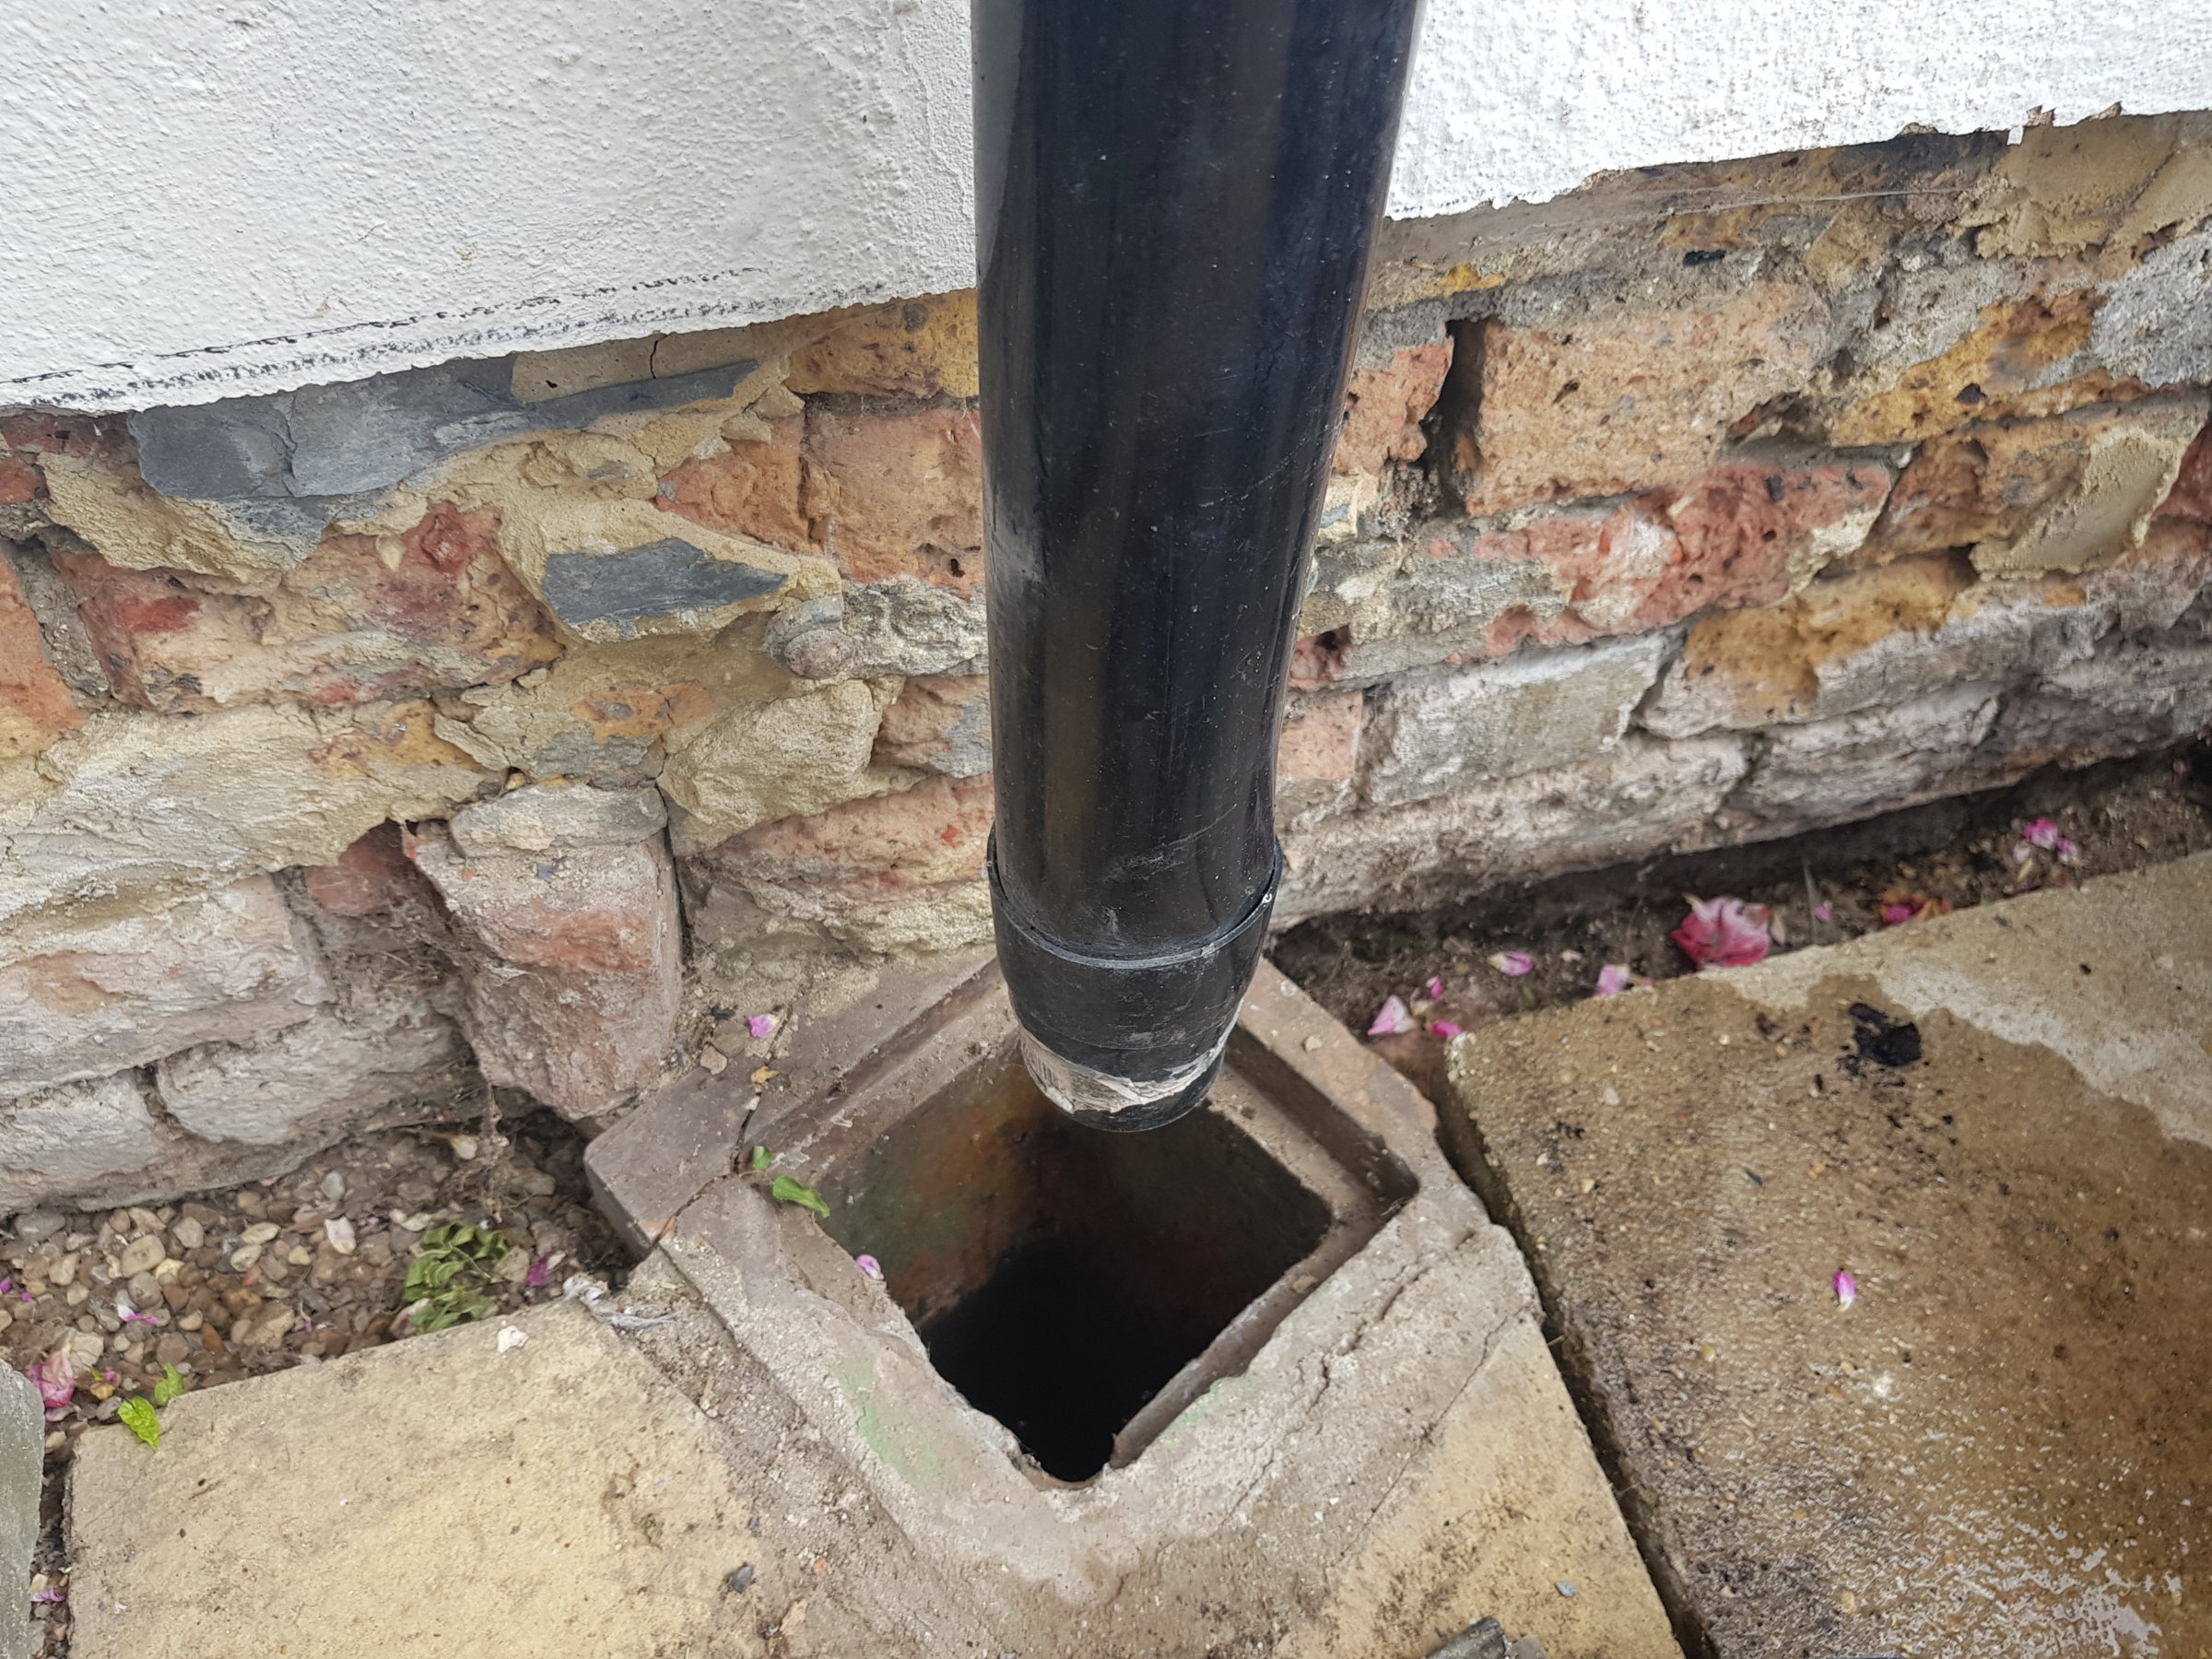
I now want to install aco drains along this channel so the water doesn't just sit in the gully, and then re-render down to the DPC. However, I'm not sure how to connect the aco drains to the existing hopper, which i don't think i can cut into with out breaking. I don't want the aco drains to protrude above the patio floor.

Any advice? I'm not sure what the hopper connects to without digging up the patio, so am reluctant to take it out and replace. Had a guy who said I could just cut into it with an axle grinder, I didn't take him up on that.

Thanks

full

full

full
 
Sponsored Links
It will be an awkward connection because of the angle your gullys at.

The bottom of the pipe will be level with the top of the water in it so shouldn't be too deep of a dig.

I think you will have to either bodge it like the guy says or get the shovel out, you really want a 4" trap under the outlet to catch any silts then connect into the drain further down.
 
Thanks Ian. Yeah I think the gully probably needs to be replaced if we do fit the channels. Do you know what model fits onto an aco / channel drain ? Also how will I fit it to the existing pipe below the gully?

Tbh I may be a bit of my depth with this one and am thinking may be better to try and find someone who could do the job for me. Stupid question, but would i contact a plumber or drainage specialist or patio fitter (?!) for this kind of thing? And how much do you reckon I'd be looking at (inner London)? Thanks very much :)
 
I would swap the gully for an Osma 4d900, run that about a meter to a small inspection chamber.

Then a pair of these under the aco outlets:
E8B1B3C9-5366-40F3-99B1-D3463960F4A0.png


So it looks like this:
FC103C7E-0650-4D8D-BFF7-FD0AF2C4D14B.png
 
Sponsored Links
Or it would be easier to put a single gully (as above picture) under the rainwater pipe and combine that with a single outlet on the aco. Like this:

315705A5-7FD7-4AB3-97DA-512CDE5F1B7B.png


£250 up north, so maybe £1,000,000ish in London ;)
 
I can't quite be sure (as it's covered in concrete) but I think I used a Marley UG50 when I did similar:

Screenshot_20180820-181423.png


The 110mm end outlet adapters from the channel drainage fit into the 2 side inlets, you'll need a few plastic bends, a length of 110mm pipe and a plastic to clay adapter to join the new gully to old pipe and an angle grinder to cut the pipe. Most of the modern channel drainage is plastic and needs to be bedded on (dry) and surrounded by (wet) concrete.
Not a hugely difficult DIY project but expose it all first before you disturb anything or buy the bits as drains can do weird things underground. Buy a good selection of bends (Toolstation, Wickes etc) as it's hard to judge the angles you'll need and return what you don't use.

Even if you get someone in, (drainage specialist or probably a competent builder would be cheaper for a simple job) digging it out yourself should save you a few pounds and get you a better quote as he won't have to guess what's underground.
 
cdbe is showing the rightfittin for the job. side entry is the way to go.

op, but your troubles dont end ther.
i can see what looks like a slate DPC in the very bottom visible mortar bed. this means your yard an patio ffl have been raised well too high.
an you should go back down 150mm below the slate DPC for the new patio level for a first class job.
that probly wont happen but yove got to stay below the DPC with ground level to give yourself a chance.

your brick faces are spelched an the pointing is rubbish. the lower wall will suck in moisture. the render was originaly applied to protect solid walls of very poor quality briccks.

guessin that youve got a solid floor inside means thers probly still damp.

in the photo why is the down pipe unclipped ? the pipe should be closer to the wall an angled out at the last minute just above any gulley.
 
Thanks for the helpful advice all.

@cdbe - I think the Marley UG48 looks like the one i need for a straight channel along the walls - https://www.blanchford.co.uk/shop/marley-drainage/604-450mm-ring-seal-5011141050545.html

I reckon i could possibly do this myself now. So in theory I would need:
2 hex to 110 adaptors to go into the gully
2 hex end caps at each end
X metres of aco hex channel drain - are these easy to cut to size?

Anything else for the bottom of the gully - just a 110 pipe and then connect that somehow to the existing clay pipe (if there is one!) ? The guide is here, hard to know as not sure what is under my current hopper - I've no idea where it drains to at the moment!
https://www.marleyplumbinganddrainage.com/media/5425/gully-combinations.pdf

@bobasd - yeah aware that the bricks are gonna need re-rendering and that the patio is too high (unfortunately not something I can afford to deal with at the moment). You're right it was causing damp but fairly minor, I am hoping that proper drainage away from the bricks will help rather than the shingle ditch that is currently there (and a lime render over the bricks - concrete previously was trapping moisture)
 
No, I don't think that's quite right - the UG 48 looks like just a hopper so will need to sit on a separate gulley (and the 2 inlets aren't large enough for the channel adapters). The second one is a gulley but only has two connections - you need three - two side inlets for the channel and one out the front to the drain. It should become a lot clearer if you dig it all out - then sit down and have a look at it all, including your levels, pull some images of various gulleys etc on your phone and you'll work it all out. Screwfix sell a (floplast) channel system that might be cheaper/easier to get hold of than the genuine Acco stuff, easy cut with the grinder.
 
Ah cheers, obviously I need to do a bit more reading up on difference between hoppers and gullys! Just found a great site called paving expert, which is helping me understand how it all works.

With the hoppers/gullys I linked seems I (wrongly) assumed I would be able to connect the linear channels directly into the sides of those but if I understand what you’re saying it is better to fit a bend from underneath the channel drain into a bottle gully? Then the gully drains away into my existing drainage system via a pipe coming out the front?

Will dig up and see what’s down there at the weekend before making any purchases.

Thanks a lot for your help, much appreciated.
 
The drainage channel should connect directly to a UG50 type gulley using the appropriate 110mm adapters for your channel:

Screenshot_20180821-155703.png


If you can follow my picture this is what you're aiming for:
15348638655781001059939.jpg
 
Awesome, that makes sense, thanks. I've never seen a manhole in my back garden so have no idea where this even drains to...!
 

DIYnot Local

Staff member

If you need to find a tradesperson to get your job done, please try our local search below, or if you are doing it yourself you can find suppliers local to you.

Select the supplier or trade you require, enter your location to begin your search.


Are you a trade or supplier? You can create your listing free at DIYnot Local

 
Sponsored Links
Back
Top