Bathroom Ceiling Advice

Joined
20 Feb 2009
Messages
87
Reaction score
0
Country
United Kingdom
I am in the process of overhauling my bathroom.

I originally had a separate bathroom and toilet but have removed the partition wall between them to make a large bathroom area.

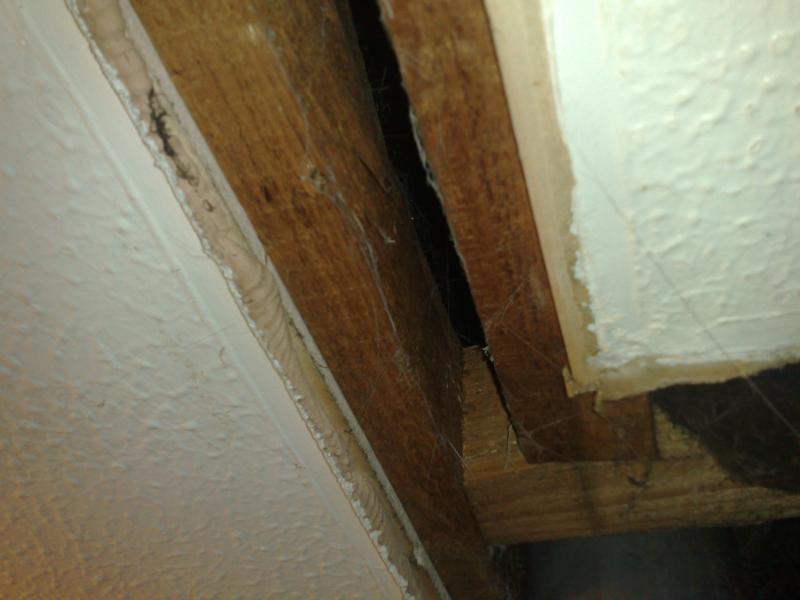
The ceiling now has a long length of missing plasterboard where the stud wall was. The ceiling for the rest of the bathroom has a sort of stippled effect. (I will post a photo up later on when I get back home). It looks like some sort of loose plaster mix that has drips if that makes any sense.

My plan is to replace the two original light roses in the room with downlighters.

If I fill the gap with a length of suitably cut plasterboard should I then try and recreate this stippled effect? If so, how easy is it to do and how would I do it?

Or would the best option be to remove this layer somehow (steam it off?) and plaster the ceiling and paint over?

I appreciate that without seeing the ceiling it's probably harder to give out advice but I'd appreciate any suggestions until I can post up some pics tonight.

Thanks in advance,

Daz
 
Sponsored Links
Sounds like you're describing artex. You'll never patch it up without noticing it. As long as it's sound, and rather than try to steam it all off, knock off any extra long "drips", give the whole ceiling a coat of PVA, and skim it over with plaster while the PVA is still wet/tacky. Don't forget to tape over any new joints in the ceiling, if you're adding new areas of plasterboard.

"Never plaster onto dry PVA."

For the plastering,,,, a tight coat of Bonding first,, let it set, then a couple of coats of multi finish.
 
As RC says, you’ll never match the Artex, let in a closely fitting piece of plasterboard to repair the ceiling & get it skimmed. You should consider getting in a professional to both repair the ceiling & skim the Artex as, without experience, it’s extremely unlikely you will make even a ½ decent job of it. An experienced spread will know exactly what to do & will make a perfect job of it.

Light fittings in a bathroom must be suitably rated;
http://www.toplightco.com/acatalog/Zones___IP__ingress_Protection__Ratings.html

Any additions or alterations to the electrics must be done by a Part P registered electrician, tested & certified compliant.
 
Thanks for the replies.

I'll post a photo up later just to be sure it's the finish you describe (which I'm pretty sure it is!).

Thanks,

Daz
 
Sponsored Links
as the above but regarding the electrics, it does come under part p of the building regulations as it's deemed that bathrooms are special locations.
This must comply to part p and building controls be informed, there are number of ways this can be done.

1)You can use an elactrician that is registered with a domestic installers scheme, they can sign it off.

2)You can use an electrician that is not registered, they can apply to building controls and building controls sign it off.

3)You can DIY it, but you must apply to building controls prior to starting work, and building controls will sign it off.

there will be a fee charged by building controls.
http://www.competentperson.co.uk/
//www.diynot.com/wiki/electrics:part_p
 
Is the general rule of thumb to initially use a 'Bonding' coat prior to 2 multi-finish coats on artex ceilings? Or only use a Bonding coat if the artex pattern is quite 'raised'
 
I have attached a couple of photos of the ceiling:


Is the best course of action still to skim over with plaster?

Thanks,

Daz

That's stippled artex. Impossible to patch,,, but so easy to skim over. Patch in the missing areas of plasterboard,, fill in any gaps with filler,, tape the joints properly, (i'd put on a double thickneses of tape),, PVA the ceiling/let it dry, then PVA again and skim while wet/tacky. I'd put on a coat of bonding first, to cover the artex, then multi finish, but that's up to you.
 
Is the general rule of thumb to initially use a 'Bonding' coat prior to 2 multi-finish coats on artex ceilings? Or only use a Bonding coat if the artex pattern is quite 'raised'

I use bonding coat initially, regardless of whether the artex is shallow or deep,, then i skim with multi finish.
Always PVA over the artex first, as in the reply above, then plaster onto it while it's wet/tacky.
 
With those joists, you have the ideal situation for a nicely supported inlay (fix only with screws) with minimal chance of cracks appearing. Run a flat bladed spade hard over the ceiling to knock the peaks off the Artex which flattens the pattern & breaks through the paint on the high bits to allow a better bond for the plaster, fill out the inlay repair with Bonding Plaster before skimming the entire ceiling; otherwise everything as mikegm & RC advise.
 

DIYnot Local

Staff member

If you need to find a tradesperson to get your job done, please try our local search below, or if you are doing it yourself you can find suppliers local to you.

Select the supplier or trade you require, enter your location to begin your search.


Are you a trade or supplier? You can create your listing free at DIYnot Local

 
Sponsored Links
Back
Top