UPDATE
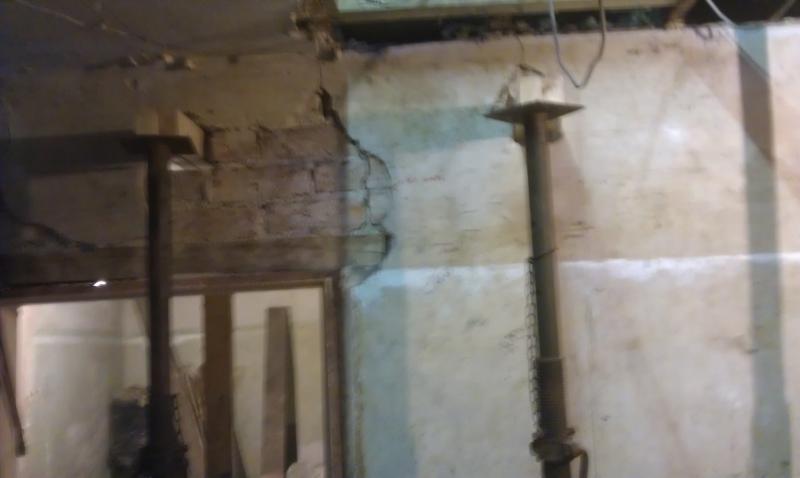
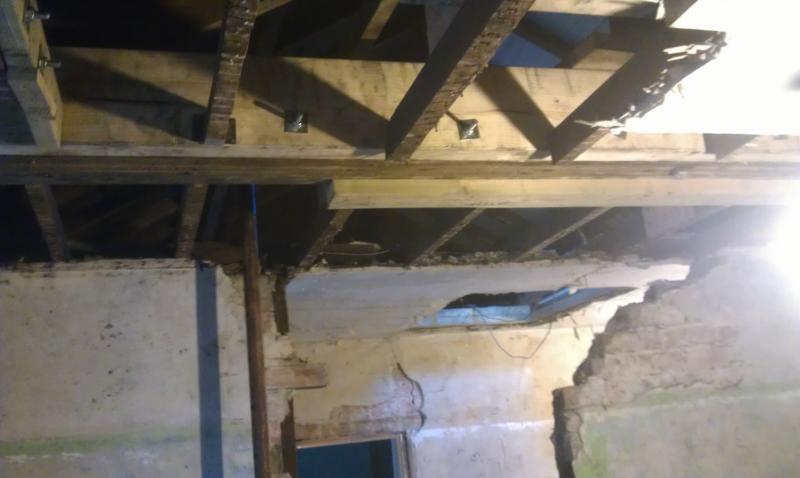
Centre cracked bit of wall gone
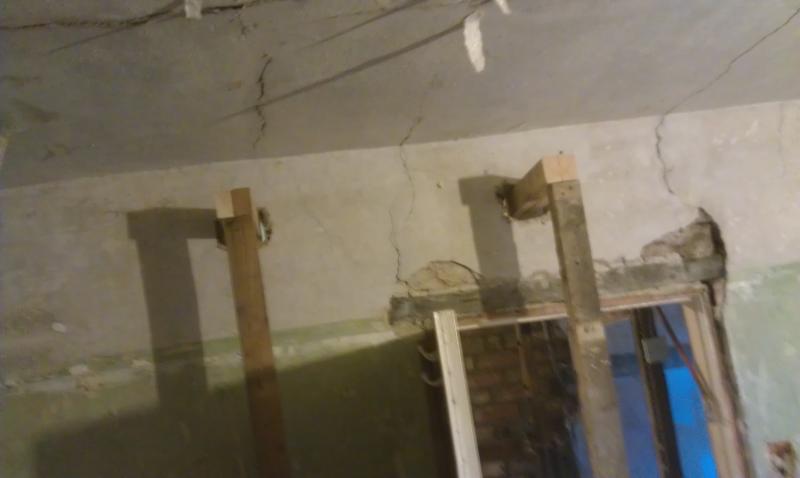
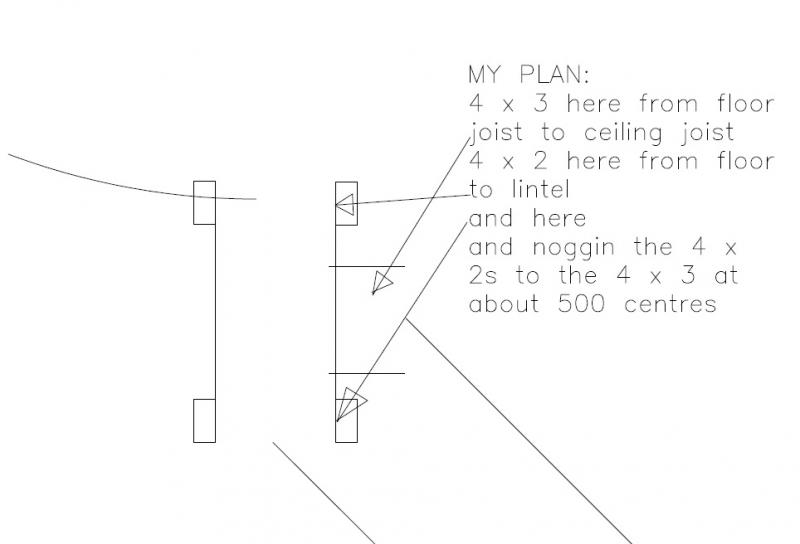
 Propping detail
More propping detail
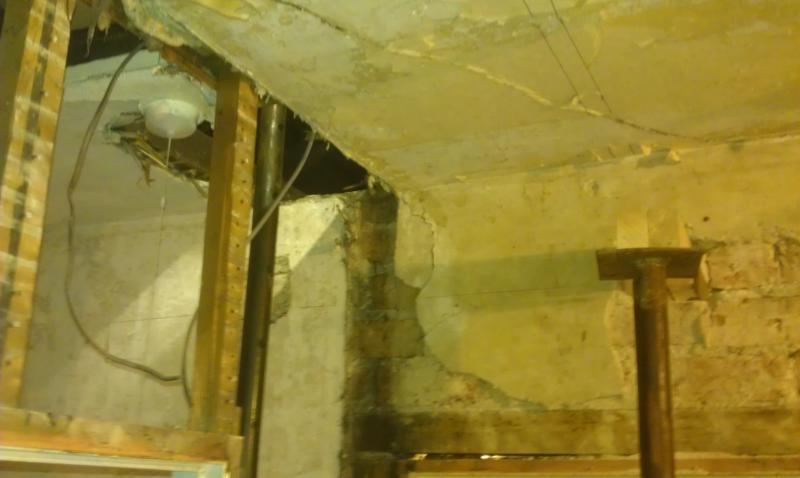
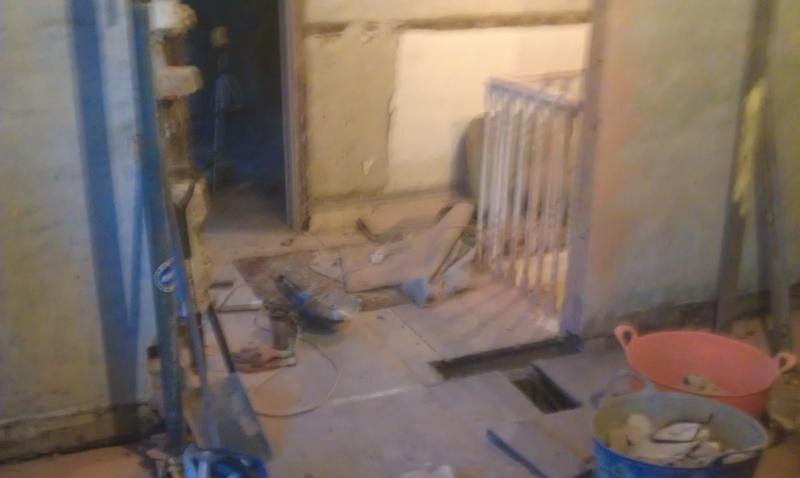
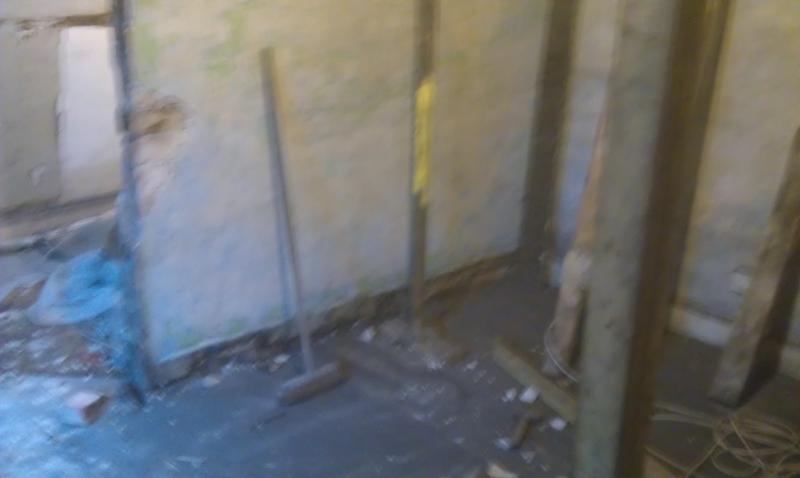
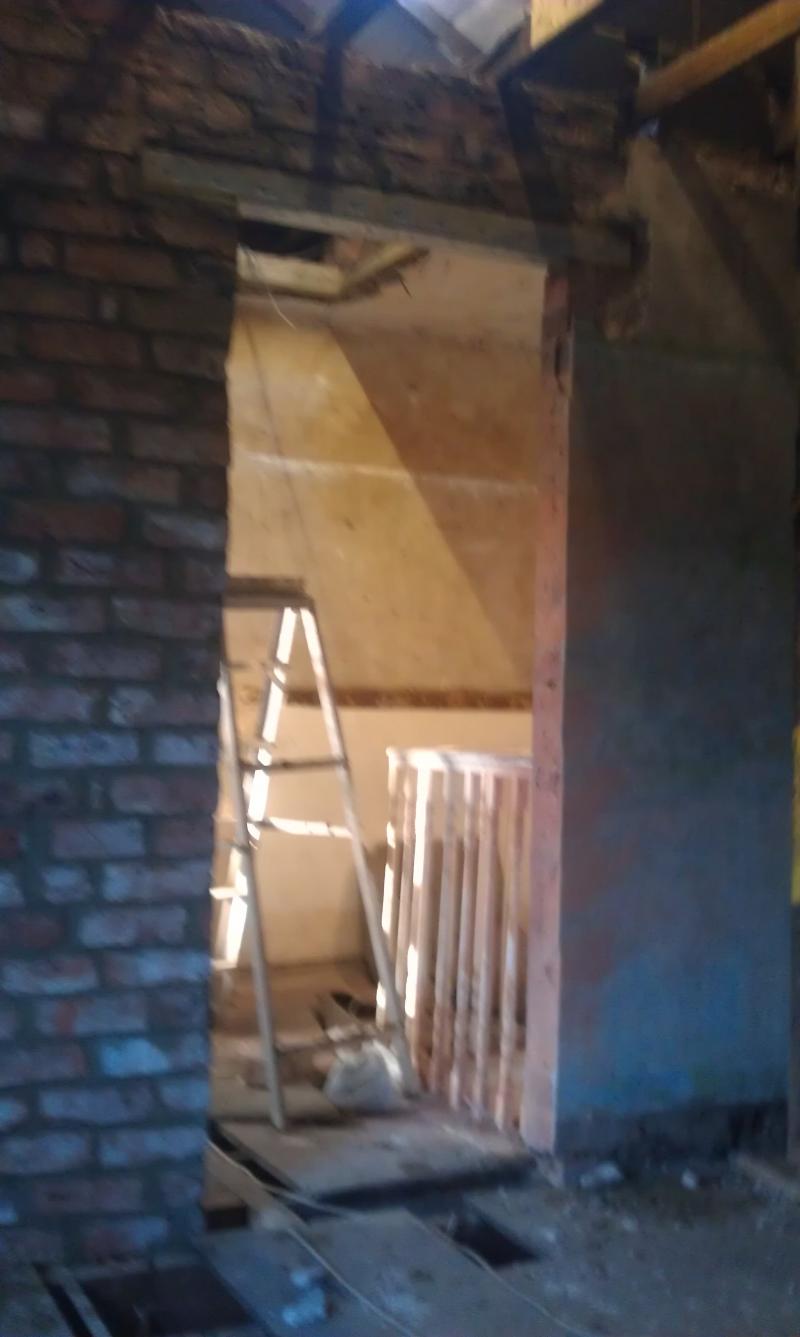
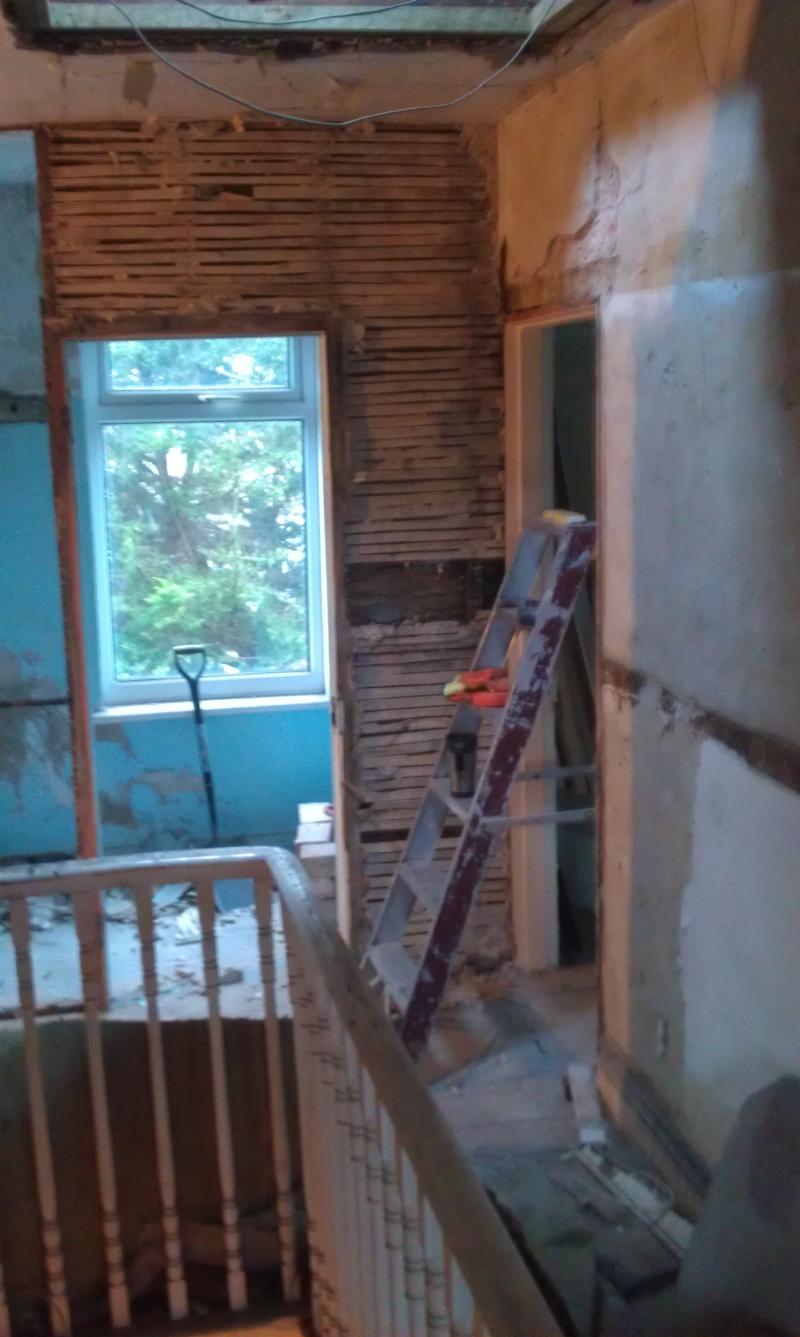 Half dismantled cloakroom
Pressing on steadily. By the time it got dark yesterday the RH wall was cut out to the new door position, gauge lines marked and all ready to go. But it seemed a bit antisocial to run a mix at 6pm, never mind cutting slips up with the anglegrinder.
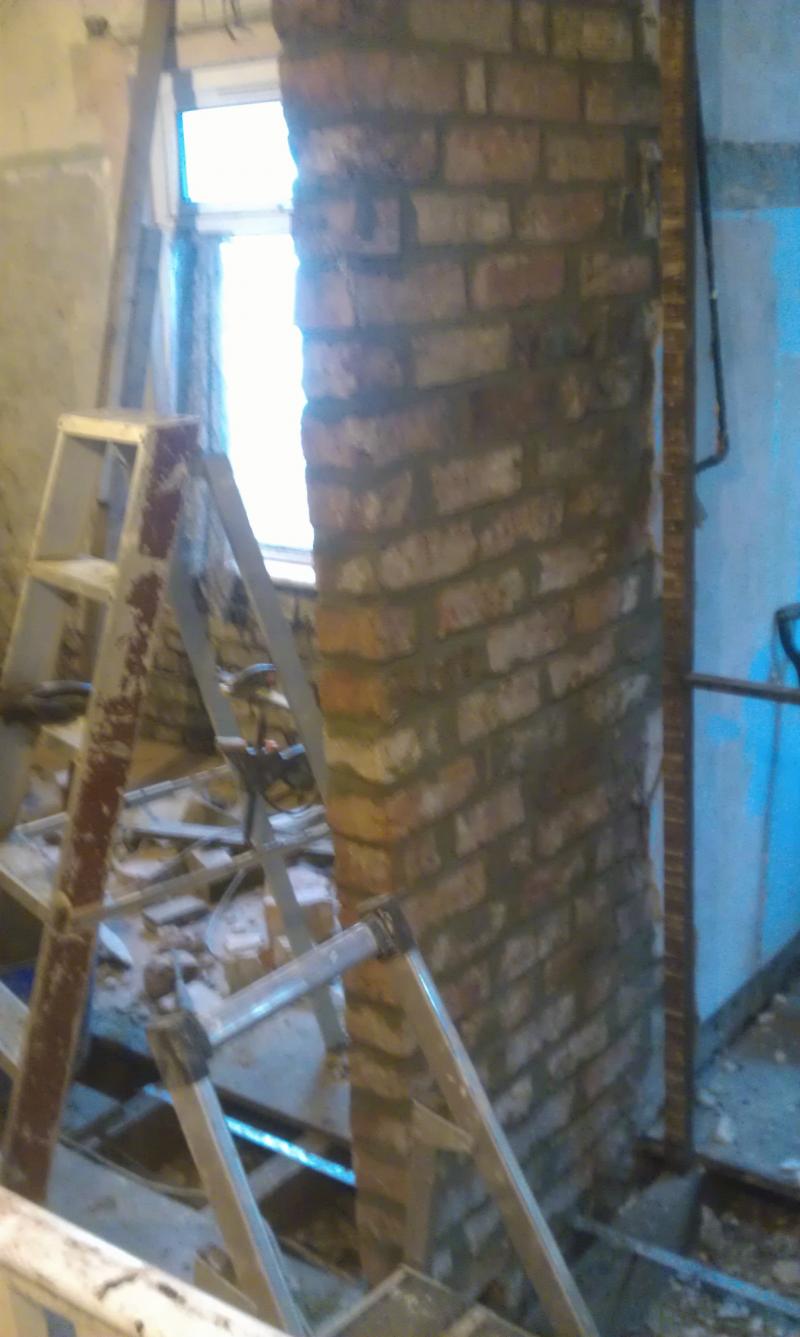
 Fairly straight cut wall- door set will hide the dodgy bits
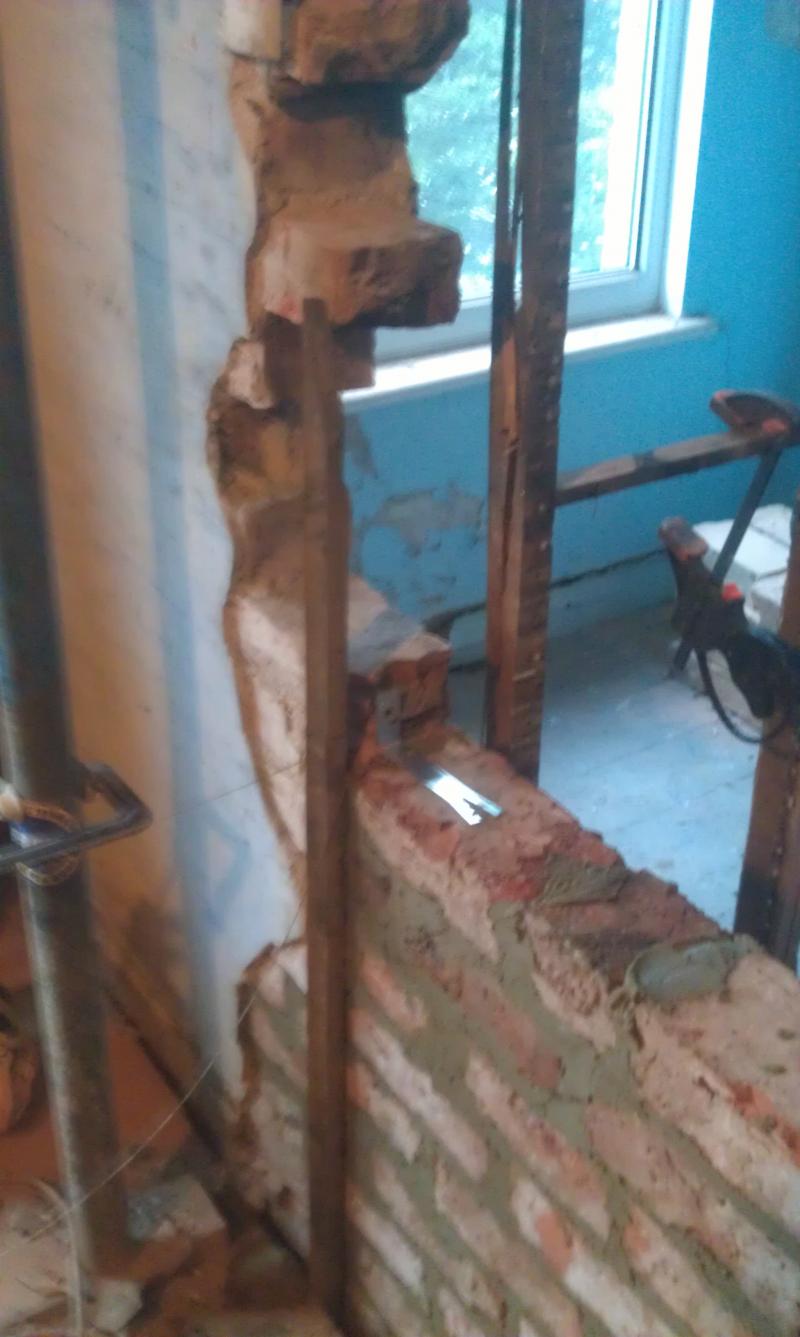
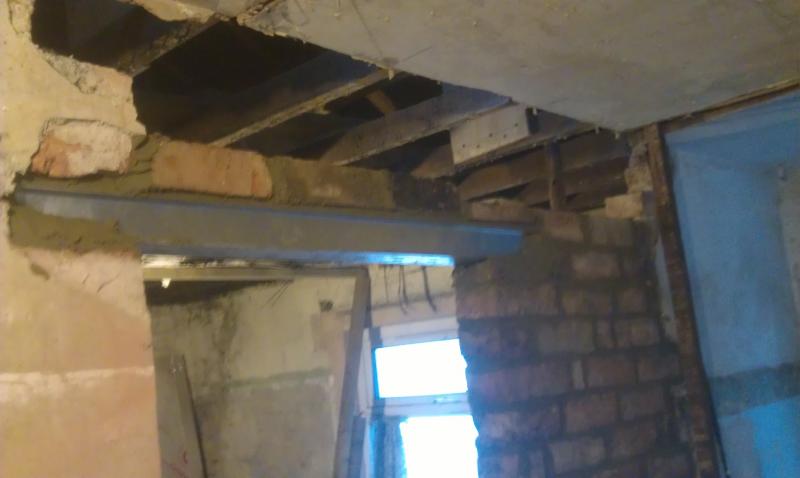
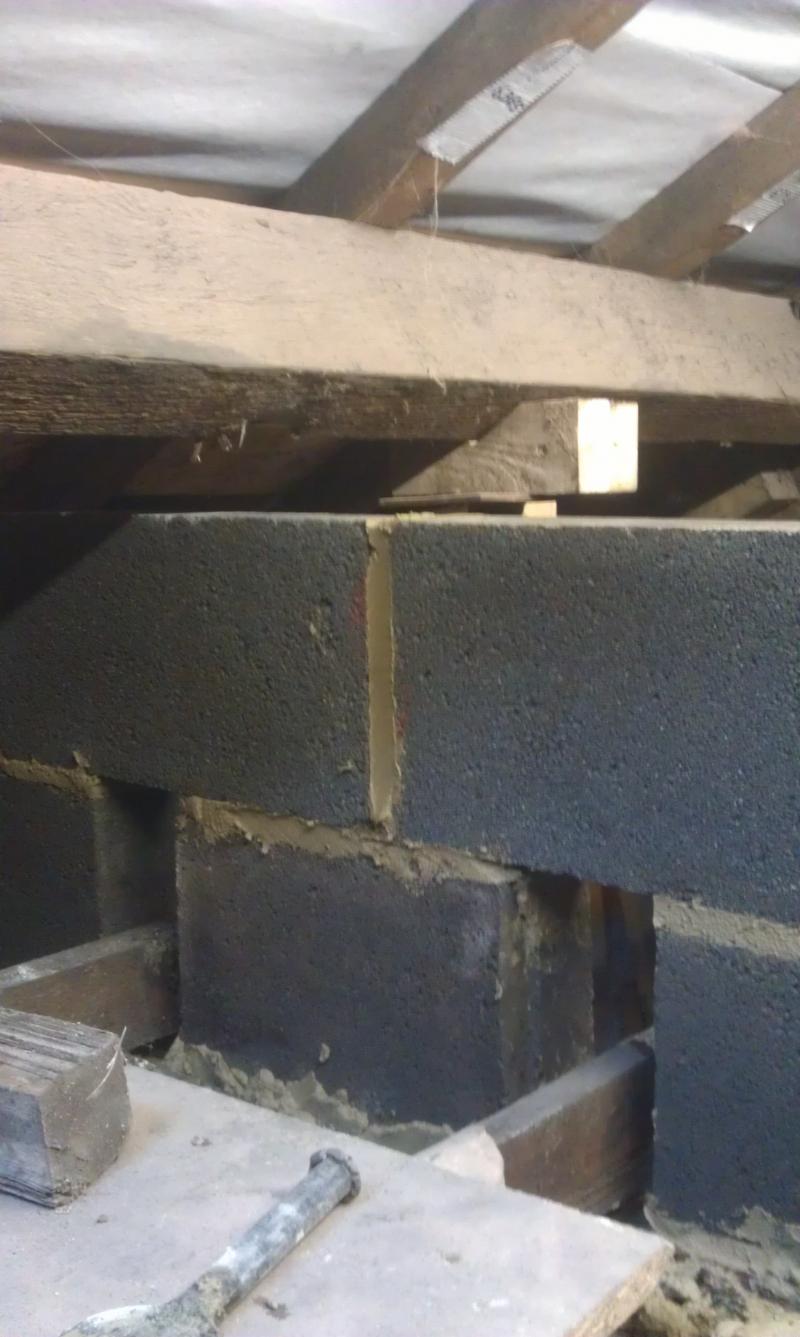
 Even bigger gap now (the brick sticking out will be cut out to form the lintel pocket)
So, today was all about wall up to lintel height (once it had got above freezing. Have some pics, ta for the interest
Tomorrow's plan- cut out that sticking out brick, chuck the lintel in, keep putting bricks down til I reach the joists/purlins. Did contemplate replacing the 200 year old 4 x 1s but they're in decent nick (apart from the outside 2 which are getting replaced), I'm not planning on storing much in the roof (its a twin ridge job so not a lot of headroom, even less once I've stuffed 300mm of insulation up there) so decided to leave them be. They are amazingly sturdy for such skinny sections.....
Centre cracked bit of wall gone
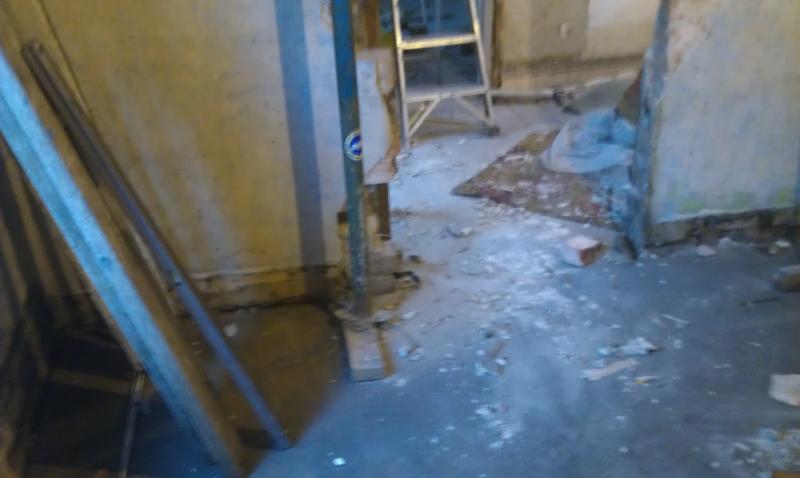
Proppage
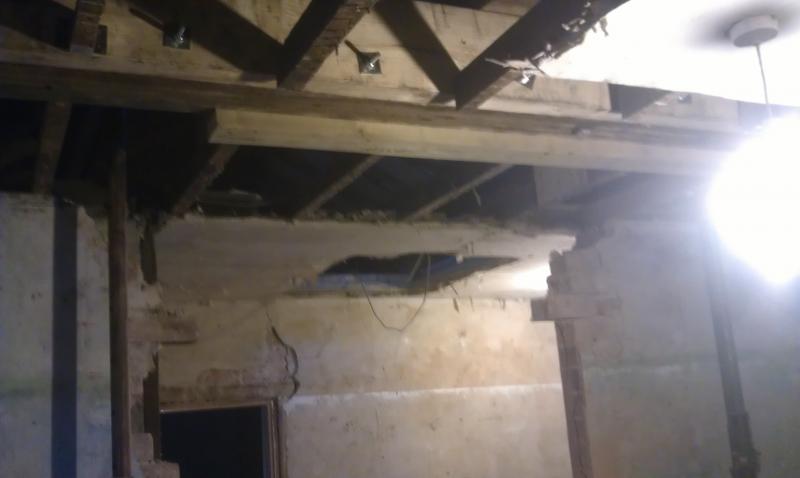
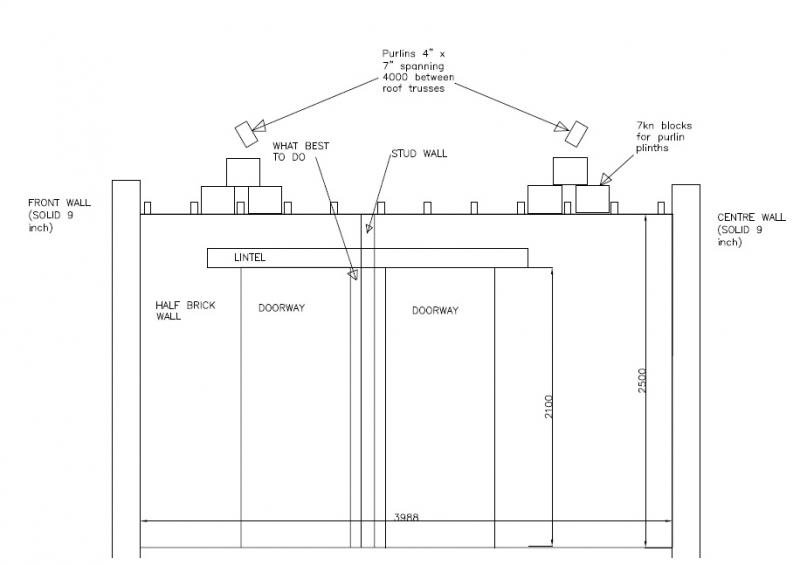
Floor joists run front to back- weird since the ceiling joists run side to side.
More propping detail
Pressing on steadily. By the time it got dark yesterday the RH wall was cut out to the new door position, gauge lines marked and all ready to go. But it seemed a bit antisocial to run a mix at 6pm, never mind cutting slips up with the anglegrinder.
So, today was all about wall up to lintel height (once it had got above freezing. Have some pics, ta for the interest
Cramps
Even remembered to put a couple in- that wall is up to lintel height now but I forgot to take...
Tomorrow's plan- cut out that sticking out brick, chuck the lintel in, keep putting bricks down til I reach the joists/purlins. Did contemplate replacing the 200 year old 4 x 1s but they're in decent nick (apart from the outside 2 which are getting replaced), I'm not planning on storing much in the roof (its a twin ridge job so not a lot of headroom, even less once I've stuffed 300mm of insulation up there) so decided to leave them be. They are amazingly sturdy for such skinny sections.....


") )
)