flexible braided hose to connect 15mm isolator tap to fill valve?

Joined
11 Apr 2022
Messages
668
Reaction score
127
Country
United Kingdom
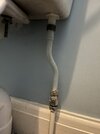
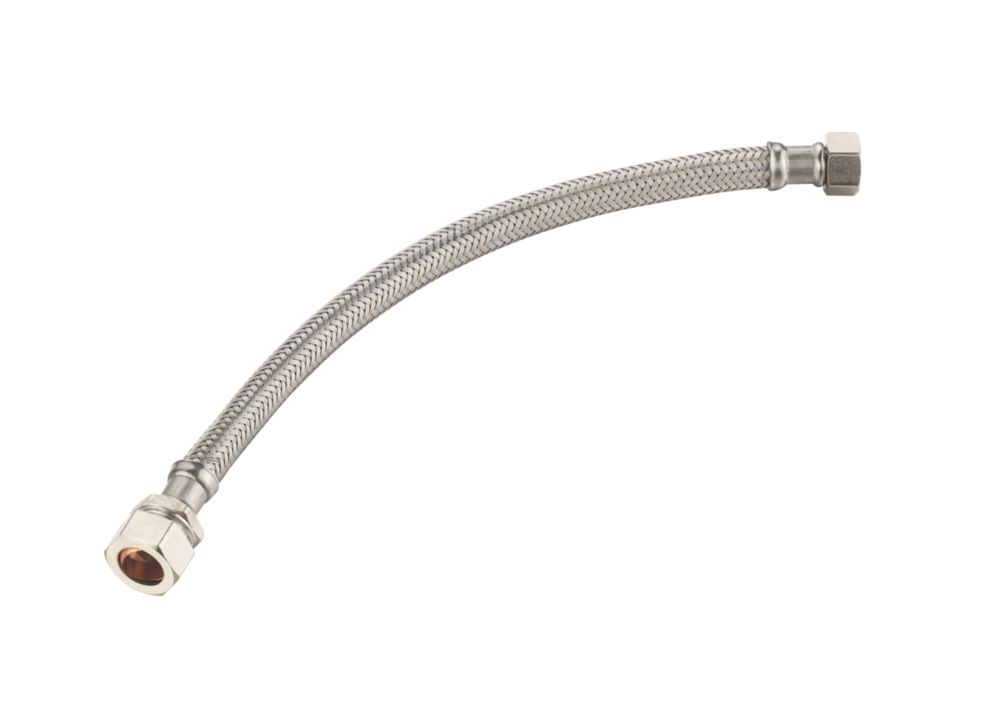
I am installing a new fill valve to a cistern but I can not find anywhere that can supply a 30cm braided hose that will fit the fill valve and the isolator tap as per pic, I am replacing the copper hose in pic. Anyone know where online I can get the hose?
 

Attachments

  • IMG_2715.JPEG
    IMG_2715.JPEG
    238.1 KB · Views: 72
Sponsored Links
Sponsored Links
This is what you need.

Andy
But it wont fit. The fill valve is 3/4" and the isolation valve looks like a 1/2" thread. I need one of these but with a 3/4" at one end and 1/2" at the other, I think.

EDIT: Actually I think the pic is exactly what I need and I see Screwfix have them.


ae235.jpeg
 
Last edited:
But it wont fit. The fill valve is 3/4" and the isolation valve looks like a 1/2" thread. I need one of these but with a 3/4" at one end and 1/2" at the other, I think.

EDIT: Actually I think the pic is exactly what I need and I see Screwfix have them.
Be careful when screwing a female fitting onto a compression end fitting, as is on the isolation valve, very easy to cut into the washer and then it will leak. The others are suggesting you either cut the pipe coming out of the ISO valve and then attach the compression ended connector onto the stub that's left, or remove the old ISO and use the ISO fitted flexi hose.
 
But it wont fit. The fill valve is 3/4" and the isolation valve looks like a 1/2" thread. I need one of these but with a 3/4" at one end and 1/2" at the other, I think.

EDIT: Actually I think the pic is exactly what I need and I see Screwfix have them.


View attachment 292899
Neither valve tail or isolation valves threads are 3/4 ,both are 1/2 inch BSP thread.
 
Why replace the copper?
1. Turn the water off on the isolation valve.
2. Empty all the water from the cistern.
3. Undo the nut securing the copper to the threaded shank of the fill valve.
4. Undo the white plastic nut securing the inlet valve to the cistern and remove the old valve.
5. Fit the new valve, leaving the securing nut a bit loose.
6. Fit a new 1/2 fibre washer to the tap connector at the cistern end of the copper pipe. Make sure you remove all traces of the old washer.
7. Screw the nut onto the threaded shank of the new valve, making sure you don't cross thread it. Screw it on about 4 turns.
8. Tighten the new valve's securing nut making sure the valve doesn't swivel inside the cistern.
9. Tighten the tap connecting nut onto the end of the shank. Firm finger tight plus about 1/2 turn.

No flex hose to worry about and save some money!
 

DIYnot Local

Staff member

If you need to find a tradesperson to get your job done, please try our local search below, or if you are doing it yourself you can find suppliers local to you.

Select the supplier or trade you require, enter your location to begin your search.


Are you a trade or supplier? You can create your listing free at DIYnot Local

 
Sponsored Links
Back
Top