Help: Reconecting microbore to TRV (pix inside)

Joined
16 Jun 2006
Messages
2
Reaction score
0
Location
Glasgow
Country
United Kingdom
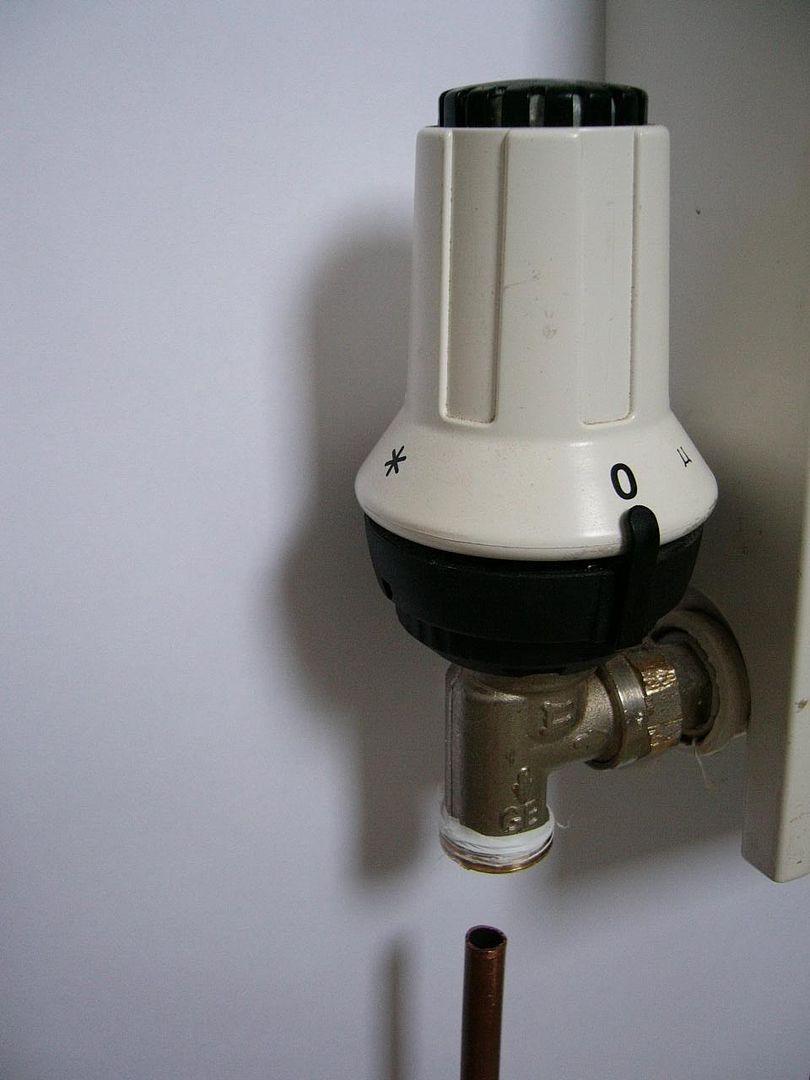
The radiator in my bathroom was removed in order to tile behind it.
It was disconnected at the 8mm microbore pipe end of the TRV instead of
the radiator end. After the radiator was reconnected, each time there
was a very fine leak from the pipe end of the TRV. I have now been left
to sort this problem out :cry:

I've had experience plumbing with 15mm copper pipe & compression
fittings but not with this thin stuff!! Im looking for suggestions on
how best to connect the 8mm pipe with the 15mm nut of a danfoss TRV


P1000829.jpg


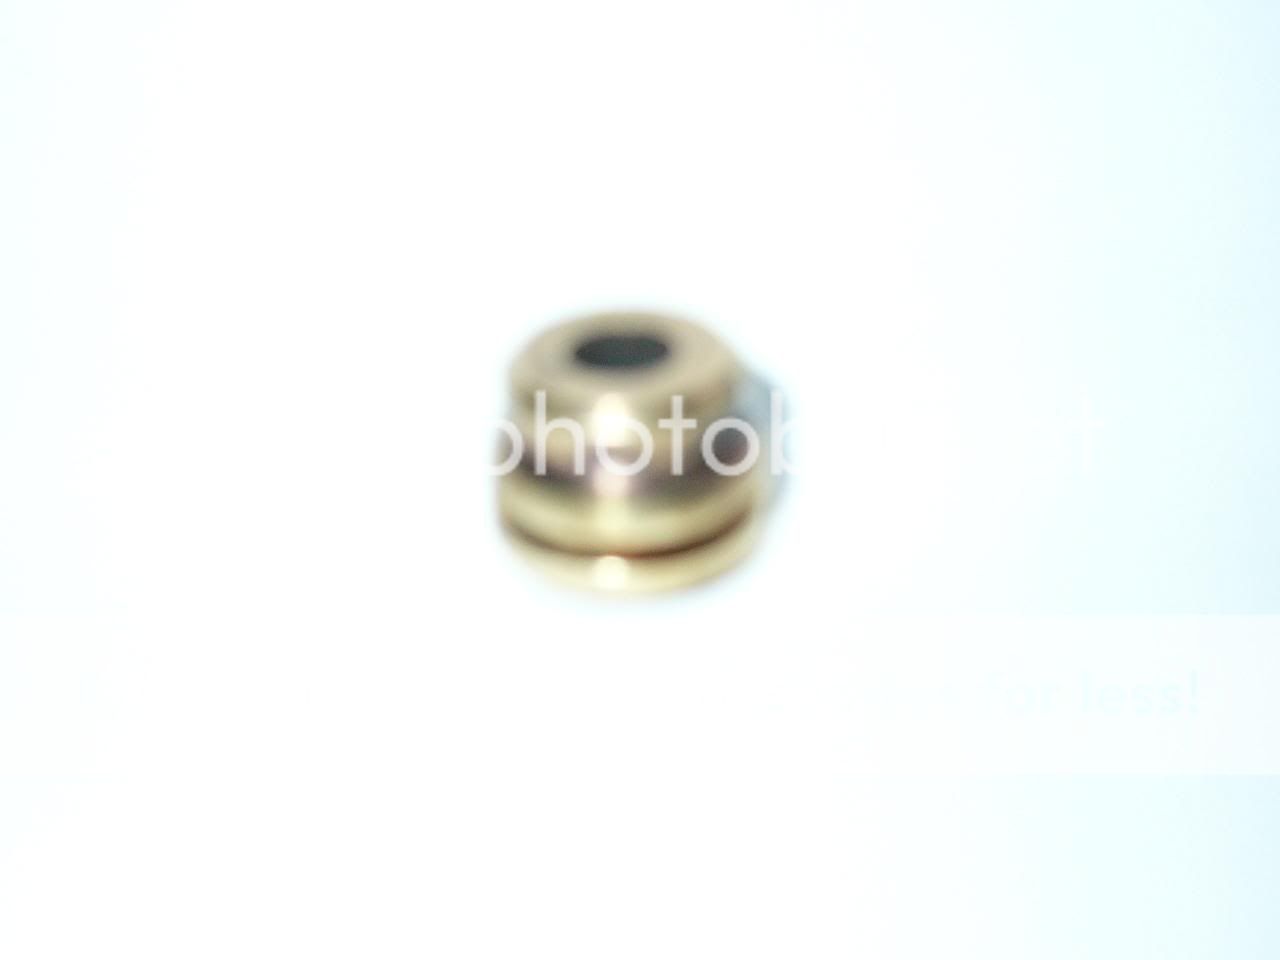
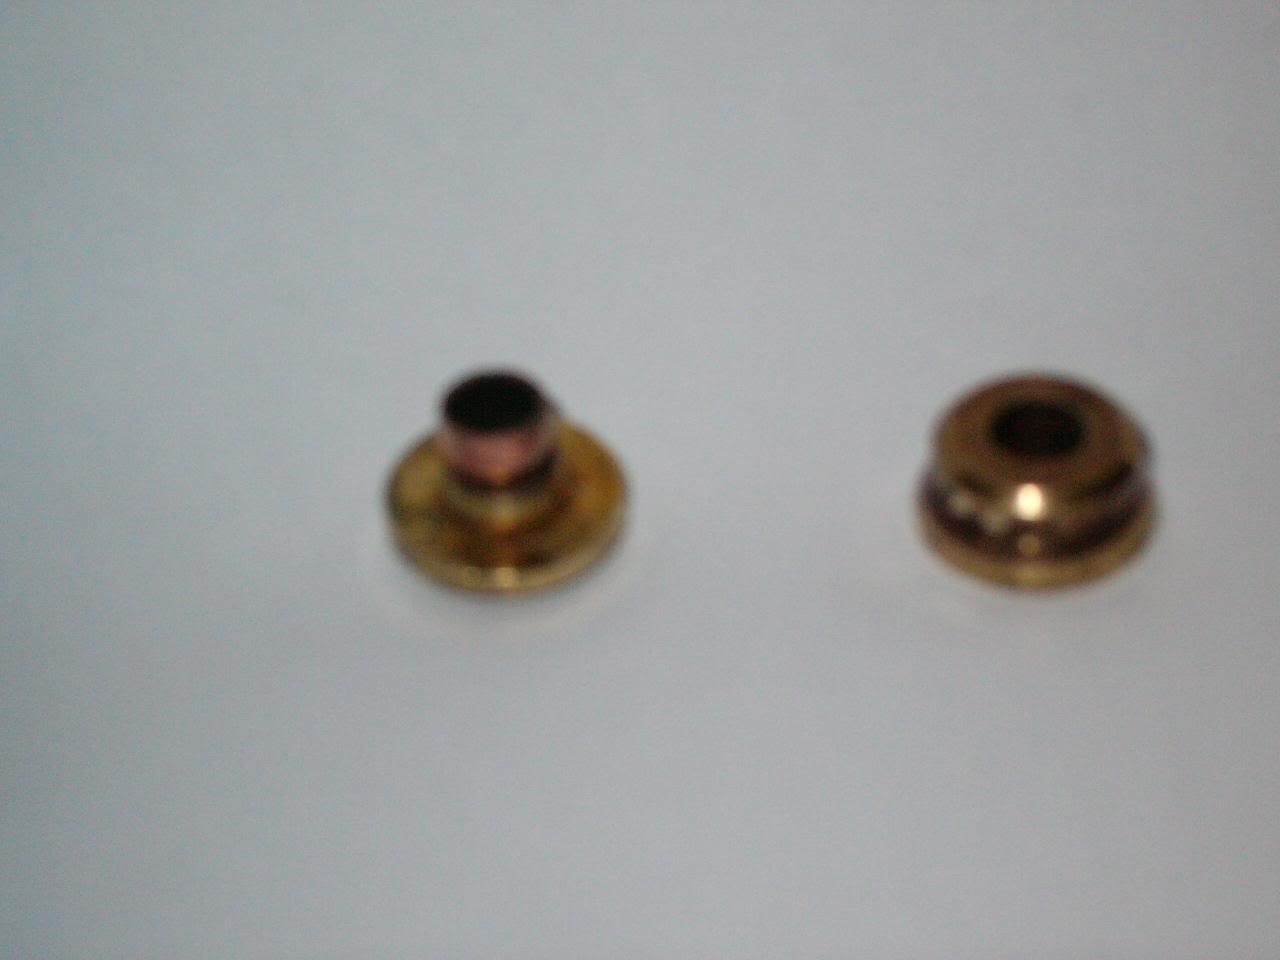
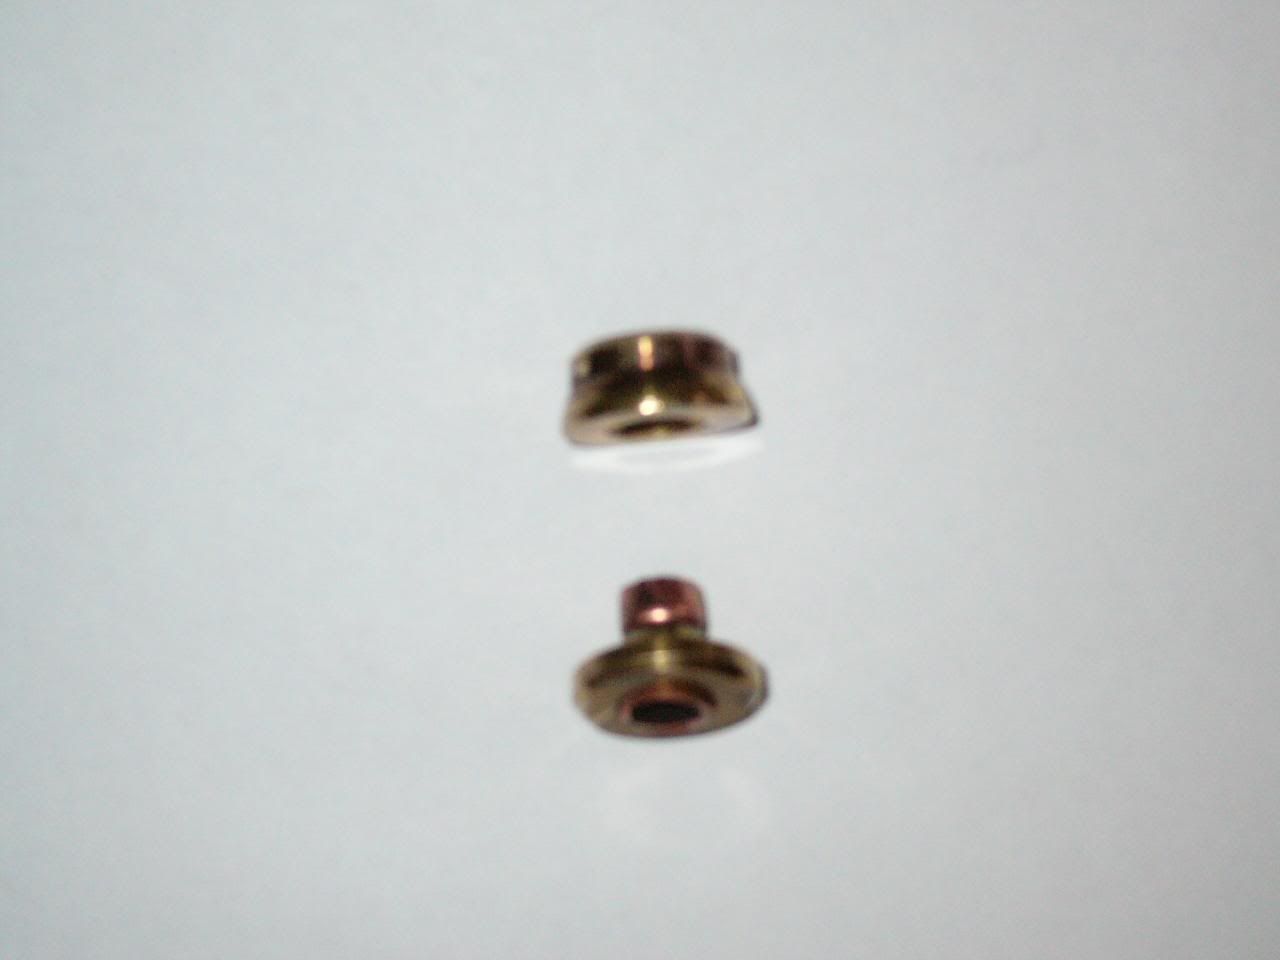
The original pipe had this fitting on the top- can anyone tell me what this
is called and if I should use another one of these or just buy a completely
new TRV or is there a more obvious/better way to connect this pipe???

Any help would be gratefully appreciated!

P1000831.jpg


P1000835.jpg


P1000837.jpg
 
Sponsored Links
I would suggest that you need some 15mm copper tube and a 15mm to 8mm compression reducer. You quite simply connect the 8mm side to the 8mm microbore fill the gap from the reducer to the TRV with the correct length copper tube and tighten. You may want to use a new olive on the bottom of the TRV and some plumbing sealant on all the compression nuts and olives, wipe off once tightened.

Looks from here as though you will need to trim back the microbore before connecting on...!


:D :cool: :D :cool: :D
 
I hope you haven't paid the tiler his full bill yet - discount it for the agro he's caused.

It appears the 8mm pipe has been sawn off. The brass fitting on the end is a reducing set - used to fit the 8mm pipe into a 15mm fitting.

Since the pipe will now be short and you may not be able to pull enough up through the floor in which case extend it.

Looks like the same idiots butchered the tail cap nut on the valve. All he had to do was remove the TRV head and use an adjustable spanner.

If you decide to use a reducing set (for neatness) use a two piece version (the one piece versions often leak) with plenty of sealant on the olive etc.
 
Thank you to both Beans-on-Toast & Gasguru you have been such a great help!!

I had bought 15mm to 8mm compression reducer yesterday but wasnt sure if it was a long way round for a short cut. After a wee trip to B&Q just now I have found a 3 piece reducer set.

Yeah, the pipe has been pretty much butchered- thankfully there is enough excess pipe under the floor (glad he hadn't tiled the floor :LOL:) I'm going to try both- hopefully one won't leak!!

I'm truly grateful for your help, cheers
 
Sponsored Links
Neatest solution would be to use a 15mm x 8mm end-feed socket reducer. Use it with a 15mm nut and olive. The 15mm end fits in the valve socket with the nut and olive. The 8mm end is a socket into which you solder the 8mm pipe.
 
Hi, im new to the site and have an issue which involves the same connecter shown in this thread. Ive moved into a new house, last night one of my radiators fell from the wall. After i managed to stop the water and clean the mess, I had the task of the repair. I found that the radiator was only supported by 4 x plaster board light duty fixings. Ive now strengthened the wall and re hung the radiator, im struggling to get the 8mm pipe into the fixing shown in this thread, can anyone give guidance. I have slack on the 8mm pipes and have removed the damaged section. I just cant seem to get the 8mm pipe through the fixing, any guidance is greatly appreciated.
 
Buy yourself a new 15mm x 8mm reducing set. Make sure the end of the 8mm pipe is straight and free from damage. First put the compression nut on the pipe. Enter the pipe into the end of the set that is bigger and will let the pipe go into the fitting almost to the end.

Enter the set and pipe into bottom of TRV, and keep gentle upwards pressure on pipe under set so the set remains in place in bottom of TRV and pipe remains fully inserted into set. Slide compression nut up pipe and tighten - hand tight.

Still keep upward pressure on pipe or it will slip out. Now start tightening nut with spanner, until you feel the nut go loose. After nut goes loose, tighten the pipe a little more, but don't crucify it. You can now let go of pipe.

A smear of pipe jointing compound (Boss White/Jet Blue) on outer mating surfaces of set is a good idea before entering it into TRV. If the joint weeps, tighten nut slightly more.

And no need to put PTFE tape on the TRV's thread as in photo above. Not needed.
 
Thanks for this information, greatly appreciated. I take it these fixings are a one time solution and cant be re used then. Do u know if ill get them in my local B&Q.
 
Yes, can be used only once. Not sure about B&Q. You may need to go to a plumbers' merchants.
 
Hi, I couldnt get the parts anywhere today. i ended up changing the valves for 15 to 8mm type, seemed like the next best resolve considering i was lucky enough to have plenty slack on the pipes. It worked a treat and im now back to nice and warm environment, thanks for your help :)
 

DIYnot Local

Staff member

If you need to find a tradesperson to get your job done, please try our local search below, or if you are doing it yourself you can find suppliers local to you.

Select the supplier or trade you require, enter your location to begin your search.


Are you a trade or supplier? You can create your listing free at DIYnot Local

 
Sponsored Links
Back
Top