

Hi All,
A few of the rooms in my house retain their original features (large skirting boards, plaster coving). Some of the walls and ceiling in-between these features are sound but in need of a new skim.
I’m a competent diy plasterer and not afraid to tackle the walls or the ceilings, but in my previous goes at plastering the skirting or coving has been added afterwards.
As I want to keep the original skirting and coving I was hoping you’d all be able to give me some tips or pointers on how to plaster up to the features??
The only thing I’ve found on the search is to use a feather edge to thin out the edge of the skim where it meets the skirting.
Thanks for your time.


 are you left handed ?.
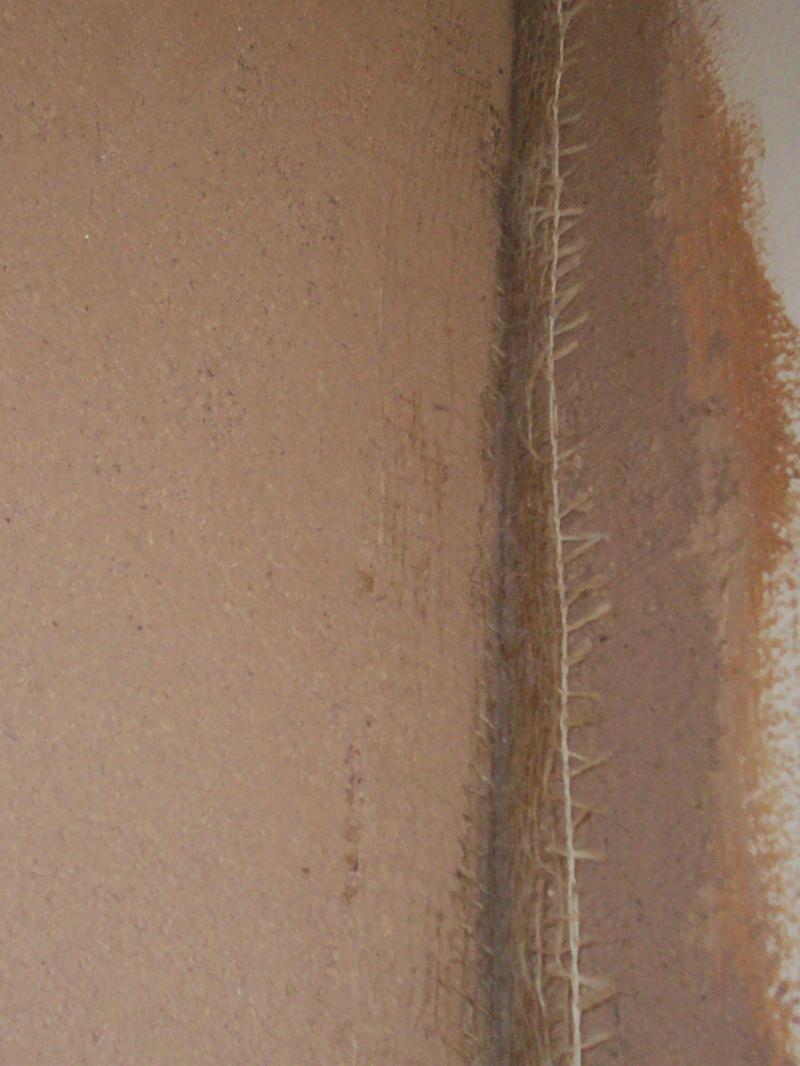
 .I am left handed though and it shows on every wall. I used to work mates with a right hander, so any awkward little corners/cupboards, it suited one of us no problem, very handy, if you pardon the pun. The tape I always use, the plaster grips it right away. I also use it all around the inside of window/door reveals where it meets the frame. I use a lot of jute scrim too... it reminds me of the old days.
")