Hi everyone,
been back and forth to this site plenty of times in the past for bits and bobs of info that usually have been asked before, so no need to sign up.
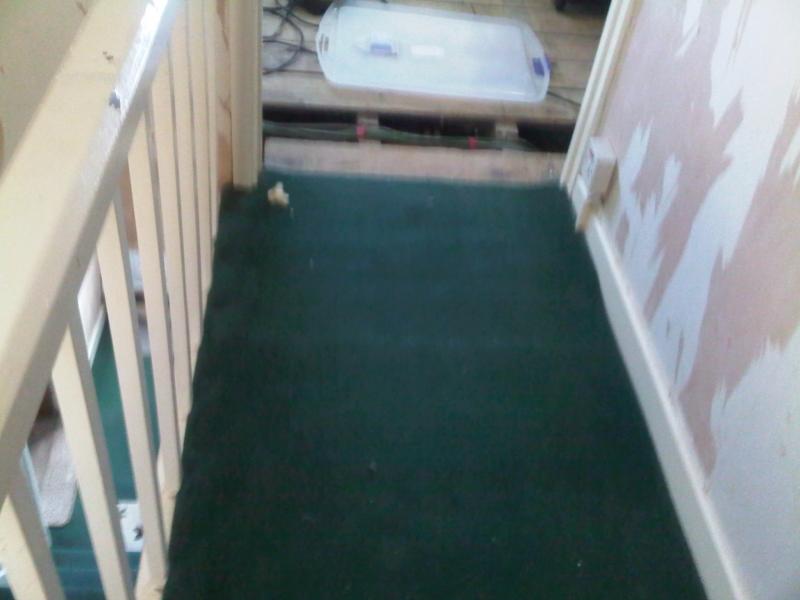
anyway, im now about to start a total knock-down and re-build of the upstairs of this house.
we originally planned on just changing the floorboards and carpet etc in one room, however, upon taking wallpaper off and lifting boards, it has become a much bigger job.
this house is a 1907 built cottage terrace.
the previous owners have DIY'd everyhing, from painting to flamin extensions!! and in the process have ruined a house!
anyway we have now chosen to empty all rooms
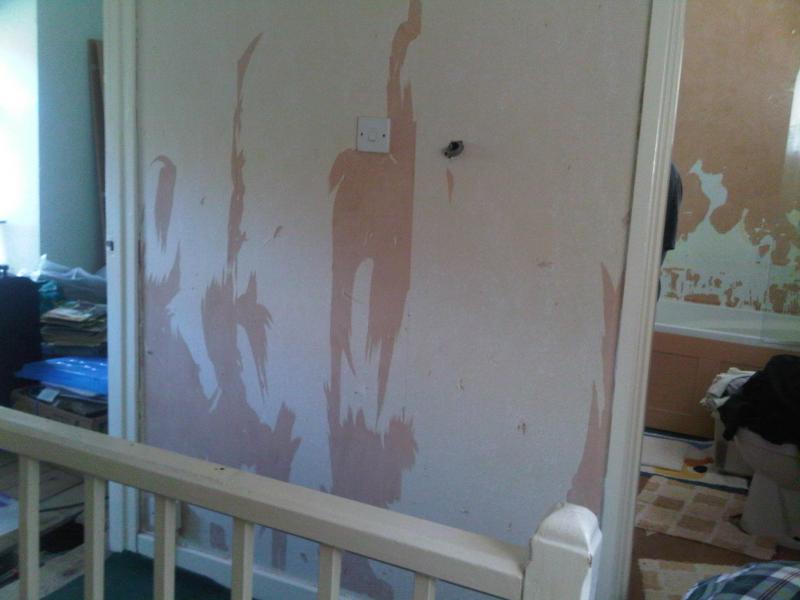
take down all interior walls ( all stud-partition plasterboard )
** wich are of course on 75degree angles not 90 as they should be! **
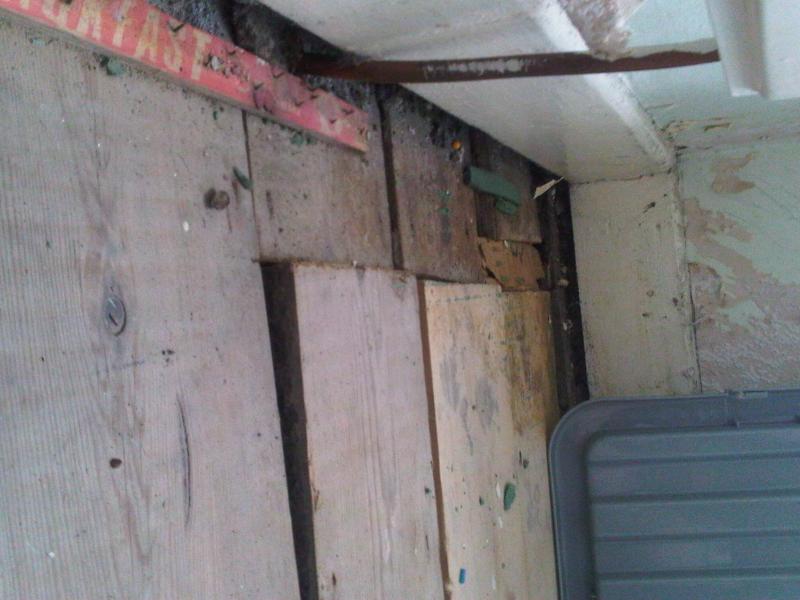
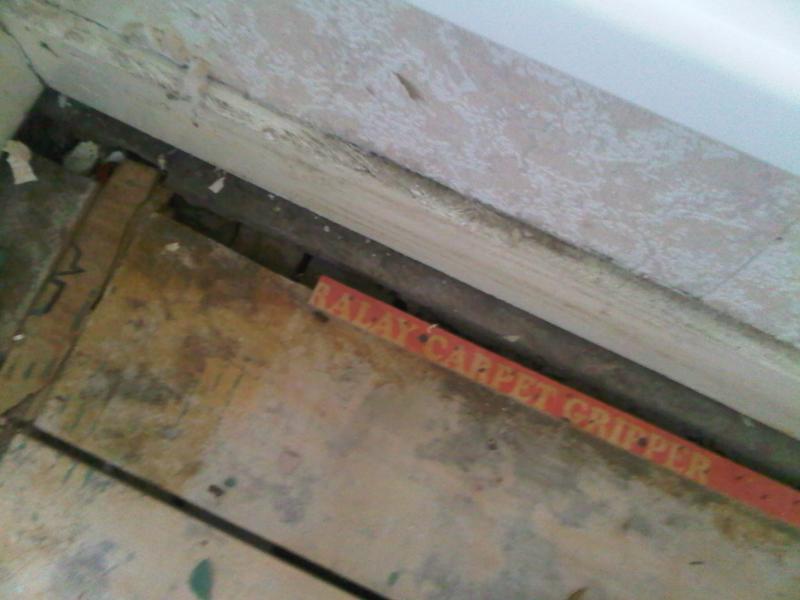
remove all floorboards ( some original 1930s by the looks )
and make sure joists are level etc and then lay a new T&G flooring on top.
and then re-build the walls ( straight )
we need to start here first and you guys may have handy info..
so... i have taken a few pictures so you can all see the work and can maybe help with ideas on how to make it easier and quicker!
big job and could do with advice on where to even start!
thanks. ( sorry for long post )
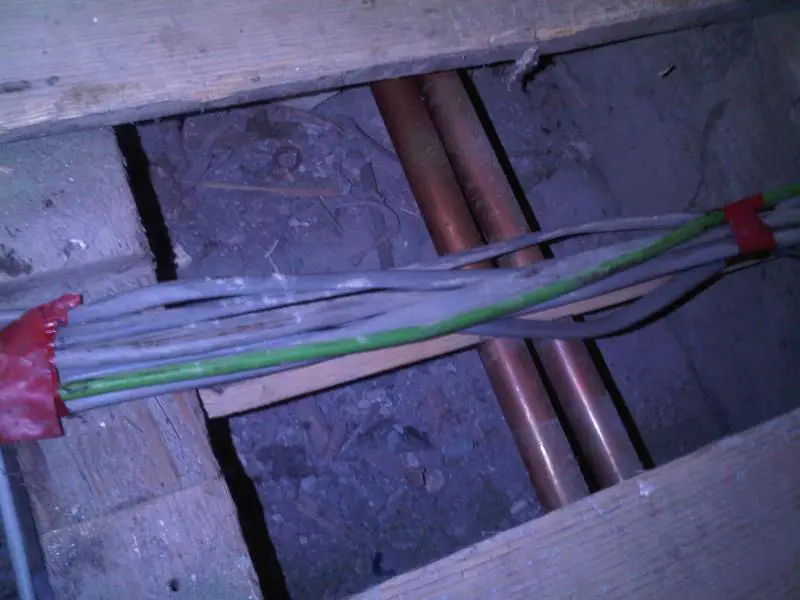
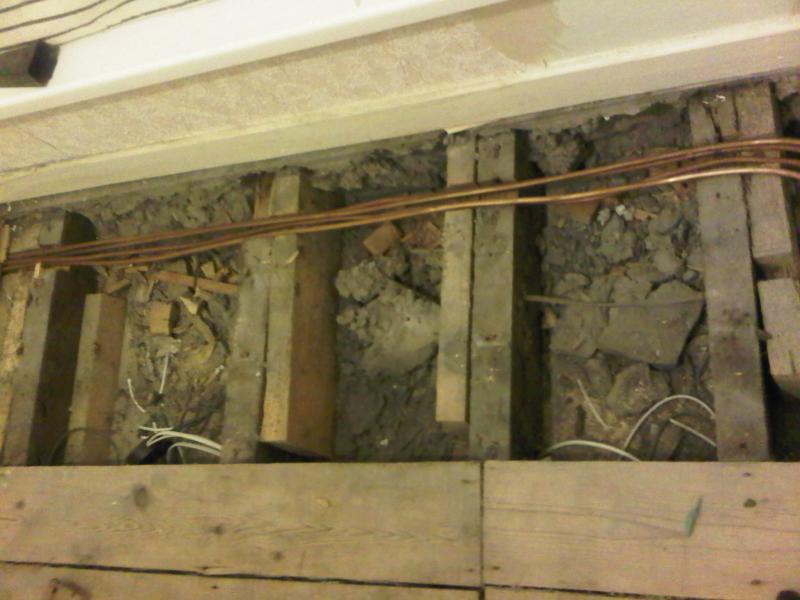
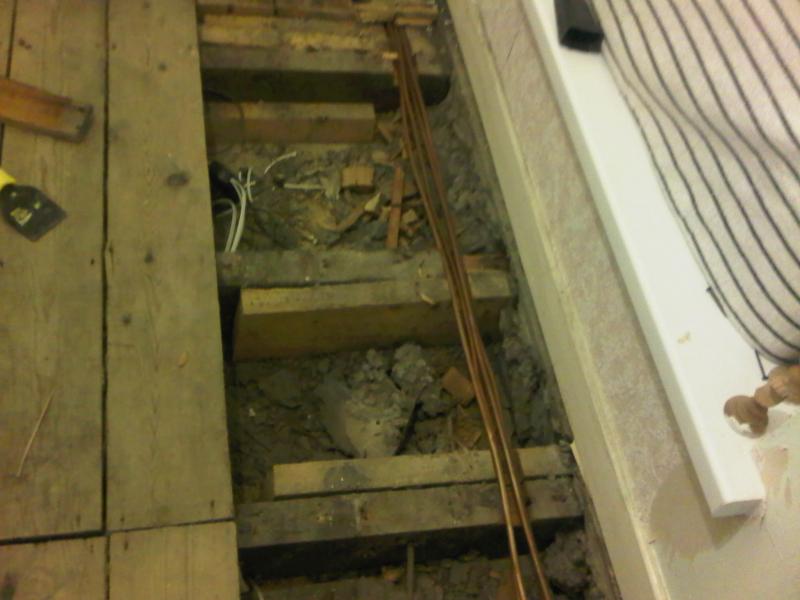
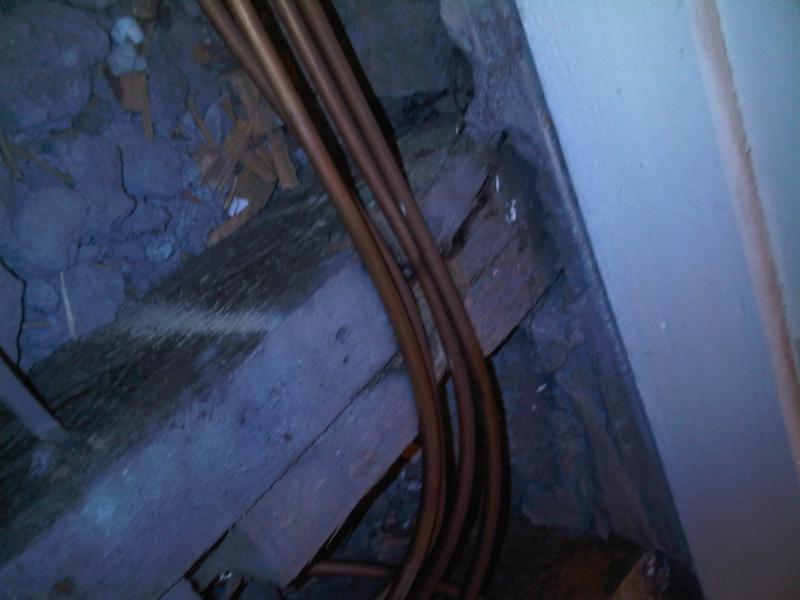
** IS IT SAFE FOR THESE ELECTRIC CABLES TO BE SO CLOSE TO BOILING PIPES? **
been back and forth to this site plenty of times in the past for bits and bobs of info that usually have been asked before, so no need to sign up.
anyway, im now about to start a total knock-down and re-build of the upstairs of this house.
we originally planned on just changing the floorboards and carpet etc in one room, however, upon taking wallpaper off and lifting boards, it has become a much bigger job.
this house is a 1907 built cottage terrace.
the previous owners have DIY'd everyhing, from painting to flamin extensions!! and in the process have ruined a house!
anyway we have now chosen to empty all rooms
take down all interior walls ( all stud-partition plasterboard )
** wich are of course on 75degree angles not 90 as they should be! **
remove all floorboards ( some original 1930s by the looks )
and make sure joists are level etc and then lay a new T&G flooring on top.
and then re-build the walls ( straight )
we need to start here first and you guys may have handy info..
so... i have taken a few pictures so you can all see the work and can maybe help with ideas on how to make it easier and quicker!
big job and could do with advice on where to even start!
thanks. ( sorry for long post )
** IS IT SAFE FOR THESE ELECTRIC CABLES TO BE SO CLOSE TO BOILING PIPES? **