Victorian Fireplace damp issue-insects come through ground?

Joined
22 Jul 2013
Messages
5
Reaction score
0
Location
Cambridgeshire
Country
United Kingdom
Hello,

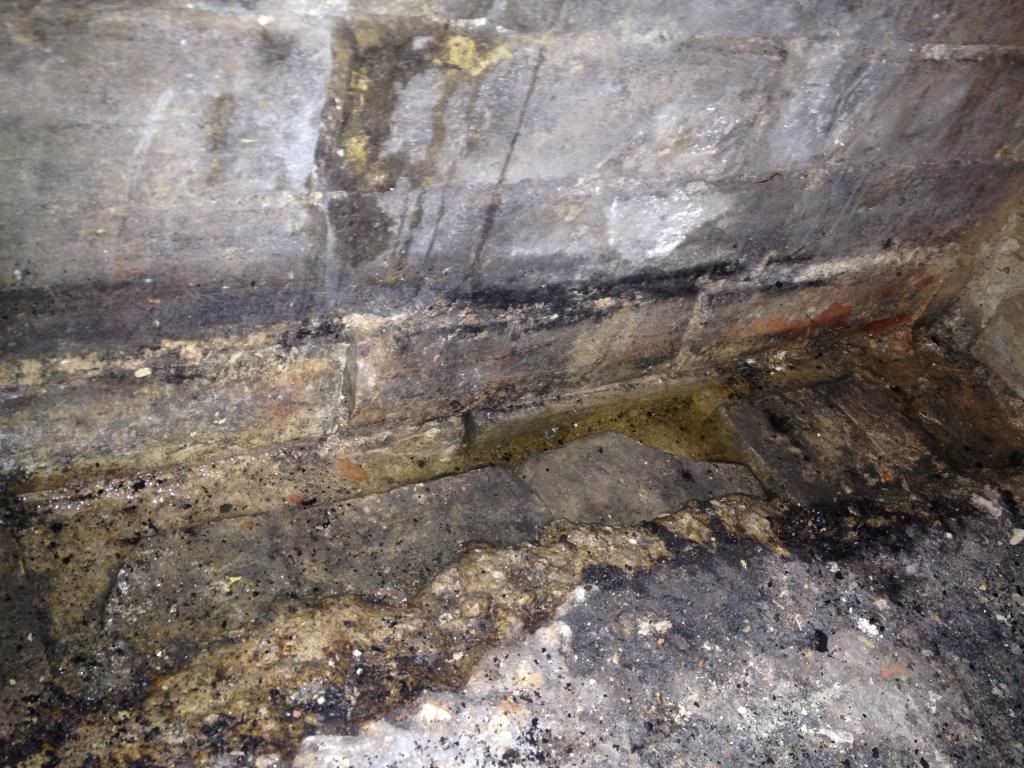
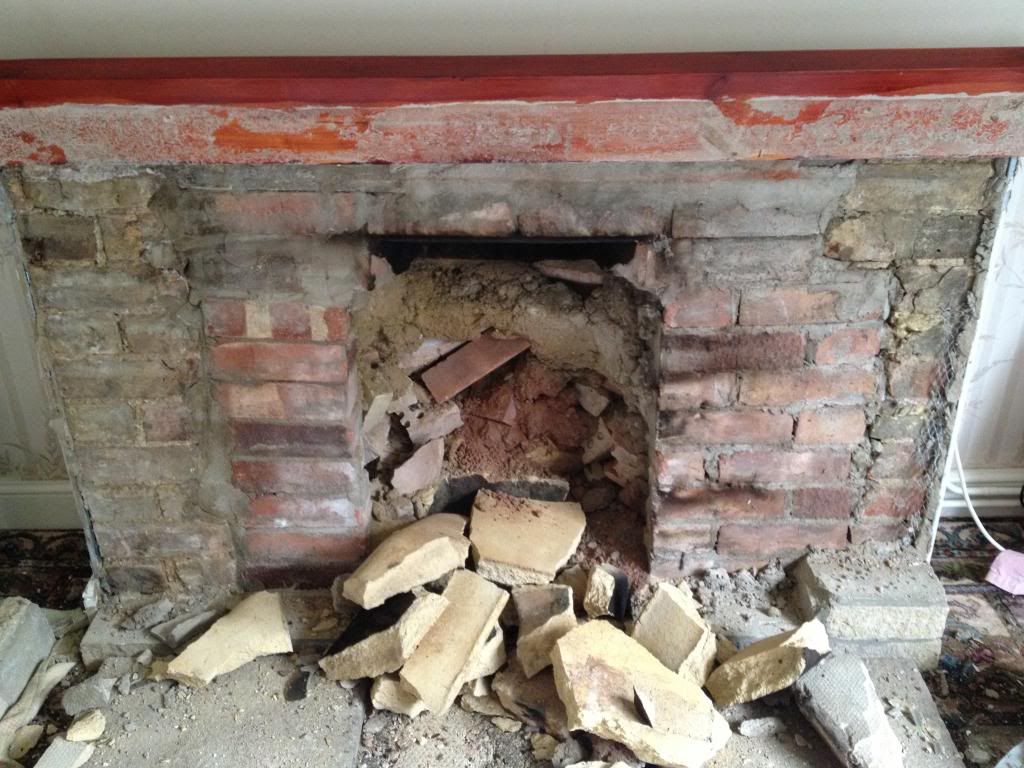
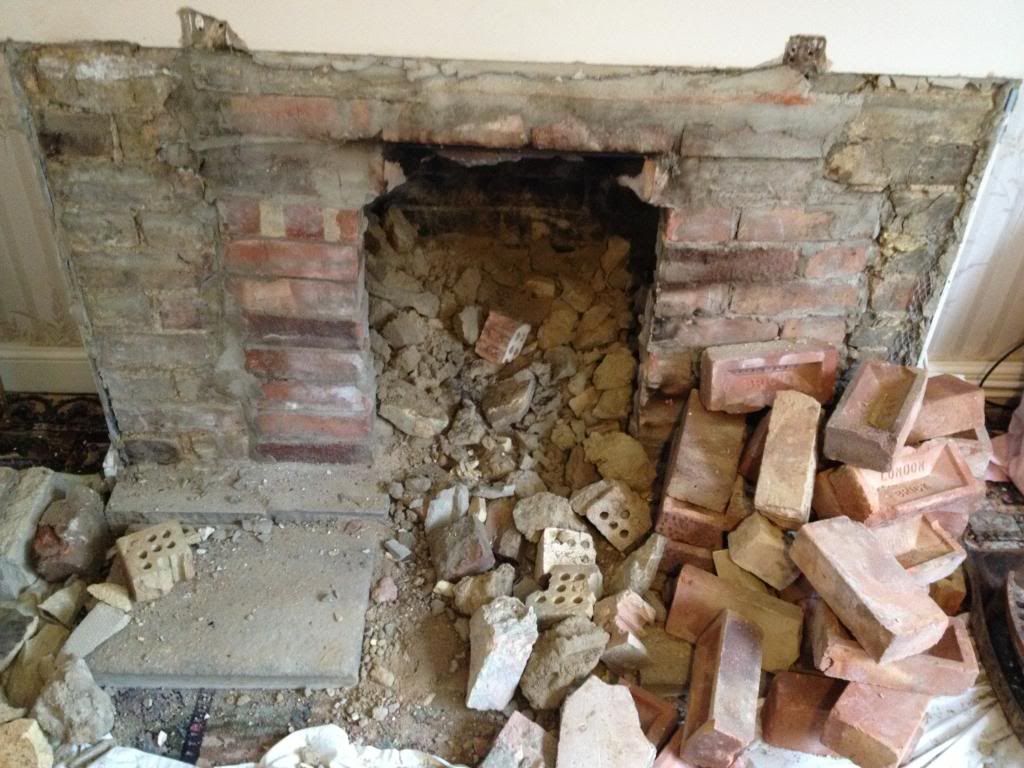
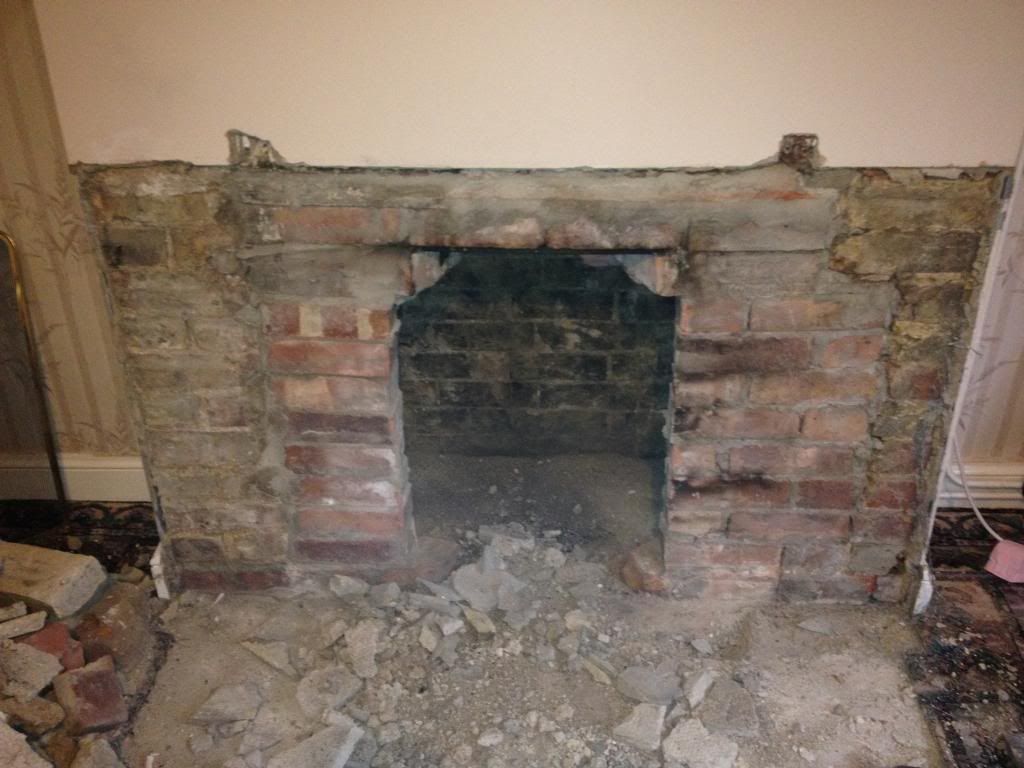
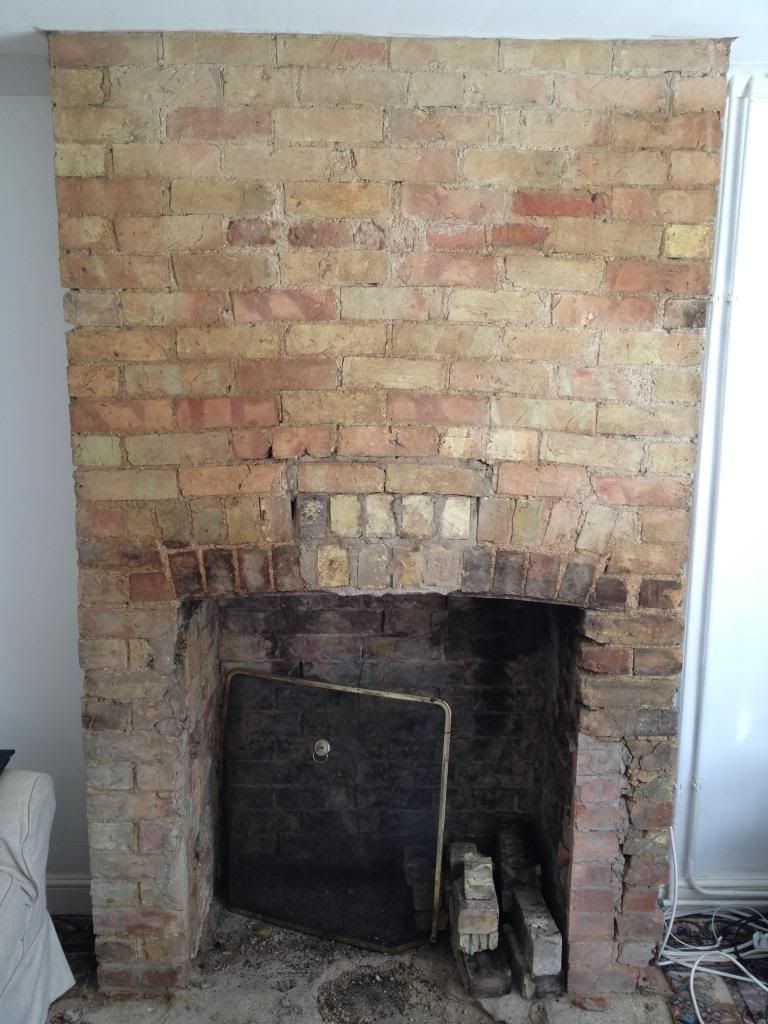
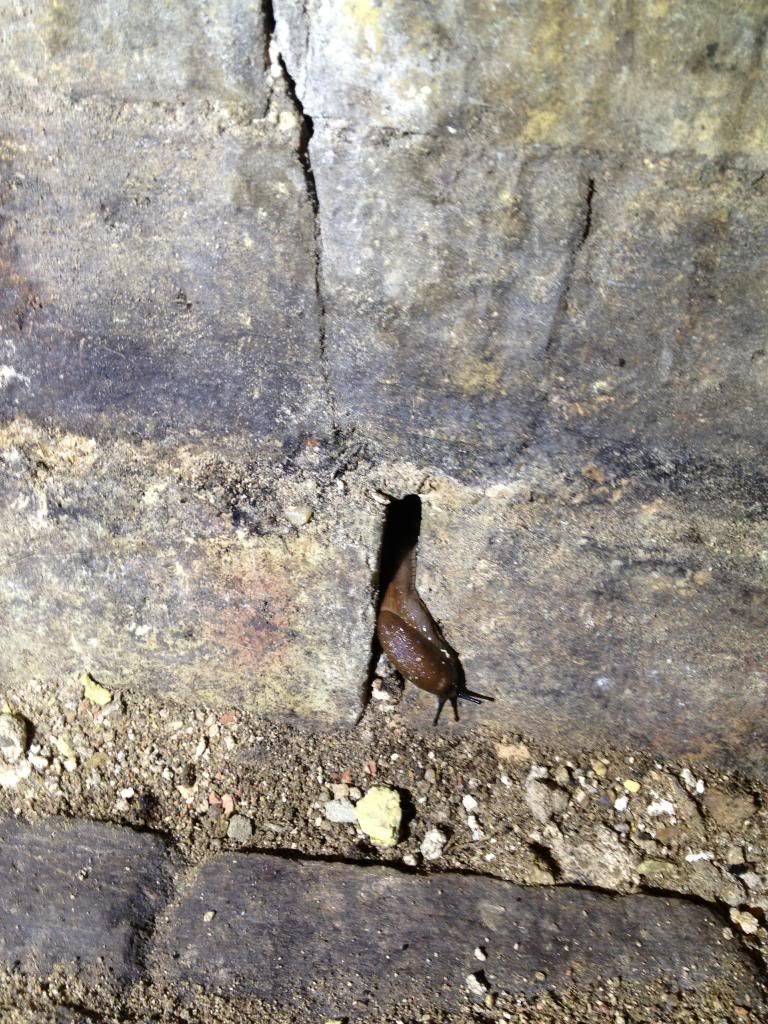
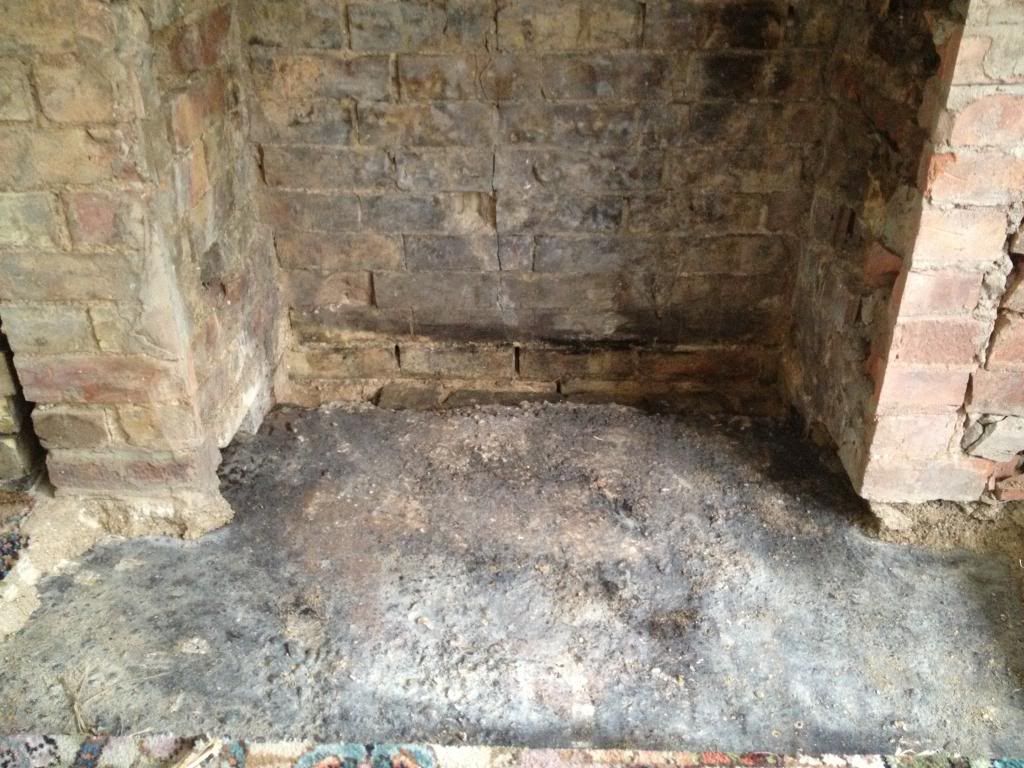
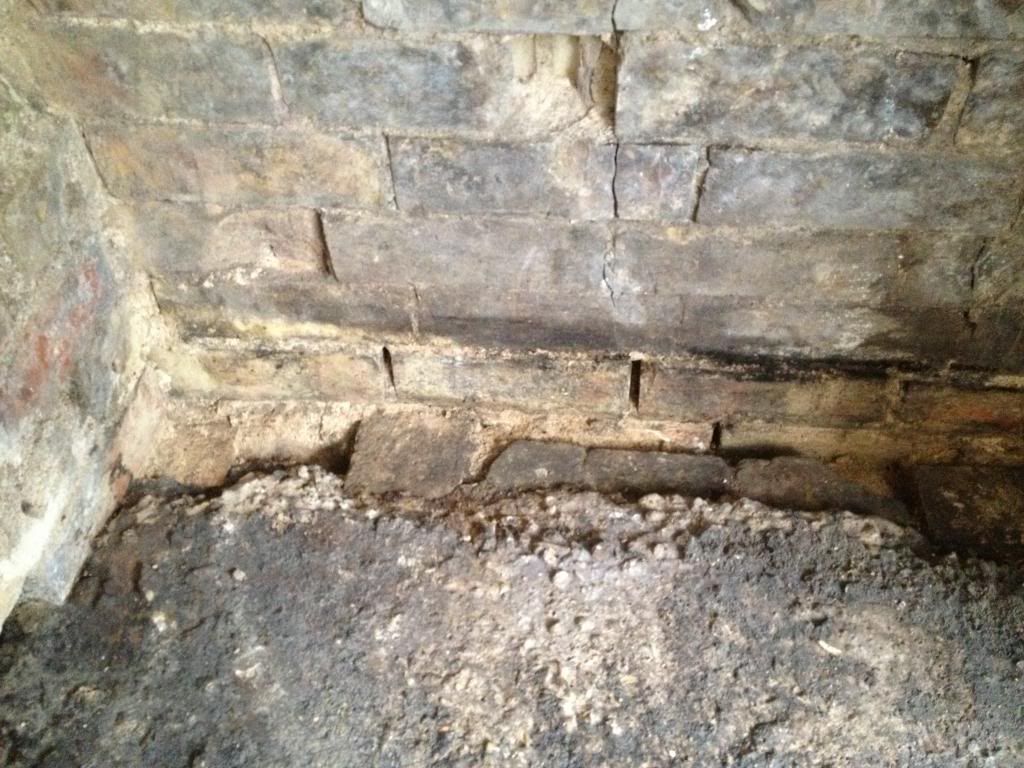
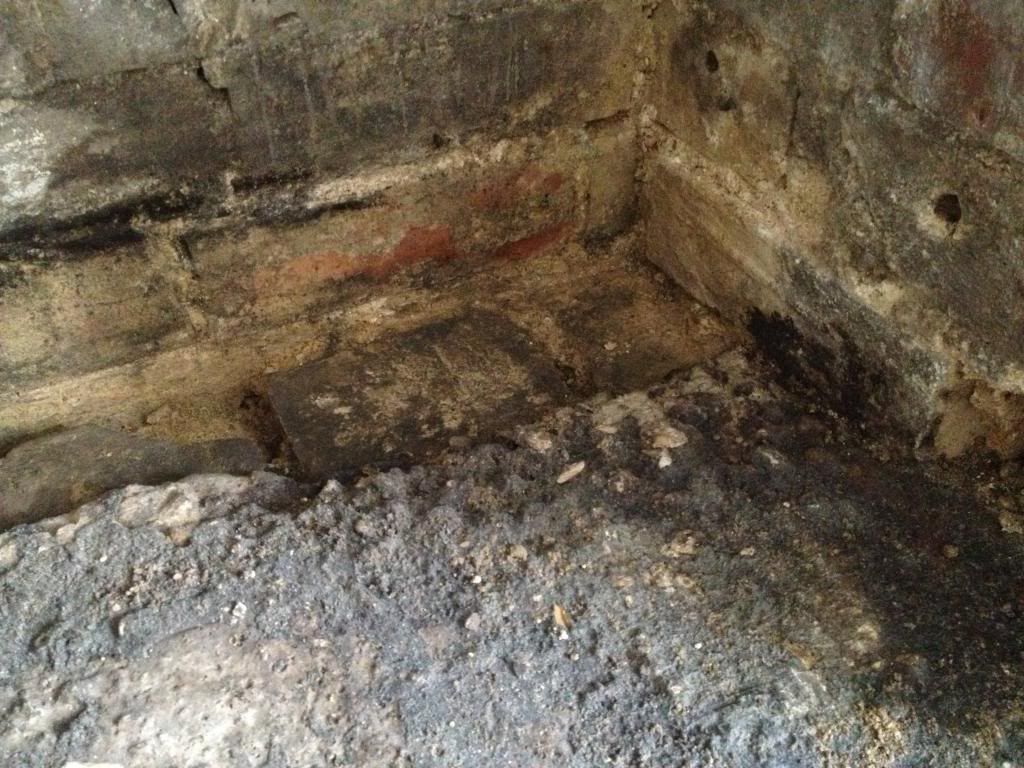
I am in the process of refurbishing my Victorian fireplace ready for the install of a woodburner. The original fireplace had been backfilled and an open fire installed by the previous owner. I have pulled all this out to reveal the original fireplace. I have now got the point where I am ready to lay the new brick hearth that the burner will sit on. I dug up the remaining mortar that was underneath the backfill and now have what looks like a concrete surface covered in a black tar like substance. Right at the back of the fireplace the concrete doesn't quite reach and some bricks are exposed in about a 4" gap. When I took the mortar from this gap, I found a beetle, a millipede, a slug and a worm. All were alive and promptly tried to escape. After scraping about a bit I found that there was soil in this gap which is how they must have got in! Is this normal?

The issue I have now is how do I treat this before I lay my mortar to then lay my bricks on? Should I just leave it and allow it all to breathe, or should I apply some damp-proofing paint/rubber to this gap and then lay the mortar/brick hearth?

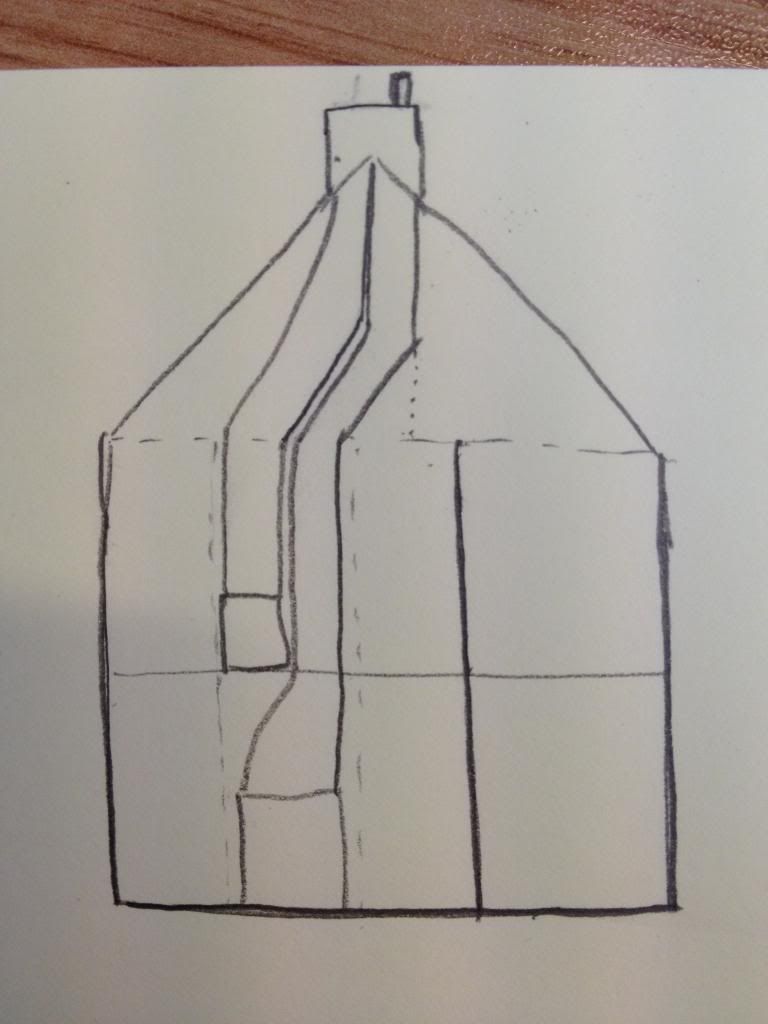
I have some pictures to help explain.

IMG_2805.jpg


IMG_2806.jpg


IMG_2808.jpg


Thank you in advance

Tim
 
Sponsored Links
1. Hearths were traditionally built on packed earth behind a fender wall.
Google pics of fender walls and hearth construction.

2. Do you have, or did you have a suspended floor?

3.Digging out the soil to about 100mm below FFL, laying a small damp membrane and pouring a new construction hearth to FFL, will allow you to insert a decorative hearth on top.

4. Post pics of the bottom of the whole c/breast - the construction seems odd in the above pics.
 
Also make sure that if that wall is external then water doesn't pool against the wall. The path on mine sloped towards the house resulting in damp under the hearth, spreading to the floor joists. Simply relaying the path fixed this permanently.
 
Thank you for your replies.

Dann09, we do not have a suspended floor as the house was underpinned about 20 years ago so it is all concrete. Whether it was suspended in the past, I don't know. The house was built in 1855. The actual wall that is at the back of the fireplace was a joining wall to a terrace next door, but the terrace was knocked down many years ago (70’s I think) so it is now an external wall which is rendered. I will have a go at digging down this abit further. Although, thanks to the massive thunderstorm last night, the little deeper section at the back has now filled with water!! I’ve added a picture below.

TheVictorian, I had a look at the external wall this morning and there was indeed a big pool of water at the footing of the house. So the drainage around the house is very poor. I knew the drainage wasn’t great, but I didn’t think it was this bad! It was on my agenda to build a French drain around this section and another side of the house, but maybe this will have to be moved up the priority list. The previous owner had laid a lot of concrete and tarmac outside the house so I think the outside floor level is higher than inside…very helpful for damp!
The reason for the dogdy looking brickwork on the RHS of the original picture is because (I think) when the 70/80’s open fire was installed they might have damaged it and the filled it in badly with red brick. This is being fixed tomorrow to put it back to original. I have added below some more pictures to give a bit more of the story of how it’s gone from open fire to it’s current state. It shows how much backfill there was in there!

Puddle:

IMG_2815.jpg


Original Fireplace:

IMG_2440.jpg


Fireplace out:

IMG_2467.jpg


Lots of backfill:

IMG_2469.jpg


Backfill removed:

IMG_2473.jpg


Current state:

IMG_2731.jpg


Thanks,

Tim
 
Sponsored Links
1. Thanks for the further info and pics.

2. Things you must do:

3. examine the render for cracks or bulging. Water is penetrating from at least 225 -250mm above FFL.

4. measure the inside and the outside of the c/breast cheeks to determine if the rear brickwork of the opening is single brick thick _ a common practice of the Victorians.

5. As mentioned above, dig French drains around the property anywhere the ground level is higher than the FFL.

6. check if any render is touching the ground or bridging any in place DPC.

7. locate your DPC.

8. Check the rear wall and skirtings on either side of the c/breast for damp & decay. Same for any other at risk walls.

9. Sweep & smoke test the flue, & inspect the stack and terminal.

10. Research recent posts on here with similar subjects.
 
Thanks Dann09, your advice is much appreciated.

3. examine the render for cracks or bulging. Water is penetrating from at least 225 -250mm above FFL.

I'll check the render tonight. I know there are some small vertical cracks in the render, but don't know about any buldges. I think 99% of the water in the picture was coming from below, the witness marks further up the bricks were only a small amount. But it still shouldn't do that i know.


4. measure the inside and the outside of the c/breast cheeks to determine if the rear brickwork of the opening is single brick thick _ a common practice of the Victorians.

I'll double check tonight. I'm pretty sure it's only single brick, it doesn't sound as 'solid' as the other external walls.

6. check if any render is touching the ground or bridging any in place DPC.

7. locate your DPC.
I'm going to try and find it. Although if this is bridged outside due to the high ground level it may be tricky.


9. Sweep & smoke test the flue, & inspect the stack and terminal.

This will be done when the burner is installed by my HETAS installers.

10. Research recent posts on here with similar subjects.

I have been doing this and found some useful, although sometimes conflicting, advice.

The main conflicting opinion is to do with the damp proofing. Some say add damp proofing/tanking underneath and then lay hearth, some say don't add any damp proofing as it will cause problems further down the line. I'll keep on researching.....
 
So I checked the render last night and I couldn't see any obvious bulges in it, but I did take a photo of the cracking in it. See photos.

I measured either side of the cheeks. The inside from front to back was 20inches. The outside was 12inches. That did seem like quite a difference to me? Could the interior wall have been thickened up. Although there does seem to be a thick layer of lime plaster on internal wall.

I haven't found the DPC yet, but as you can see from the pictures there's a mass of shrubs in the way from the previous owner.

We had another visitor last night, which I noticed out the corner of my eye whilst watching TV!

IMG_2824.jpg


IMG_2822.jpg


IMG_2823.jpg


IMG_2825.jpg


IMG_2821.jpg
 
Thanks for the pics.

1. To avoid bridging the DPC, the ground level should be 150mm below the DPC. The render stop should be above the DPC.

2. Your DPC is, hopefully, in the black/bitumen painted brickwork. If its below ground, then lower the ground level.
Try and determine where your FFL is in relation to the ground level.

3. The gable render is cracking in "panels", possibly because of incorrect rendering technique, and/or poor background preparation. Working from a ladder instead of a scaff might figure here.
I'd suspect the cracks of allowing water into the single skin c/breast back ref. the pic above.
Where the pike (triangular top of gable) begins, a significant crack appears to have had some unsuccessful remedial work on it.

4. The undercloak fillets on the verges do not project the recommended 50mm. This can allow water to enter the render & brickwork, and degrade the slate (?) battens.

5. How many pots or terminals do you have on the stack?

6. Perhaps pics of the other side of the stack, and where the ridge meets the stack?

7. What is the "pipe stub" projecting thro the c/breast below the floodlight?

8. You are suffering from having a gable that was once a party wall.

9. At some later date in your project, i should drop a plumb bob from the centre of the stack down the gable to DPC level. Why? Because i suspect that the pike has leaned a little. Its no great issue, nothing will fall down, but its worth knowing if its leaned or not.
 
Thanks for your reply dann09. Just been away on holiday for a bit, so i'm back on it now.

In answer to your questions:

So looking from the ground, the roof slates do not project past the render. I think they are flush with the outer face of the render. I'm planning on getting this addressed as I knew it wasn't ideal. I imagine this would cost quite a lot to fix though.

There is only one pot on the chimney, but I think there should be 2 pots as there are 2 fireplaces (lounge + bedroom) that feed this chimney. I have added a hand sketch of what I think the arrangement is inside the chimney. No one's been up there since we've been in the house for the past year so there could be a big hole where the other pot should be, or if they did a proper job it should be protected from the rain. The fireplace in the bedroom is all blocked up and plastered over.

I have added some pictures from the other sides of the chimney which may help. They were taken with my phone so are not too great. I could take some with a proper camera if need be.

That pipe stub comes from the old central heating system. It was for the overflow on the header tanks. It is no longer used though so will be coming out one day.

IMG_2856.jpg


IMG_2828.jpg


IMG_2827.jpg
 

DIYnot Local

Staff member

If you need to find a tradesperson to get your job done, please try our local search below, or if you are doing it yourself you can find suppliers local to you.

Select the supplier or trade you require, enter your location to begin your search.


Are you a trade or supplier? You can create your listing free at DIYnot Local

 
Sponsored Links
Back
Top