Hi all,
First time poster and proud new owner of 'a bit of a project'. I have the feeling I might frequent these forums quite regularly from here on...
We are currently doing up the first of three bedrooms in our 1960s house. We had someone in to plaster over the Artex ceilings and they have done a great job.
We are now looking at the walls, which were covered in very badly fitted wallpaper. After stripping off this and another three layers with rather interesting patterns, we steamed off the last paper backing, expecting to find a layer of plaster. Based on its condition we were then planning on either spot repairing with a product like Polyfilla plaster repair, giving skimming it ourselves a go, or, if it looked too cratered, biting the bullet and have someone do it for us.
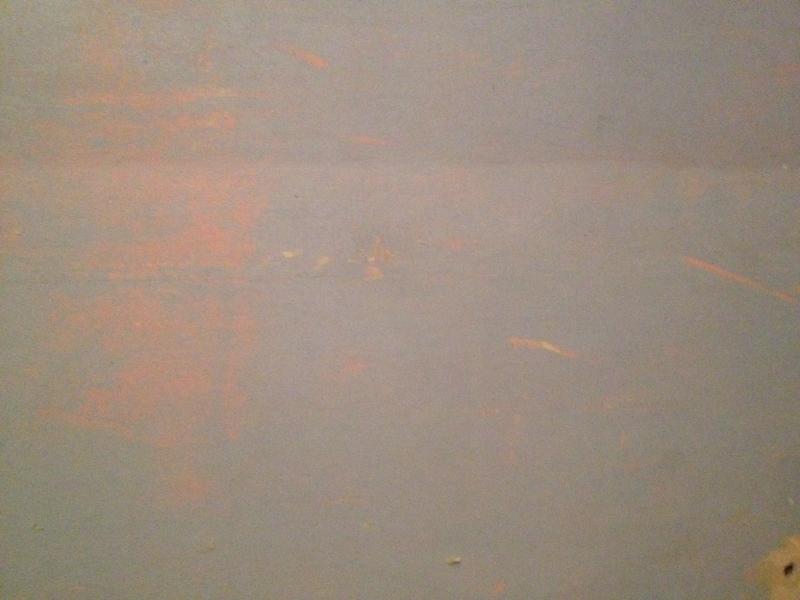
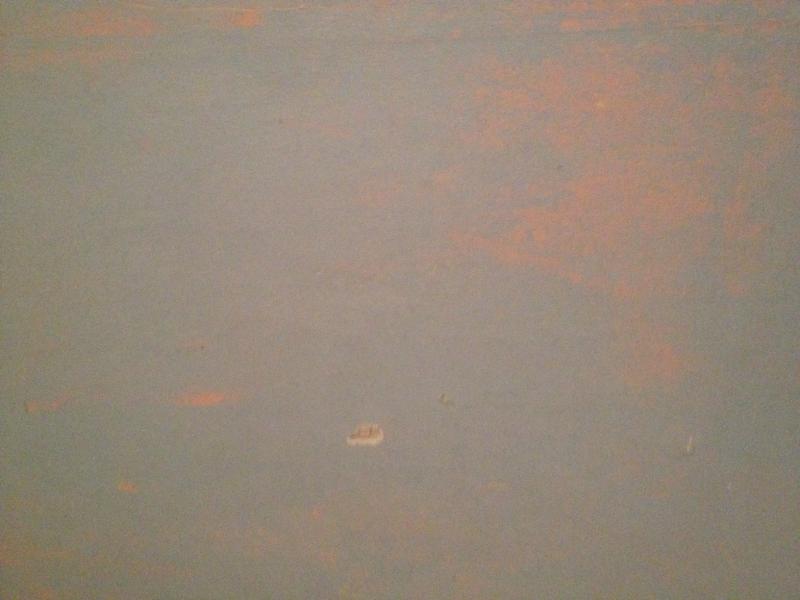
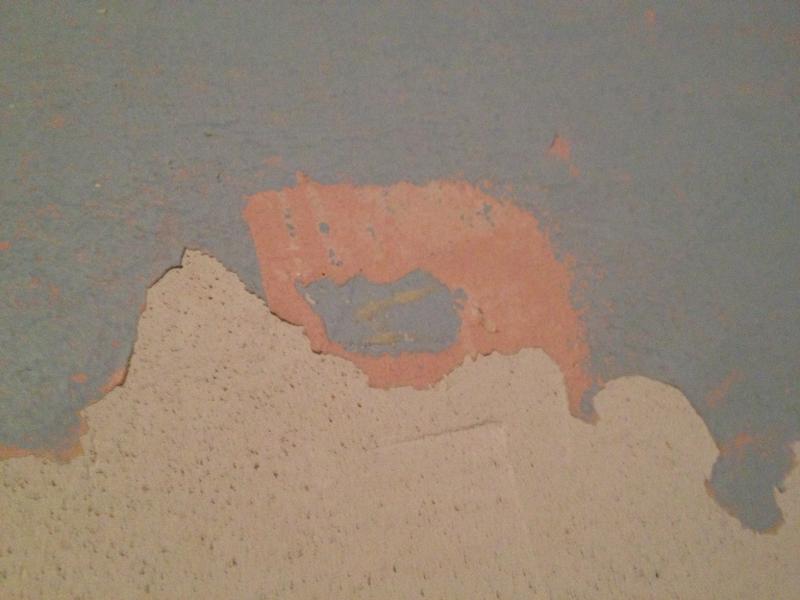
What we found however is a light blue, smooth finish layer on top of a red-pink (not plaster-pink) layer, which in turn is on top of a chalky white, thick base layer (I would think this is gypsum?). The pink and red layers are blended into each other. They don't feel like plaster to me and attach to the wall very well. I stripped some of it off at a damaged bit of wall - the stripped off bits have a similar feel to them like a thick bit of gloss paint, except that they are more 'rubbery' (i.e. they dont crack when you bend them). They become a bit gloopy and sticky when being subjected to a wallpaper steamer for a bit too long.
It looks like the blue layer on top was used to smooth out the pink layer underneath - there are places where the pink shines through completely and others where the blue one is forming a thicker layer on top. Together, the layers are probably about a mm thick on average. We actually found 'April 1988' written on one bit of the layers, so at least we can exactly date the mystery layer!
The overall finish of these layers is actually very nice and smooth - in an ideal world I'd like to just repair a few cracks and holes (the previous owners did not believe in doorstops, so there are a few handle-shaped ones), sand the entire walls, put on a layer or two of matt white emulsion and eventually paint over in our colours of choice. For that I would like to know though what exactly I'm looking at, whether it would need a mist coat, whether it would survive sanding etc. - any insights would be much appreciated!
I have attached photos of the layers (they look more rough and uneven than they are because of the two colours), as well as one of the damaged patch where I started poking about a bit.
Thank you!
First time poster and proud new owner of 'a bit of a project'. I have the feeling I might frequent these forums quite regularly from here on...
We are currently doing up the first of three bedrooms in our 1960s house. We had someone in to plaster over the Artex ceilings and they have done a great job.
We are now looking at the walls, which were covered in very badly fitted wallpaper. After stripping off this and another three layers with rather interesting patterns, we steamed off the last paper backing, expecting to find a layer of plaster. Based on its condition we were then planning on either spot repairing with a product like Polyfilla plaster repair, giving skimming it ourselves a go, or, if it looked too cratered, biting the bullet and have someone do it for us.
What we found however is a light blue, smooth finish layer on top of a red-pink (not plaster-pink) layer, which in turn is on top of a chalky white, thick base layer (I would think this is gypsum?). The pink and red layers are blended into each other. They don't feel like plaster to me and attach to the wall very well. I stripped some of it off at a damaged bit of wall - the stripped off bits have a similar feel to them like a thick bit of gloss paint, except that they are more 'rubbery' (i.e. they dont crack when you bend them). They become a bit gloopy and sticky when being subjected to a wallpaper steamer for a bit too long.
It looks like the blue layer on top was used to smooth out the pink layer underneath - there are places where the pink shines through completely and others where the blue one is forming a thicker layer on top. Together, the layers are probably about a mm thick on average. We actually found 'April 1988' written on one bit of the layers, so at least we can exactly date the mystery layer!
The overall finish of these layers is actually very nice and smooth - in an ideal world I'd like to just repair a few cracks and holes (the previous owners did not believe in doorstops, so there are a few handle-shaped ones), sand the entire walls, put on a layer or two of matt white emulsion and eventually paint over in our colours of choice. For that I would like to know though what exactly I'm looking at, whether it would need a mist coat, whether it would survive sanding etc. - any insights would be much appreciated!
I have attached photos of the layers (they look more rough and uneven than they are because of the two colours), as well as one of the damaged patch where I started poking about a bit.
Thank you!