
A homeowner has had a bedroom skimmed a couple of weeks ago and it's still not fully dried out. Parts of the wall went pale within a few days, but big patches remain dark and damp-looking. Windows have been open and an electric heater has been run in the room, but the dark areas aren't shifting. The house is known to have some damp issues elsewhere, though three other rooms plastered around the same time dried without drama. The question is simple: is this normal, or is something wrong?
This is a common one in UK houses. Before you start spending money or ripping anything off, do a couple of simple checks so you're fixing the cause, not the symptom. I'll run through what's likely happening, what you can safely check yourself, and what a proper fix looks like, plus the usual bodges that don't last.
What's likely going on
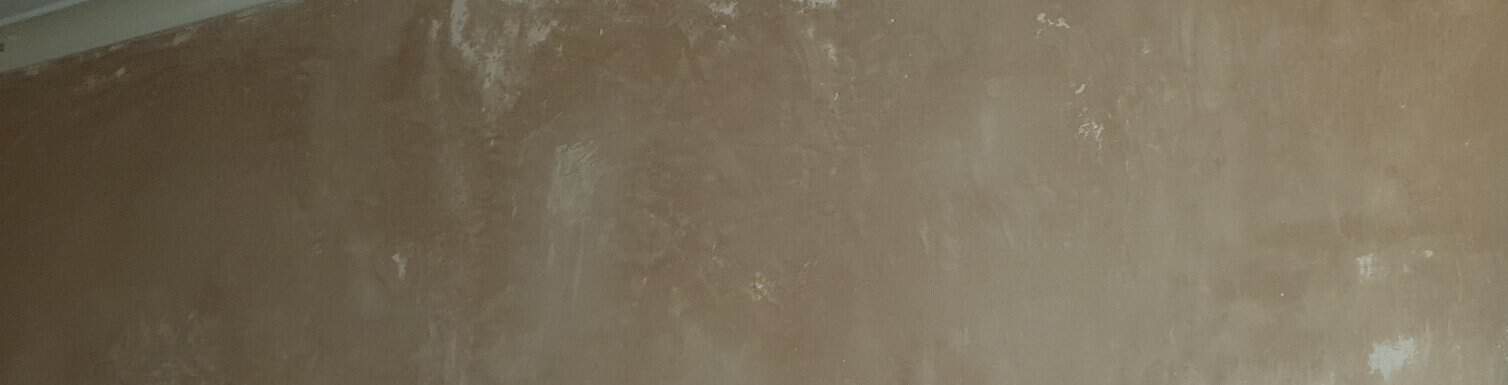
Fresh plaster doesn't dry in a week, whatever you were told on the day. Two to six weeks is normal, and it can be longer on a cold external wall, behind furniture, or where the plasterer laid it on a bit thicker to true up a wonky background. As it dries it goes through colour changes: dark chocolate, purple, red, pink, then a uniform pale pink when it's actually ready for paint. Patchy drying just means different parts of the wall are losing moisture at different rates. That's normal to a point.
The chain of events usually goes like this. The background (brick, block, old plaster) sucks moisture out of the fresh skim from behind, while the room air pulls it out from the front. If the background is inconsistent, say a patch of dense old render next to softer lime, or a cold external wall next to an internal one, you get uneven suction. Add in a damp problem in the property, a poorly sealed background, or over-trowelling that's closed the surface up too tight, and you end up with dark blotches that hang around for weeks. Forcing heat at it can actually make it worse, because the surface skins over while the middle stays wet.
Simple checks first
Before assuming the worst, work through these:
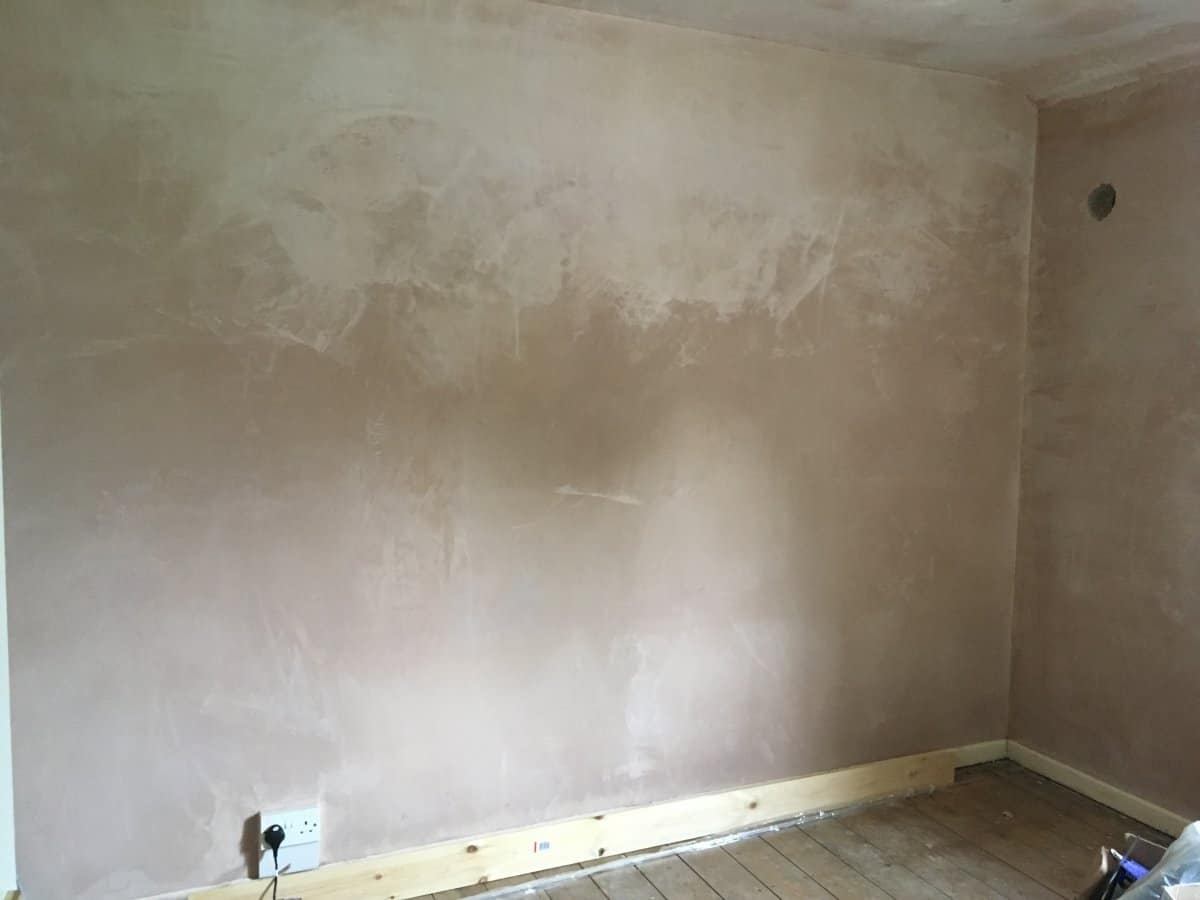
- Look at the pattern of the damp patches. If they're along the bottom of an external wall or in a corner, you may be looking at rising or penetrating damp bleeding through. If they're random blotches spread across the wall, it's more likely uneven suction or over-trowelling.
- Feel the wall with the back of your hand. Cold and clammy on an external wall in winter is often just slow drying. Cold and actively wet, weeks in, points to a moisture source behind.
- Check the room ventilation. Windows cracked open with the door open too gives you air movement. A sealed room with a heater blasting just raises humidity and slows things down.
- Look outside at the same wall. Cracked render, a dodgy gutter, a leaking downpipe, missing pointing, or ground levels bridging the DPC will all push moisture through to the inside. Water gets in, then it shows up somewhere else.
- Check for a working DPC. If the skim goes right down to the skirting on a solid wall with no damp-proof course, or the DPC is bridged by a raised path or flower bed outside, that patch will never dry.
- Ask yourself what background it went on. Fresh bonding or browning underneath will hold water for a lot longer than a skim over sound old plaster. Two coats of skim on a deep patch will also take longer than a thin refresh.
- If you've got access to one, borrow or buy a cheap pin-type damp meter. Readings dropping week on week means it's just drying. Readings stuck high after 6-8 weeks with good ventilation means there's a moisture source you need to find.
Three other rooms drying fine while this one hasn't is a useful clue. That points at something specific to this wall, whether external exposure, a leak, a bridged DPC, or a heavier application, rather than a bad batch of plaster.
The proper fix: good, better, best
Good: patience and ventilation. Nine times out of ten, if there's no underlying damp issue, the answer is time. Keep the window cracked open, keep the door open so air moves through the house, and keep the room at a steady, mild temperature. Don't blast heat directly at the wall. Give it a full six weeks before you write it off, longer on an external wall in winter. When it's uniformly pale pink all over, then it's ready for a mist coat.
Better: find and fix the moisture source. If checks point to a leak, bridged DPC, failed pointing, or a gutter issue, deal with that first. There's no point redecorating over a wall that's being fed water from behind, because it'll blow again within a season. Sort the outside, let the wall dry properly, then decorate.
Best: strip and redo with the right prep. If the plaster has genuinely failed (blown, hollow when tapped, or the finish is so patchy it won't take paint evenly), the honest answer is to take it back off and redo it. The key here is what goes on before the skim. Watered-down PVA as a suction control coat is the traditional method but it's fussy. Skim before it's tacky and you drag it; leave it too long and the bond suffers. A proper bonding primer designed for plaster (the gritty acrylic types) gives a much more reliable, even suction across mixed backgrounds and doesn't emulsify when you trowel it up. On tricky walls that's what I'd reach for.
Bodges and mistakes to avoid
- Painting damp plaster to hide it. The paint won't key properly, you'll get flaking, and any salts in the wall will push through. You've just wasted a tin of emulsion.
- Skimming or filling over dark patches with joint compound. It might look right for a fortnight, then the moisture works its way out and shows through again. You've buried the problem, not solved it.
- Forced drying with a fan heater aimed at the wall. Skins the surface, cracks the finish, and can cause the skim to lose its bond with the background.
- Sealing the room up with a dehumidifier and no ventilation. Better than nothing, but you want air changes, not just moisture pulled out of a stagnant box.
- Over-trowelling. Going at it too hard, too late, polishes the surface and closes it up. That traps moisture and gives you those stubborn dark blotches. A worn trowel and a light touch on the final passes is the trick.
When to bring in a specialist
If after six to eight weeks with proper ventilation you've still got wet-looking patches, and especially if they're low down on an external wall or near a known damp issue, get someone in to look at the fabric of the building, not a plasterer. A decent damp and timber surveyor (an independent one, not a salesman from a chemical injection firm) will tell you whether it's condensation, penetrating damp, or a bridged DPC. If it turns out to be a roof, gutter, or pointing issue, that's a roofer or builder job. Fix the cause first, then the plaster question sorts itself out.
Reality check
Plaster drying is boring. You want to crack on with painting and get the room back, but rushing it is the single biggest cause of decorating problems I get called back to. Give it the full time, mist coat with watered-down emulsion (roughly 3 parts paint to 1 part water for a first coat) once it's genuinely uniform in colour, and you'll get a finish that lasts. If it's still patchy after two months with good ventilation and no obvious damp source, that's when you start opening things up to have a proper look. Don't guess. Prove it.