Hi, not sure it this, in the right section or not but here goes....
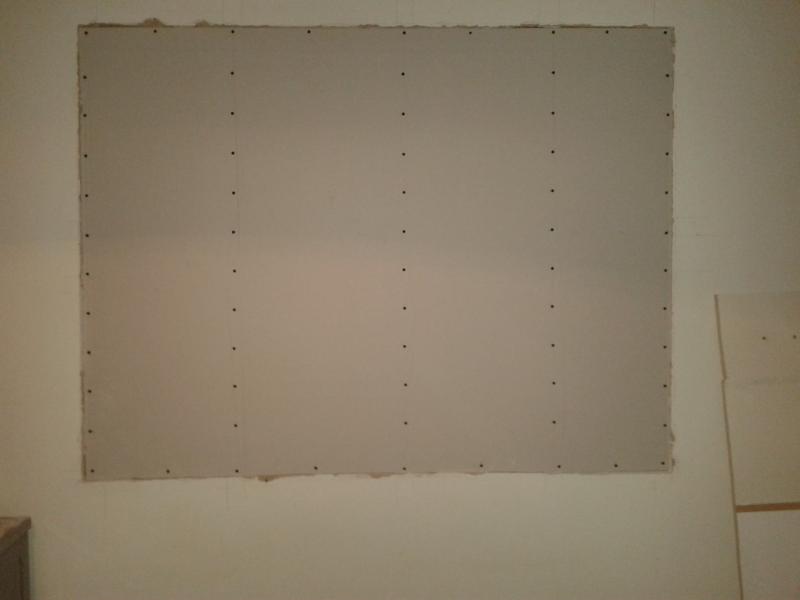
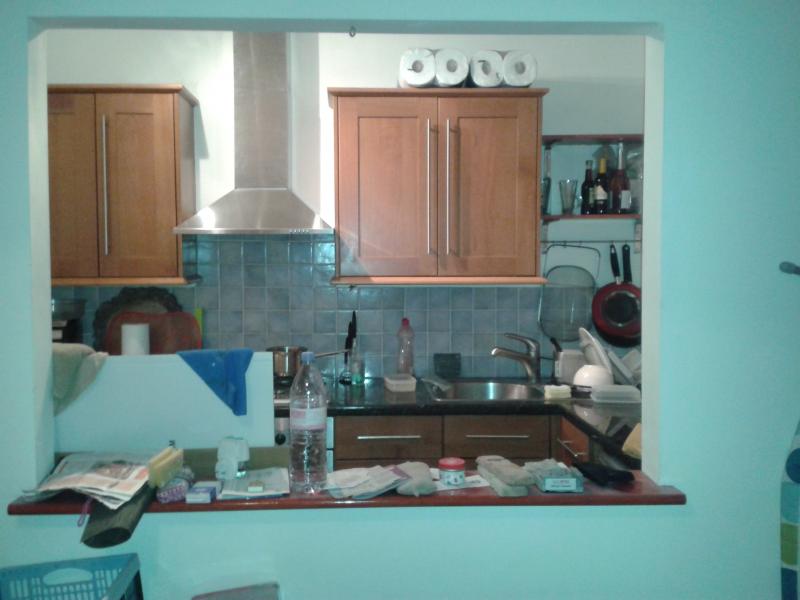
The previous owner of a property I recently moved into decided to put a large serving hatch through the wall between the front room and the kitchen....
I want to fill/block this hatch up so there is a proper separate kitchen/front room.
I planned on building a timber frame to install in the hatch then fitting plasterboard either side of the frame.
The wall is 120mm thick, 1135 high by 1475 wide and is a drywall construction.
I have a few questions before I start getting materials though...
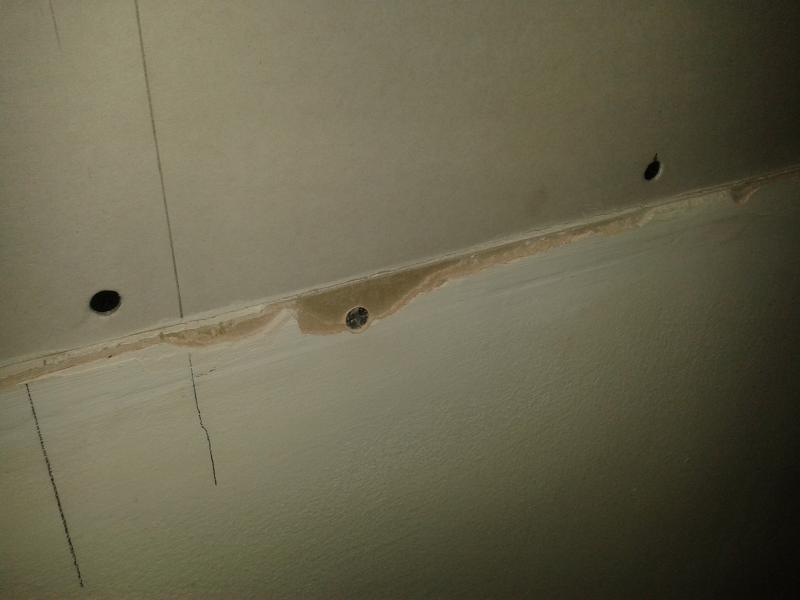
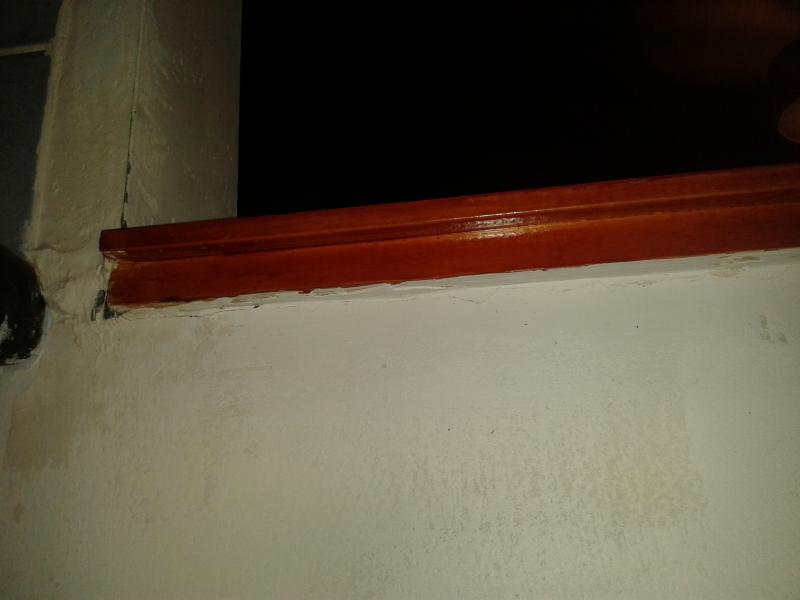
1. How do I remove the wood sill thing without doing too much damage to the lower part of the wall. From what I can see there look like some hidden screws securing the sill(see pics) so hopefully it's fairly easy to remove
2. What's the best way of securely fixing the timber frame to the hatch? Is it just a case of wall plugs and securely fastening the frame before putting the plasterboard in.
3. Finally as I've not done this type of project before has anyone got any general decent pointers or advice?
Many thanks
Rob
Ps excuse all the back ground crap in the pics
The previous owner of a property I recently moved into decided to put a large serving hatch through the wall between the front room and the kitchen....


I want to fill/block this hatch up so there is a proper separate kitchen/front room.
I planned on building a timber frame to install in the hatch then fitting plasterboard either side of the frame.
The wall is 120mm thick, 1135 high by 1475 wide and is a drywall construction.
I have a few questions before I start getting materials though...
1. How do I remove the wood sill thing without doing too much damage to the lower part of the wall. From what I can see there look like some hidden screws securing the sill(see pics) so hopefully it's fairly easy to remove
2. What's the best way of securely fixing the timber frame to the hatch? Is it just a case of wall plugs and securely fastening the frame before putting the plasterboard in.
3. Finally as I've not done this type of project before has anyone got any general decent pointers or advice?
Many thanks
Rob
Ps excuse all the back ground crap in the pics