Best way to attach my skirting boards?

I think there wont be much guts left in wooden plugs that are probably over 100 years old and its unlikely anyone is going to use 3" cut nails to fix the skirting anyway so its about using the options that are left screws and plugs or as jabazzard said masonary screws

Why on earth would you want 3" cut nails , its skirting boards your fixing not a floor joist.
Anyway just my opinion take it or leave it.
 
Sponsored Links
Why on earth would you want 3" cut nails , its skirting boards your fixing not a floor joist. Anyway just my opinion take it or leave it.

Because I want a good fix that is not going to move ever. I would note that I have skirting that I glued on with just No More Nails in 1997 that is still going strong and shows now sign of cracking, unlike all the other skirting in my mothers house which does. Consequently I would never call it a botch job to glue it on. In fact if you are going for say natural finish oak it would be the way to go.

I use screws these days for speed more than anything else as it holds stuff in place quickly while the glue is drying rather than having to clamp it in place. Then again I join my skirting boards together with a finger jointer on a router table and PVA adhesive to make long lengths. I guess being a DIY'er my time does not cost in a traditional sense and I can use it to produce a top notch job.
 

That is an example of what the walls look like now.
Well, that's pretty ropey! I suppose I'd consider knocking the snots off, possibly adding a packer strip (say strips of 4mm plywood with 1in oval nails) to the original grounds if they're any good, fixing a softwood rip to the wall at floorboard level (ripped or planed to match the upper grouund) and attaching skirtings. Any new stuff is better fixed with grip adhesive , broewn plugs and #10 (5.0mm) screws - you need 2-1/2in or so. How do the architraves look, or were they removed as well?

In one corner of the room there is a hole that could not be plastered because there was nothing behind it to plaster onto at the base of the wall. This hole extends about 8 inches above the floor, so I was planning on getting 8 inch skirting boards. This would also put the wood pretty much right in the middle of the skirting.
The plasterer could have made up a small frame from slate lath (2 x 1in rough sawn timber), boarded over with 1/2in PB then skimmed that as well. I have to ask why didn't he?
 
What you really should have done was to fix the skirtings first and the plaster could have plastered to the new skirting line.
I'd have to totally disagree with you there. Plasterers will tend to make a right royal mess of the skirtings if you do that, a mixture of snots, water run-off (from the polishing) and possibly trowel marks (damage) on the timber not to mention possible swelling and/or warping of the timber leading to cracking at the joint between the skirting and the plaster at a later date when the timber dries out. Skirtings are ALWAYS fixed after the plasterer is finished and the plaster IF AT ALL POSSIBLE. The rule was, AND STILL IS, wet trades PRECEDE joinery 2nd fix and THE WALLS MUST BE ALLOWED TO DRY OUT

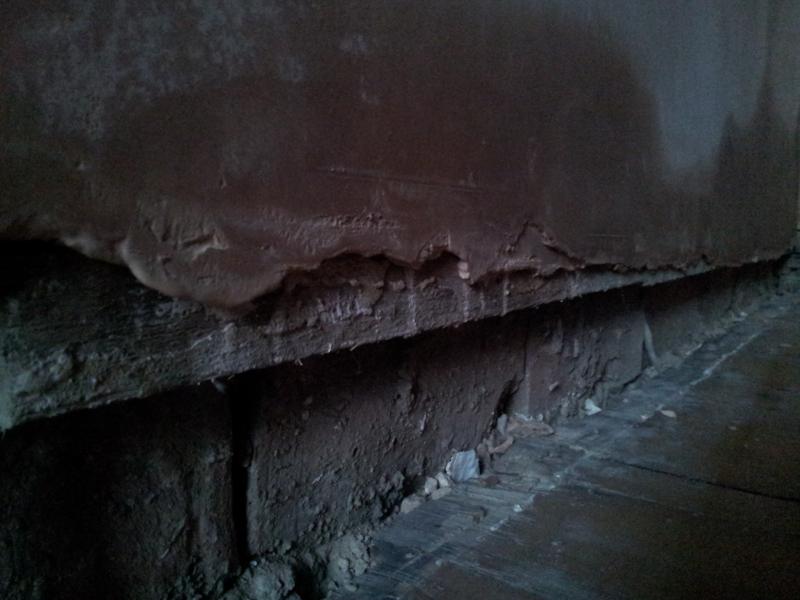
If I can simplify this the battens are not for fixing the skirting boards, they were originally put on so that the plasterers had a straight line to follow for the backing coat.
The skirtings were then fixed using the timber plugs at the same points where the battens were attached.
Then the final skim coat was applied.
In other words your fixing points are already there, to fix using any other method is just creating unnecessary work.
Which book did you read that in? As an apprentice we used to put in skirting grounds just like the one illustrated, fixed onto propellor wedges (which the apprentice used to cut with a hatchet) - although the grounds looked like a ladder and were made up in long sections in the workshop and delivered to site; I suspect that when the OP's skirtings were taken out the lower batten simply went with it, if it wasn't rotted away completely (common problem). The plasterers worked to the ground and ALWAYS did their finishing coat BEFORE we put in the skirtings. The affect of allowing lime plaster (or even gypsum) wash-off in a final coat to run off onto an unpolished oak skirting would be to FILL THE GRAIN WITH WHITE LIME - a disaster which would result in the skirtings being "pulled" by the polishers/varnishers. And prior to WWII it was ALL lime plaster. It still is on many (listed) renovations and some better quality houses

I think there wont be much guts left in wooden plugs that are probably over 100 years old and its unlikely anyone is going to use 3" cut nails to fix the skirting anyway
Quite right! Were I starting that job I'd have pulled out the remains of the original grounds and propellor wedges and filled the gaps with a strong compo mix. I'd then have replaced the grounds fixing with modern screws/brown plugs before letting the plasterer loose. I'd also have given the plasterer very specific instructions on how to finish to the grounds. This isn't news to decent, trained plasterers - some better quality construction firms have us joiners build plasterers frames in door and window openings from plywood so that the plaster reveals will be near perfect - absolutely essentialwhen installing architrave-less casings (especially the ones with plaster shadow gaps). This plasterer possibly didn't know what he was dealing with because grounds like those are rarely used these days

It may be the oldest method but it is still the best if you are fixing deep skirtings.
On the other hand if you are talking 75mm 100mm pencil round then I suppose you could get away with adhesive if you want a bodged job
I agree with you on the first point, but most certainly not on the second. The generally accepted (and the taught method for C&G) method of building is now to attach softwood or MDF skirtings with only a grip adhesive and pins - providing that the wall is in good order and dry the skirting will become permanently bonded to the plaster. I do enough refurb work to know how strong that bond can be - with 25 year old grip-adhesive mounted skirting often exhibiting excellent bonds. And in the last 25 years these adhesives have just got better and better.

In high traffic areas and areas with the chance of contact damages the practice is to use the above (glue/pin) in addition to drilling, plugging and screwing (with the screw heads sunk and filled with 2-pack unless the skirting is to be clear lacquered in which case pellets are used). Hardwood is invariably fixed with counterbored screws, plugs and pellets because it tends to be more prone to movement and is invariably clear lacquer coated

Then again I join my skirting boards together with a finger jointer on a router table and PVA adhesive to make long lengths.
My gaffer taught me to cut at about 30 degrees as opposed to the traditional 45. Makes the joint less obvious and is easier to level up. Modern mitre mate adhesives are remarkably strong and well worth trying as an alernative
 
Sponsored Links
Blimey job and knock I think you put that one to bed, I liked the 30 degree joints "The good work lives on!" If Jabuzzard wants more work to do he could consider a tongue and grooved joint on the internal corners to do a proper job to get nice plumb corners and cover shrinkage. Anmobium, I was being a bit facetious in a contempory context and highlighting the fact that we are using modern fixing materials but in the day 3" nails would be fine. You've got a good 22mm skirting and a good 22mm or so of plaster what other length would you use?
 
Blimey job and knock I think you put that one to bed, I liked the 30 degree joints "The good work lives on!" If Jabuzzard wants more work to do he could consider a tongue and grooved joint on the internal corners to do a proper job to get nice plumb corners and cover shrinkage. Anmobium, I was being a bit facetious in a contempory context and highlighting the fact that we are using modern fixing materials but in the day 3" nails would be fine. You've got a good 22mm skirting and a good 22mm or so of plaster what other length would you use?

Actually if you have the tools running the skirting board through the router table is way quicker than doing 45 or 30 degree cuts. What I found as a DIY'er was that I could do a better job if I applied skirting as a single length. Therefore I started gluing the lengths together with a 45 degree cut. However I found that these needed careful handling or they came apart. Then it hit on me to get a finger jointer and do it that way. Lets face it that is precisely what a finger jointer is for.

I bring the skirting home from the store, run it through the router table with the finger jointer, then glue together in the room (can be tricky getting 5m+ lengths into the room), when dried sand down to perfection and cut to size before applying to the wall.

The other advantage of a finger joint from a router is that if you did need to put two pieces separately onto a wall for some reason then they lock together in a fashion unlike 45 degree cuts do.

Anyone who has seen skirting that I have done thinks it is a top notch job so I can't be going far wrong.
 
JobandKnock

Just to let you know I have been away and only just read your response, jeez, that must have taken some time.
Apart from saying that you make no mention of primer or dpc levels quite honestly I cant be arsed in replying. Keep reading the manuals
 

DIYnot Local

Staff member

If you need to find a tradesperson to get your job done, please try our local search below, or if you are doing it yourself you can find suppliers local to you.

Select the supplier or trade you require, enter your location to begin your search.


Are you a trade or supplier? You can create your listing free at DIYnot Local

 
Back
Top